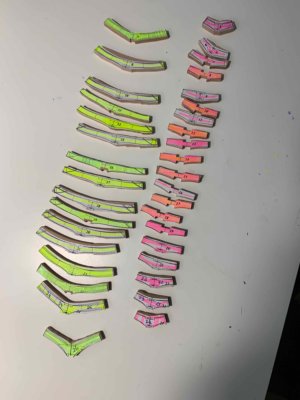
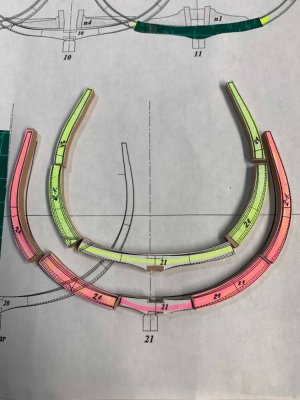
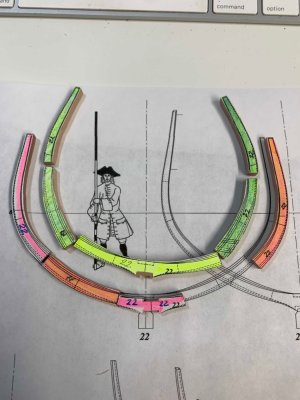
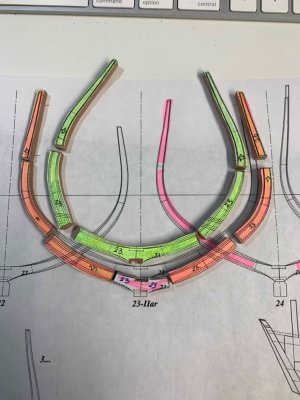
-

Win a Free Custom Engraved Brass Coin!!!
As a way to introduce our brass coins to the community, we will raffle off a free coin during the month of August. Follow link ABOVE for instructions for entering.
-

PRE-ORDER SHIPS IN SCALE TODAY!
The beloved Ships in Scale Magazine is back and charting a new course for 2026!
Discover new skills, new techniques, and new inspirations in every issue.
NOTE THAT OUR FIRST ISSUE WILL BE JAN/FEB 2026
You are using an out of date browser. It may not display this or other websites correctly.
You should upgrade or use an alternative browser.
You should upgrade or use an alternative browser.
Le Rochefort 1/36 - Build Log by Moreplovac
- Thread starter moreplovac
- Start date
- Watchers 28
-
- Tags
- ancre group build le rochefort
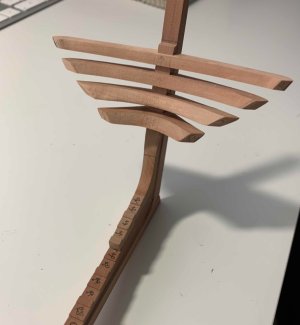
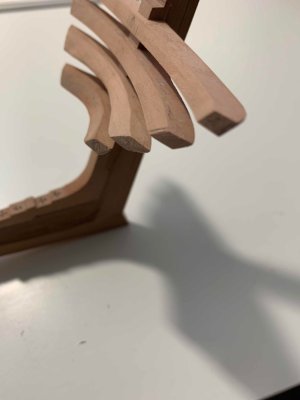
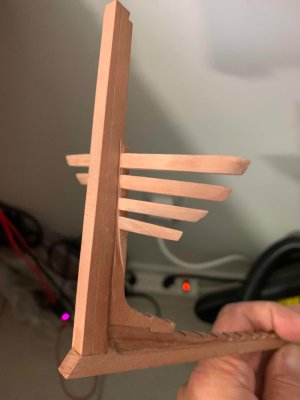
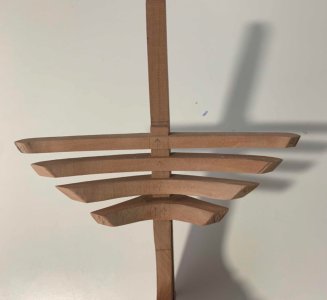
Keel structure needed a bit of a extra work so here is current keel built stage..
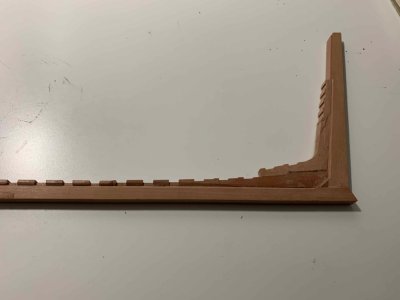
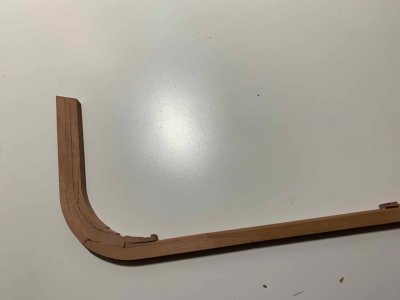
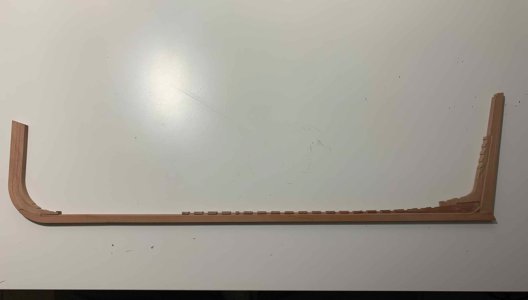
Rabbet lines were giving me the hardest time, mistakes like missing correct plan line, too deep chisel cuts, slip over working part making bad scratch marks (not like "Cat scratch fever" Ted Nugget) etc, causing make of two extra stem, apron and forefoot parts...oh well, will have plenty of pear wood for other ship parts and other ship kits are waiting in line.. won't go to waste bin.
Continue with wrapping up keel work so I can jump on frames...
Happy modelling.
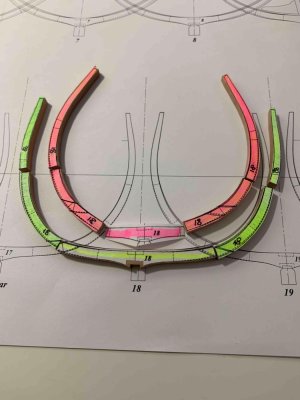
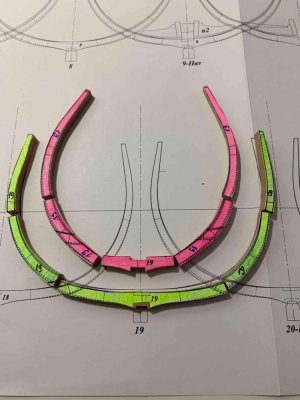
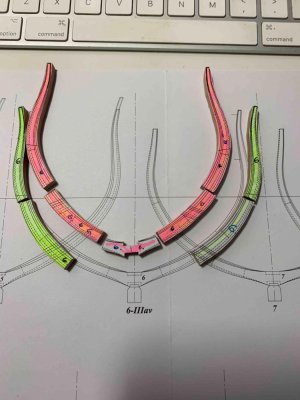
Working now on transom timbers...
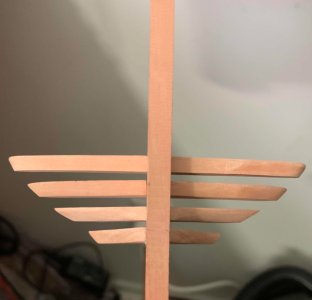
Testing on a spare wood part, wing transom..
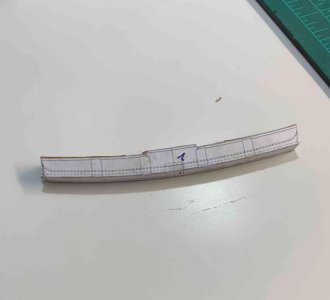
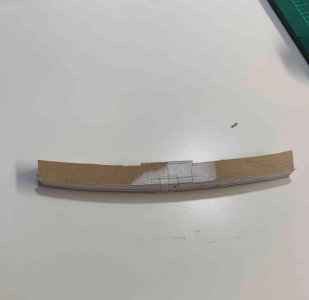
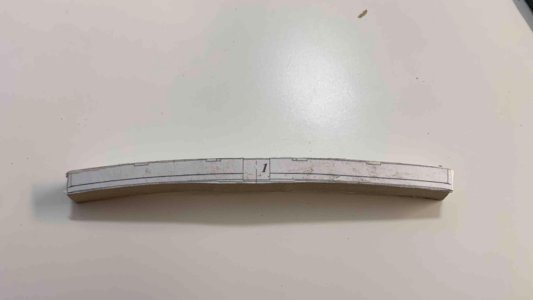
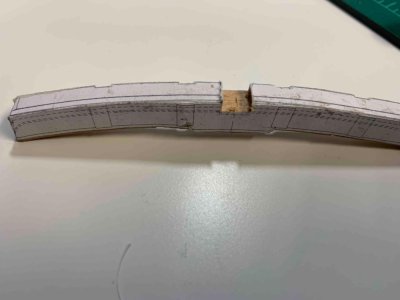
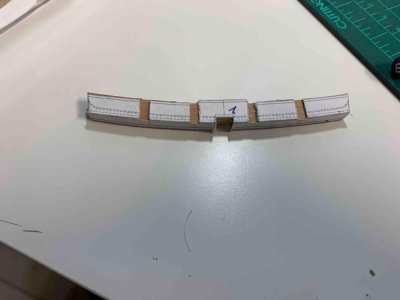
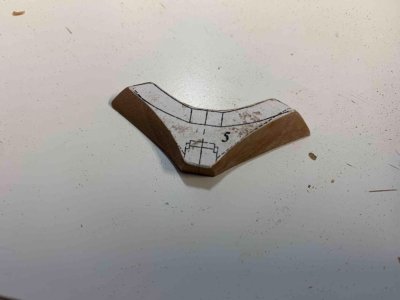
I think I grasped needed steps for wing transom... Now, started to work on lower transom timbers, from #5..
Not sure about you but I always trying to use protective gloves when using scalpels or other cutting tools.. have enough marcs on my tomb from "I can stop it no problem"...
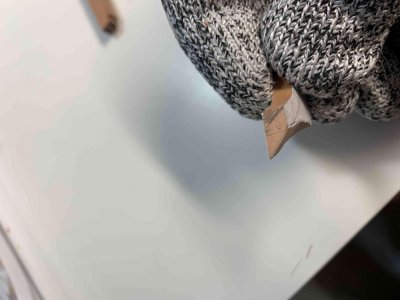
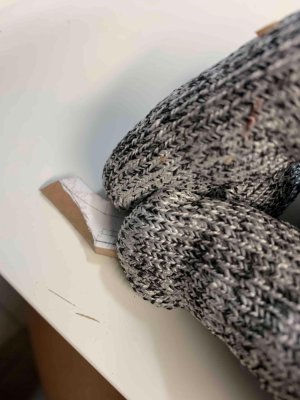
And a little bit of mistake...
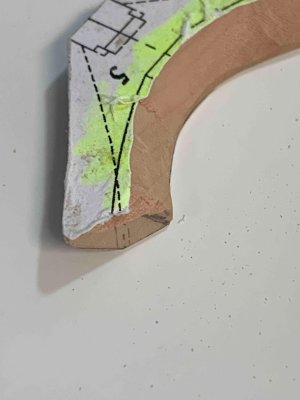
New part on the bench..
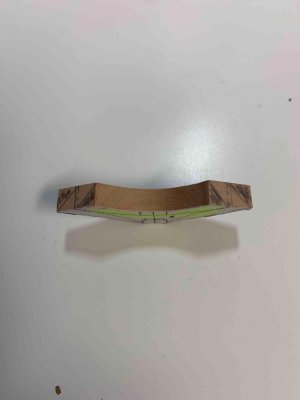
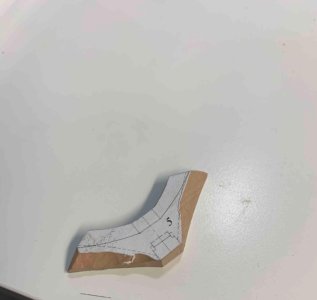
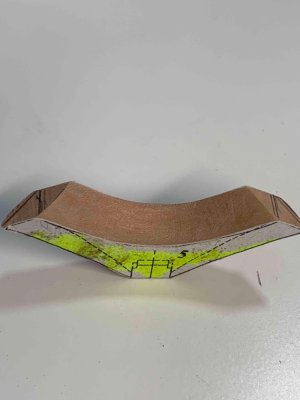
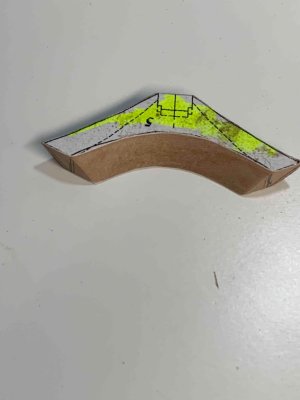
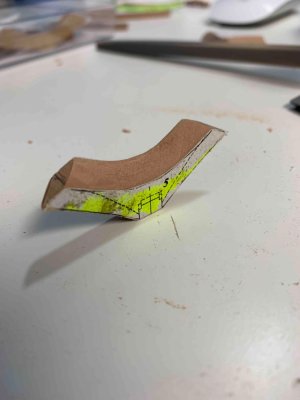
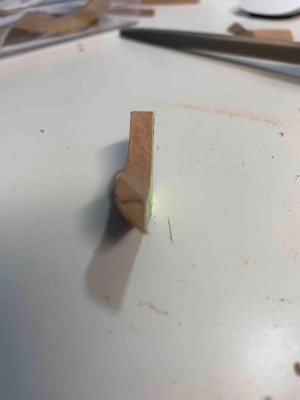
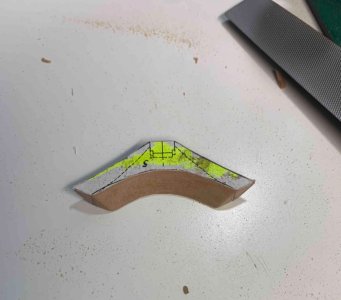
I think I have it done right, hopefully... not all cuts are done but the most difficult, at least for me, is completed...
Here are various hand tools used for this piece..
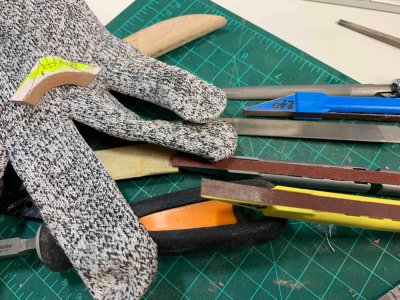
Happy modelling..

Testing on a spare wood part, wing transom..


I think I grasped needed steps for wing transom... Now, started to work on lower transom timbers, from #5..

Not sure about you but I always trying to use protective gloves when using scalpels or other cutting tools.. have enough marcs on my tomb from "I can stop it no problem"...


And a little bit of mistake...

New part on the bench..


I think I have it done right, hopefully... not all cuts are done but the most difficult, at least for me, is completed...
Here are various hand tools used for this piece..

Happy modelling..
Good morning,
everything looks very harmonious and the finishing touches will only come on the model anyway.
everything looks very harmonious and the finishing touches will only come on the model anyway.
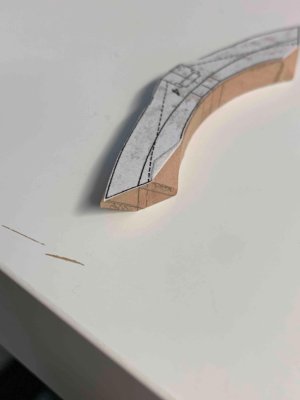
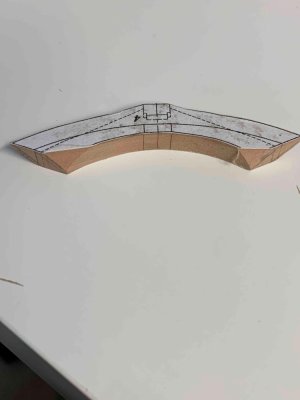
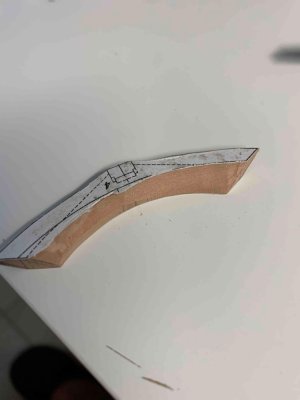
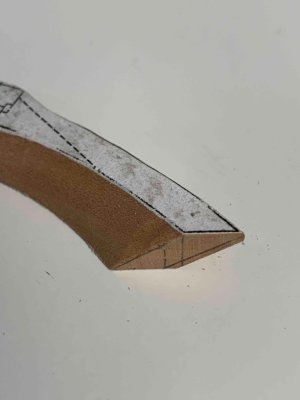
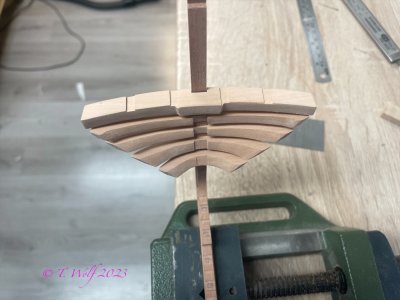
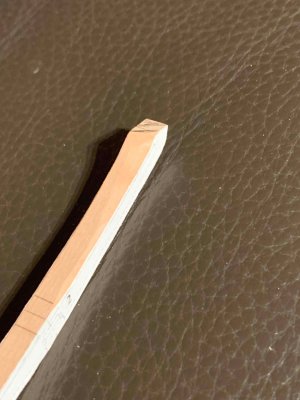
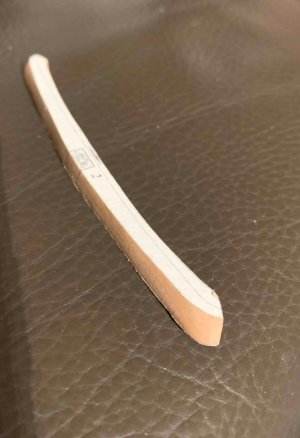
It took me a while but I believe I grasped them all good... with several, I would call them "to-be-used-in-the-near-future" parts, I managed to get 4 transom done.. not completely but most carving was performed and completed..Here are some process pictures, lots of marking, line drawing, pre-sanding, etc but must admit that pear wood is perfect for these parts; yes, I have few broken ends but those are just my mistake not placing transom templates correctly on the wood grain. Once I stabilized that part I was able to carve very nice and sharp objects...
For carving I used combo of files-sand paper various sizes, scalpel and carving knife; base sanding was done on Proxxon disk sander and spindle sander with band saw helping cutting parts of the board. And protective gloves as a must when carving is in place.... I think with amount of bandaids I purchased, it makes sense getting a basic carving protective gloves instead...
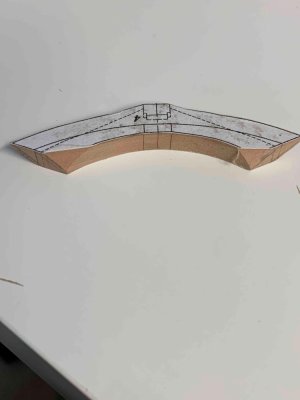
Angle sanding cuts are there to protect wood chipping...
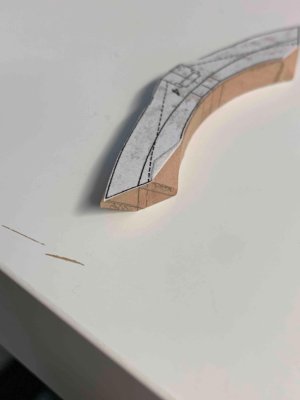
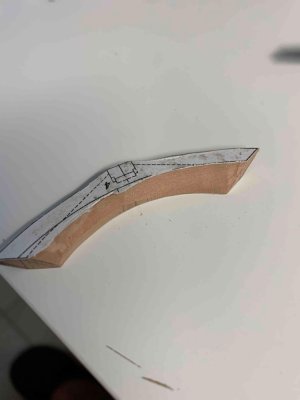
This is one of failures which I am using as a test part for fitting..
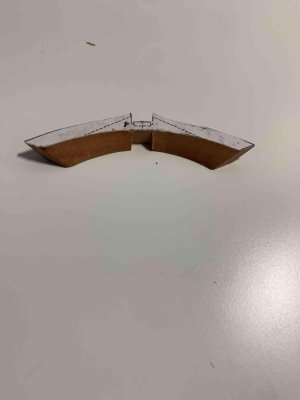
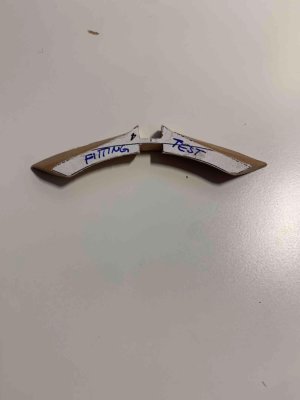
I had a bit of a hard time understanding the final shape of a part which ended up with few extra parts done. But there will be a new life for them in future steps..
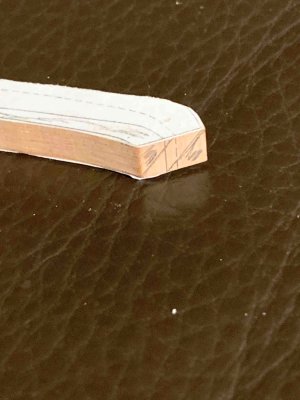
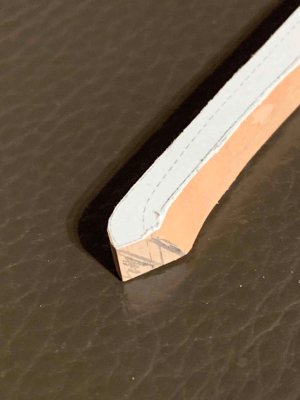
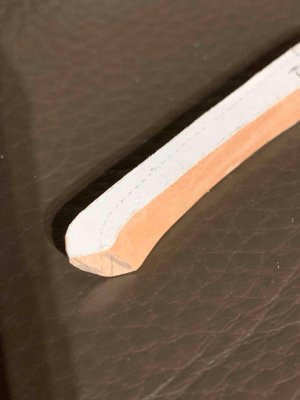
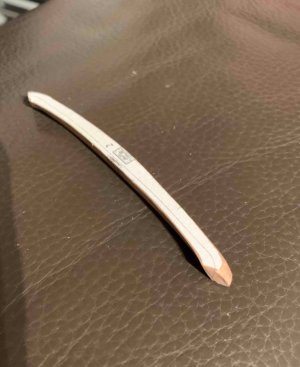
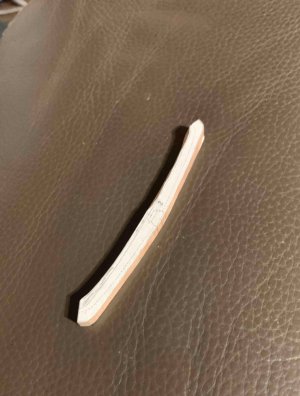
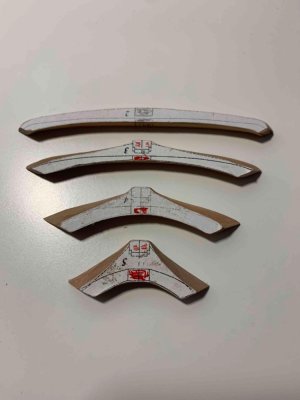
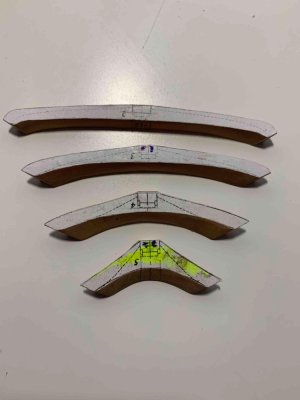
So I have a question; how deep red marked notches (for keelson) should be in these parts? Are they going all the way to the back side (for example on #5) following red marked square, with 90 degrees angle, leaving the notch wider on the top side and narrowing down towards bottom, following the shape of a transom?
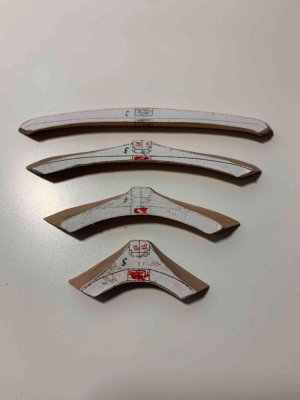
I see various depth in other people' posts so not sure what shape notches should be taken..
Here is my fitting test part on the plan. If I am seeing it correctly, I have it shaped properly. Feedback is appreciated before I start making cuts..
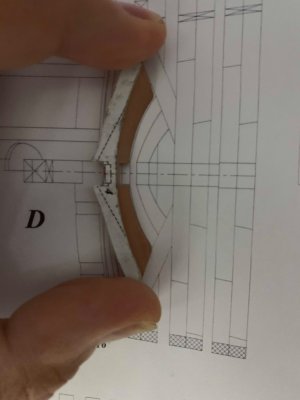
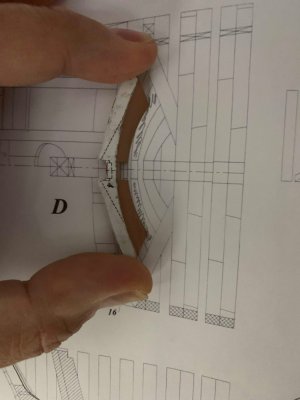
Happy modelling..
For carving I used combo of files-sand paper various sizes, scalpel and carving knife; base sanding was done on Proxxon disk sander and spindle sander with band saw helping cutting parts of the board. And protective gloves as a must when carving is in place.... I think with amount of bandaids I purchased, it makes sense getting a basic carving protective gloves instead...

Angle sanding cuts are there to protect wood chipping...


This is one of failures which I am using as a test part for fitting..


I had a bit of a hard time understanding the final shape of a part which ended up with few extra parts done. But there will be a new life for them in future steps..


So I have a question; how deep red marked notches (for keelson) should be in these parts? Are they going all the way to the back side (for example on #5) following red marked square, with 90 degrees angle, leaving the notch wider on the top side and narrowing down towards bottom, following the shape of a transom?

I see various depth in other people' posts so not sure what shape notches should be taken..
Here is my fitting test part on the plan. If I am seeing it correctly, I have it shaped properly. Feedback is appreciated before I start making cuts..


Happy modelling..
Last edited:
Aha, ok so the #2 has the "deepest" cut and progressively getting lower as going down to #5, correct?
Thanks shota70. It is my first POF build since elementary school and very nice learning curve as well... having purchased bigger scale of the same vessel, I am trying to grasp as much skills possible for that second project...
Yeah, i was about to do the same...fit based on keelson in place...
Keep working on timbers, fitting and testing..
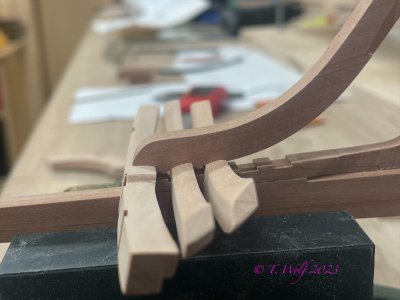
I don't have angled wise for my proxxon mill so I had to be a bit creative by using mill for horizontal cuts for keel notches, as much as I can, then with a hand saw cutting a angled line on both ends and finishing up with scalpel removing excess wood. Then filling, testing, filling, testing... etc...
So far #2 and #3 were 90% ready. still need to check with a plan to sand them a bit and #4 is made of thicker wood so need a bit of sanding before fitting exercise..
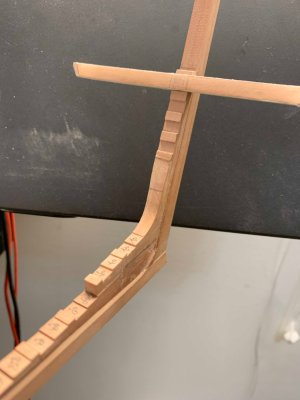
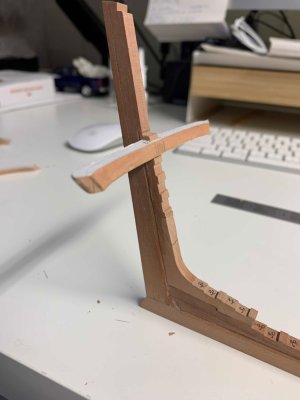
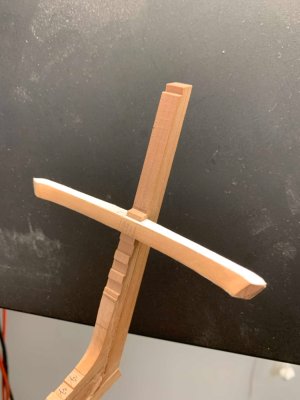
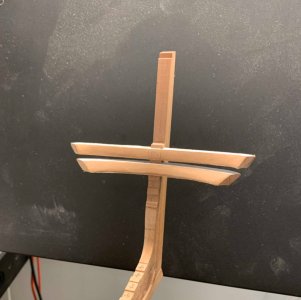
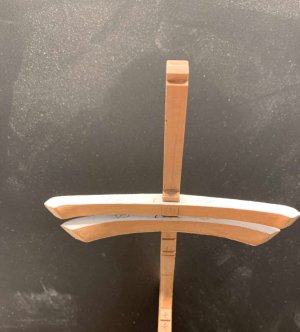


Looks good to my eye! Excellent work.
If you would like a bit of unsolicited advice, I did not glue in the 4th transom timber until I completed the filler pieces as well as frame #32. Having it loose allowed me to fine tune the filler piece so that everything was all square.
If you would like a bit of unsolicited advice, I did not glue in the 4th transom timber until I completed the filler pieces as well as frame #32. Having it loose allowed me to fine tune the filler piece so that everything was all square.
Last edited:
Sure, no problem, thank you, always appreciate comments;
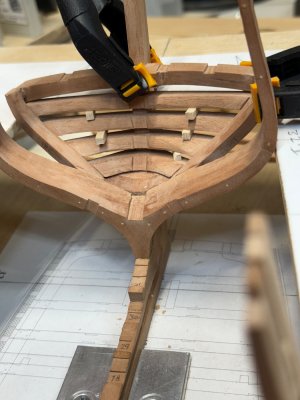
While I was working on them I needed to keep them in some kind of steady position on their places while testing access, I used only tiny amount of white glue to keep them in place; they are semi-easy to remove, nothing what holy-good pull cannot remove ... Final glue will be done down the road...
While I was working on them I needed to keep them in some kind of steady position on their places while testing access, I used only tiny amount of white glue to keep them in place; they are semi-easy to remove, nothing what holy-good pull cannot remove
It looks very good, perfect is a better description. Oliver's tip is very good, great advice.
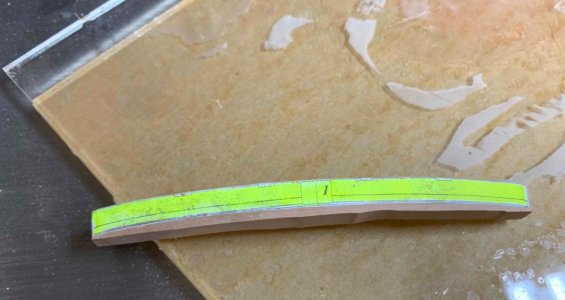
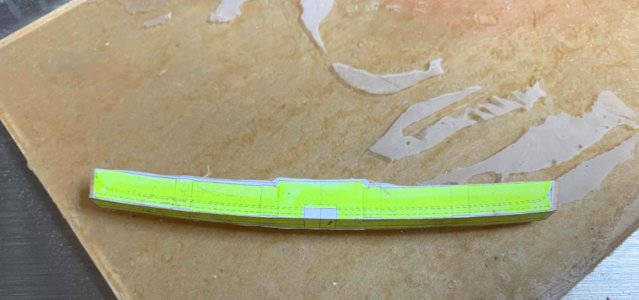
Today I was working on # 5 transom timber, for the third time... First two attempts were not good in few different reasons. Must say envy people that are done with a part in a first attempt; that is my long term goal when POF are main focus...
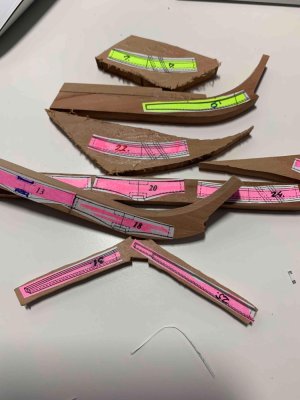
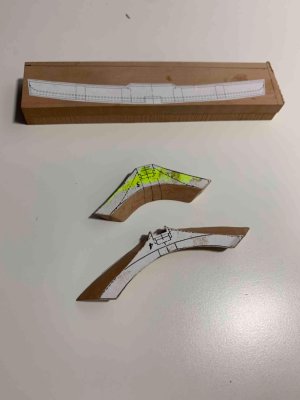
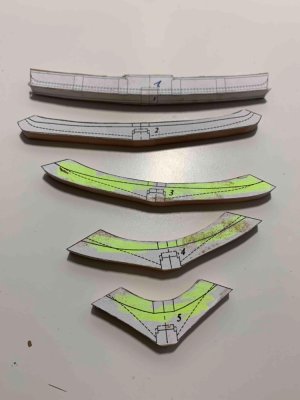
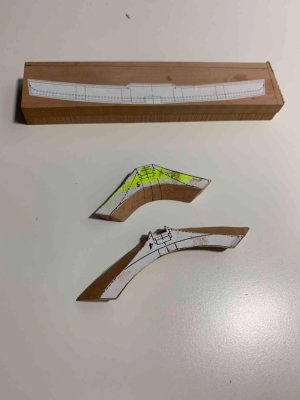
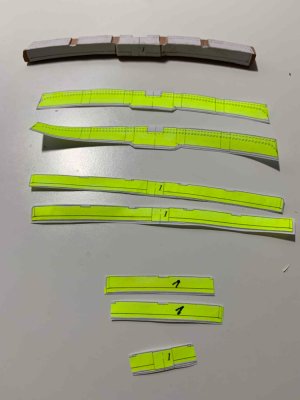
First i made several copy of several templates that will be used throughout the process... The timber on the top is one of failures, excuse me, actually one of the learning curves..
Two planks were glued together to obtain required thickness, in my situation, 8mm.
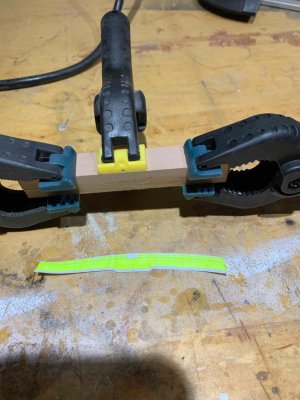
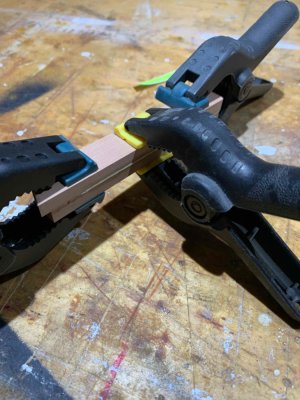
Once it is dried, template were glued on... and cutting was done, following the curve of a top template.
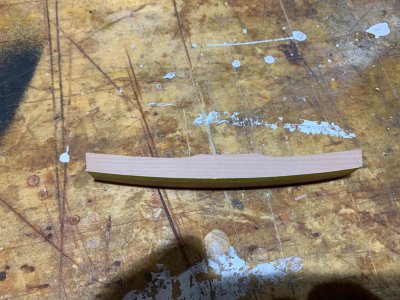
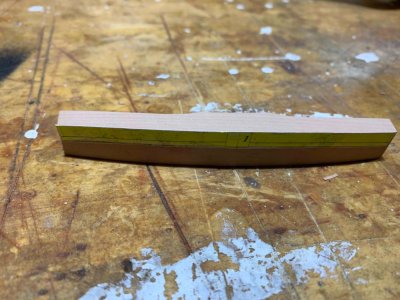
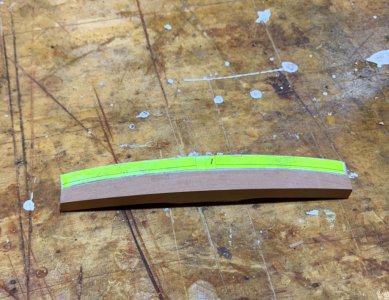
The first top template was removed with sanding, so new is glued on.
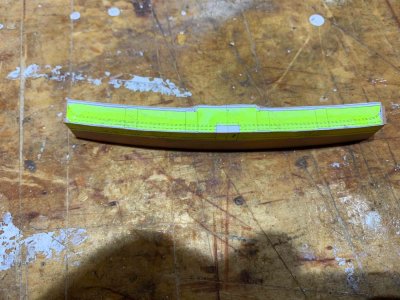
Then bottom was cut and sanded off..
......
First i made several copy of several templates that will be used throughout the process... The timber on the top is one of failures, excuse me, actually one of the learning curves..

Two planks were glued together to obtain required thickness, in my situation, 8mm.


Once it is dried, template were glued on... and cutting was done, following the curve of a top template.


The first top template was removed with sanding, so new is glued on.

Then bottom was cut and sanded off..


......


