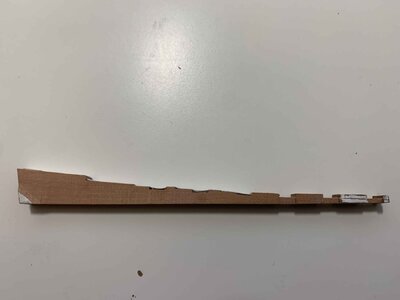
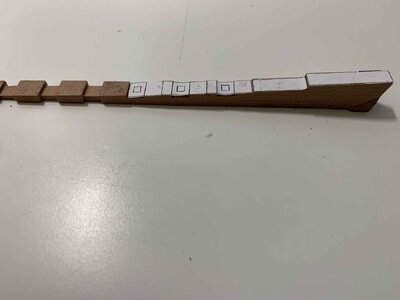
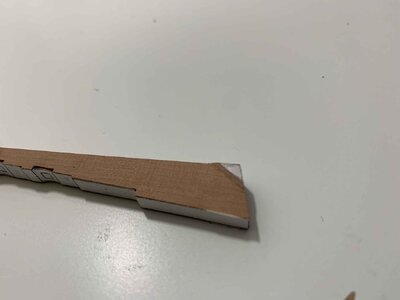
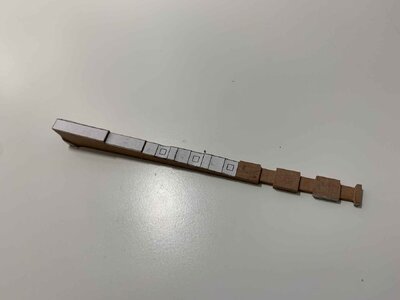
Agreed, this build is a great experience, small enough to make mistake and correct them and all those "wrong" parts will find another life in other small pieces required for this ship; it makes me thinking and finding solutions to make different parts. Believe it will provide enough experience that can be used in any other projects, including building from kit... btw, I just ordered 1/24 set plan for the same ship, not giving up...Hi Grant, I think I speak for many of our members, seeing a POF from you would be a real pleasure and you don't need to be afraid of it. This little harbor yacht would be just the right place to start.
-

Win a Free Custom Engraved Brass Coin!!!
As a way to introduce our brass coins to the community, we will raffle off a free coin during the month of August. Follow link ABOVE for instructions for entering.
-

PRE-ORDER SHIPS IN SCALE TODAY!
The beloved Ships in Scale Magazine is back and charting a new course for 2026!
Discover new skills, new techniques, and new inspirations in every issue.
NOTE THAT OUR FIRST ISSUE WILL BE JAN/FEB 2026
You are using an out of date browser. It may not display this or other websites correctly.
You should upgrade or use an alternative browser.
You should upgrade or use an alternative browser.
Le Rochefort 1/36 - Build Log by Moreplovac
- Thread starter moreplovac
- Start date
- Watchers 28
-
- Tags
- ancre group build le rochefort
I admire your tenacity with the do-overs.
I'll share an anecdote: one time I came back from vacation excited to finally put the stem structure (which I had remade several times) together only to find that nothing fit. @#$%^&*(), everything was perfect before I left! What could have gone wrong? Well, it turns out I had thrown away the good parts and kept the bad ones. Fortunately, the good parts were safely in the garbage bin at my feet, so the day was saved.
A cautionary tale for you and our colleagues - throw NOTHING away ...
...
I'll share an anecdote: one time I came back from vacation excited to finally put the stem structure (which I had remade several times) together only to find that nothing fit. @#$%^&*(), everything was perfect before I left! What could have gone wrong? Well, it turns out I had thrown away the good parts and kept the bad ones. Fortunately, the good parts were safely in the garbage bin at my feet, so the day was saved.
A cautionary tale for you and our colleagues - throw NOTHING away
 ...
...Good looking results. Keep at it, take it from me, practice makes perfect. Well in my case, not perfect but better! 
Thank you... those mistakes might not be visible that much but I will see them all the timeI admire your tenacity with the do-overs.
I'll share an anecdote: one time I came back from vacation excited to finally put the stem structure (which I had remade several times) together only to find that nothing fit. @#$%^&*(), everything was perfect before I left! What could have gone wrong? Well, it turns out I had thrown away the good parts and kept the bad ones. Fortunately, the good parts were safely in the garbage bin at my feet, so the day was saved.
A cautionary tale for you and our colleagues - throw NOTHING away...
All those mistakes were not that much visible at this moment but will ended up causing some visible adjustments I wanted to avoid...
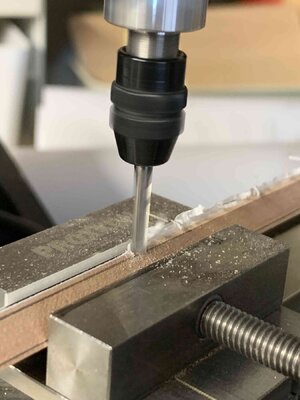
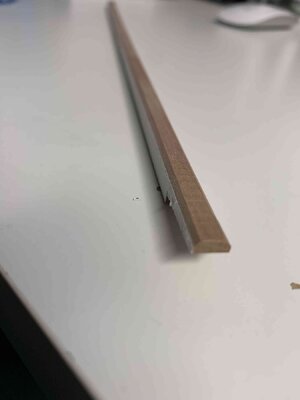
Just takes a bit more time to redo it... what i find the most cause for errors are those tiny templates for keelson, inner keel, apron, steam that can get a bit crooked when glued to material so I ended up gluing them in stages, for example for keelson, I glued 3-4 cm of template, then check that all lines are straight, then continue next portion...
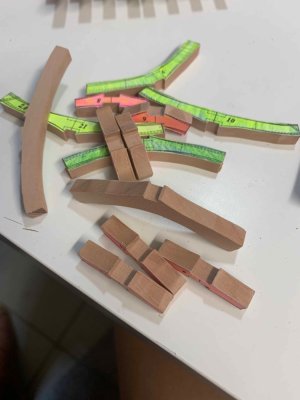
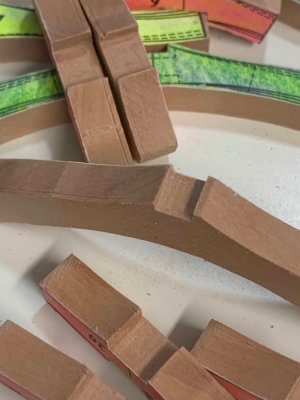
I keep all my "bad" parts in one box (have a habit to keep all things that belongs to one build til the end of the process), some of them can be reused to the same purpose since they still have some material to get milled but most of them will get a new life in the form of some other pieces needed for this build...
Happy modelling...
Yeah, practice does make it better, still far away from perfect, need few more tools to get there which might not happen but it is good to keep the standard higher..Good looking results. Keep at it, take it from me, practice makes perfect. Well in my case, not perfect but better!
Now I know which mill bit to use for certain, repeated cuts which makes them much nicer...
Getting there slowly...
Happy modelling..
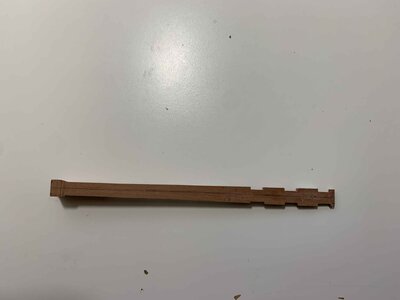
Keel building process continues... lots of repetitions (my mistakes) and trying to use the most of available woods takes plenty of build time... but I am getting there... This is a final version, no more "build it again", no more wood available at this moment so hopefully all will be done fine.
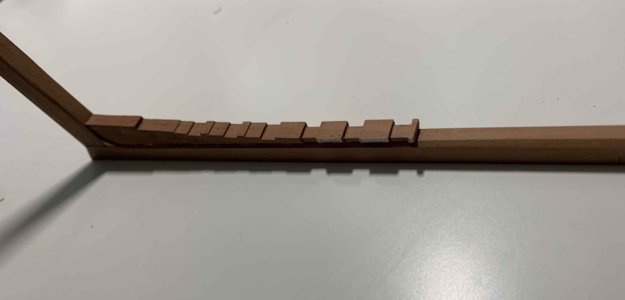
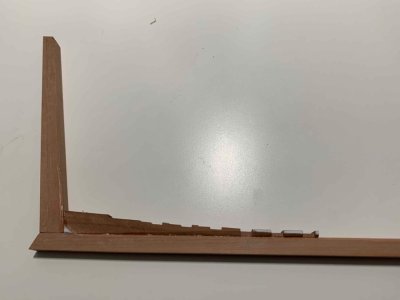
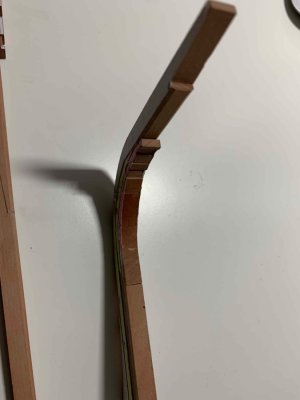
A little bit of a cleanup and sanding is still needed..
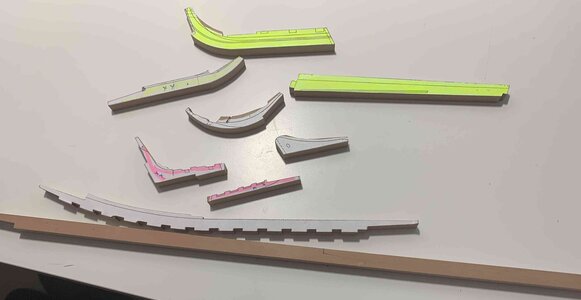
Continue with other keel parts, like sternson knee, which I have sanded on disk sander to get correct shape. I had one over-sanded result so ended up redoing it using some old wood parts..

The rabbet line is also taken care of, using a small chisel and lots of scraping, bellow first line with a V chisel.
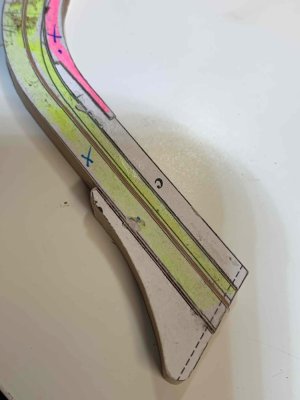
Copy of the plan with draw lines on the opposite site using a light table to see thru... I don't have a printing option to print mirror image of a plan part so had to mark lines using old fashioned method, light table...
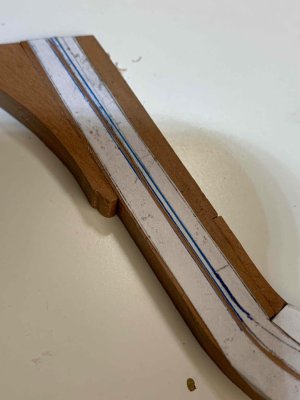
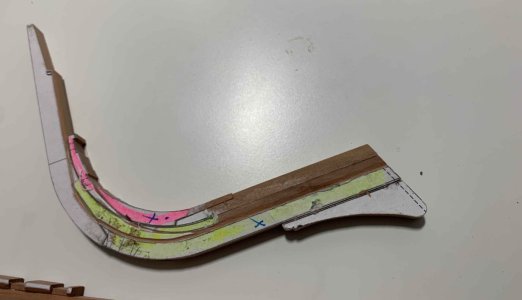
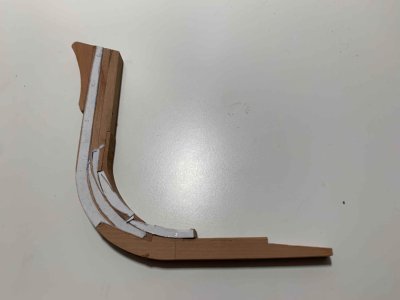
Still work in progress, not done with rabbet lines, which i find the most difficult to trace, at least for me.
Happy modelling..


A little bit of a cleanup and sanding is still needed..
Continue with other keel parts, like sternson knee, which I have sanded on disk sander to get correct shape. I had one over-sanded result so ended up redoing it using some old wood parts..

The rabbet line is also taken care of, using a small chisel and lots of scraping, bellow first line with a V chisel.

Copy of the plan with draw lines on the opposite site using a light table to see thru... I don't have a printing option to print mirror image of a plan part so had to mark lines using old fashioned method, light table...


Still work in progress, not done with rabbet lines, which i find the most difficult to trace, at least for me.
Happy modelling..
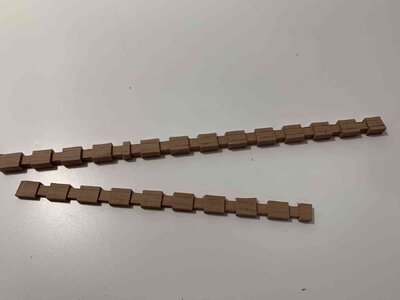
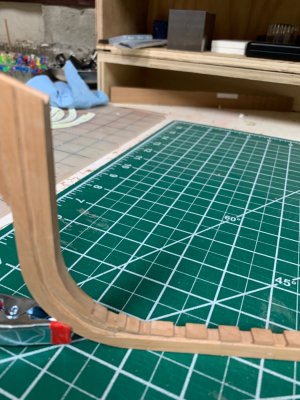
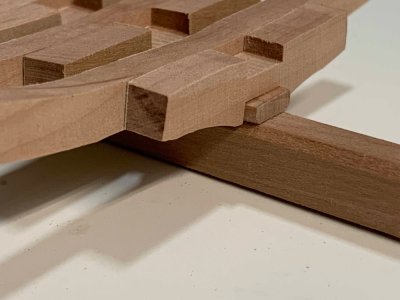
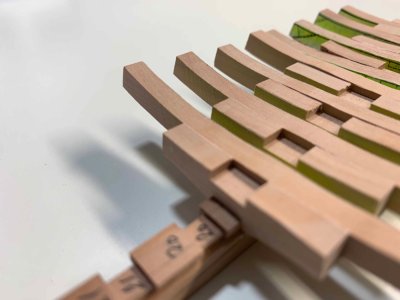
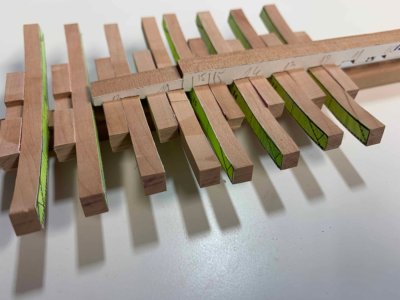
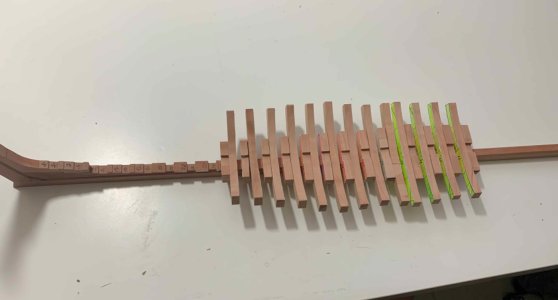
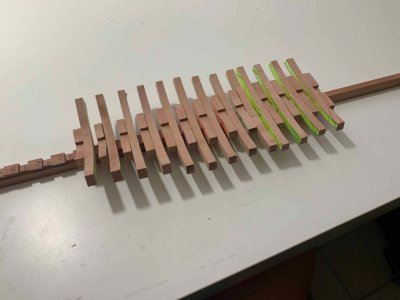
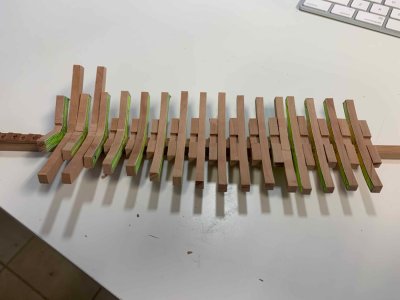
To break routine a bit, started to work on frames...
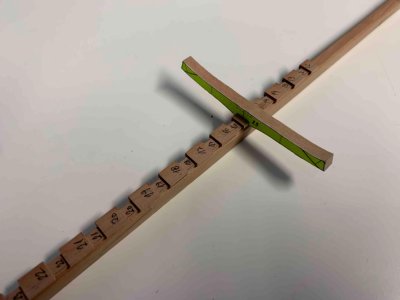
Just testing, no glue and no final sanding completed..
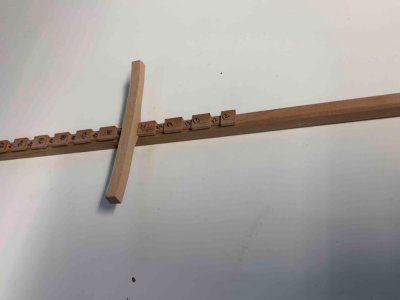
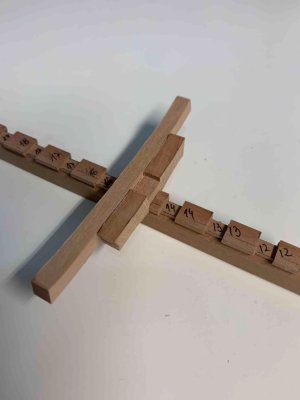
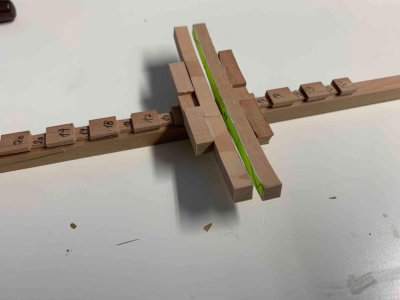
So far goes well, the only challenge is that my wood planks were 6mm thick and frames are all 5mm so need to send down each frame individually...
Will be an expert in sanding at the end
Happy modelling..

Just testing, no glue and no final sanding completed..


So far goes well, the only challenge is that my wood planks were 6mm thick and frames are all 5mm so need to send down each frame individually...
Will be an expert in sanding at the end
Happy modelling..
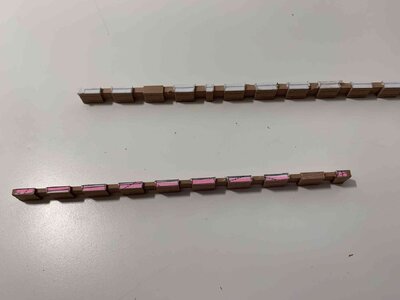
Nice clean work! Well done! I would turn the half floor pieces around so the pink side shows for a couple of reasons. 1. The thickness of the paper sandwiched between the floor timbers will cause some errors in thickness And 2. You will need the reference of the lines when it comes to fairing the frames. Fair winds, my friend.
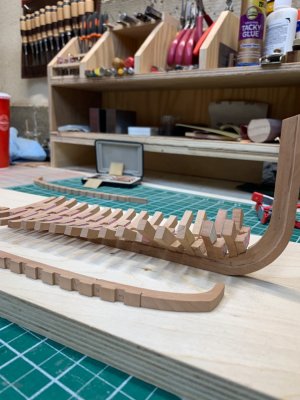
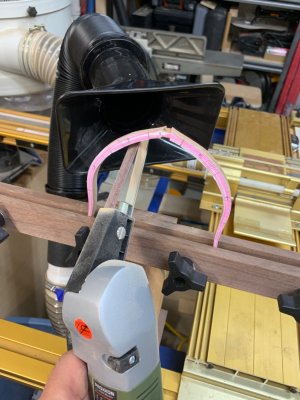


Thank you OlivierF, point taken...
Cheers
Cheers
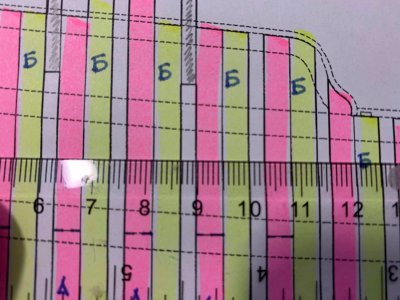
Double check your thickness measurements. I made mine a frame pieces little “proud” at 5.3mm so when assembled they are 10.6”. This should leave pretty much exactly 3mm between frames and gives room for adjustment as needed. Just my two cents…
Last edited:
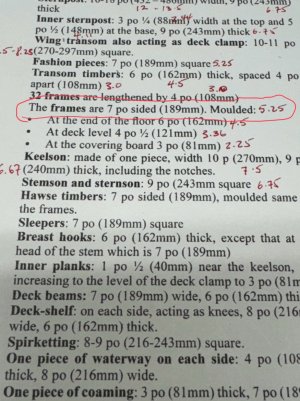
I thought the same as you but found out the hard way that the true thickness of the frames is 5.25mm or 10.5mm for each coupled frame.
The scantling table on page 86 identifies the frames as “4 pouce” or 189mm in 1:1 scale. At our scale of 1:36 this translates to 5.25mm.
I made my frames 5.3mm for an assembled 10.6mm frame. After final sanding they are now the 10.5mm needed.
If you notice in your photo above your ruler is “creeping”. If the spacing was truly 10mm and 3mm you shouldn’t see any difference from the start to the end of the ruler.
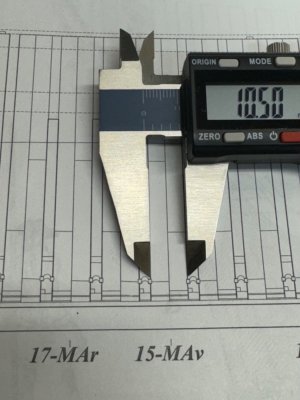
If you make the frames 10mm you will need to adjust the spacing between frames to 3.5. And all your pieces like the keelson will be off…
As I said, I learned the hard way that 0.10mm here and there makes a mess of the model. If you’ve read my build log you know I had to start over from the beginning due to creeping errors in my original attempt.
Believe me, I’m no expert and I’m just relaying my experience in building this model. Other more experienced folks like @Tobias or @Nersch may give better advise.
Fair winds my friend…
The scantling table on page 86 identifies the frames as “4 pouce” or 189mm in 1:1 scale. At our scale of 1:36 this translates to 5.25mm.
I made my frames 5.3mm for an assembled 10.6mm frame. After final sanding they are now the 10.5mm needed.
If you notice in your photo above your ruler is “creeping”. If the spacing was truly 10mm and 3mm you shouldn’t see any difference from the start to the end of the ruler.


If you make the frames 10mm you will need to adjust the spacing between frames to 3.5. And all your pieces like the keelson will be off…
As I said, I learned the hard way that 0.10mm here and there makes a mess of the model. If you’ve read my build log you know I had to start over from the beginning due to creeping errors in my original attempt.
Believe me, I’m no expert and I’m just relaying my experience in building this model. Other more experienced folks like @Tobias or @Nersch may give better advise.
Fair winds my friend…
That makes perfect sense.... thank you for pointing it out... still time for me to correct the thickness... with few frames to be redone...
Appreciate your assistance..
Appreciate your assistance..


