Le Rochefort build log by OlivierF

Yes a 12” planer may do but they can’t really do the small sizes we deal with.
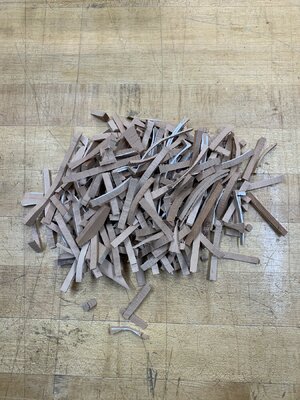
Actually, I use my DeWalt 12” and can effectively plane to about 3mm. I got a 4’ x 12” piece of 3/4” laminated MDF (actually it’s a shelf from a closet store) and use it as a “floor” in the planer. I do take very thin passes and usually run the board through 4 times. Once at a slight angle to right, again with a slight left angle, flip end to end and do it again. A bit time consuming but I do manage to get smooth and parallel boards. I can get a little snipe as you can see in the photo of my frame layouts above.
 
Last edited:
Actually, I use my DeWalt 12” and can effectively plan to about 3mm. I got a 4’ x 12” piece of 3/4” laminated MDF (actually it’s a shelf from a closet store) and use it as a “floor” in the planer. I do take very thin passes and usually run the board through 4 times. Once at a slight angle to right, again with a slight left angle, flip end to end and do it again. A bit time consuming but I do manage to get smooth and parallel boards. I can get a little snipe as you can see in the photo of my frame layouts above.
Ok good to know. I’ll look into a 12” machine.
 
No frames were salvageable in your eyes ? What exactly was the problem that you’re starting all over again. I’m doing a lot of thinking on mine right now too.
 
No frames were salvageable in your eyes ? What exactly was the problem that you’re starting all over again. I’m doing a lot of thinking on mine right now too.
I really haven’t explored that idea as the original frames are cherry and I switched to Swiss Pear for the new model. On the original I wasn’t meticulous enough laying out the keel assembly and cutting all the slots for the frames. Also, I didn’t fare the frames well enough prior to mounting them in the keel. My thought, at the time, was to do the final faring once the hull was complete. As I mentioned earlier, due to all these cumulative inconsistencies nothing lines up “square, level and plumb”. Overall, I think I could have completed it as a closed hull model but what’s the point of doing all the work only to hide it behind planking. I really don’t mind that I started over. I learned a boatload (nice pun, huh?) in my original attempt and as they say, “practice makes perfect.” I’m sure whatever decision you make will be the right one for you.
 
Ok yes thanks. I’m between just making it a closed up planked hull then the interior won’t matter or starting over POF or turning it into a solid hull. My keelson, bottom joints and frames just aren’t there much like your situation.
 
We’re off to the races!
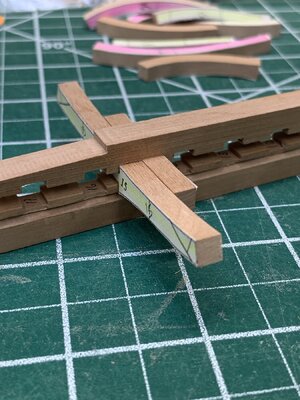
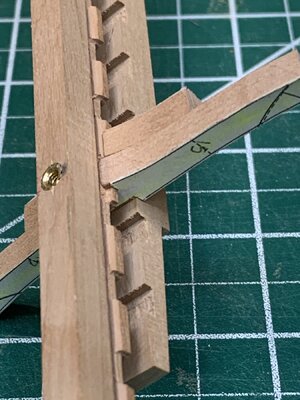
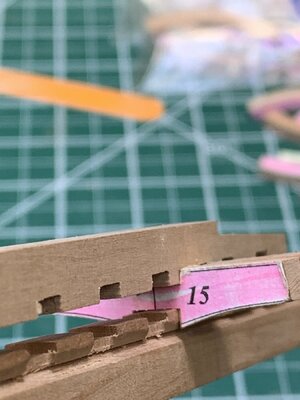
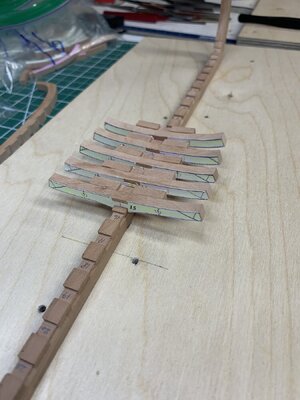
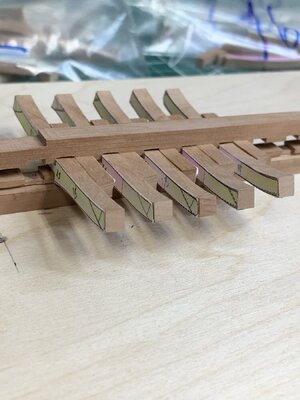
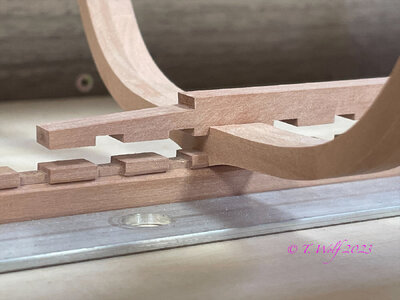
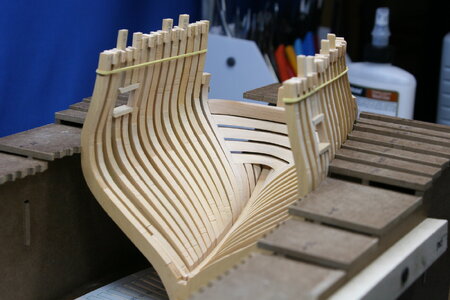
I’ve started milling the slots and grooves in the floor timbers. I abandoned Adrien’s method of using a small piece that mimics the keel and I’m fitting each floor and half-floor timber directly on the keel and keelson. The first assembly (frame 15) took quite a bit of time as I wanted it to be spot on since it’s the main reference in the middle of the assembly..
IMG_8451.jpegIMG_8452.jpegIMG_8453.jpeg

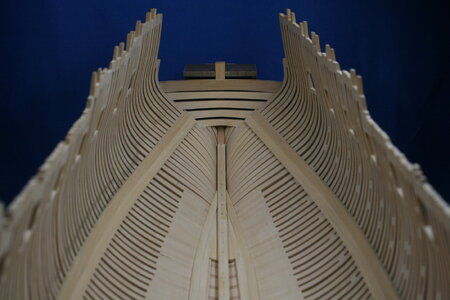
I’m working toward the bow first and so far it’s looking like it should…
IMG_8457.jpeg

I need to do a bit of adjusting to the keelson but I’m pleased so far.
IMG_8458.jpeg

Tomorrow is another day.
 
That is the wise way to do it indeed. I learned that here. My frame to keel joints aren’t correct and I know it but in the end it won’t be seen anyway. I learned how not to do it, every failure is a learning experience.
 
That is the wise way to do it indeed. I learned that here. My frame to keel joints aren’t correct and I know it but in the end it won’t be seen anyway. I learned how not to do it, every failure is a learning experience.
Totally agree. My original work was a huge learning curve. I’ve gotten better but still have a long way to go. As an old mentor of mine used to say, “If you haven’t failed, you aren’t trying hard enough.”
 
We’re off to the races!
I’ve started milling the slots and grooves in the floor timbers. I abandoned Adrien’s method of using a small piece that mimics the keel and I’m fitting each floor and half-floor timber directly on the keel and keelson. The first assembly (frame 15) took quite a bit of time as I wanted it to be spot on since it’s the main reference in the middle of the assembly..
View attachment 450663View attachment 450664View attachment 450665

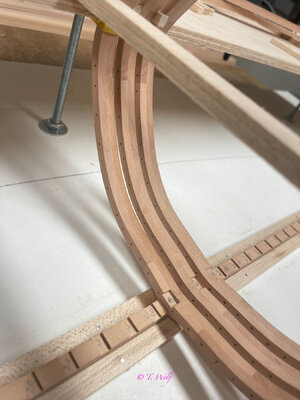
I’m working toward the bow first and so far it’s looking like it should…
View attachment 450667

I need to do a bit of adjusting to the keelson but I’m pleased so far.
View attachment 450671

Tomorrow is another day.
Dear OlivierF
You do a thorough and impressive job that really contributes to the learning process and the most beautiful results.
I am also debating these days regarding the production of the keelson and checking its compatibility with the keel and frames before their final gluing.
I'll admit that I haven't made a decision yet, but you managed to make me seriously think in that direction.
 
Very neat work, there will always be little things that we have to adjust and the result looks great.
Tobias our dear friend, I would love to hear your opinion as well since you are building both models
 
Tobias our dear friend, I would love to hear your opinion as well since you are building both models
You didn’t ask for another opinion Shota but I’ll share my experience with the Kingfisher (sorry to borrow your build report Olivier). I chose the ‘other’ approach and simply shaped a smooth notch in the frames and kept the keelson a flat piece of timber. The skill gained and demonstrated by doing it properly might be worth the pursuit - but I don’t think you can see the difference.

1717245943307.jpeg

1717246586078.jpeg

It seems I don’t have the requisite close-up but you get the idea.
 
You didn’t ask for another opinion Shota but I’ll share my experience with the Kingfisher (sorry to borrow your build report Olivier). I chose the ‘other’ approach and simply shaped a smooth notch in the frames and kept the keelson a flat piece of timber. The skill gained and demonstrated by doing it properly might be worth the pursuit - but I don’t think you can see the difference.

View attachment 450705

View attachment 450706

It seems I don’t have the requisite close-up but you get the idea.
My dear friend
Thank you very much for sharing with me your professional opinion based on established experience. :)
Now I have to check and decide what suits my working method and this model
 
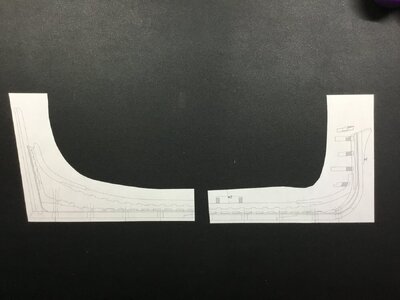
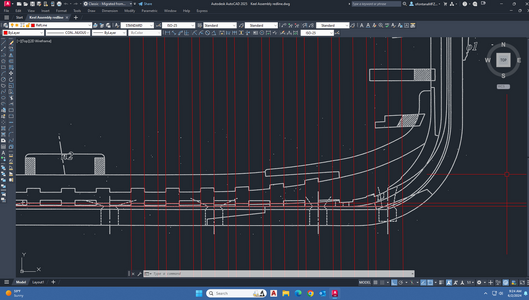
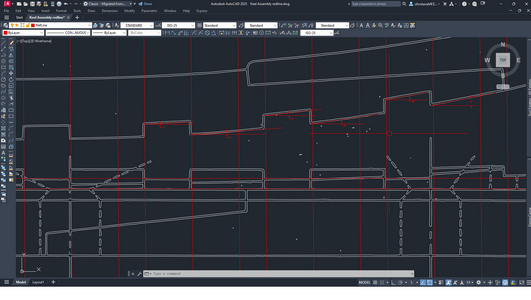
I’ve started work on frames 1 - 5 and am trying to determine the correct angle for the grooves that go in the keel and keelson.
I made a copy of the plans and scanned it into AutoCad.
IMG_1420.jpeg

Screenshot (1).png

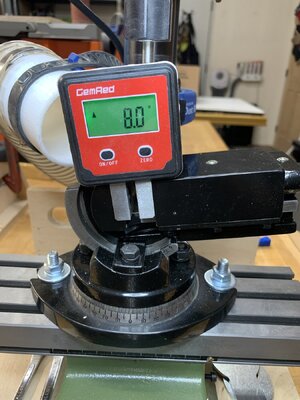
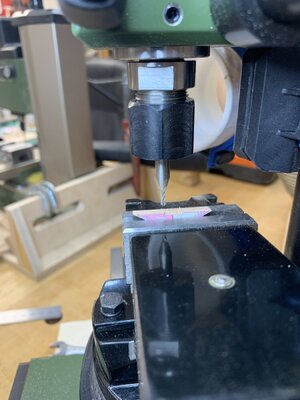
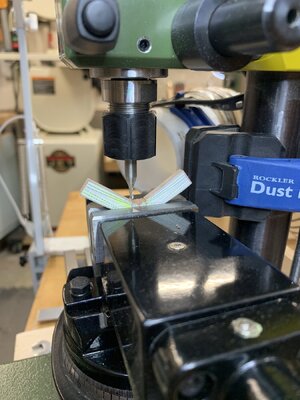
Now my question is for those of you with more milling experience. What is the best Method to clamp the floor Timbers into the mill? I have an angle vise. Should I clamp directly into the vice or would double stick tape be a better option? Head scratcher…
 
Thanks Tobias. I actually follow Vladimir’s build log. I just had not gotten this far in my review.
I was planning something similar and will post some progress pictures soon.
 
I’ve been working on getting the appropriate angles for Frames 1 through 5. I think I’ve got the calculations correct.
Screenshot (2).png

I set up the angle vice to the correct tilt and milled the floor Timbers.

IMG_8459.jpeg
IMG_8462.jpegIMG_8463.jpeg

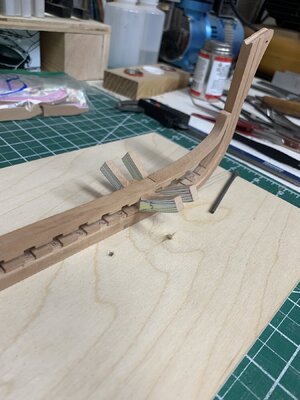
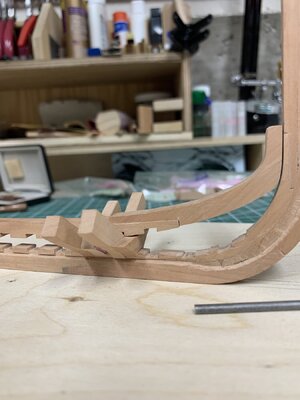
So far (at least frames 5 and 4 look pretty good. I think I need to adjust 4 a bit more. We’ll see after I complete frame 3.
IMG_8464.jpegIMG_8465.jpeg
I’m not sure yet whether to adjust the frame or the keelson… more head scratching to go.
 
Back
Top