Le Rochefort build log by OlivierF

I’ve been working on getting the appropriate angles for Frames 1 through 5. I think I’ve got the calculations correct.
View attachment 451046

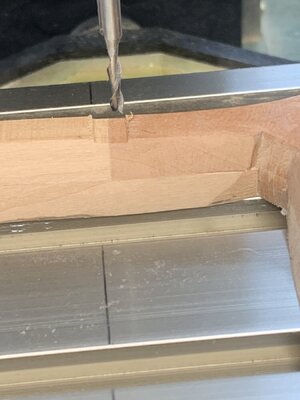
I set up the angle vice to the correct tilt and milled the floor Timbers.

View attachment 451047
View attachment 451048View attachment 451049

So far (at least frames 5 and 4 look pretty good. I think I need to adjust 4 a bit more. We’ll see after I complete frame 3.
View attachment 451050View attachment 451051
I’m not sure yet whether to adjust the frame or the keelson… more head scratching to go.
Right! I cried tears of envy seeing the cool machinery at your disposal and the skills you have to be able to use them. Love the work even if it slides over my head. Thumbs-Up
 
Work continues on mounting the floor Timbers.
Floors 1 through 15 are now complete. I’m mostly pleased with the outcome.
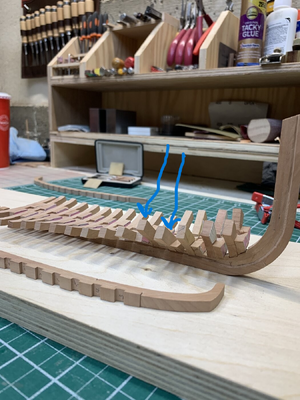
Floors 1 and 2 were (are) the toughest to make due to the extreme rise in the keel and the keelson.
I didn’t take a photo but 1 and 2 do sit on the keel nicely with the keelson in place.
IMG_8467.jpeg

IMG_8468.jpeg
Next I’ll complete the floors for frames 16 through 32.
 
Thanks for your kind words Paul. The frames are in the correct order. It’s just frame 5 is tilted a little off center making it look “off”. They are just dry fitted on the keel for the photo. After I complete the aft floors I will complete each frame and fair (or is it fare?) them before permanently mounting to the keel.
 
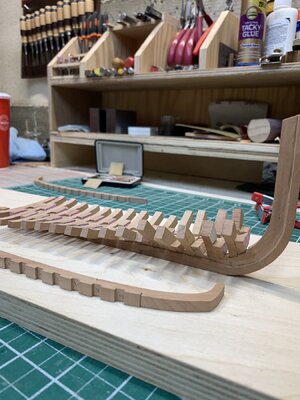
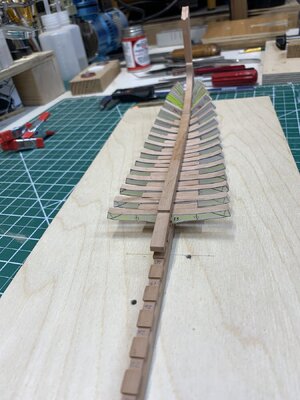
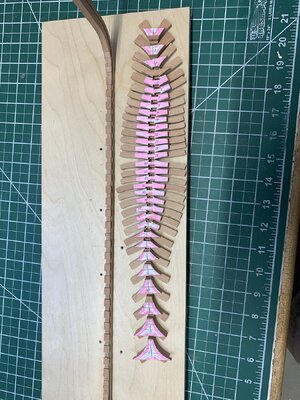
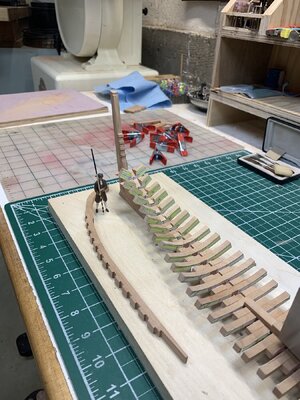
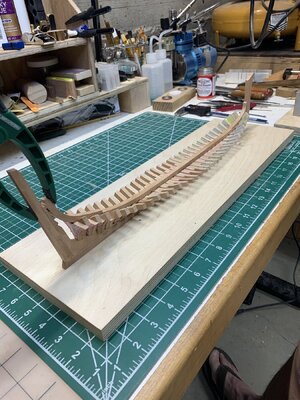
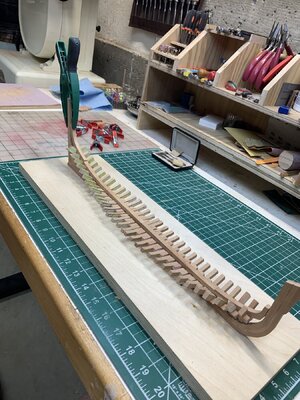
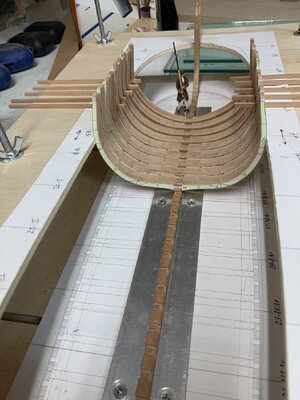
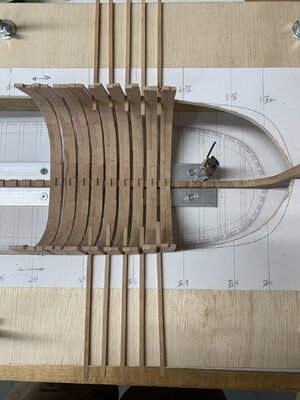
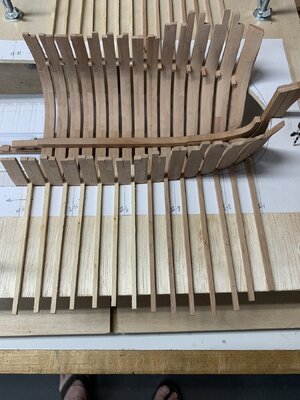
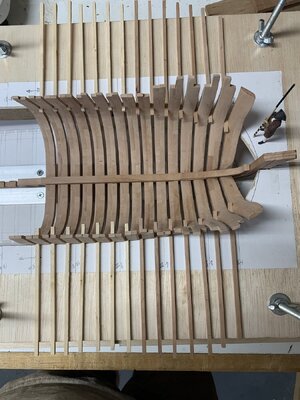
The “fish” (I mean the frame floors ROTF) is complete!
IMG_8476.jpeg

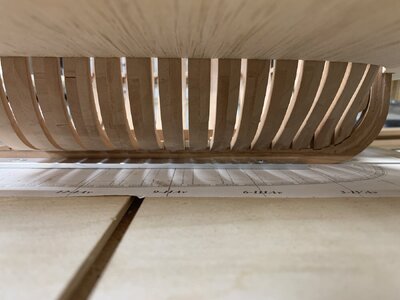
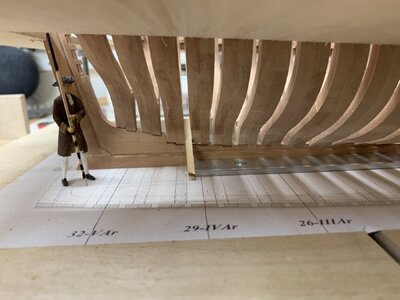
They all line up well and the keelson sits pretty well on the frames.
IMG_8473.jpeg

I’ll do some final fiddling and adjusting once the frames are complete and mounted to the keel.
IMG_8475.jpegIMG_8474.jpeg

Now it’s time to start assembling the frames. One done and 31 to go…
IMG_8477.jpeg
 
The “fish” (I mean the frame floors ROTF) is complete!
View attachment 452884

They all line up well and the keelson sits pretty well on the frames.
View attachment 452887

I’ll do some final fiddling and adjusting once the frames are complete and mounted to the keel.
View attachment 452885View attachment 452886

Now it’s time to start assembling the frames. One done and 31 to go…
View attachment 452888
Will you be using Olive oil or Butter for the fish ?;) --- work is looking awesome young man.
 
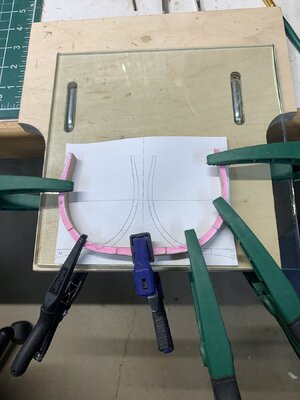
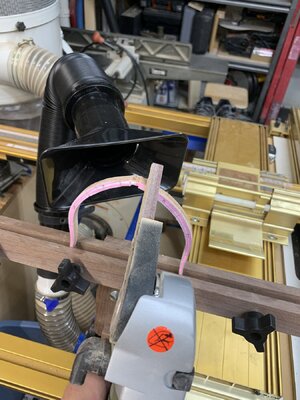
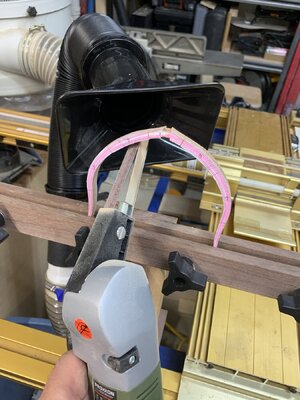
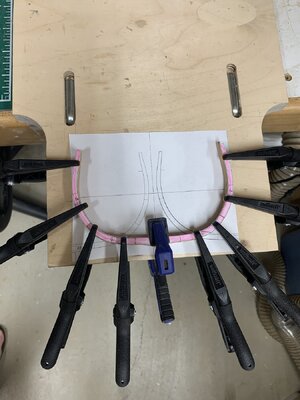
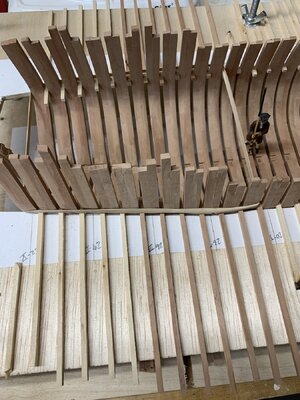
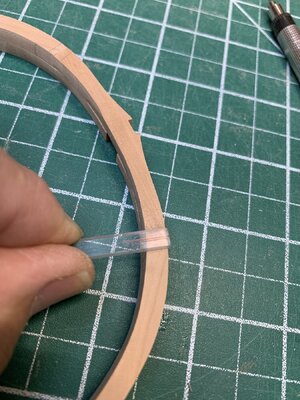
I’ve assembled a few frames and have started sanding the tapers to fare to frames. I made a Rube-Goldberg setup to hold the frames for sanding that allows for dust collection. It works, but needs some refinement. Scratching my head on the best approach.
IMG_8479.jpeg

IMG_8480.jpeg

So far the frames are fitting as they should.
IMG_8481.jpegIMG_8482.jpegIMG_8483.jpeg

Next are the last 5 fore frames that have the most aggressive tapers. I think I’ll pause here and think about them. These frames are what I messed up the worse in my previous attempt. Slow and steady, slow and steady, slow and steady… if I keep repeating that mantra maybe I’ll listen to myself! :rolleyes: ;)
 
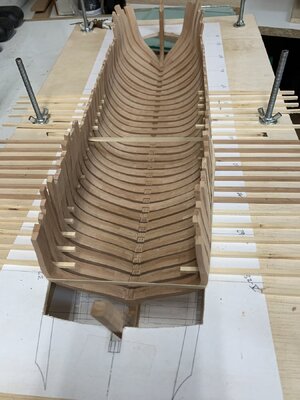
All the bow frames are complete and dry fitted. I did have to make frame #1 a couple of times but I think I got it right finally.

IMG_8489.jpeg

IMG_8486.jpeg

IMG_8487.jpeg

IMG_8488.jpeg

Now on the the stern frames starting with #16
IMG_8490.jpeg
Once all the frames are complete I will work on making and installing the bolts. Not sure yet if I will try to blacken them or not. We’ll see…
Hope everyone had a nice weekend!
 
Back
Top