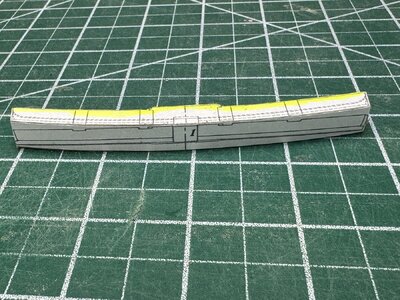
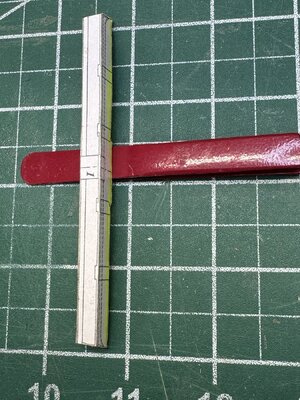
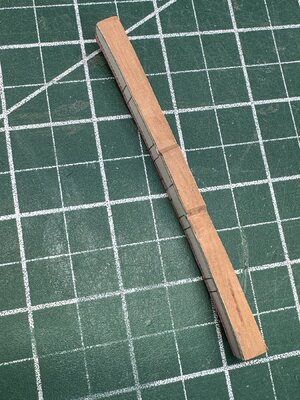
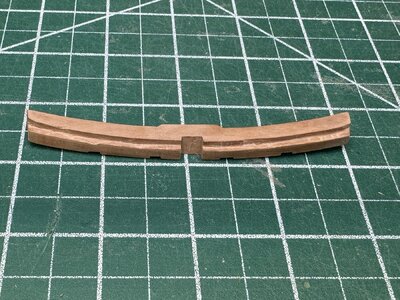
Le Rochefort build log by OlivierF

Hello Oliver, I've already noticed that blackening the nails in the wood doesn't work with Black Brass. So far I've only had good experiences with Ballistol Nerofor. I don't know whether I'll blacken the nails in the future.

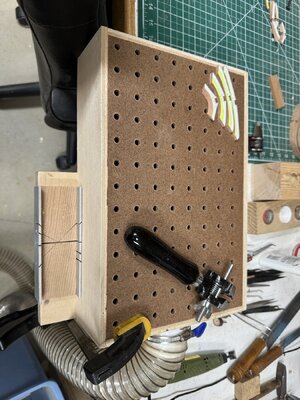
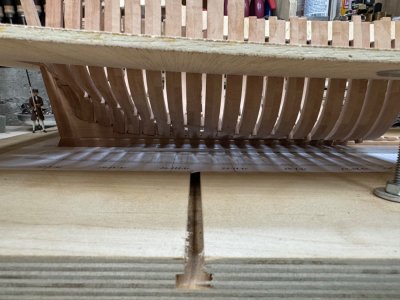
@Uwek, Uwe, milling the grooves and clamping them in isn't a big effort. It's done in 2-3 minutes and it's very precise. I don't think you'll be any faster with the needle file from Pferd. After 120 notches I think my fingers will rot ;). I can still remember our filing marathon at Le Coureur.ROTF
 
I know very well, that using a mill is producing often the best possible quality and accuracy - nevertheless I have here a question
For such notches I would not use the mill (I have also a mill, so no question about the possibility).
After the correct mark with the pencil, I would make such a notch with my needlefile (good quality) due to the fact, that I think that definitely it would be much faster and in an acceptable quality - Am I too lazy? ........
Do not mistunderstand my comment - you are making here great quality and high accuracy - I am just wondering (maybe more about myself)
On every frame four notches on 30 frames - these are a lot - and I would get crazy with a mill (fixing correctly the frame in the mill takes the time)
Thanks @Uwek for your comments. In my original attempt I did use a file and was not pleased with the results. I also learned that only one side of the frame needs to be notched. The simple reason is that I found that lining up the notches in adjoining frames was impossible for me.
And as @Tobias said aligning the frame in the mill is fairly quick and my fingers aren’t sore from filing. ;)
 
You're making great progress. As for nails I found that when I tapered and sanded the frames some nails are actually on the corners of the frames, not great but they're on the inside and will be covered. Agree 100% leave the nails brass.
 
You're making great progress. As for nails I found that when I tapered and sanded the frames some nails are actually on the corners of the frames, not great but they're on the inside and will be covered. Agree 100% leave the nails brass.
Thanks Tony. Yep, I’m not going to try and blacken the nails. I’ve tried several methods for keeping some consistency and equality in placing the nails on the frames. Haven’t come up with anything usable and repeatable yet. I’ll keep playing around.
Looking forward to your progress.
 
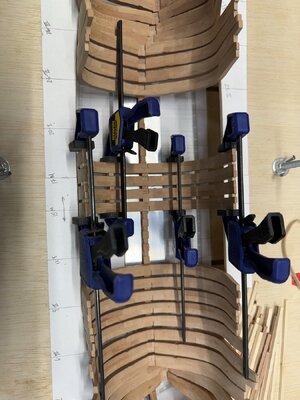
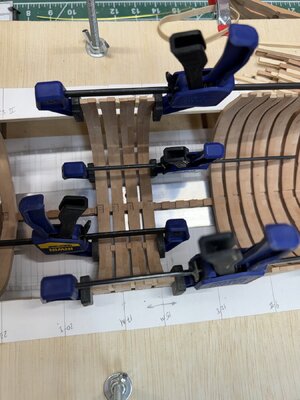
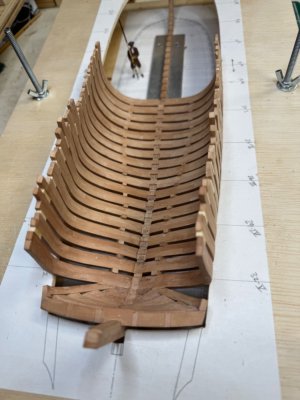
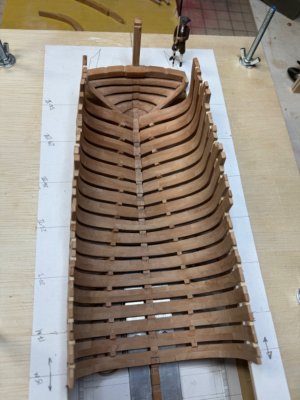
I have started permanently gluing in the frames starting with the main frame and working aft. So far everything continues to line up and unlike my earlier work the frames are exactly 3mm apart.
IMG_8524.jpeg

IMG_8525.jpeg

I installed frames up to number 24 and stopped at this point as I want to complete the transom and filling pieces before finishing the frames.

Edit:
DARN, DARN DARN IT! I just realized that I forgot to install the nails in the sides of the frames . Oh well, I’m not taking it apart for that. Maybe I’ll just install nails in the forward frames. We’ll see… I think I need something stronger than a beer to drown my sorrows.
 
Last edited:
Like @moreplovac I’m now working on the wing-transom. Thanks @Tobias for your pictures. I’m also using other resources (including Adrian’s book) to try and figure out the steps.
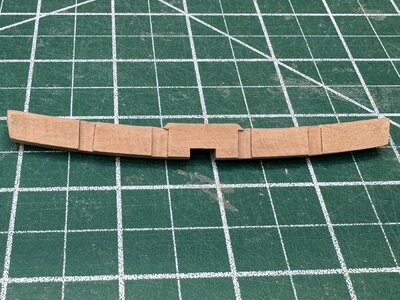
First I milled a blank of the appropriate dimensions and cemented the drawing to the top, bottom and back. I should have waited to cement the back template as it just got cut off when shaping the fore and aft profiles. Live and learn. :rolleyes:
IMG_8531.jpeg
IMG_8532.jpeg

I scratched my head for a bit as I tried to figure out the tapered curve. When I finally figured out that the layout lines are the same as the inner and outer taper on the frames it was pretty easy to sand the the correct lines.
I then reattached the template on the back so I could sand the top and bottom arc.
IMG_8533.jpeg

Sanded those profiles and I think it looks like it’s supposed to.
IMG_8534.jpeg
IMG_8535.jpeg

Tomorrow I’ll try and cut the rabbet on the bottom and the notches for the counter timbers and stern post.
Fingers crossed that it all works out. I did mill another blank in case I have to start over.
 
I managed to carve the rabbet in the wing transom with hand chisels and sand paper and only I little blood from not paying attention to sharp chisels…
IMG_8538.jpeg

I also cut the dato at the correct angle to fit the sternpost. Last I carved the grooves for the counter timbers.
Figuring out the angles was a real challenge as the transom curves in all directions.
IMG_8537.jpeg

End result is, IT FITS! Hurray!
IMG_8541.jpeg
Now for the rest of the transom Timbers.
 
Good morning Oliver, very good result. A little tip when gluing the cross-pieces: they are at a 90 degree angle to the frames, but the cross-piece you made is not, it has to be installed at a slight angle towards the bow. A mistake I made. The reason for this is that the deck planks rest on the cross-piece. If you don't have this slight angle, you have to mill the planks slightly like I did.

IMG_6687.jpeg
 
Today I cut out the transom Timbers.IMG_8543.jpeg

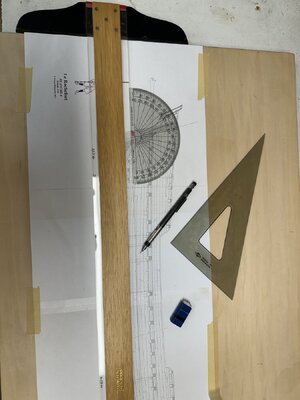
I was struggling to figure out the correct angle to cut the dado that fits against the stem post so I went “old school” and broke out my small drafting board and square.
IMG_8542.jpeg
I lined up the compass with the correct angles and, easy-peasy-lemon-squeezy the angles were correctly cut.

Next I need to sand the tapers and realized I was getting fine saw dust everywhere. So I scratched my head a little while and reached into my scrap wood pile for some material and threw together a small downdraft table.
IMG_8547.jpeg
With a hand vice to hold the pieces and my rotary tool the little table works perfectly.
I do think I need to attach some soft jaws on my hand vice. More head scratching… maybe I’ll try folding some brass or aluminum shims around the jaws…
 
Firstly, thank you @Titoneri and @Tobias for your pictures of the transom, they were a great help.

I got the transom Timbers completed and roughed in.
IMG_8548.jpegIMG_8549.jpeg

I also fabricated the deadwood filling pieces and got them sanded and glued together. The filling piece seems to fit as it”s supposed to.
IMG_8551.jpeg
IMG_8550.jpeg

Lastly, I formed the fashion pieces and dry fitted everything.
IMG_8552.jpeg

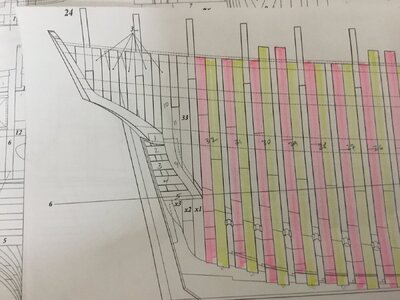
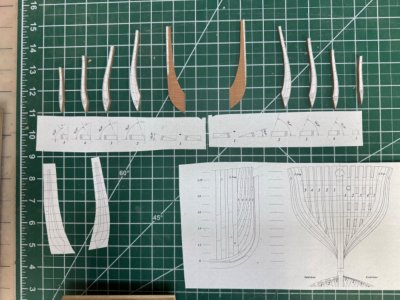
Next will be making the frames (#33) and the filling piece (11) between frame 33 and 10.
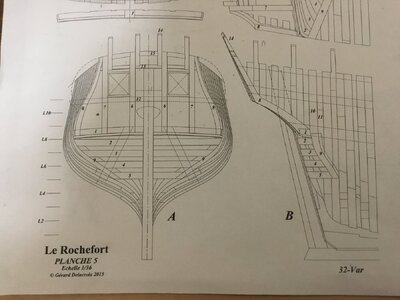
It took me awhile and may still be wrong but it looks to me like part 10 on sheet 5 is the same piece as frame 3…
If anyone has better info, please chime in. Thanks.
IMG_1814.jpeg
IMG_1815.jpeg
 
Last edited:
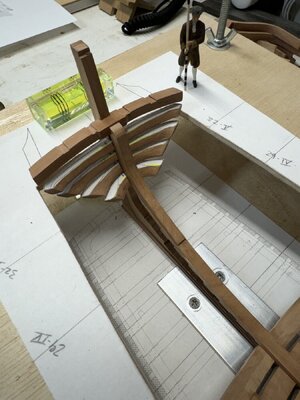
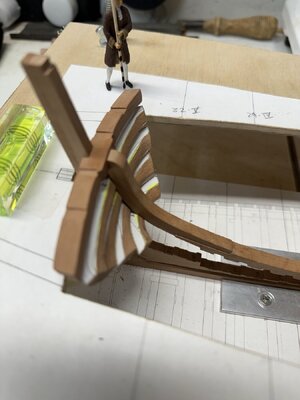
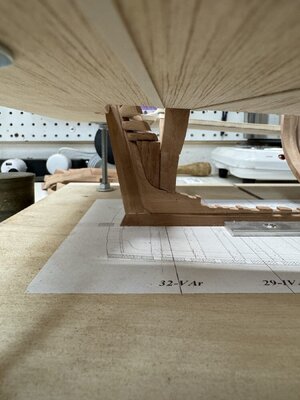
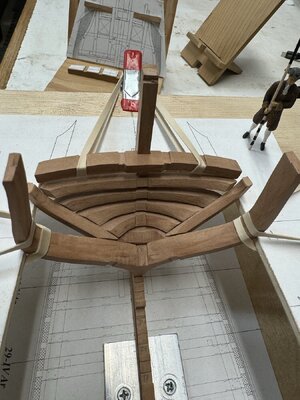
It’s been a slow process but I finally have the transom completed. It took me several tries to get the fashion pieces correct but I think they are correctly placed. I do need to sand some more but that will wait until I’m ready to start the counter.

IMG_8563.jpegIMG_8561.jpeg

Now I will complete installing the aft frames.
 
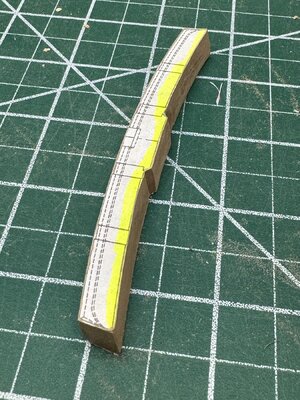
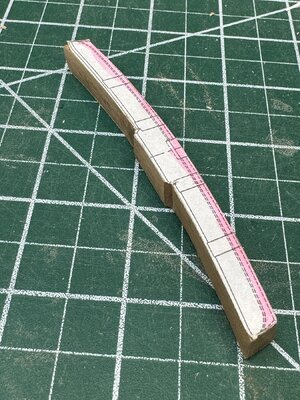
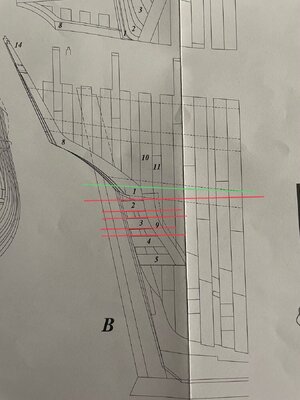
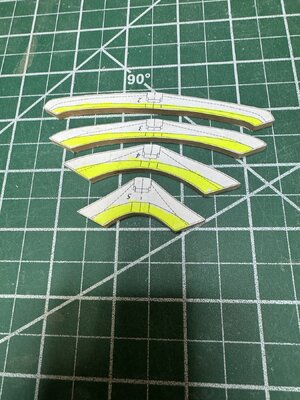
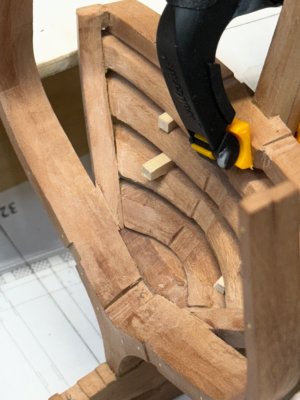
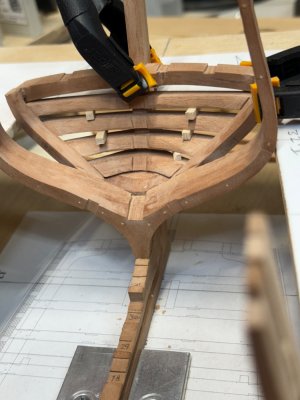
With the stern closed in, it was time to figure out the hawse timbers. After much head scratching and looking at @Tobias and @Titoneri and other build logs I think I finally have figured out the proper shape for these timbers. At least the first two look correct. Now I have to fair them to see if I’m right.
IMG_8571.jpeg

The first timbers have been milled to 16.9° as specified. Tomorrow I’ll reset for the next taper.
IMG_8572.jpeg

Slowly coming together…
 
Back
Top