-

Win a Free Custom Engraved Brass Coin!!!
As a way to introduce our brass coins to the community, we will raffle off a free coin during the month of August. Follow link ABOVE for instructions for entering.
-

PRE-ORDER SHIPS IN SCALE TODAY!
The beloved Ships in Scale Magazine is back and charting a new course for 2026!
Discover new skills, new techniques, and new inspirations in every issue.
NOTE THAT OUR FIRST ISSUE WILL BE JAN/FEB 2026
You are using an out of date browser. It may not display this or other websites correctly.
You should upgrade or use an alternative browser.
You should upgrade or use an alternative browser.
Le Rochefort build log by OlivierF
- Thread starter OlivierF
- Start date
- Watchers 39
-
- Tags
- ancre group build le rochefort
Nice job on those floor beams, Oliver. The contrast in wood colors is really attractive.
Thanks Paul. I’ll never achieve your level of precision but I do my best…
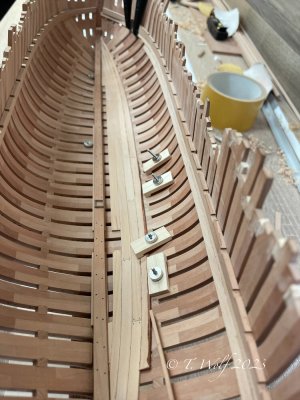
A bit more work on the interior. The main floor is installed but I did forget to install the limber boards under the floor beams and now I can’t figure out how to get them installed without taking everything apart! 

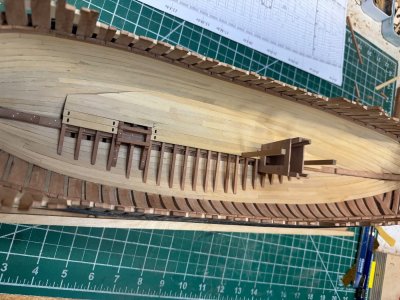
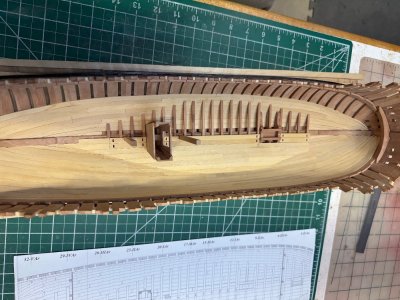
I may simply not install the limber boards… we’ll see.
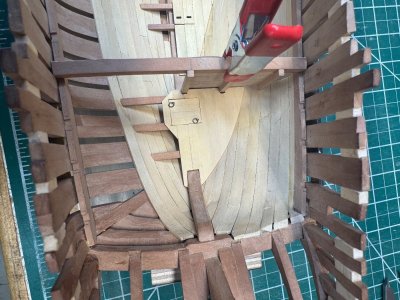
I also got the forward wall and mid-deck floor assembled and dry fitted.
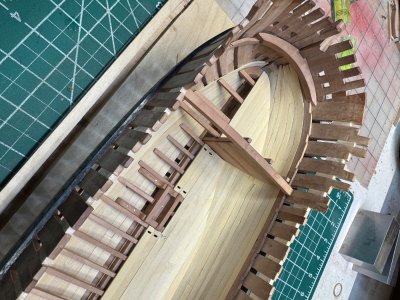
That’s all for now. I’ll chip away at it tomorrow, time permitting.
Have a good evening all!


I may simply not install the limber boards… we’ll see.
I also got the forward wall and mid-deck floor assembled and dry fitted.

That’s all for now. I’ll chip away at it tomorrow, time permitting.
Have a good evening all!
moi je les ai pas mis d'un cote volontairement comme toi, pour voir la quille et je trouve ça bienA bit more work on the interior. The main floor is installed but I did forget to install the limber boards under the floor beams and now I can’t figure out how to get them installed without taking everything apart!
View attachment 552270
View attachment 552271
I may simply not install the limber boards… we’ll see.
I also got the forward wall and mid-deck floor assembled and dry fitted.
View attachment 552272
That’s all for now. I’ll chip away at it tomorrow, time permitting.
Have a good evening all!
Bravo OlivierWell, this is all I’m going to say,
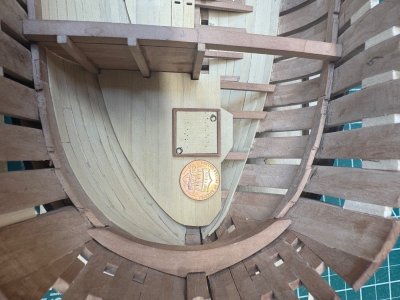
Trying to make parts the size of a US Penney with fingers the size of Vienna Sausages is quite a challenge!
View attachment 552970
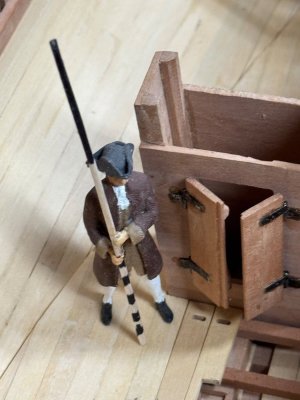
It took 2 days and much swearing to make one little hatch! I must continue to convince myself that this is fun!
Onward, my friends into the breach…
The "fun" is in the challenge, right? IMHO your "fun meter" should be pegged, based on the results you achieve!I must continue to convince myself that this is fun!
Please keep on sharing your "fun" work!!!
Thank You, Titoneri. You have steadier hands than me. Great job on the latch mechanism it looks good and in scale. 

Merci Olivier, mais l’échelle des charnières au 1/36 sont encore plus petites, j'ai pas pu les réaliser. Avec une découpe laser UV ou fibre c'est possible, mais j'en ai pasThank You, Titoneri. You have steadier hands than me. Great job on the latch mechanism it looks good and in scale.
I’ve been working on the the deck beams and got them all cut to size and fitted.
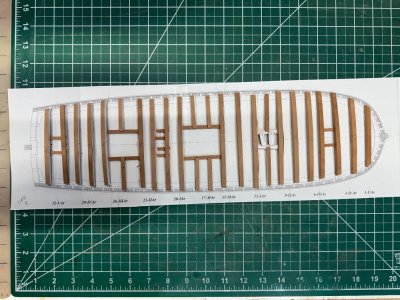
I spent some time figuring out how best to machine all the mortises for the various hatches, carlings, and other pieces that will tenon into the beams. I thought I was being clever in making a backstop with an appropriately curved support…
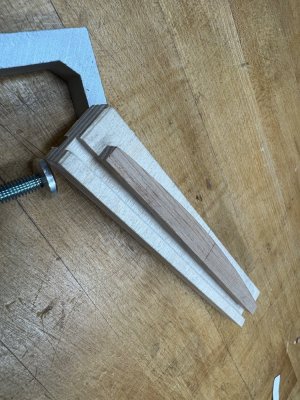
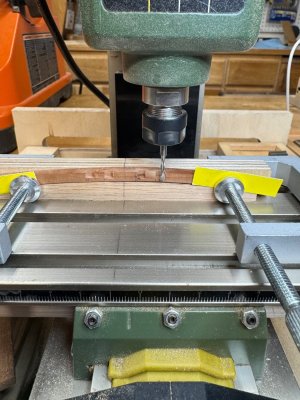
It turns out that it wasn’t very clever since the cut mortises are 90° to the table and not to the beam’s curve.
So back to the drawing board. I plugged the incorrect mortises and then drew layout lines on the beams.
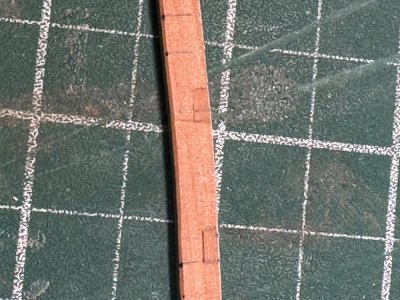
Chucked the beams into the vise so the cutout area is square and recut the mortises.
So far this seems to work as desired. We’ll see as we move along…
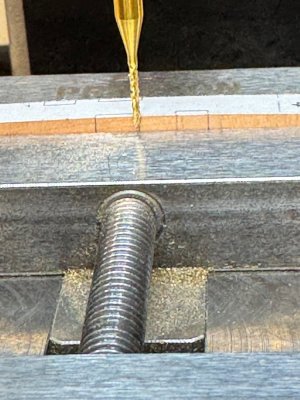
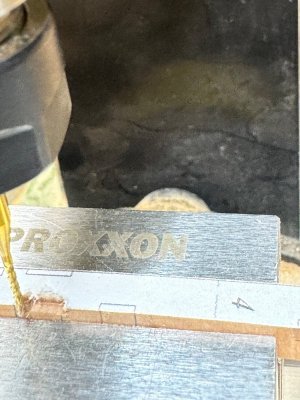

I spent some time figuring out how best to machine all the mortises for the various hatches, carlings, and other pieces that will tenon into the beams. I thought I was being clever in making a backstop with an appropriately curved support…


It turns out that it wasn’t very clever since the cut mortises are 90° to the table and not to the beam’s curve.
So back to the drawing board. I plugged the incorrect mortises and then drew layout lines on the beams.

Chucked the beams into the vise so the cutout area is square and recut the mortises.
So far this seems to work as desired. We’ll see as we move along…


You’re making fast progress. Kudos !
Hi Oliver, you've made great progress. Very clean and beautiful work. A little tip from me: before you do the interior work, clad the exterior. I had some things break when a staple popped back.
Thanks for the tip Tobias. I’m happy to hear from you and appreciate your mentorship.
I was making a mess of the deck clamp trying to make the dovetails for the deck beams. The more I worked the worse they looked and didn’t function at all. Sooooo…. I ripped them out!
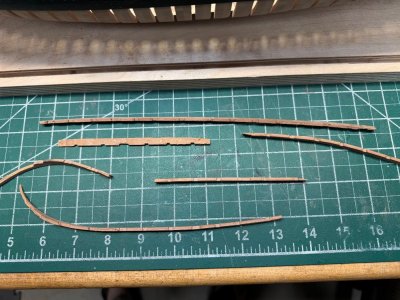
And made new deck clamps, deck beams and deck shelf’
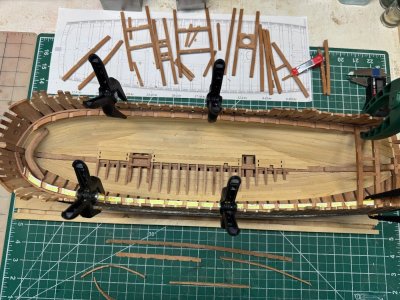
I know it’s not correct but a gave up on the dovetails and simply cut a rebate in the deck beams and notched the deck shelf.
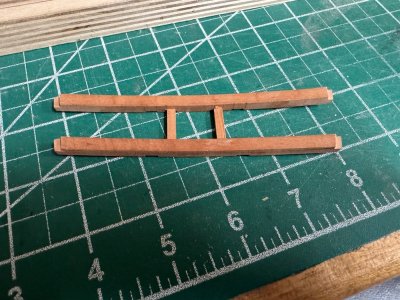
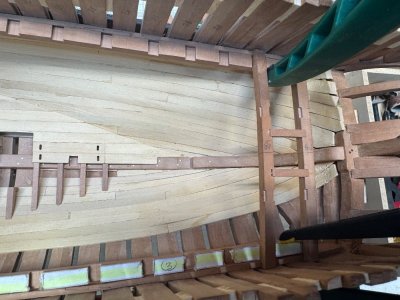
Now the beams are looking better and laying out correctly.
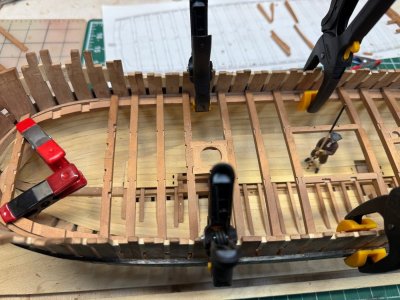
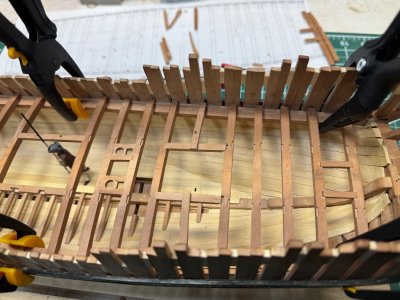
I do need to remake the carlings around the main hatch (built too short originally).
I’m much happier with the end result and since I’m not entering this into any kind of competition, I believe it’s the right solution.
Now I need to decide on how best to work on the hull planking before finishing the interior…
Cheers everyone!

And made new deck clamps, deck beams and deck shelf’

I know it’s not correct but a gave up on the dovetails and simply cut a rebate in the deck beams and notched the deck shelf.


Now the beams are looking better and laying out correctly.


I do need to remake the carlings around the main hatch (built too short originally).
I’m much happier with the end result and since I’m not entering this into any kind of competition, I believe it’s the right solution.
Now I need to decide on how best to work on the hull planking before finishing the interior…
Cheers everyone!
I agree this was not the hill to die on...


