LE ROCHEFORT - Harbour yacht from 1787 1:36 by Tobias (Monograph by ANCRE)

Hello Maarten,
May I ask how you use the shellac?
I have made some attempts by diluting shellac 1:2 in methylated spirit (Brennspiritus in German) and applying it on some scrap parts. But the result always looks blotchy, with shiny and not shiny spots. What I am looking for is simply a matte finish.

View attachment 376600
Hi Nersch,

If you want a matt surface Shellac can be used but you have to sand it with steel wool, you then get a very smooth satin finish.
Shellac itself creates a gloss surface.
If you want a matt surface go for Clou. Clou is alcohol based, easy to work with and creates a matt surface.

The shellac I use is a shellac politour which is a ready mixed product.
What you mentioned shellac is dilluted with alcohol but it takes very long to dissolve it homogeneous, so ready mixed shellac politour is an easy solution and it works fine.
 
Hello and have a nice good evening,
thanks for all the comments and likes and the interesting discussion of the last topic.

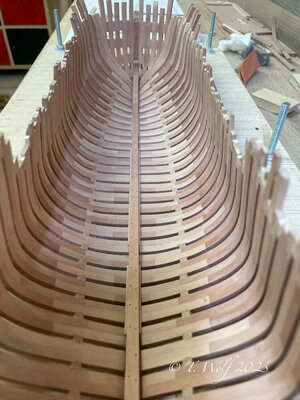
The keelson has been set up and nailed.

eZy Watermark_26-05-2023_10-55-23-6880PM.jpeg

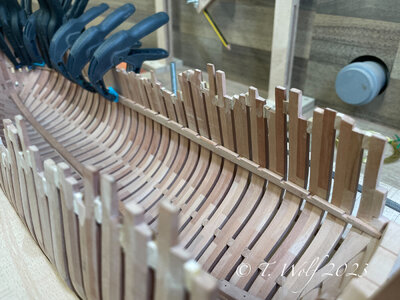
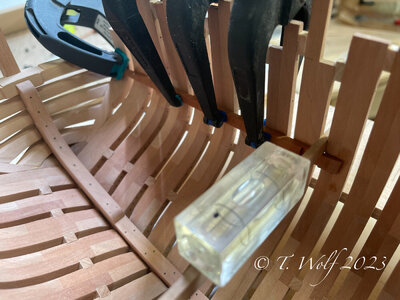
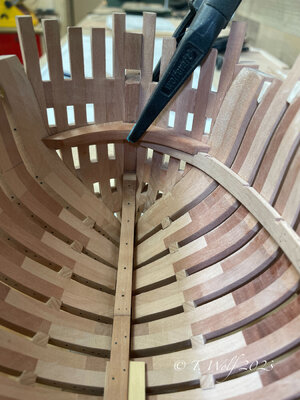
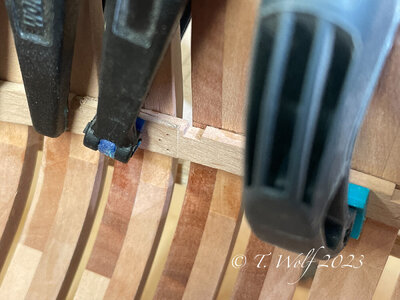
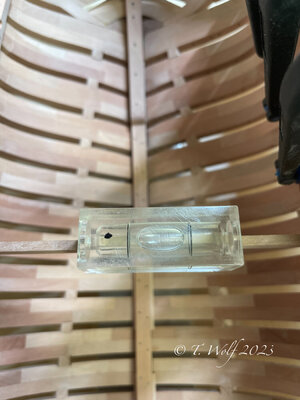
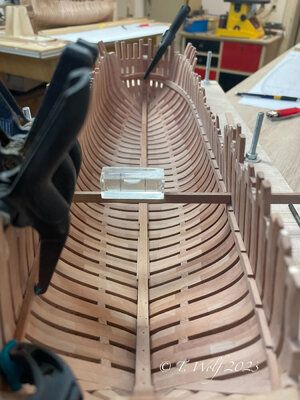
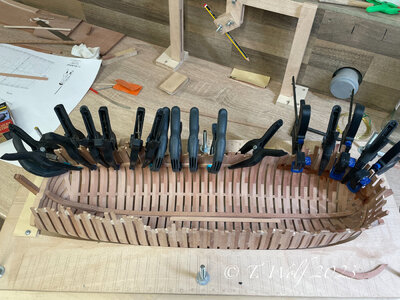
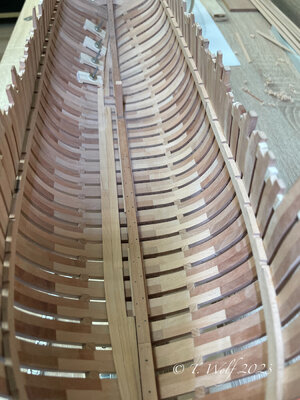
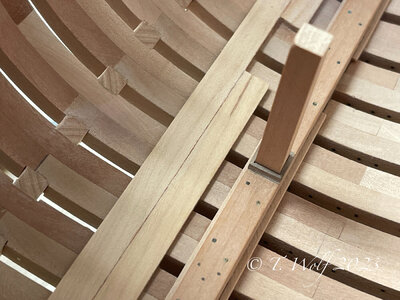
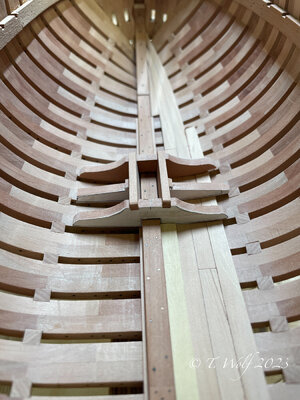
In the following pictures I have drawn and adjusted the longitudinal strips for the crossbeams of the deck. Each side consists of four longitudinal bars that are interlocked. In order to be able to adjust the bends in the arch reasonably well, I watered the strips well and clamped them. I let this dry for about 24 hours. In the bars I have roughly prepared the savings for the dovetails that have to be worked out later. The 3 breast hooks from below are worked into the front bar, i.e. this bar is milled. For the opposite strips, I only orientate myself roughly on the marking, here I insert a suitable cross strip and align it in the water.

eZy Watermark_30-05-2023_07-38-51-5660PM.jpeg

eZy Watermark_30-05-2023_08-49-53-1610PM.jpeg

eZy Watermark_30-05-2023_07-57-10-7500PM.jpeg

eZy Watermark_30-05-2023_07-44-08-3160PM.jpeg

eZy Watermark_30-05-2023_08-49-19-8510PM.jpeg


eZy Watermark_30-05-2023_08-50-59-3450PM.jpeg

eZy Watermark_30-05-2023_10-17-34-7500PM.jpeg
 
Witaj
Super precyzyjna praca Tobiaszu fajnie się ogląda twoją relację. Pozdrawiam Mirek

Hello
Super precise work Tobias, it's nice to look at your report. Greetings Mirek
 
Last edited by a moderator:
@Mirek
@Nersch
@pianoforte
@OlivierF
@dockattner
Thank you for your interest, and thanks to everyone else for your likes, much appreciated.

eZy Watermark_07-06-2023_09-50-18-6050PM.jpeg

The Balkweger are all mounted, as you can see I forgot the notches on the port side. The first inner plank is laid and fixed. I will keep you up to date with small updates. Thanks for looking, see you days.
 
Last edited:
Good evening everyone.
Thanks for your likes, @dockattner , Uwe called it the zebra look but not in a negative sense, I think Peter is right when he says that you won't see it in 20, 30 years.

As promised there will be small updates.

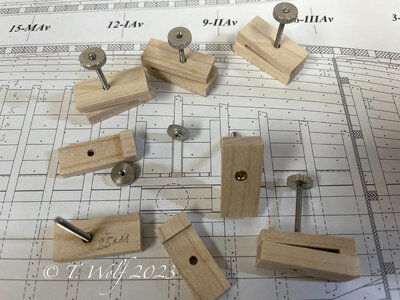
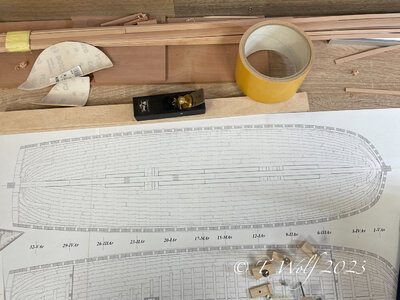
Now to the planks and the tools I use. I made 10 clamps out of maple wood, 10mm x 25mm. I removed one half by approx. 2mm and left a small bridge, in the other half I used an M2 sleeve. An M2 threaded rod is inserted and glued in place with high-strength screw locking varnish.

eZy Watermark_09-06-2023_10-54-48-4820PM.jpeg

My new planer is also used to rejuvenate the floorboards.

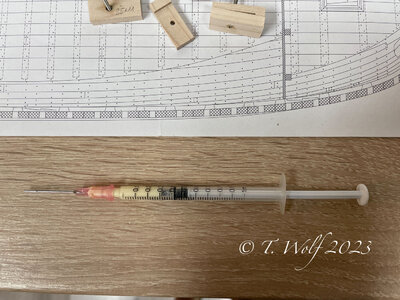
To glue I use a small syringe to work more precisely.

eZy Watermark_09-06-2023_10-58-07-9760PM.jpeg

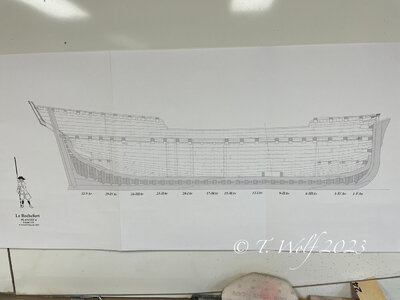
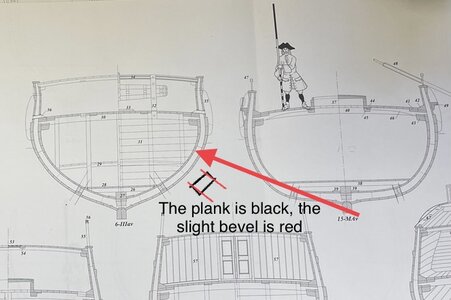
I use the following plans as a template.

eZy Watermark_09-06-2023_10-57-32-7880PM.jpeg

eZy Watermark_09-06-2023_10-55-40-8450PM.jpeg

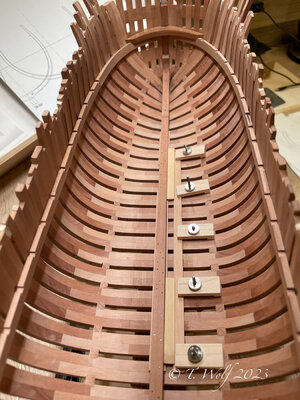
Laying the floorboards is very slow, a maximum of one row per evening. In the first step I cut an oversize (the curvature has to be taken into account) and taper it according to the plan. Then the wood is watered and adjusted, after about 20 minutes of drying time I put the tissue paper on one side, glue it and fix it with my clamps. And waiting is announced again. During this time I prepare other things that will be needed later. Today, for example, I made the edging (1mm x 1mm) for the deck support and prepared the mast bearing.

eZy Watermark_09-06-2023_10-50-37-5690PM.jpeg

eZy Watermark_09-06-2023_10-52-08-2150PM.jpeg
 
Hello Tobias, Looks great!

It looks like that your joint between the planks is reddish brown to imitate caulking.
Was there caulking used in the original ship at this place?
I'm wondering, because AFAIK there was no caulking between the single parts of the frames.

And my second question: Where did you find the information for the nails in the inner keel? Or is it already the planking of the hold?
Good morning Dieter,
I took the nail picture from the posts in the French forum because I couldn't find any information about it either. Regarding the caulking of the floorboards, GD writes in the monograph: The floorboards in the hold were additionally caulked to keep the cargo absolutely dry. Here I had informed myself again at GD whether I understood correctly.
 
Additional info: The planks used on a scale of 1:36 are 1.5mm x 6mm, I use a thickness of 2mm. When all the planks are in place, there is still some sanding, scraping and polishing to be done, so the thickness will automatically decrease. Furthermore, the sides of the planks are slightly beveled so that they adapt better and there is not too much of a gap between the rows.

eZy Watermark_11-03-2023_03-58-25PM.jpeg
 
Hello everyone,
another row of floorboards has found its place and the mast holder has been completed, but not yet glued and only roughly shaped. The precise adjustment only takes place after the planks have been finished. I also have to get in touch with GD because I noticed that this bracket has different positions on the plans. As soon as I have more information I will let you know.

IMG_6675.jpeg

eZy Watermark_10-06-2023_10-03-24-5700PM.jpeg

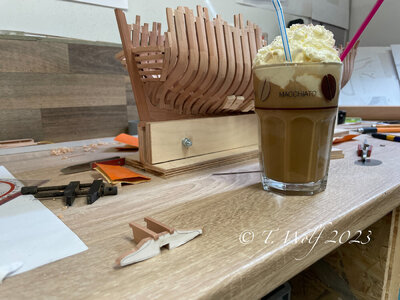
Oh yeah, a little courtesy from the Admiralty, delicious iced coffee.Coffee

eZy Watermark_10-06-2023_08-23-22-0300PM.jpeg
 
Last edited:
Witaj
Wygląda to wszystko bardzo ładnie, kładzenie poszycia wewnątrz jest bardzo trudne robisz to Tobiaszu świetnie . Pozdrawiam Mirek

Hello
It all looks very nice, putting the sheathing inside is very difficult, you're doing it great Tobias. Regards, Mirek
 
Last edited by a moderator:
Bonjour à tous,

tout d'abord un merci aux administrateurs qui ont ouvert ce bâtiment de groupe, également un merci à Toni alias @Tonip qui a mis beaucoup d'efforts et d'engagement pour faire avancer cette chose et bien sûr à tous les autres qui ont montré un vif intérêt pour un groupe construisant Le Rochefort, car sans vous nous n'en serions pas où nous en sommes.

Comme certains d'entre vous le savent, j'ai commencé avec La Palme en février. Maintenant, commencer avec le petit yacht de port me donne l'opportunité d'enseigner encore plus, ce sera un peu un exercice d'équilibriste et j'espère que ça réussira. J'ai déjà le livre d'Adrian et la monographie devrait être sous le sapin d'ici Noël (j'adore mes filles). Je ne commencerai pas à planifier avant janvier.

Maintenant, pour les types de bois que j'aimerais utiliser :
- Poirier ou (poire suisse) pour la coque, l'intérieur et les planches à l'extérieur.
- L'ébène pour des parties de planches et diverses applications.
- Applications Buis (Castello).
- Tulipwood (magnolia) ou érable américain pour les planches de la terrasse.

Construit en style amirauté, tribord fermé (bords)
Bâbord ouvert, si nécessaire, les cadres seront supprimés.
Eh bien, j'espère que je n'ai rien oublié, mais si c'est le cas, n'ayez pas peur de demander.
Salut Tobias merci merci beaucoup pour ton partage et ta qualité ultra top de ton travail whaouuu , tu est l'excellence, j'espères que je vais arriver a un bon niveau de finition également grâce a tes tutos et conseils, encore une fois bravo bravo!!!!! j'étudies les plans du Rochefort depuis un moment, je vais me lance dans sa construction bientôt

Hello Tobias, thank you very much for your exchange and the first-class quality of your work. Whaouuu, you are excellent. I hope that thanks to your tutorials and advice I will also reach a good level of completion, again bravo bravo!! !!! I've been studying the Rochefort plans for a while and will start construction soon
 
Last edited by a moderator:
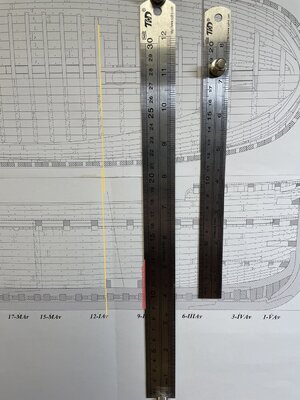
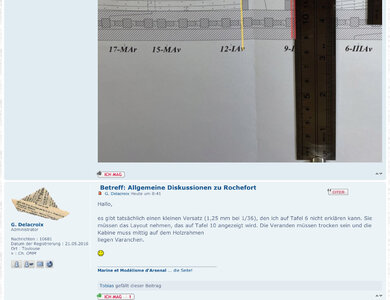
Good morning everyone here is the answer from GD again Thanks for the quick reply G.Delacroix

IMG_1005.jpeg


Good morning,

There is indeed a small offset (1.25 mm at 1/36) that I cannot explain on plate 6, you have to take the layout that appears on plate 10.
It is necessary that the dry verandas of the cabin are centered on the verandas of the frame.
 
Salut Tobias merci merci beaucoup pour ton partage et ta qualité ultra top de ton travail whaouuu , tu est l'excellence, j'espères que je vais arriver a un bon niveau de finition également grâce a tes tutos et conseils, encore une fois bravo bravo!!!!! j'étudies les plans du Rochefort depuis un moment, je vais me lance dans sa construction bientôt

Hello Tobias, thank you very much for your exchange and the first-class quality of your work. Whaouuu, you are excellent. I hope that thanks to your tutorials and advice I will also reach a good level of completion, again bravo bravo!! !!! I've been studying the Rochefort plans for a while and will start construction soon
Hello @Titoneri , welcome to SOS and to our Le Rochefort group, I would be delighted if you would join our group. Thank you also for your very nice words, I am also in the French forum of G.Delacroix and get a lot of information there. My experience in scratch building is still in its infancy and I'm trying my best to pass it on in words and pictures, there are definitely other and better solutions.
 
Back
Top