LE ROCHEFORT - Harbour yacht from 1787 1:36 by Tobias (Monograph by ANCRE)

Hello everyone, lately I've had a little less time for model building. Now we come to a part that has cost me some nerves and needs four attempts to get something usable. The windlass!!!

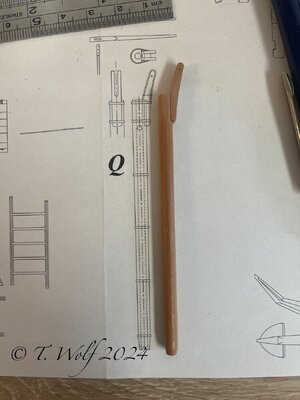
The windlass has a diameter of just under 14mm. My first mistake was that I took the wrong measurement, i.e. it was too small in diameter. Note that we have an octagon so we have to measure from one edge to the other.

For a better understanding the following picture
Red: incorrect at 1:36 approx. 12mm
Green: correct at 1:36 approx. 14mm
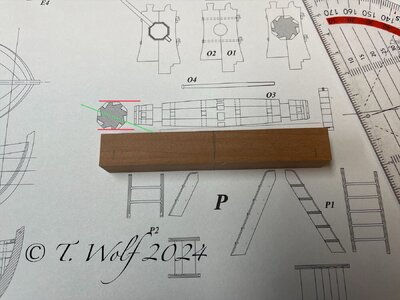
eZy Watermark_22-04-2024_06-58-25-8760PM.jpeg

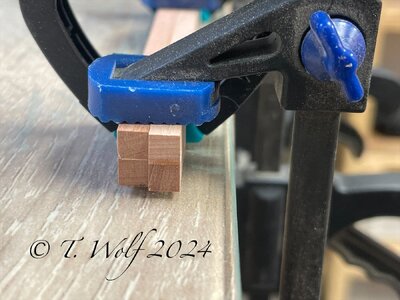
As my thickest wood is only 9 mm, I glued two together.
Some time ago I bought a new helper, a four-jaw chuck with tilt function. Yes, I had to realize that it is garbage because you have no central adjustment options to tighten the jaws, you have to tighten each individual jaw with a hexagon socket, which means that you can't get it centered.
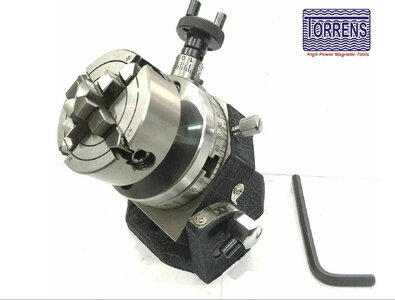
IMG_1684.jpeg

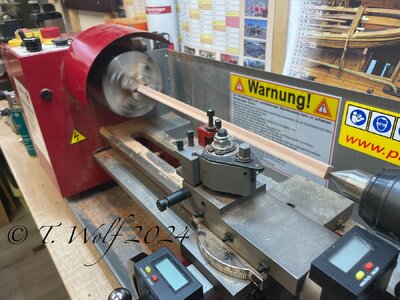
That left me with the small Proxxon three-jaw chuck, so I had to make the workpiece longer and turn it off at the ends to clamp it in the three-jaw chuck.
As the winch is not straight and tapers outwards, this angle must be determined 3 degrees inclination.
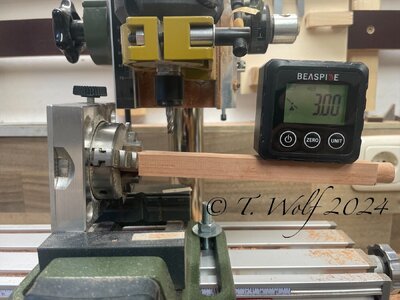
eZy Watermark_30-05-2024_06-22-24-8030PM.jpeg

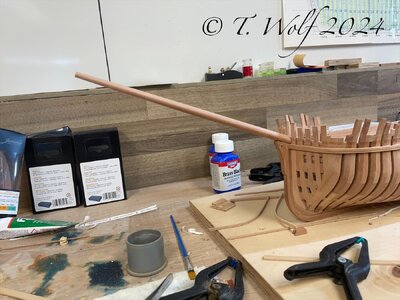
One mishap after another followed, the vibrations are too great over the length and the angle has changed and and and ...... The result was a 2-day break and several hours of work for the stove.
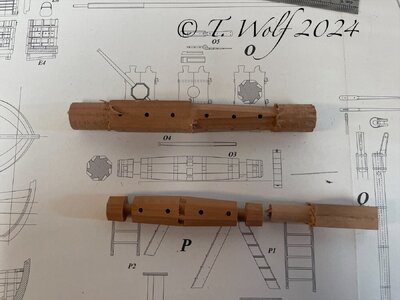
eZy Watermark_02-06-2024_08-57-42-0360PM.jpeg

It continues in the next article.
 
Last edited:
Everything to zero, windlass part 2.

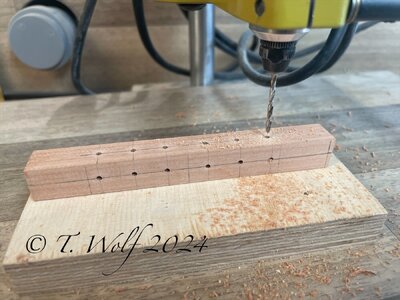
Prepare a new piece of wood, transfer all the dimensions to the workpiece and drill the holes.

eZy Watermark_01-06-2024_07-11-50-8780PM.jpeg

In my fourth attempt, I also changed the type of wood and used American maple, hoping that it would bring me luck. This time I didn't work with a square but milled it straight onto an octagonal piece of wood and only turned it on one side.

eZy Watermark_02-06-2024_06-03-26-1380PM.jpeg

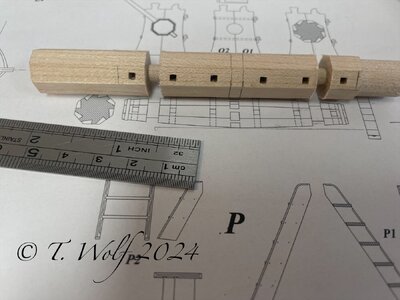
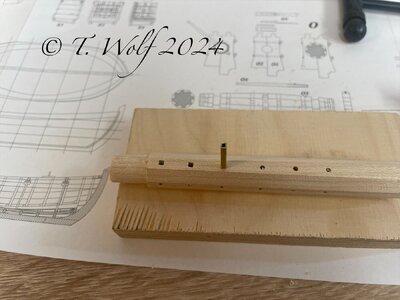
To make the square holes in the wood, I used a brass square and carefully tapped through the hole.

eZy Watermark_02-06-2024_04-27-36-4880PM.jpeg

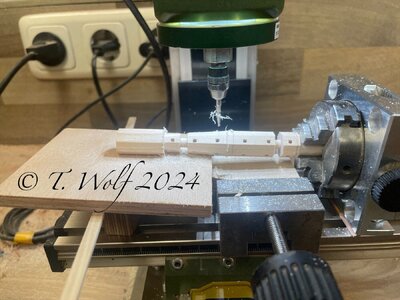
Now for the milling, this time I supported and held the end.

eZy Watermark_02-06-2024_06-03-48-6220PM.jpeg

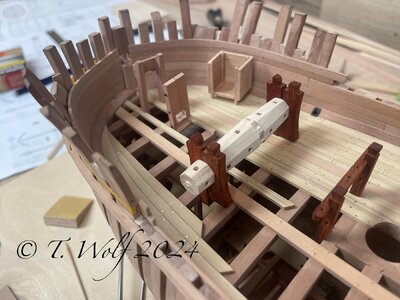
Finally, the finished result, not 100% but it fits quite well in the holder.

eZy Watermark_02-06-2024_08-46-04-4860PM.jpeg

The small oven was also made in the meantime, as can be seen in the picture above. And in the next picture the pumps that were also made in the meantime.

eZy Watermark_02-06-2024_08-48-20-4350PM.jpeg

eZy Watermark_02-06-2024_08-47-18-7300PM.jpeg

Thanks for coming by, the brass work will start tomorrow. Rings around the pumps and the windlass as well as the grate for the stove and the iron holders. I'll also show you how I made the scuppers, @OlivierF I haven't forgotten you
 
I agree with Paul, you can call it an accomplished mission, and great job! Thumbsup Despite some initial trouble and challenges, I think the Maple wood windlass is the winner! Also a nice contrast with darker bits. I wonder if the small oven should have bricks or iron inlay to protect the wood.
 
Witaj
Drogi Tobiaszu czasem trzeba ponieść porażkę żeby wyciągnąć wnioski i się podnieść ty to zrobiłeś i masz piękną windę kotwiczną. Pozdrawiam Mirek

Hello
Dear Tobias, sometimes it takes a failure to learn from it and pick yourself up you have done that and have a beautiful anchor lift. Best regards Mirek
 
Last edited by a moderator:
Everything to zero, windlass part 2.

Prepare a new piece of wood, transfer all the dimensions to the workpiece and drill the holes.

View attachment 451021

In my fourth attempt, I also changed the type of wood and used American maple, hoping that it would bring me luck. This time I didn't work with a square but milled it straight onto an octagonal piece of wood and only turned it on one side.

View attachment 451022

To make the square holes in the wood, I used a brass square and carefully tapped through the hole.

View attachment 451023

Now for the milling, this time I supported and held the end.

View attachment 451024

Finally, the finished result, not 100% but it fits quite well in the holder.

View attachment 451025

The small oven was also made in the meantime, as can be seen in the picture above. And in the next picture the pumps that were also made in the meantime.

View attachment 451026

View attachment 451027

Thanks for coming by, the brass work will start tomorrow. Rings around the pumps and the windlass as well as the grate for the stove and the iron holders. I'll also show you how I made the scuppers, @OlivierF I haven't forgotten you
Nice to see how you have managed the problem with at the end a very nice windlass, Tobias. The other additions are also a you high level.
Regards, Peter
 
Everything to zero, windlass part 2.

Prepare a new piece of wood, transfer all the dimensions to the workpiece and drill the holes.

View attachment 451021

In my fourth attempt, I also changed the type of wood and used American maple, hoping that it would bring me luck. This time I didn't work with a square but milled it straight onto an octagonal piece of wood and only turned it on one side.

View attachment 451022

To make the square holes in the wood, I used a brass square and carefully tapped through the hole.

View attachment 451023

Now for the milling, this time I supported and held the end.

View attachment 451024

Finally, the finished result, not 100% but it fits quite well in the holder.

View attachment 451025

The small oven was also made in the meantime, as can be seen in the picture above. And in the next picture the pumps that were also made in the meantime.

View attachment 451026

View attachment 451027

Thanks for coming by, the brass work will start tomorrow. Rings around the pumps and the windlass as well as the grate for the stove and the iron holders. I'll also show you how I made the scuppers, @OlivierF I haven't forgotten you
Good afternoon Tobias. Your work is inspirational. A perfect windlass. Congrats. Cheers Grant
 
@OlivierF @dockattner @Mirek @GrantTyler @Jimsky @Peter Voogt
Thank you for your comments and all the likes you have received.

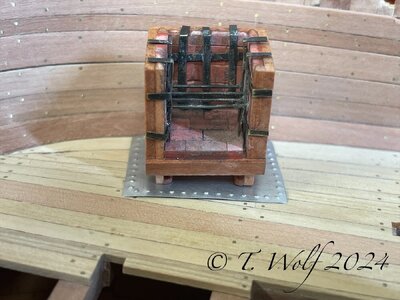
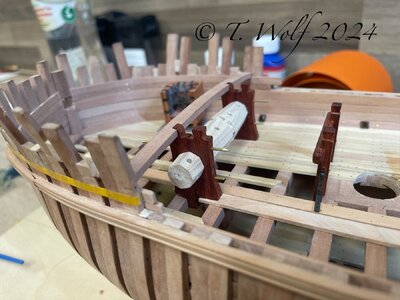
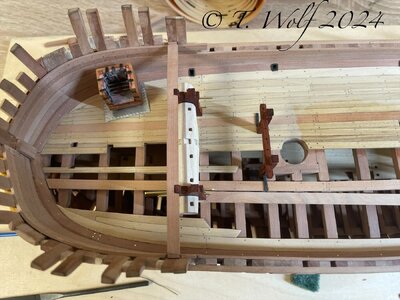
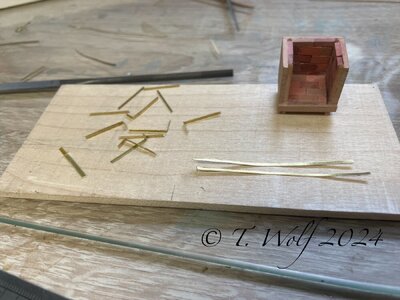
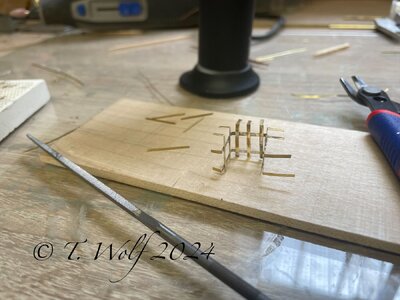
Jim, regarding your question about the stove, it is now finished. Bricked and fitted with the irons.

eZy Watermark_16-06-2024_12-09-49-1270PM.jpeg

eZy Watermark_16-06-2024_01-17-45-7070PM.jpeg

eZy Watermark_16-06-2024_09-10-48-6080PM.jpeg

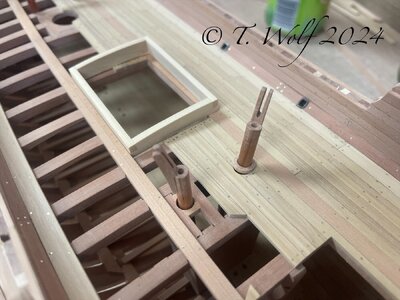
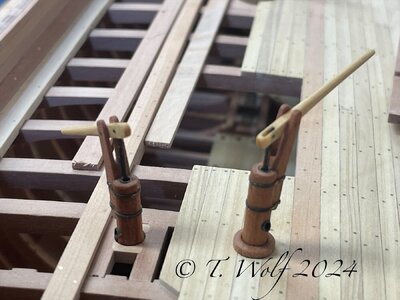
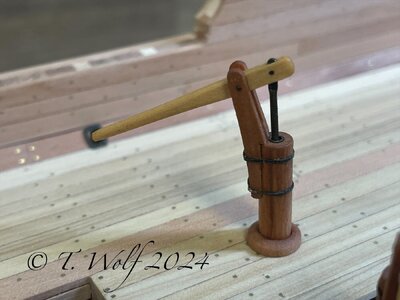
Continue with the pumps, the lower iron rings are still missing.

eZy Watermark_16-06-2024_03-59-38-5030PM.jpeg

eZy Watermark_16-06-2024_03-58-25-6060PM.jpeg

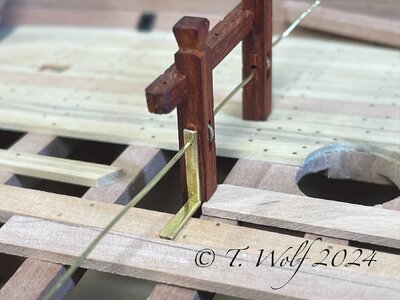
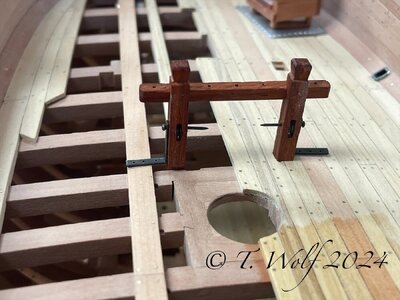
The pin rail is fitted with two 4mm x 1.2mm rollers and iron brackets.

eZy Watermark_16-06-2024_03-56-12-0320PM.jpeg


eZy Watermark_16-06-2024_09-12-30-5990PM.jpeg

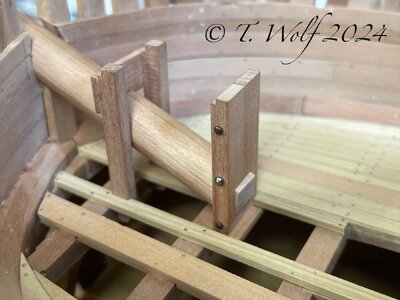
In the next few days, the anchor winch bolts and the retaining straps will be fitted.

eZy Watermark_16-06-2024_09-21-54-2590PM.jpeg

eZy Watermark_16-06-2024_09-22-35-2290PM.jpeg

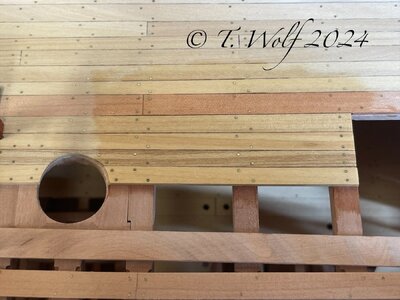
And here is a test coat with oil, the sealing (chalking) comes into its own.

eZy Watermark_16-06-2024_09-11-45-8550PM.jpeg

Thank you very much for your support and interest. See you soon
 
Witaj
Piec wygląda fantastycznie ,winda kotwiczna świetnie spasowana z górnym pokładem .Tobiaszu podłoga pociągnięta olejem świetnie podkreśla kołkowanie, podziwiam i czekam na więcej. Pozdrawiam Mirek
 
@OlivierF @dockattner @Mirek @GrantTyler @Jimsky @Peter Voogt
Thank you for your comments and all the likes you have received.

Jim, regarding your question about the stove, it is now finished. Bricked and fitted with the irons.

View attachment 453784

View attachment 453785

View attachment 453786

Continue with the pumps, the lower iron rings are still missing.

View attachment 453788

View attachment 453787

The pin rail is fitted with two 4mm x 1.2mm rollers and iron brackets.

View attachment 453789


View attachment 453790

In the next few days, the anchor winch bolts and the retaining straps will be fitted.

View attachment 453791

View attachment 453792

And here is a test coat with oil, the sealing (chalking) comes into its own.

View attachment 453793

Thank you very much for your support and interest. See you soon
Again some very nice details, Tobias.
Regards, Peter
 
Back
Top