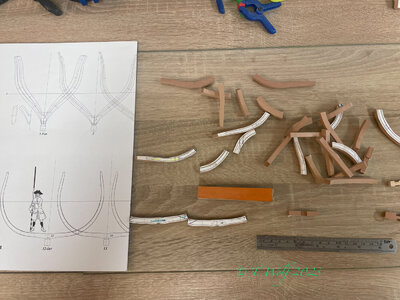
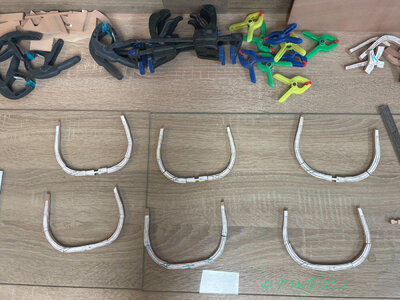
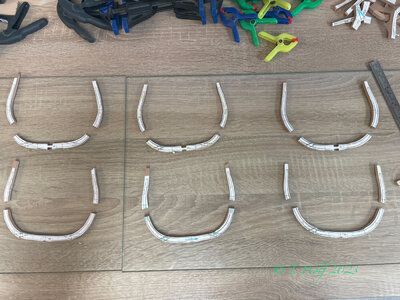
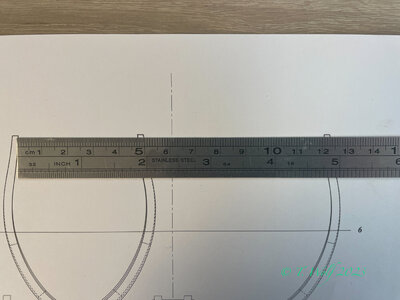
LE ROCHEFORT - Harbour yacht from 1787 1:36 by Tobias (Monograph by ANCRE)

Very good tutorial and explanations - Bravo my friend
BTW: Which kind of glue are you using sticking the paper to the wood - I have very good results with fixo-gum - you can remove the paper and glue afterwards without any problems
Hello Uwe Thank you and yes I also use fixo gum in part 1 in the last section I also mentioned it and in the following picture in this section you can see it too. I also touched on his personality briefly.
Good point, in any case I will add it again in part two.
 
Hello Uwe Thank you and yes I also use fixo gum in part 1 in the last section I also mentioned it and in the following picture in this section you can see it too. I also touched on his personality briefly.
Good point, in any case I will add it again in part two.
Unfortunately it does not look like FixoGum is sold in the U.S. I use a simple everyday glue stick. Seems to work well enough although getting the paper off is a challenge... For the time being I sand the paper off.
 
Unfortunately it does not look like FixoGum is sold in the U.S. I use a simple everyday glue stick. Seems to work well enough although getting the paper off is a challenge... For the time being I sand the paper off.
Hi Olivier,

I'm just using Elmer's Rubber Cement (on another build). Essentially the same as FixoGum but lacks the convenience of the tube. Rubs right off the wood without sanding. Makes a splendid mess until it dries though :rolleyes:.
 
Hi Olivier,

I'm just using Elmer's Rubber Cement (on another build). Essentially the same as FixoGum but lacks the convenience of the tube. Rubs right off the wood without sanding. Makes a splendid mess until it dries though :rolleyes:.
Thanks Paul. I agree and have used rubber cement as well. But as you say it makes a mess and smells to high heaven. That’s why a switched to the glue stick. ✌️
 
Hello Together I found the following on Marabu's website. This would be the manufacturer of the glue FIXO Gum. Maybe it will be helpful.

1675320613914.png


1675320841841.png

1675321111777.png

 
Last edited:
Hello Together I found the following on Marabu's website. This would be the manufacturer of the glue FIXO Gum. Maybe it will be helpful.

View attachment 355061


View attachment 355062

View attachment 355063

Thanks Tobias. I had found their U.S. website but they do not appear to import any of the glue products. I sent them an email asking about it anyway. We’ll see…
 
Thanks Tobias. I had found their U.S. website but they do not appear to import any of the glue products. I sent them an email asking about it anyway. We’ll see…
You can order Fixogum on US Amazon but it's imported so it costs $39 and takes 6 weeks to ship. Didn't pass the test of common sense for me but perhaps you might be willing...
 
Good evening everyone, Tony had a bit of a problem with the stern and it's about the taper of the stern.

On the one hand, this can be seen from the plans and, on the other hand, Adrian describes it in his book. Here are the pictures for the plan/book.

View attachment 348221

View attachment 348214

View attachment 348215

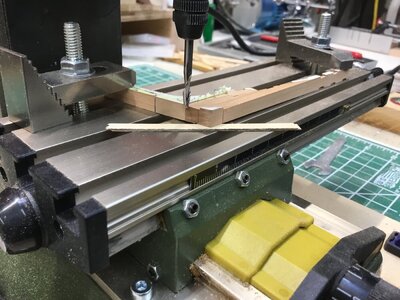
First you have to measure the overhang of the small triangle and then you need a small piece of wood that corresponds to the measurement and put it on the lower corner of the stern post. Now align your workpiece and clamp it.
View attachment 348216

View attachment 348217

Now position your milling cutter at the beginning of the taper and mill path by path up to the beginning of the triangle up to the upper end of the triangle.

View attachment 348222

View attachment 348213

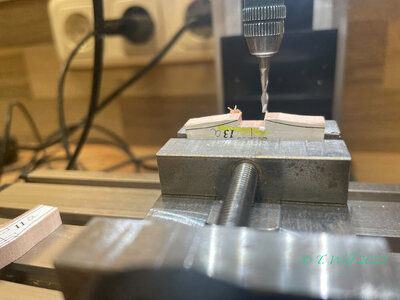
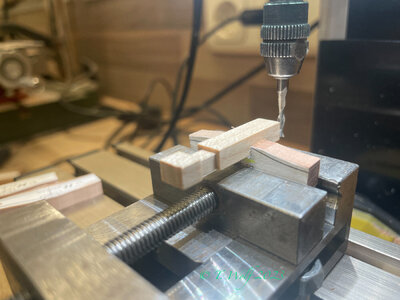
Now it gets a little tricky since we have two different pitches, so place about half of the previous piece of wood under the other end and then continue routing to the first mark on the top small arch.

You do the whole thing on the other side too.
View attachment 348218

View attachment 348219
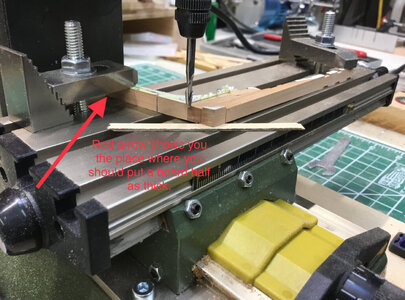
Hi Tobias, I think I have correctly milled the long taper as your picture details. Now I’m trying to understand the 2nd step for the short taper. You say to
place about half of the previous piece of wood under the other end
I’m not understanding where to place the “shim” for this step.
thanks again for your help.
image.jpg
 
Hi Tobias, I think I have correctly milled the long taper as your picture details. Now I’m trying to understand the 2nd step for the short taper. You say to

I’m not understanding where to place the “shim” for this step.
thanks again for your help.
View attachment 355144
Red arrow shows you the place where you should put a board half as thick.
F232B3B8-C590-4583-9BC3-EF6E60571044.jpeg
 
Part 3
MILLING, GLUING AND SANDING.

In the next step, I mill the floor timbers. We have to consider two depths. To know which depth to use with which bottom wood, see the color-coded plan and the parts marked with a and b. In the first part I went into my auxiliary keel which is now used for the first time to check if my milling is ok.

3C3CE497-6F59-4452-9EA7-EFAB3EA53652.jpeg
755D66C4-54BC-487C-B3C1-8824FCA99ABE.jpeg

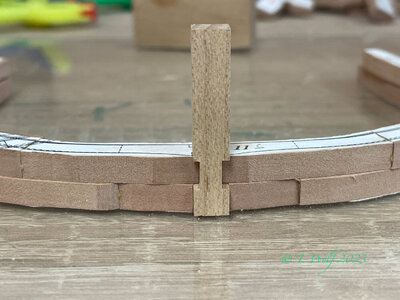
When this is done, I put all the parts on my glass plate. With a piece of wood on which I have attached a piece of sandpaper (240 grit) I remove the degree created by the sanding. Then I sort my frames and glue the lower parts.

9459E0CC-A701-4D41-BD78-42784DCEB1EA.jpeg

2CB403EC-0BF9-4A3E-8A59-AA4ED43E9062.jpeg

928FCCD7-0DC9-4257-9773-C8593B3CF6BE.jpeg

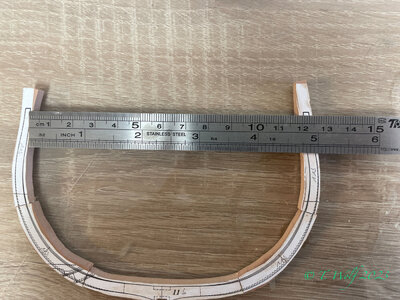
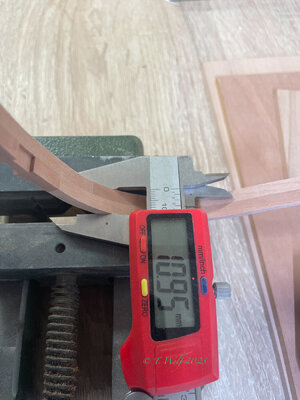
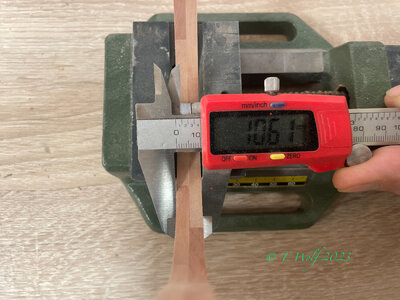
After drying, I take my plan of the frames and measure the upper width and align the upper joints that have not yet been glued and compare my measurement with that from the plan. If we have about 1mm deviation, we are right on target. If we have more we have to correct something. The question is how and where and how much. A good question is to take the part that has not yet been glued and sand it down a little, but really only 1/100 of a millimeter. Check again and then glue.

6F2D0605-9F89-41A5-A425-BAE15472492C.jpeg

8E644B46-FA00-4FF7-A232-2ABC186B879A.jpeg

E4734674-B743-4026-A704-13E804717197.jpeg

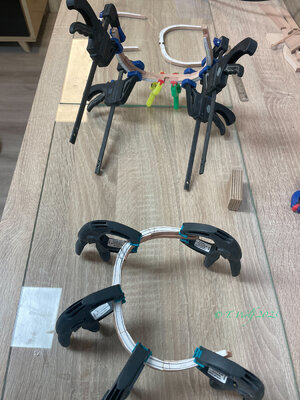
Next, I remove the excess glue on the gluing surface. I drag it across my sanding pad. I now apply a thin layer of glue to the inside of the frames and join them together, without pressure. Now I take my small keel and align my two halves and fix them with my clamps.

8D66F253-19D4-4EC7-B4D7-57830A25E181.jpeg

234A69F0-2031-4ABA-A181-FEEDE3C7A1E3.jpeg

2CAC5952-52E7-48E5-B004-FBB506C3D384.jpeg

D6BD0F1A-601C-4FEF-A729-98601C38A8B8.jpeg

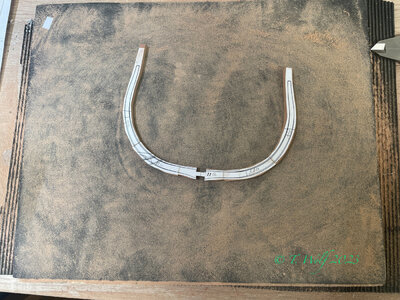
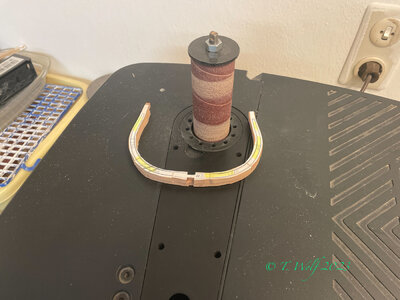
Now it is time to dry the frames. After drying, the frames are sanded to size on the spindle sander. In my case, the yellow marked side is always the upper side and then I sand to the line.

1121EF1D-32B3-46D2-A93A-EB5248E0241C.jpeg

C8F24AEE-D498-474D-ABAA-E3DCEE6D618D.jpeg

That's it for part 3 in the next part I'll show you the finish.
 
Part 4
FINISH
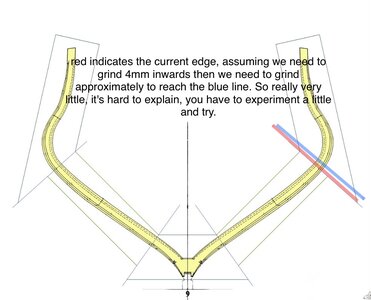
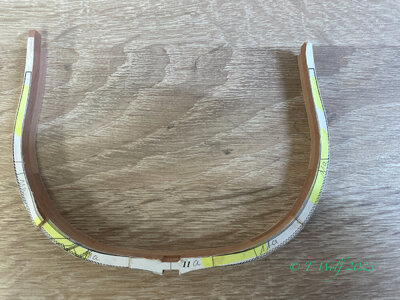
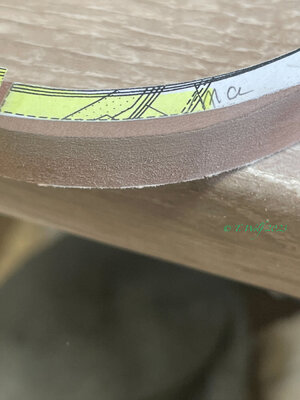
At the front and rear formers we see the dashed lines, these are inside and outside that is our curvature. With the sander I slowly work my way to the dotted line.

05E3E4F4-CEFA-44C5-A4F5-049C202FDCDB.jpeg

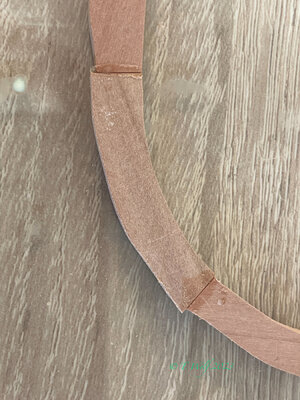
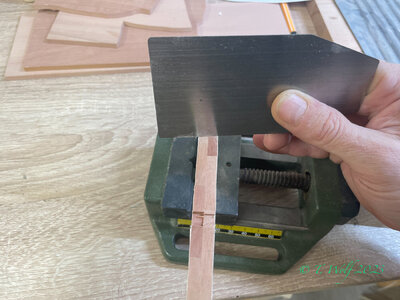
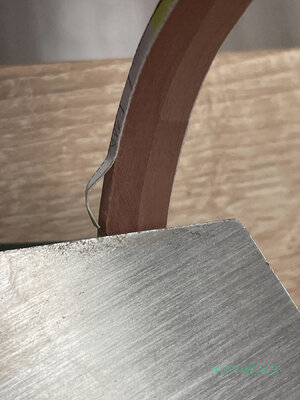
I do the same on the inside. In the next step, I carefully work the bevel with the pull iron to the opposite side.

CADFA3BC-9F9B-4CE7-8A5F-1B71E531AF76.jpeg

FE8A4C55-722E-4B6A-9FD1-4CB629F661E6.jpeg

When this is done, I pull off the paper and sand my bulkhead to the correct size. Here I use again my sanding pad (150 grit)

F6818B6C-1105-490E-93C6-0A51217157B4.jpeg

That was it. Thank you for your interest. Good luck.

See you in the days.

297CB7C8-0EEC-4808-964D-B1054E40C21E.jpeg
 
Back
Top