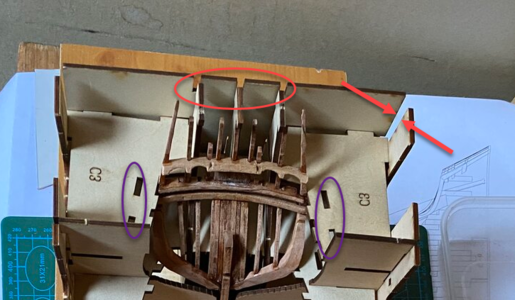
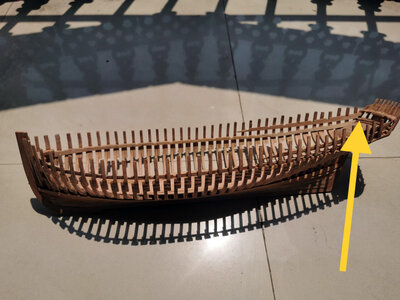
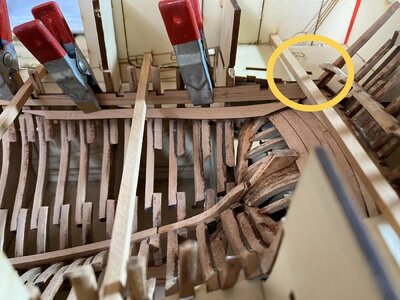
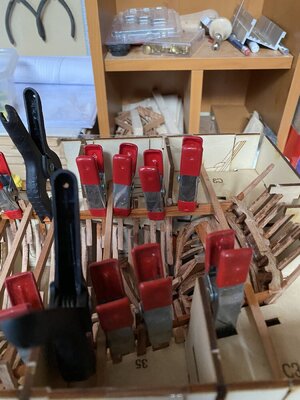
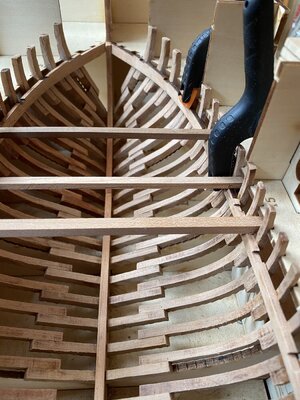
Well done Chello. I' m still in the changelling part ..as for the fun ... For the moment it is really for me a sort of act of faith... But I am optimistic. The reward in terms of satisfaction will eventually come at endSo, I wanted to post a comprehensive log of building the stern section of Le Coureur. Looking at the drawings, the parts .pictures of other builds including CAF’s Tom I knew it was going to be tricky. Well, in short it was! I’ll spare you a build log as it was going from plan A to plan Z with tweaks in between. The only thing I can say is, take your time, think 5 steps ahead and don’t be afraid to start again. I kinda ended up building it half inside the jig and half outside. Nevertheless it’s done and next weekend I’ll be able to glue the frames in after a final work over.
In conclusion a very challenging part of the build but so much fun!!
-

Win a Free Custom Engraved Brass Coin!!!
As a way to introduce our brass coins to the community, we will raffle off a free coin during the month of August. Follow link ABOVE for instructions for entering.
- Home
- Forums
- Ships of Scale Group Builds and Projects
- Le Coureur 1776 1:48 PoF Group Build
- Le Coureur 1776 1:48 Group Build Logs
You are using an out of date browser. It may not display this or other websites correctly.
You should upgrade or use an alternative browser.
You should upgrade or use an alternative browser.
- Joined
- Mar 19, 2020
- Messages
- 206
- Points
- 213

Hi Poul, you are right. In order to get the stern and keel back in I removed C2 end plate and left it loosely fitted to give me some wriggling room. It’s now firmly back in place so I can continue with adding the frames to the keel.Hi Chello,
Just wondering if it is on purpose that your C2 end plate is not properly in place? Did you make it removable in order to make it easier to take the stern section in and out of the berth?
View attachment 188103
- Joined
- Mar 19, 2020
- Messages
- 206
- Points
- 213

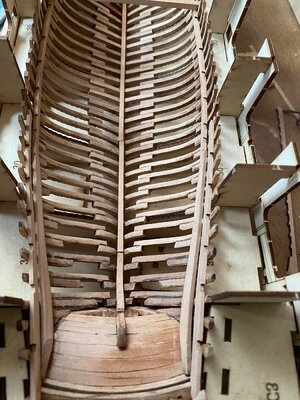
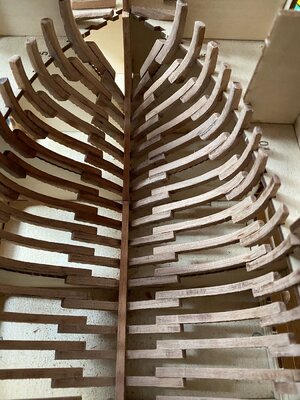
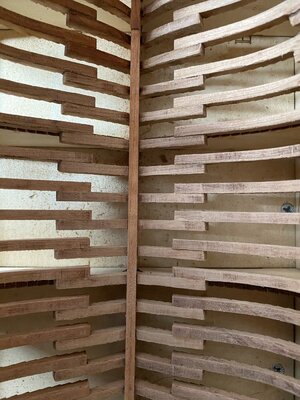
After having had similar issues as some of the other members in the group build with frames 34, 35 and 36 I finally managed to install them all more or less to my satisfaction. The last section of the frames towards the stern is nowhere near as clean as I wanted but as they will be covered by inside and outside planking I’m not too bothered. I also think the instructions, particularly for frames 38 are not particularly clear. I installed the port side frame 38 and left the starboard one out (I will explain later)
What was more worrying than the challenge of the limited instructions was the fact that the frames, particularly the ones up from nr34 are ever so fragile and break very easily due to the issues with fitting in the jig and the fact you have to file and bevel the inside and outside of the floor timbers to make them fit the keel and keelson. I had frame 35 break on 3 places and I already contacted Tom at caf for a replacement sheet as most of the other ones had fractures too. Managed to fix/bodge it though.
The keelson fitted nicely with no issues.


- Joined
- Mar 19, 2020
- Messages
- 206
- Points
- 213

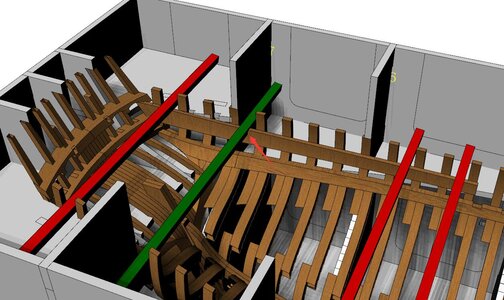
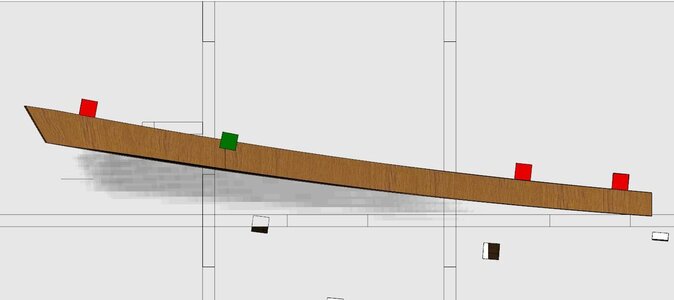
The next issue was thinking about the next steps and how to plan for this. @Uwek has already talked about the main considerations, particularly relating to the deck clamps (note there is a fault in the instructions) and part 2A-4.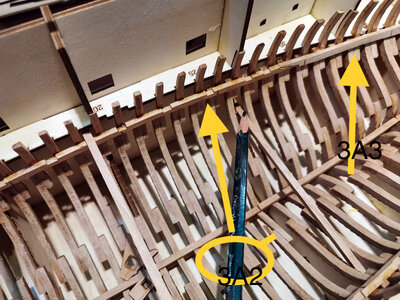 I will start with 2A4 (they are soaking in water now after having been (roughly prepared), but I have decided to plank the first 3 (top) rows of the inside of the stern. I am hoping for a better fit for part 2A4 and 3A3. This will also link into if it is better to install those parts with or without frame 38 in place (see my previous post).
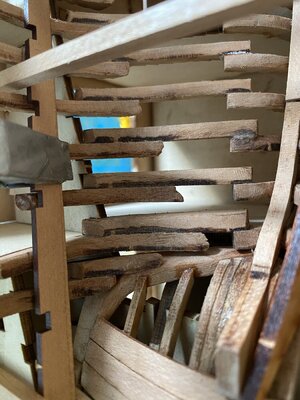
See below the dry fitted and untreated setup.
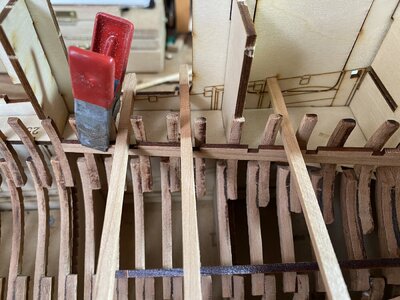
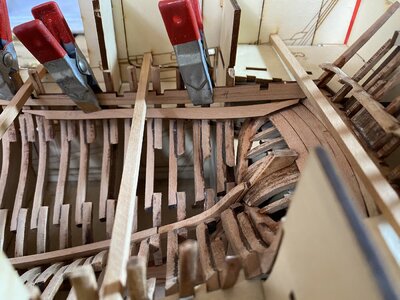
I 100% agree with @Uwek the importance of patience and to consider every single step and to think a few steps ahead. For a novice like me an intimidating and challenging prospect but oh so much fun!!
 I will start with 2A4 (they are soaking in water now after having been (roughly prepared), but I have decided to plank the first 3 (top) rows of the inside of the stern. I am hoping for a better fit for part 2A4 and 3A3. This will also link into if it is better to install those parts with or without frame 38 in place (see my previous post).
See below the dry fitted and untreated setup.


I 100% agree with @Uwek the importance of patience and to consider every single step and to think a few steps ahead. For a novice like me an intimidating and challenging prospect but oh so much fun!!
Last edited by a moderator:
- Joined
- Mar 19, 2020
- Messages
- 206
- Points
- 213

- Joined
- Mar 19, 2020
- Messages
- 206
- Points
- 213

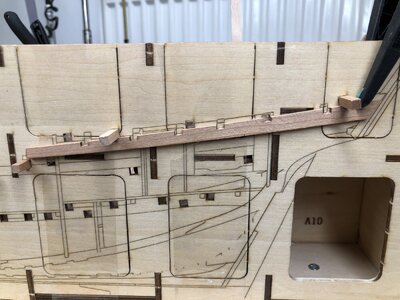
I will shape both parts but as in Toms own building log I will install them at a later stage. Hopefully I can shape the deck clamps tomorrow.View attachment 191579
Its doable....
Feel better, Tom!!
Very helpful information, so I showed it correctI have a cold these days, so I haven't come to SOS for several days
Fortunately, it's not covid
Pay attention to this green one
View attachment 191582
View attachment 191583
Looking good 
I am sooo lagging
I am sooo lagging
Chello, you have come quite far and are doing really well. Hopefully I can do the same.
Very good work
...the slow you go, the far you will get!!! Or...as we say: slowly but surely.I am sooo lagging
- Joined
- Mar 19, 2020
- Messages
- 206
- Points
- 213

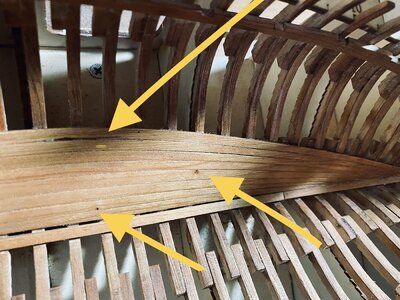
Another daunting part of the build started, the inner hull planking. @Uwek build log was as usual very helpful and on his advice I soaked the planks only 30 min, used a hair straightener (pls don’t tell the admiral) to gently shape, soaked for an other 5 min and cowardly used CA glue. The first 8 planks are on and although not easy for a newbie like me, not as hard as I thought. Wet sanded the planks a bit and hopefully not too much shrinkage when fully dry.
what’s really cool is that the timbers have very small notches and other bits like you would find in real timber that makes it look very realistic. Pity most of it will be covered.
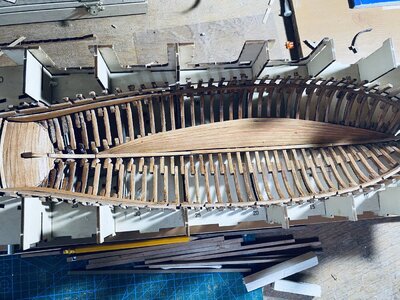
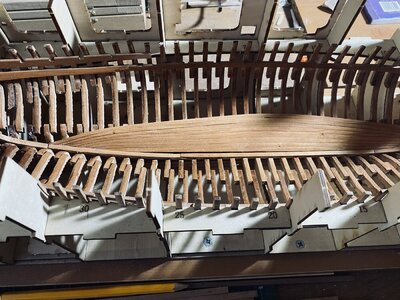
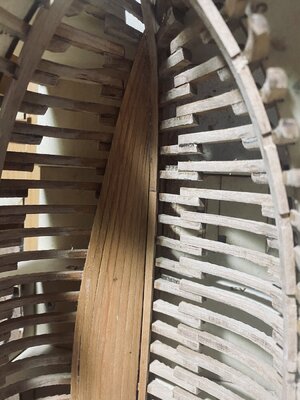
what’s really cool is that the timbers have very small notches and other bits like you would find in real timber that makes it look very realistic. Pity most of it will be covered.


- Joined
- Mar 19, 2020
- Messages
- 206
- Points
- 213

The dark area on the upper plank looks like damage but is actually just a very dark vein in the woodAnother daunting part of the build started, the inner hull planking. @Uwek build log was as usual very helpful and on his advice I soaked the planks only 30 min, used a hair straightener (pls don’t tell the admiral) to gently shape, soaked for an other 5 min and cowardly used CA glue. The first 8 planks are on and although not easy for a newbie like me, not as hard as I thought. Wet sanded the planks a bit and hopefully not too much shrinkage when fully dry.
what’s really cool is that the timbers have very small notches and other bits like you would find in real timber that makes it look very realistic. Pity most of it will be covered.
View attachment 194284 View attachment 194285View attachment 194286View attachment 194287


