
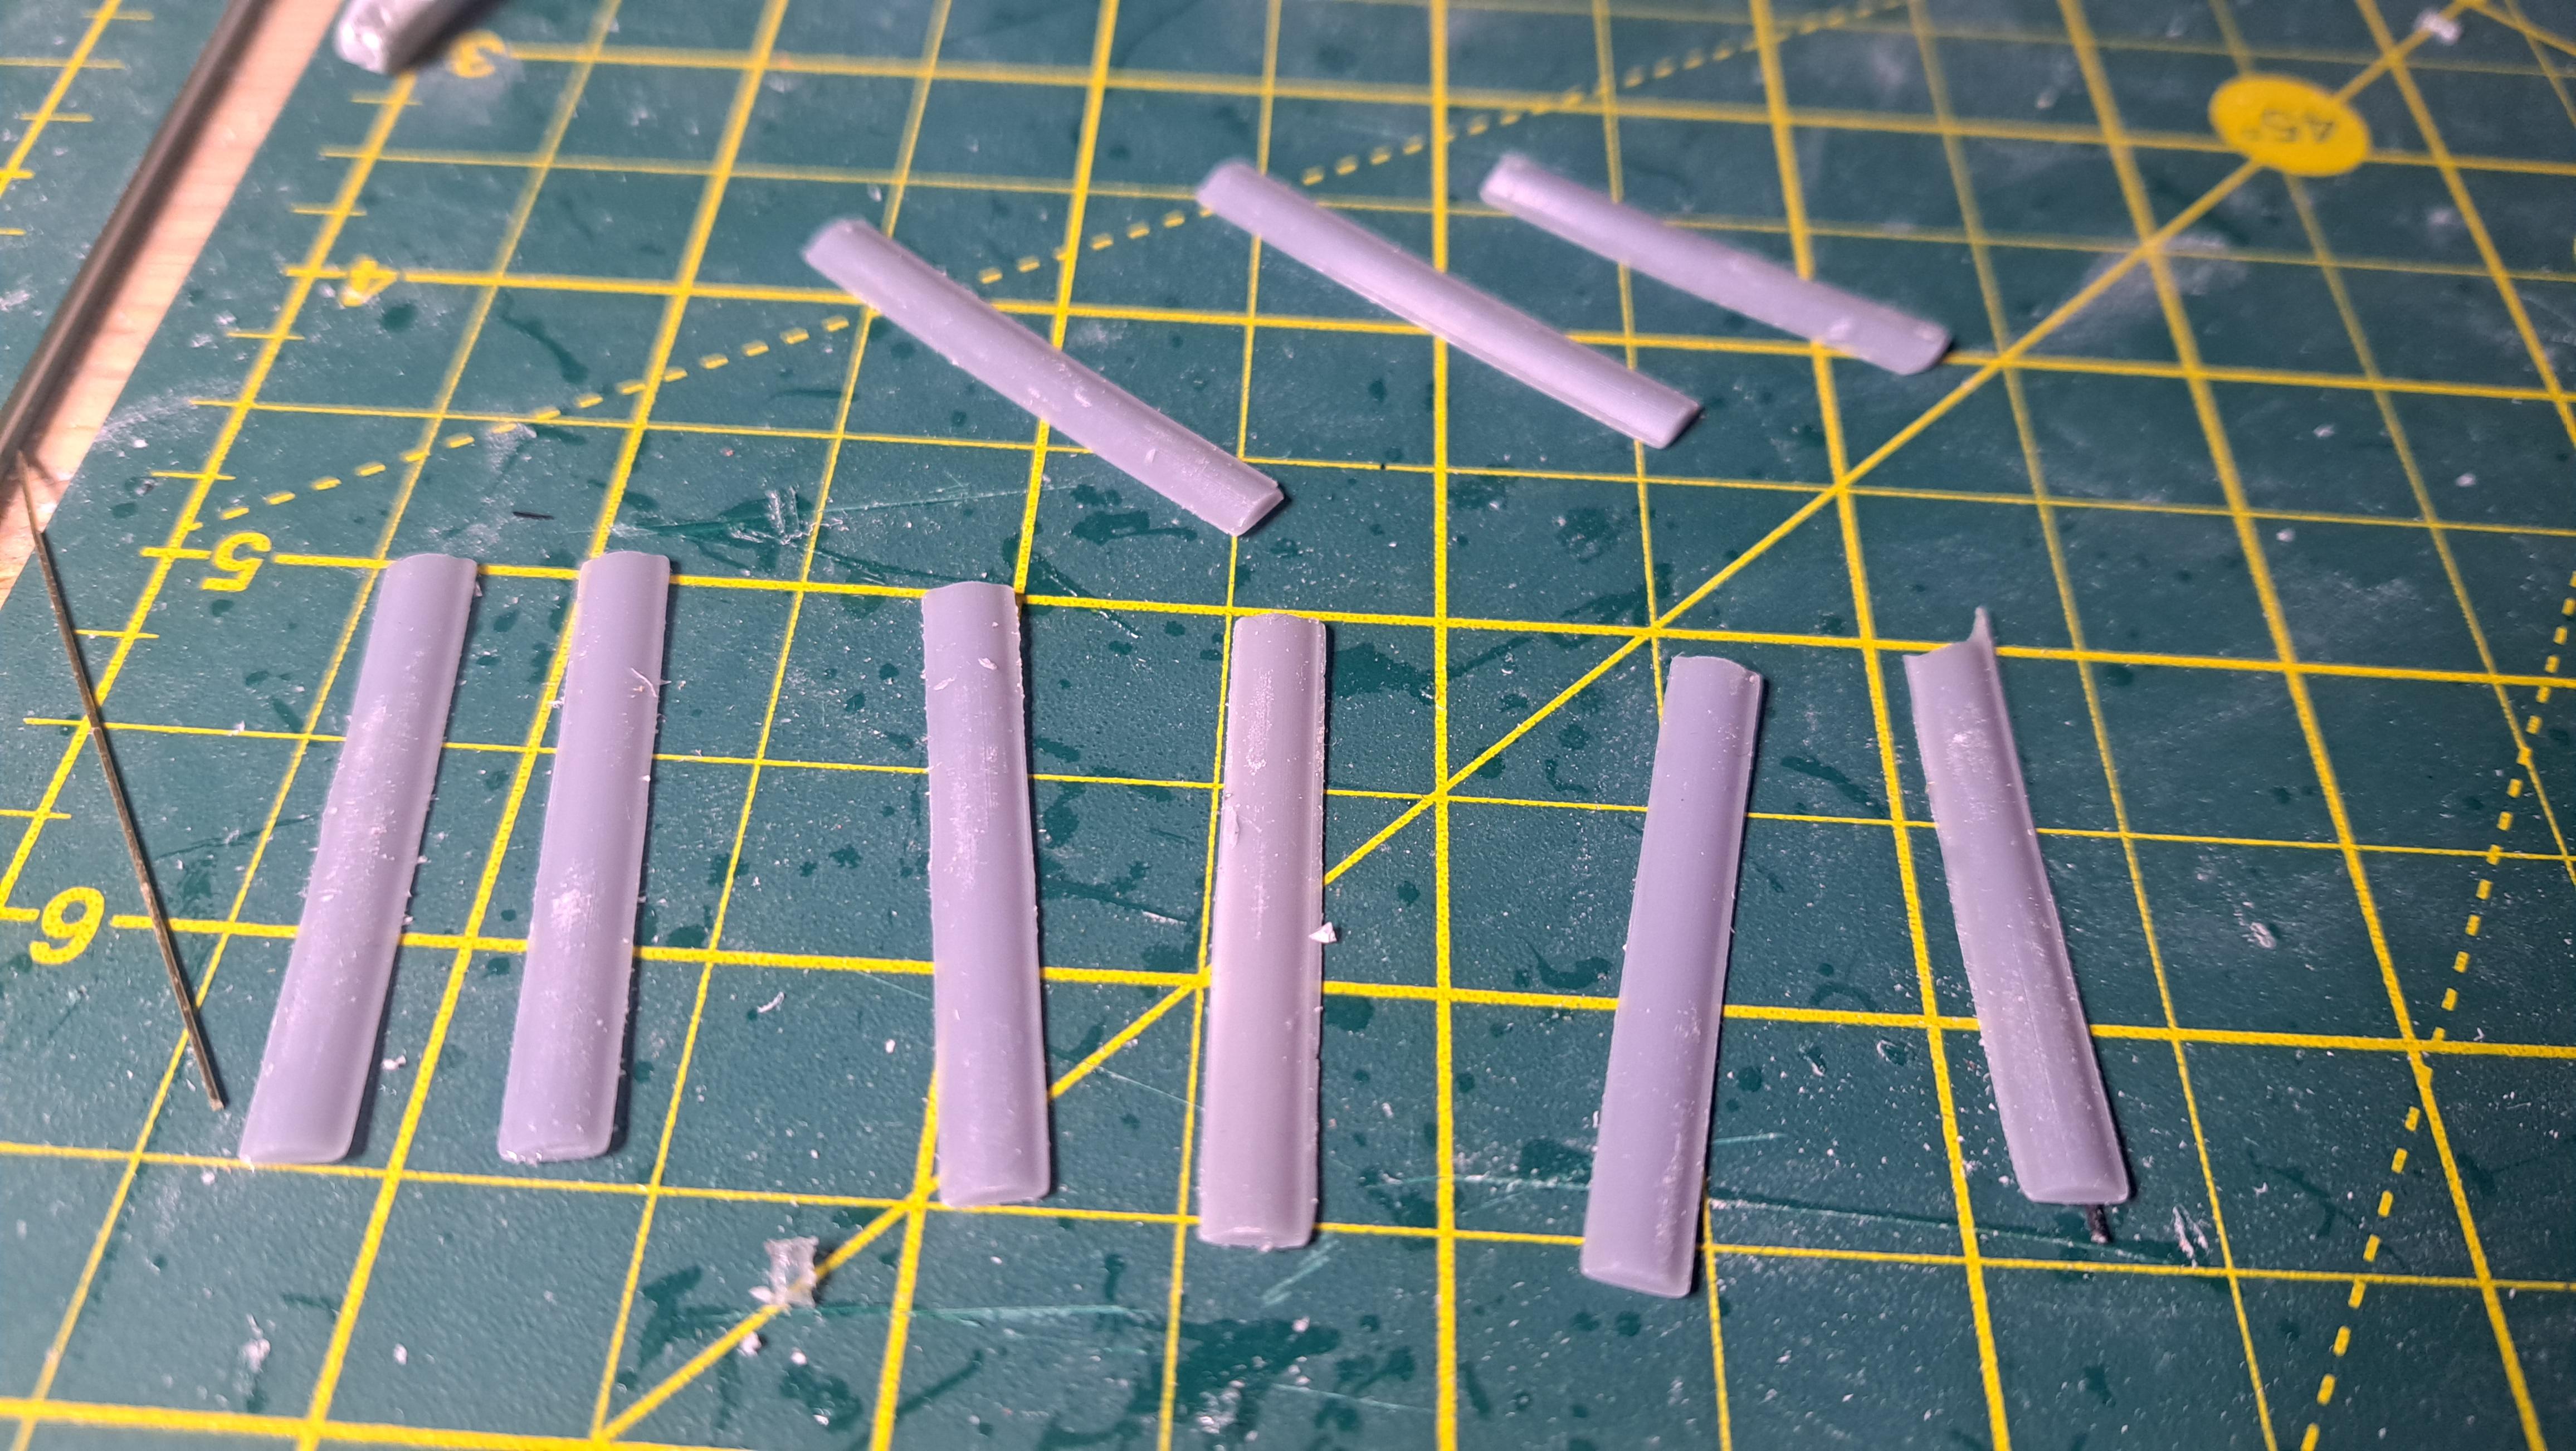
Francois, if you won't be offended by a suggestion, it occurs to me that a length of tubing between and on either side of the bonnet hinges through which the hinge pin could run would fill the gap between bonnet halves and give the whole thing a cleaner look. If the tube were fixed to only one bonnet half (although in theory it might not need to be fixed at all), it would still allow you to open and close the bonnet.

-

SUBSCRIBE TO SHIPS IN SCALE TODAY!
The beloved Ships in Scale Magazine is back and charting a new course for 2026!
Discover new skills, new techniques, and new inspirations in every issue.
NOTE THAT OUR NEXT ISSUE WILL BE MARCH/APRIL 2026 -

Win a Free Custom Engraved Brass Coin!!!
As a way to introduce our brass coins to the community, we will raffle off a free coin during the month of August. Follow link ABOVE for instructions for entering.
- Home
- Forums
- Ships of Scale Build Logs
- Super Detailing Static Models / Other Genres
- Historical Trailways, Guns, Aircraft, and Cars
You are using an out of date browser. It may not display this or other websites correctly.
You should upgrade or use an alternative browser.
You should upgrade or use an alternative browser.

Namabiiru, not offended at all, it's a great idea. I have to say that it's been the plan from the start, I'm waiting for final assy since these tubing have a very small diameter and are very fragile.

Hi Francois,
Where is it going to go when finished? Do you know any good restaurants in the area that might want to have it? What about at Tremblant? I have a nephew who is in the CGI business. Perhaps I can reach out to him and see if there's an office in Montreal that might want it.
Where is it going to go when finished? Do you know any good restaurants in the area that might want to have it? What about at Tremblant? I have a nephew who is in the CGI business. Perhaps I can reach out to him and see if there's an office in Montreal that might want it.
I want to contact Daniel Simon who is the original designer of the Hydra Coupe for the movie but not an easy thing to do. Contacting your nephew is a good idea!
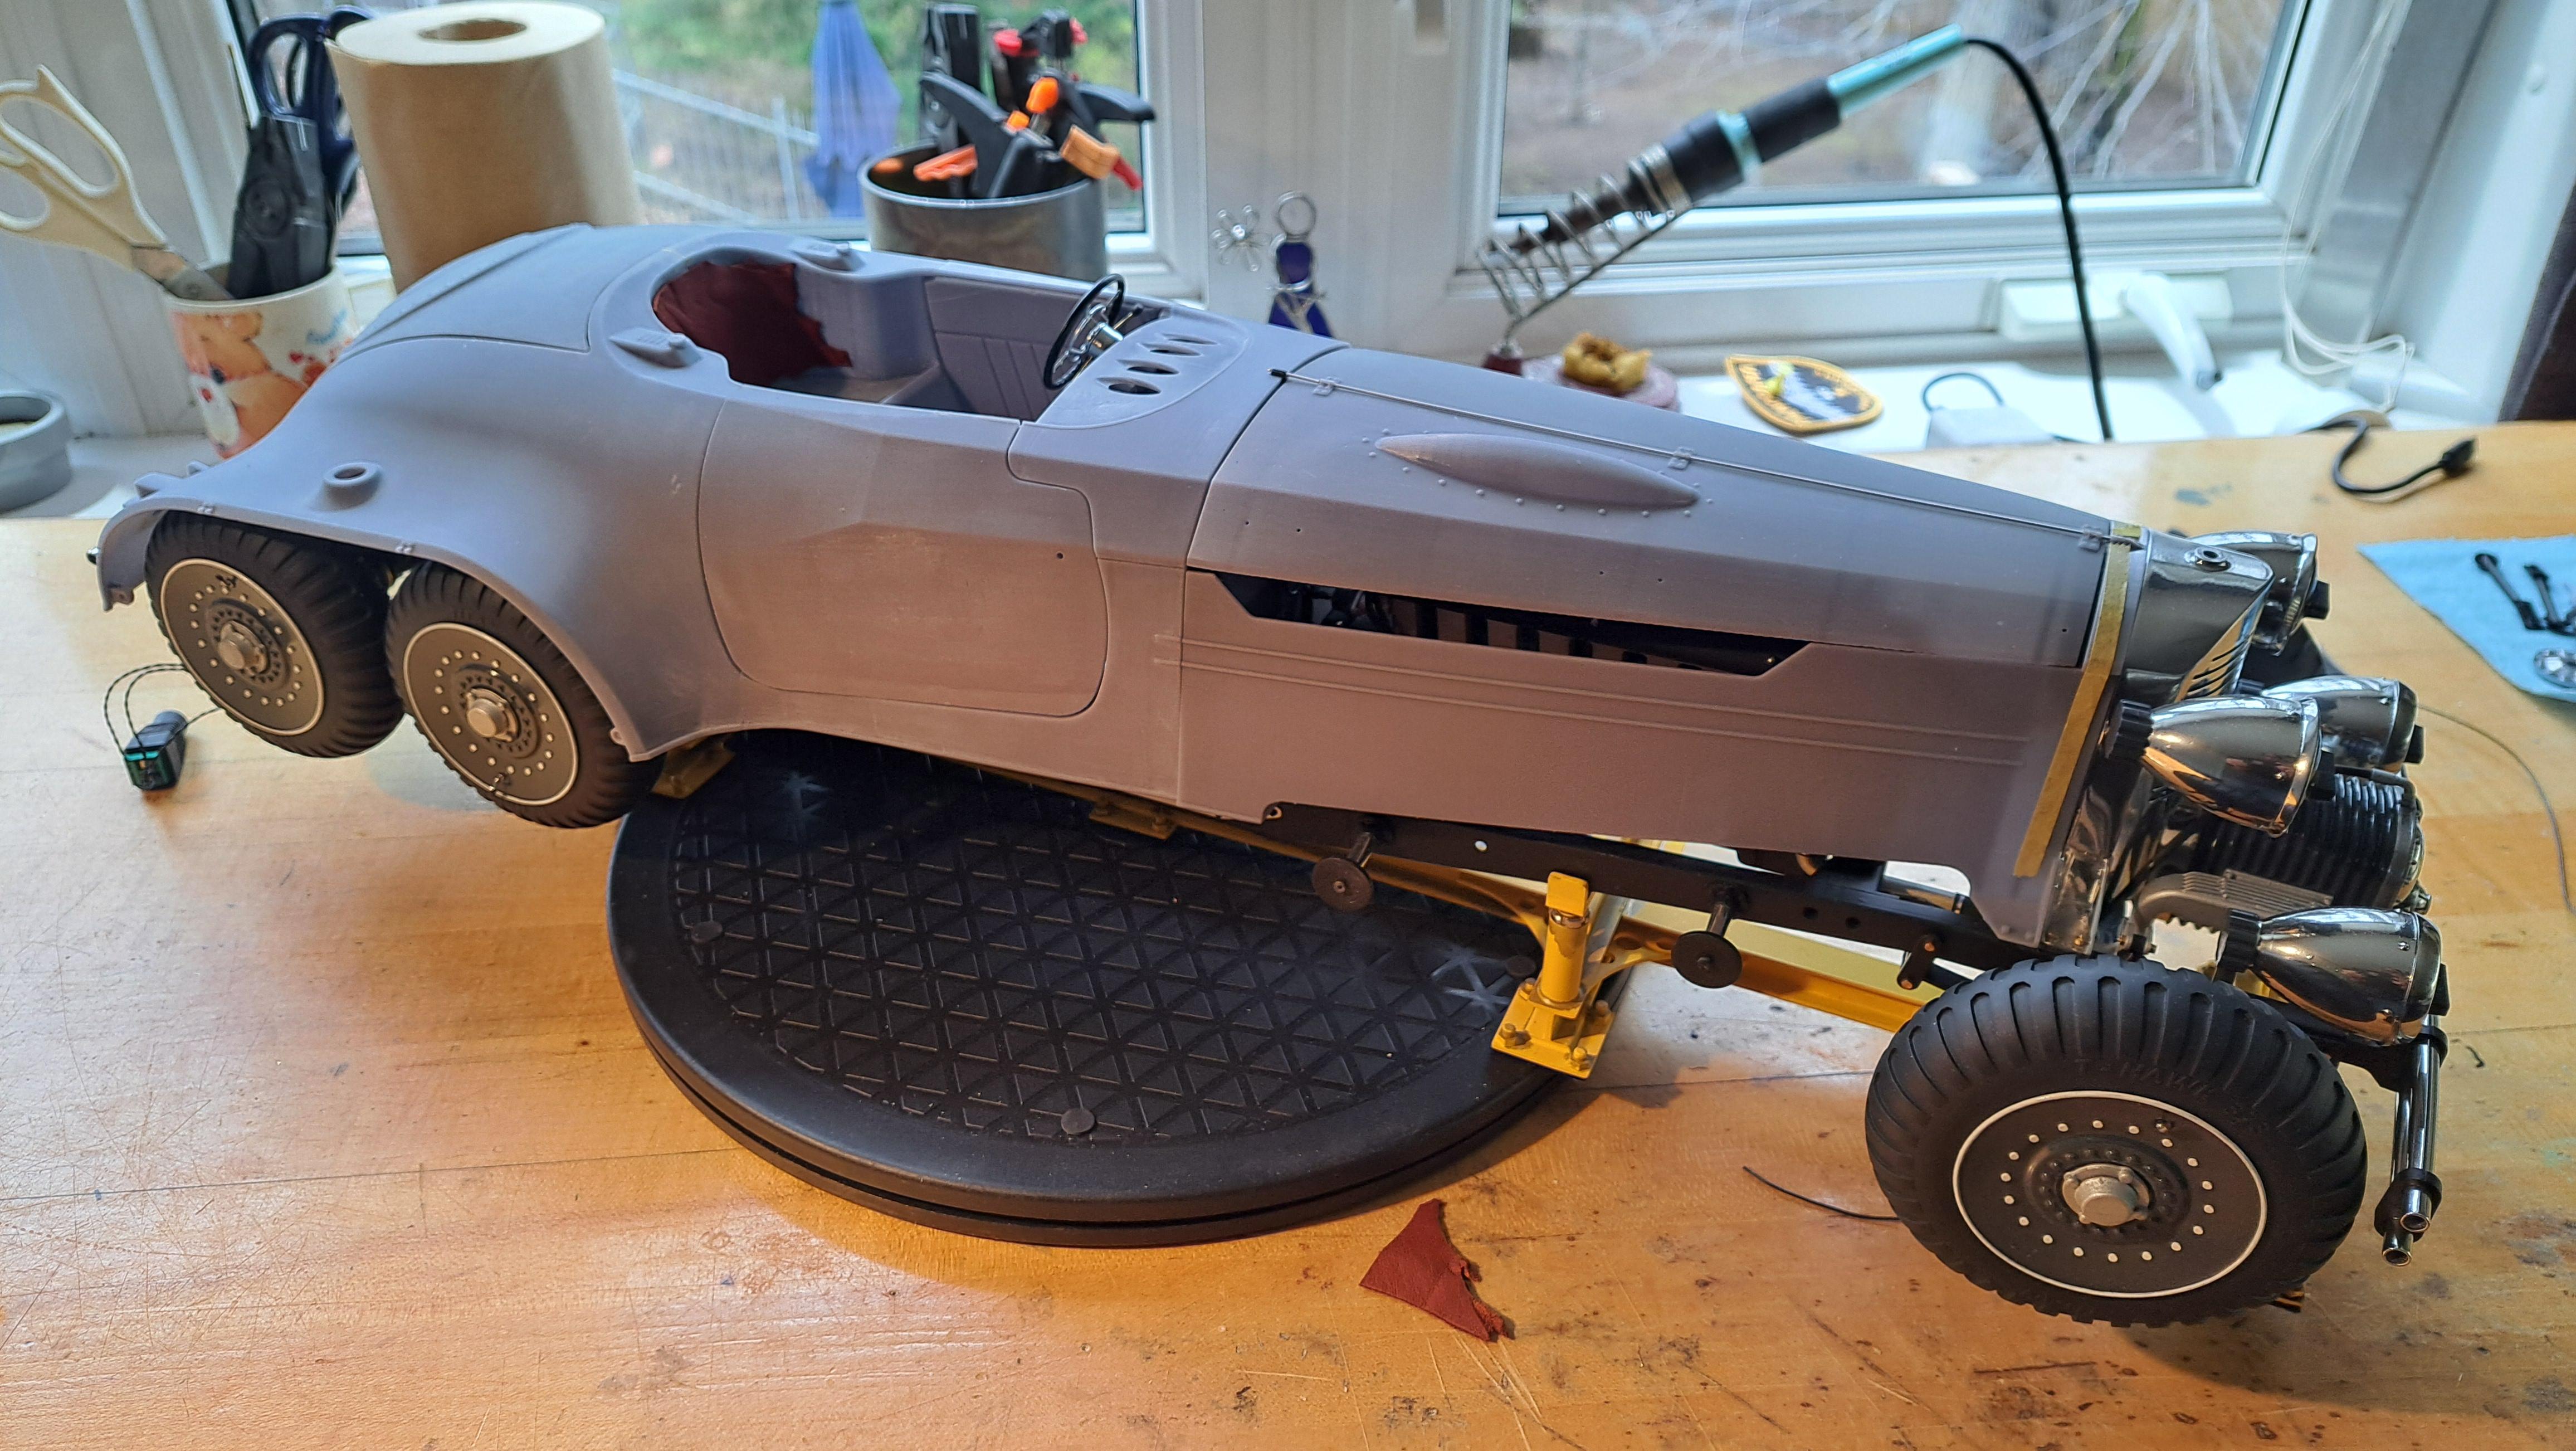
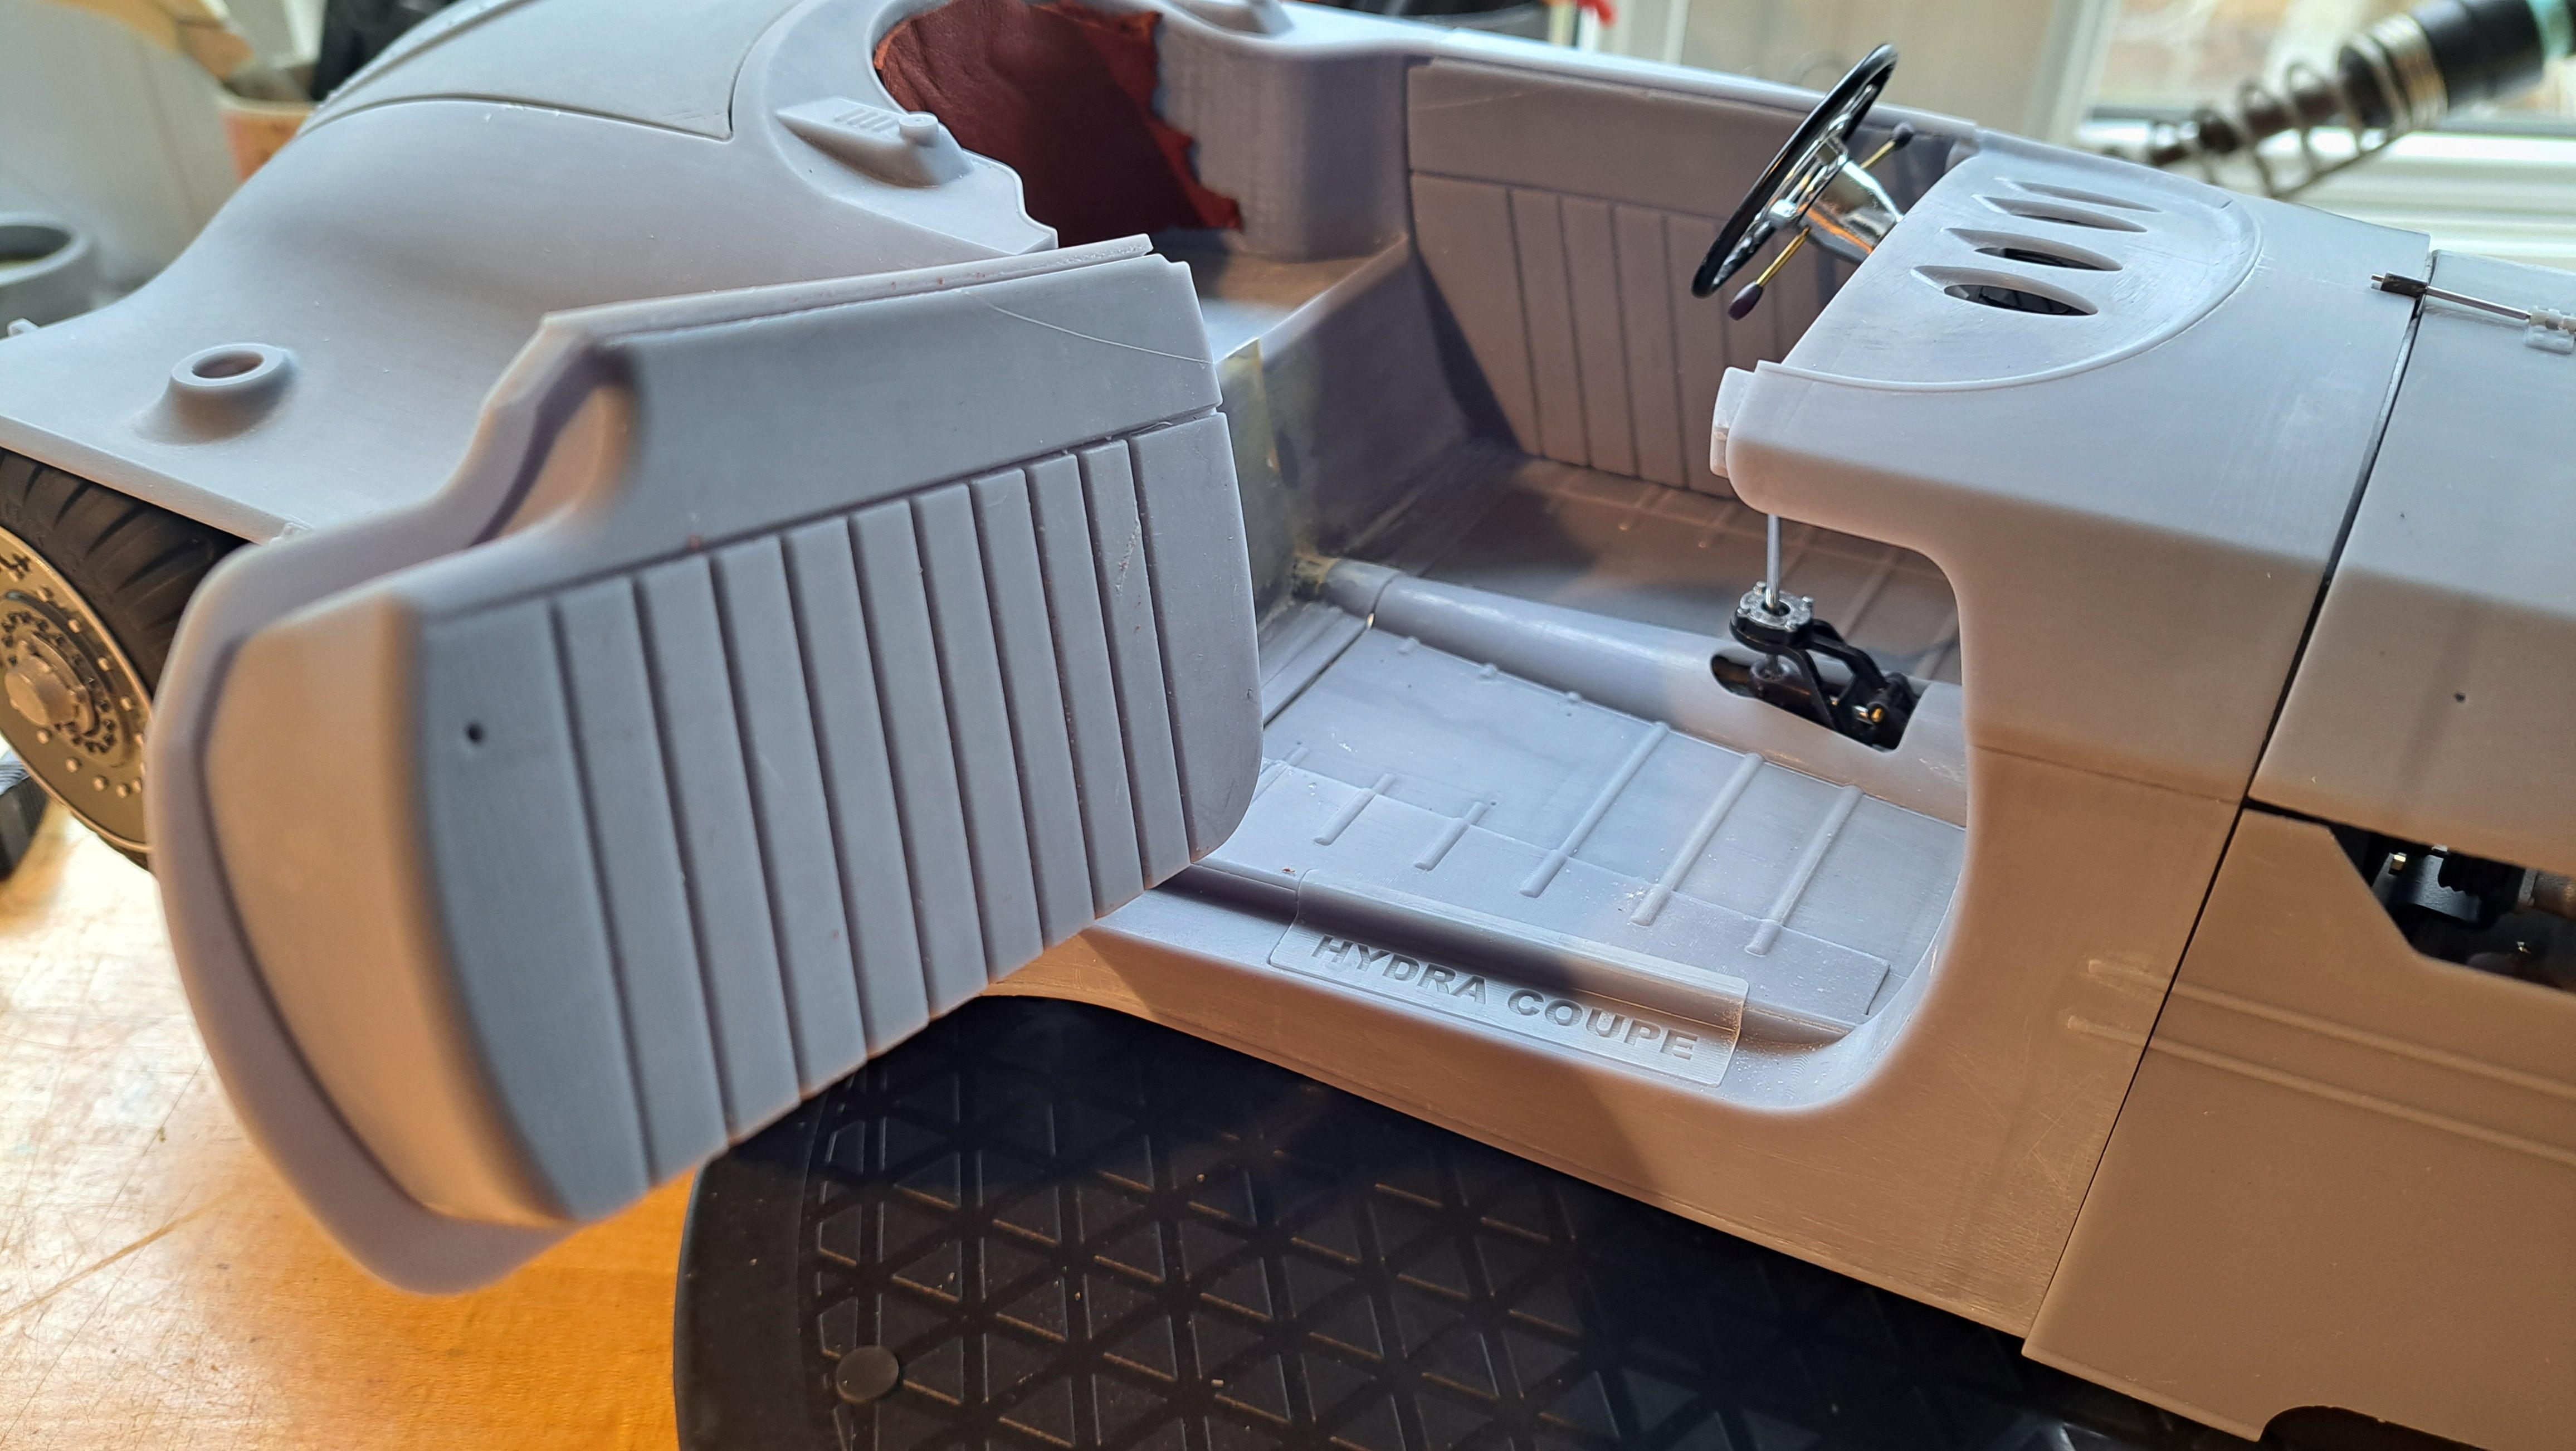
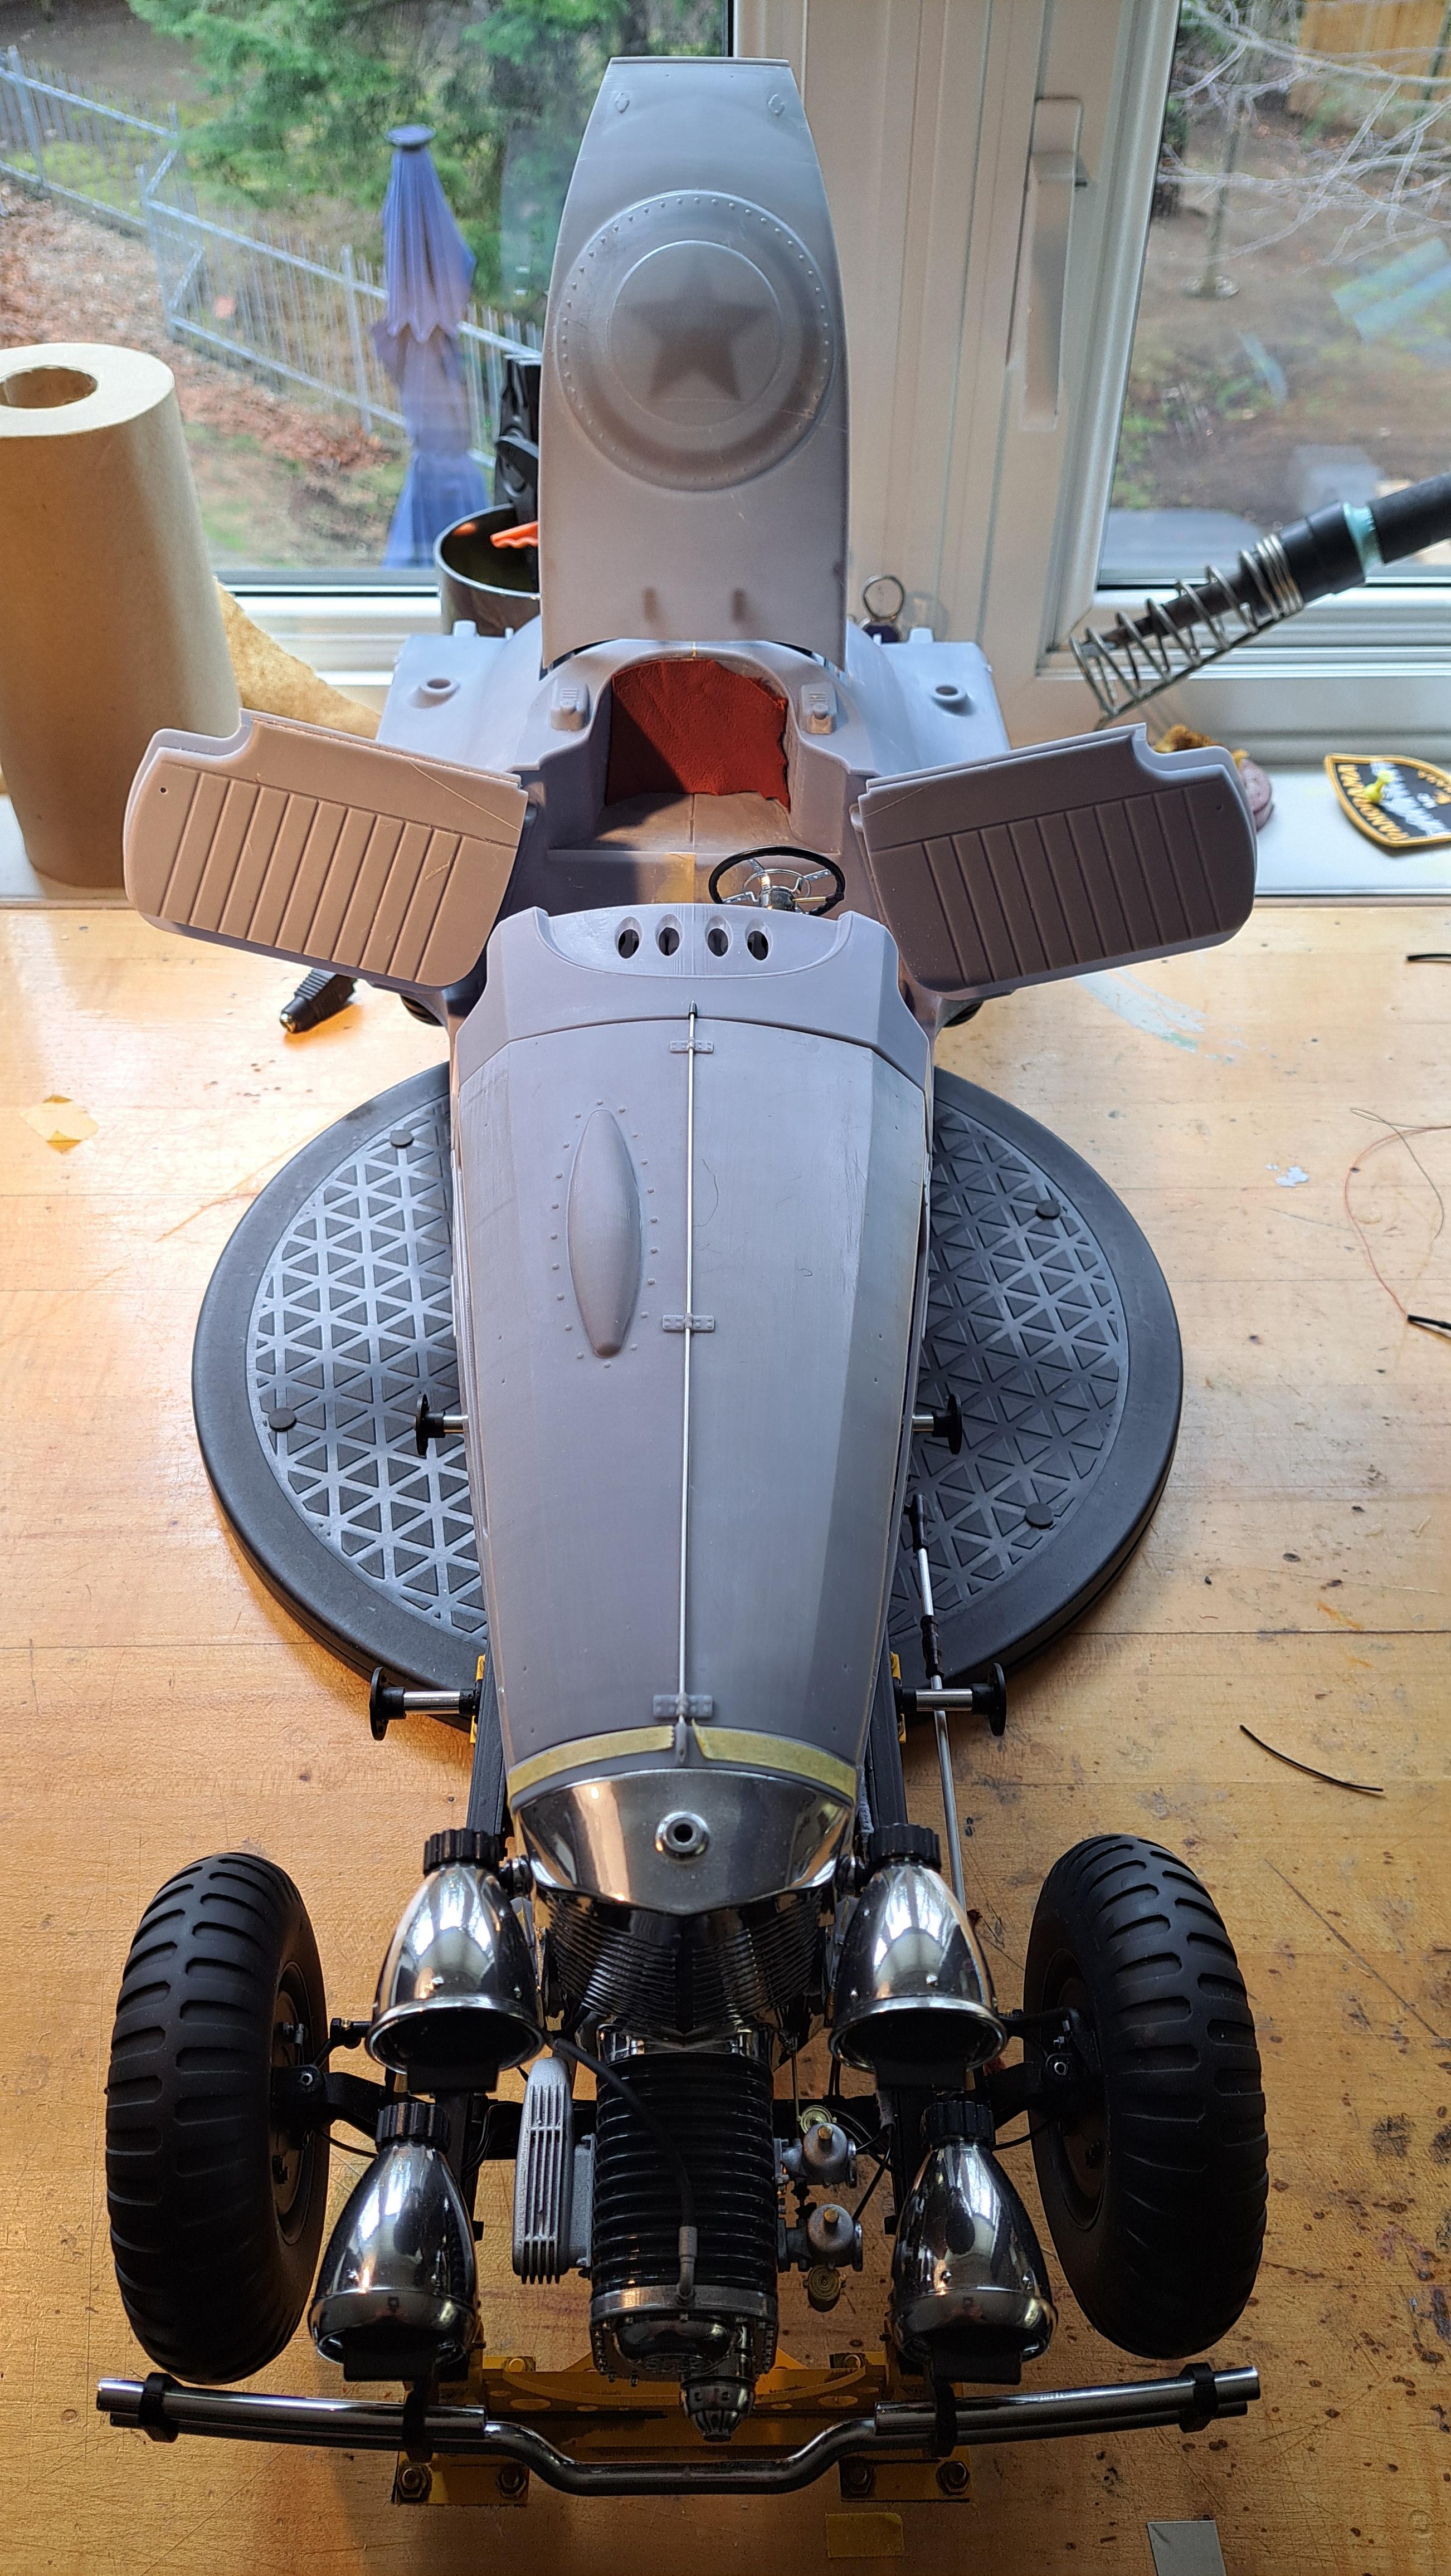
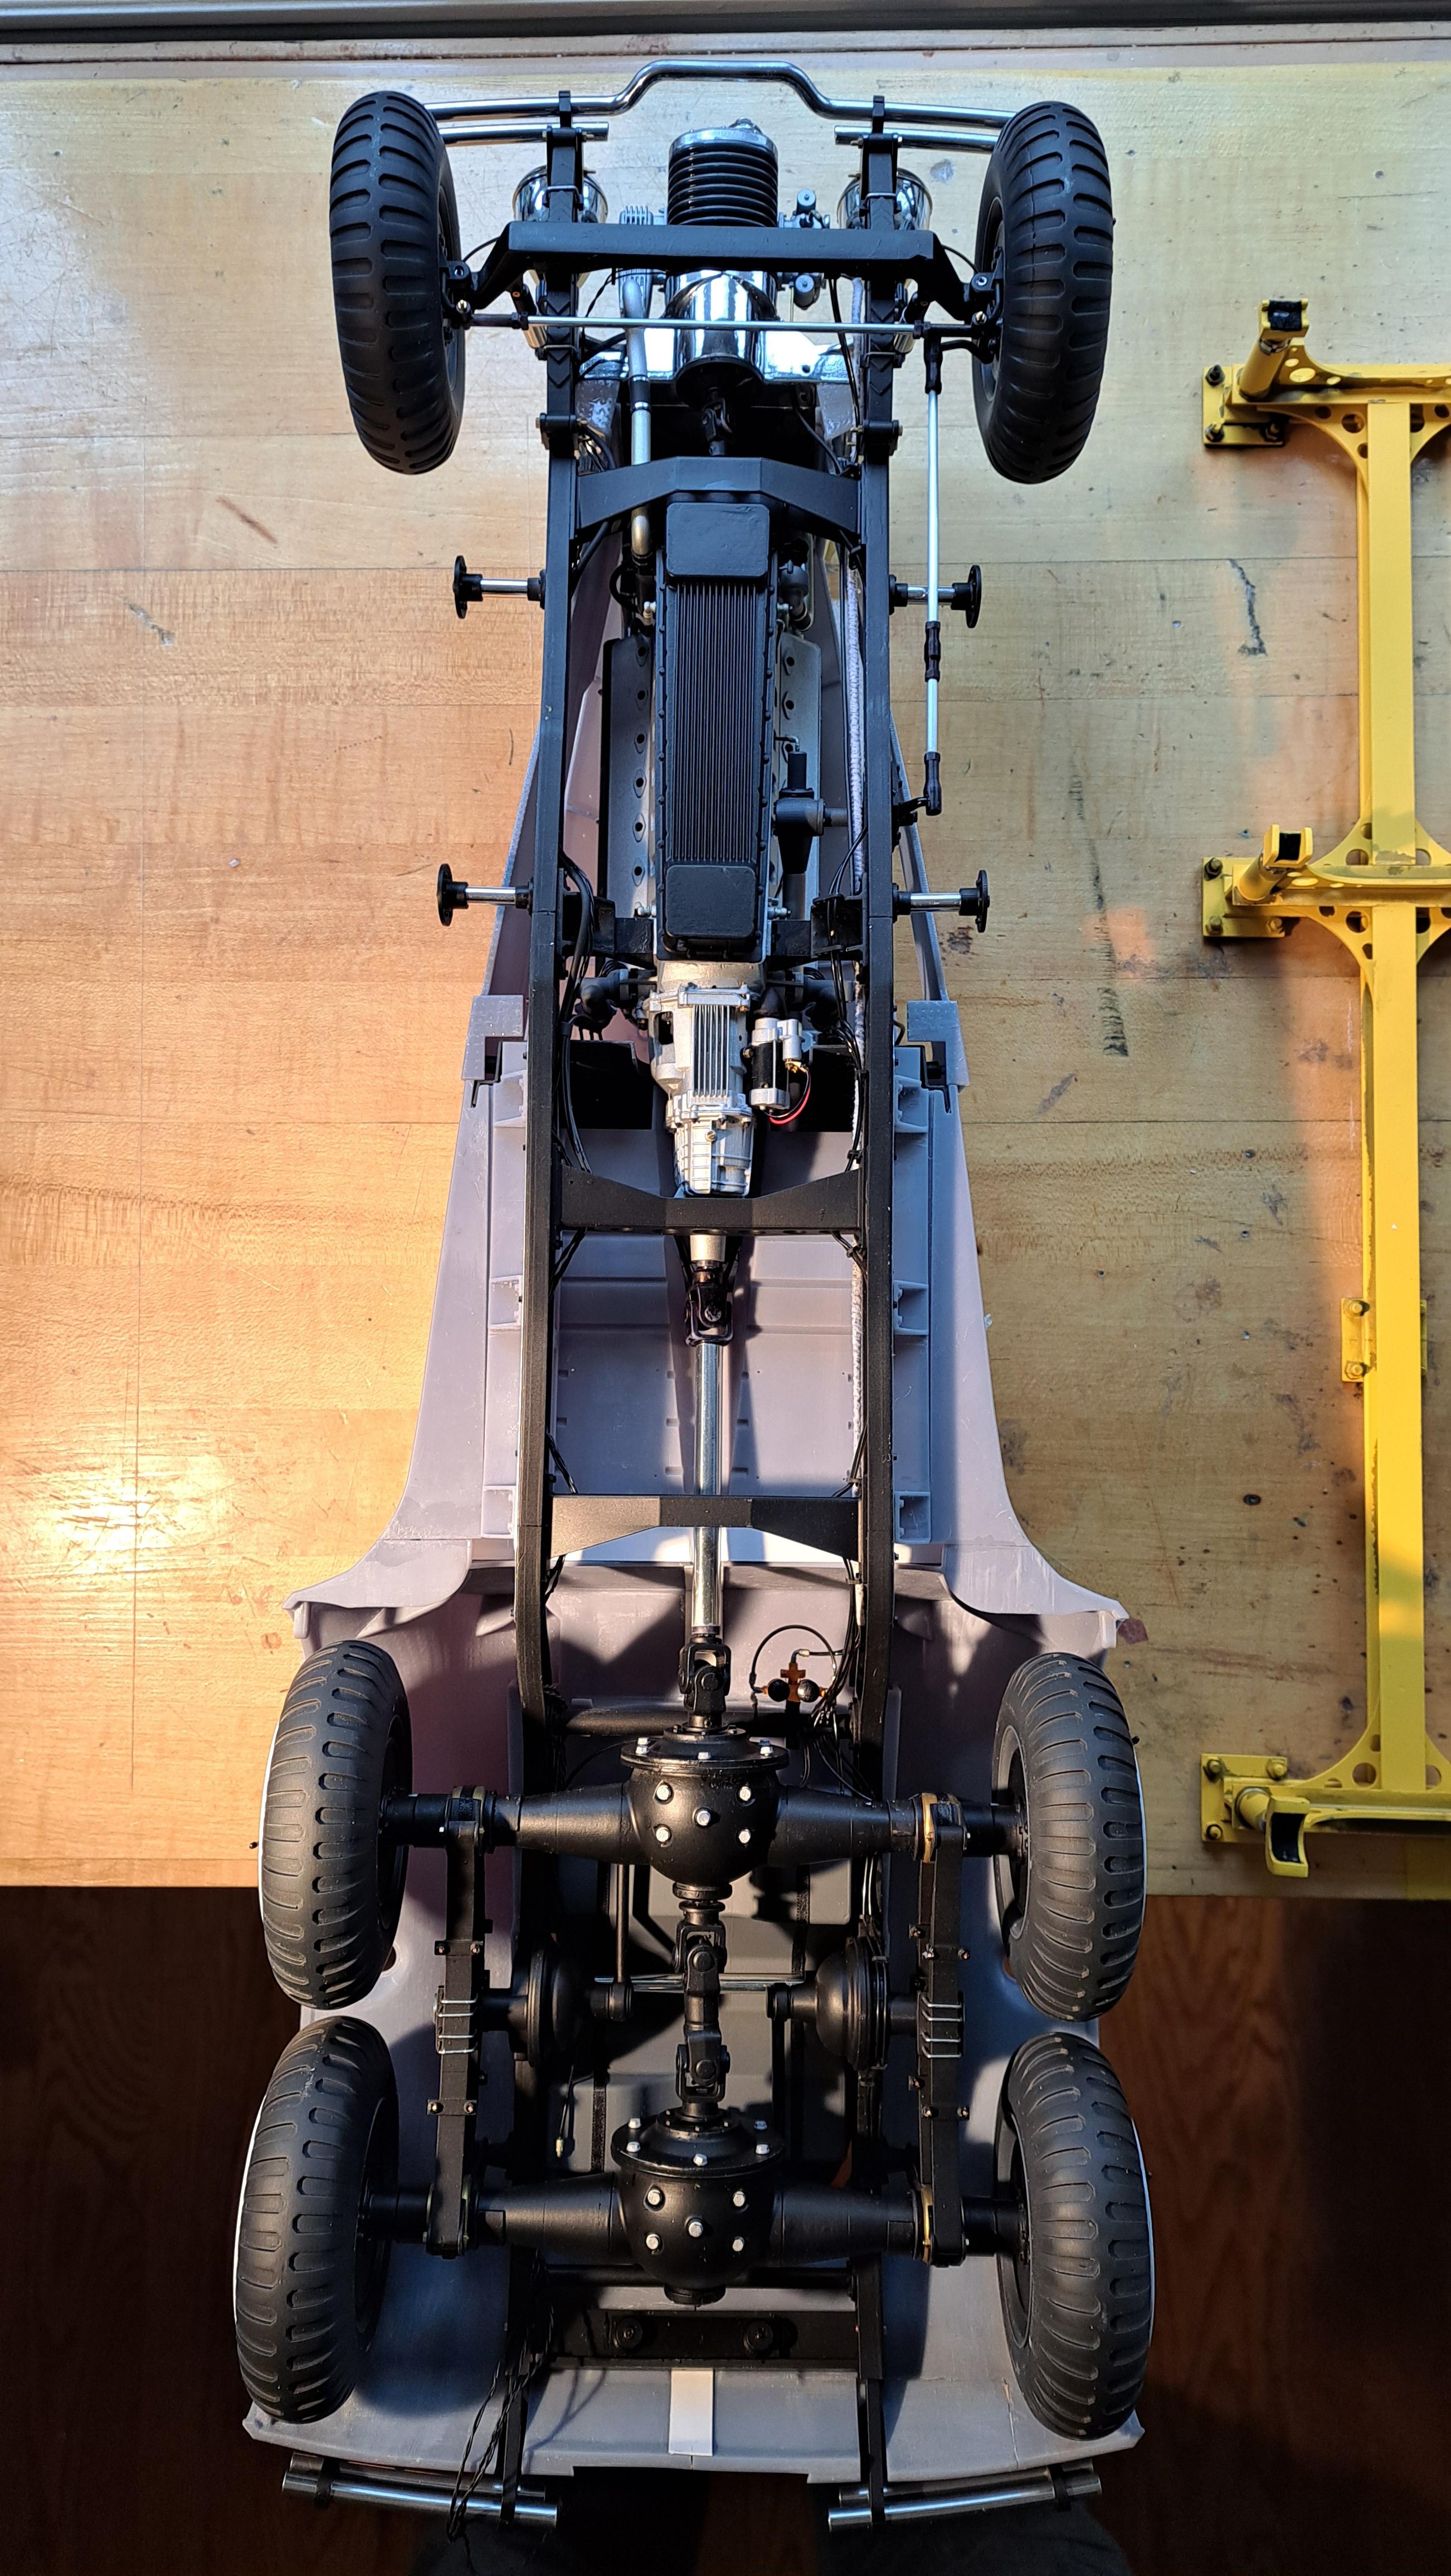
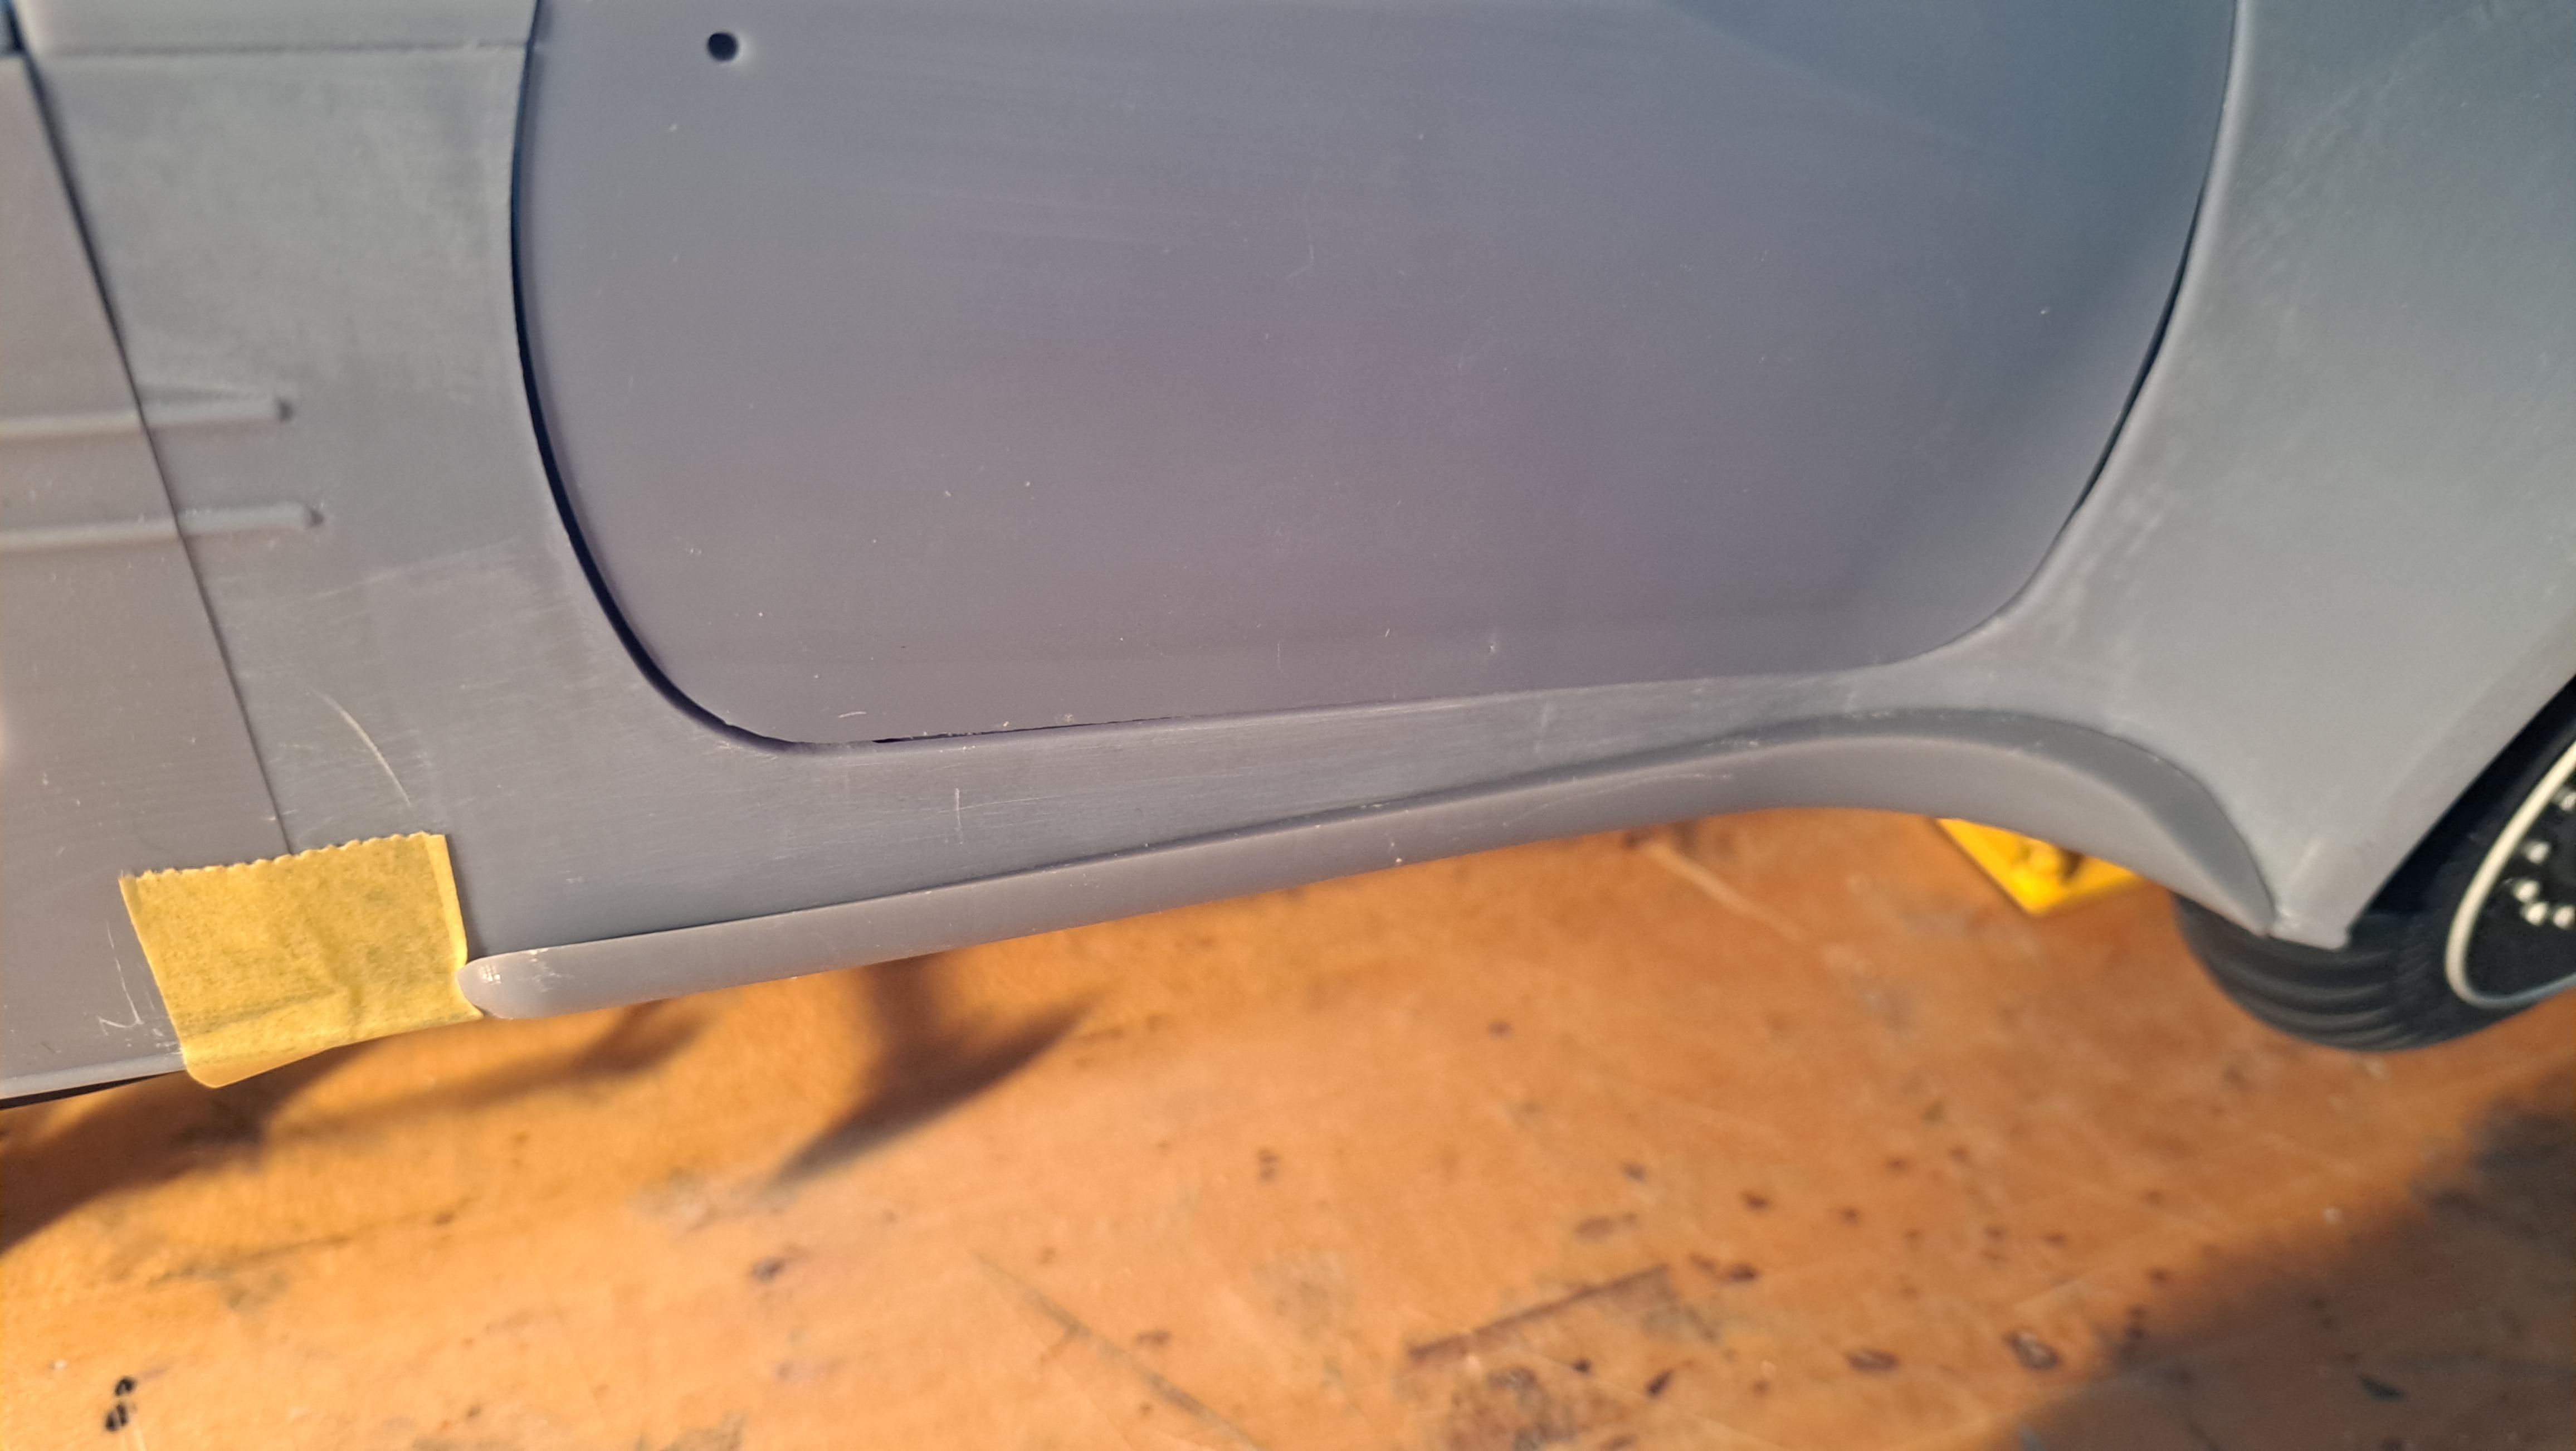
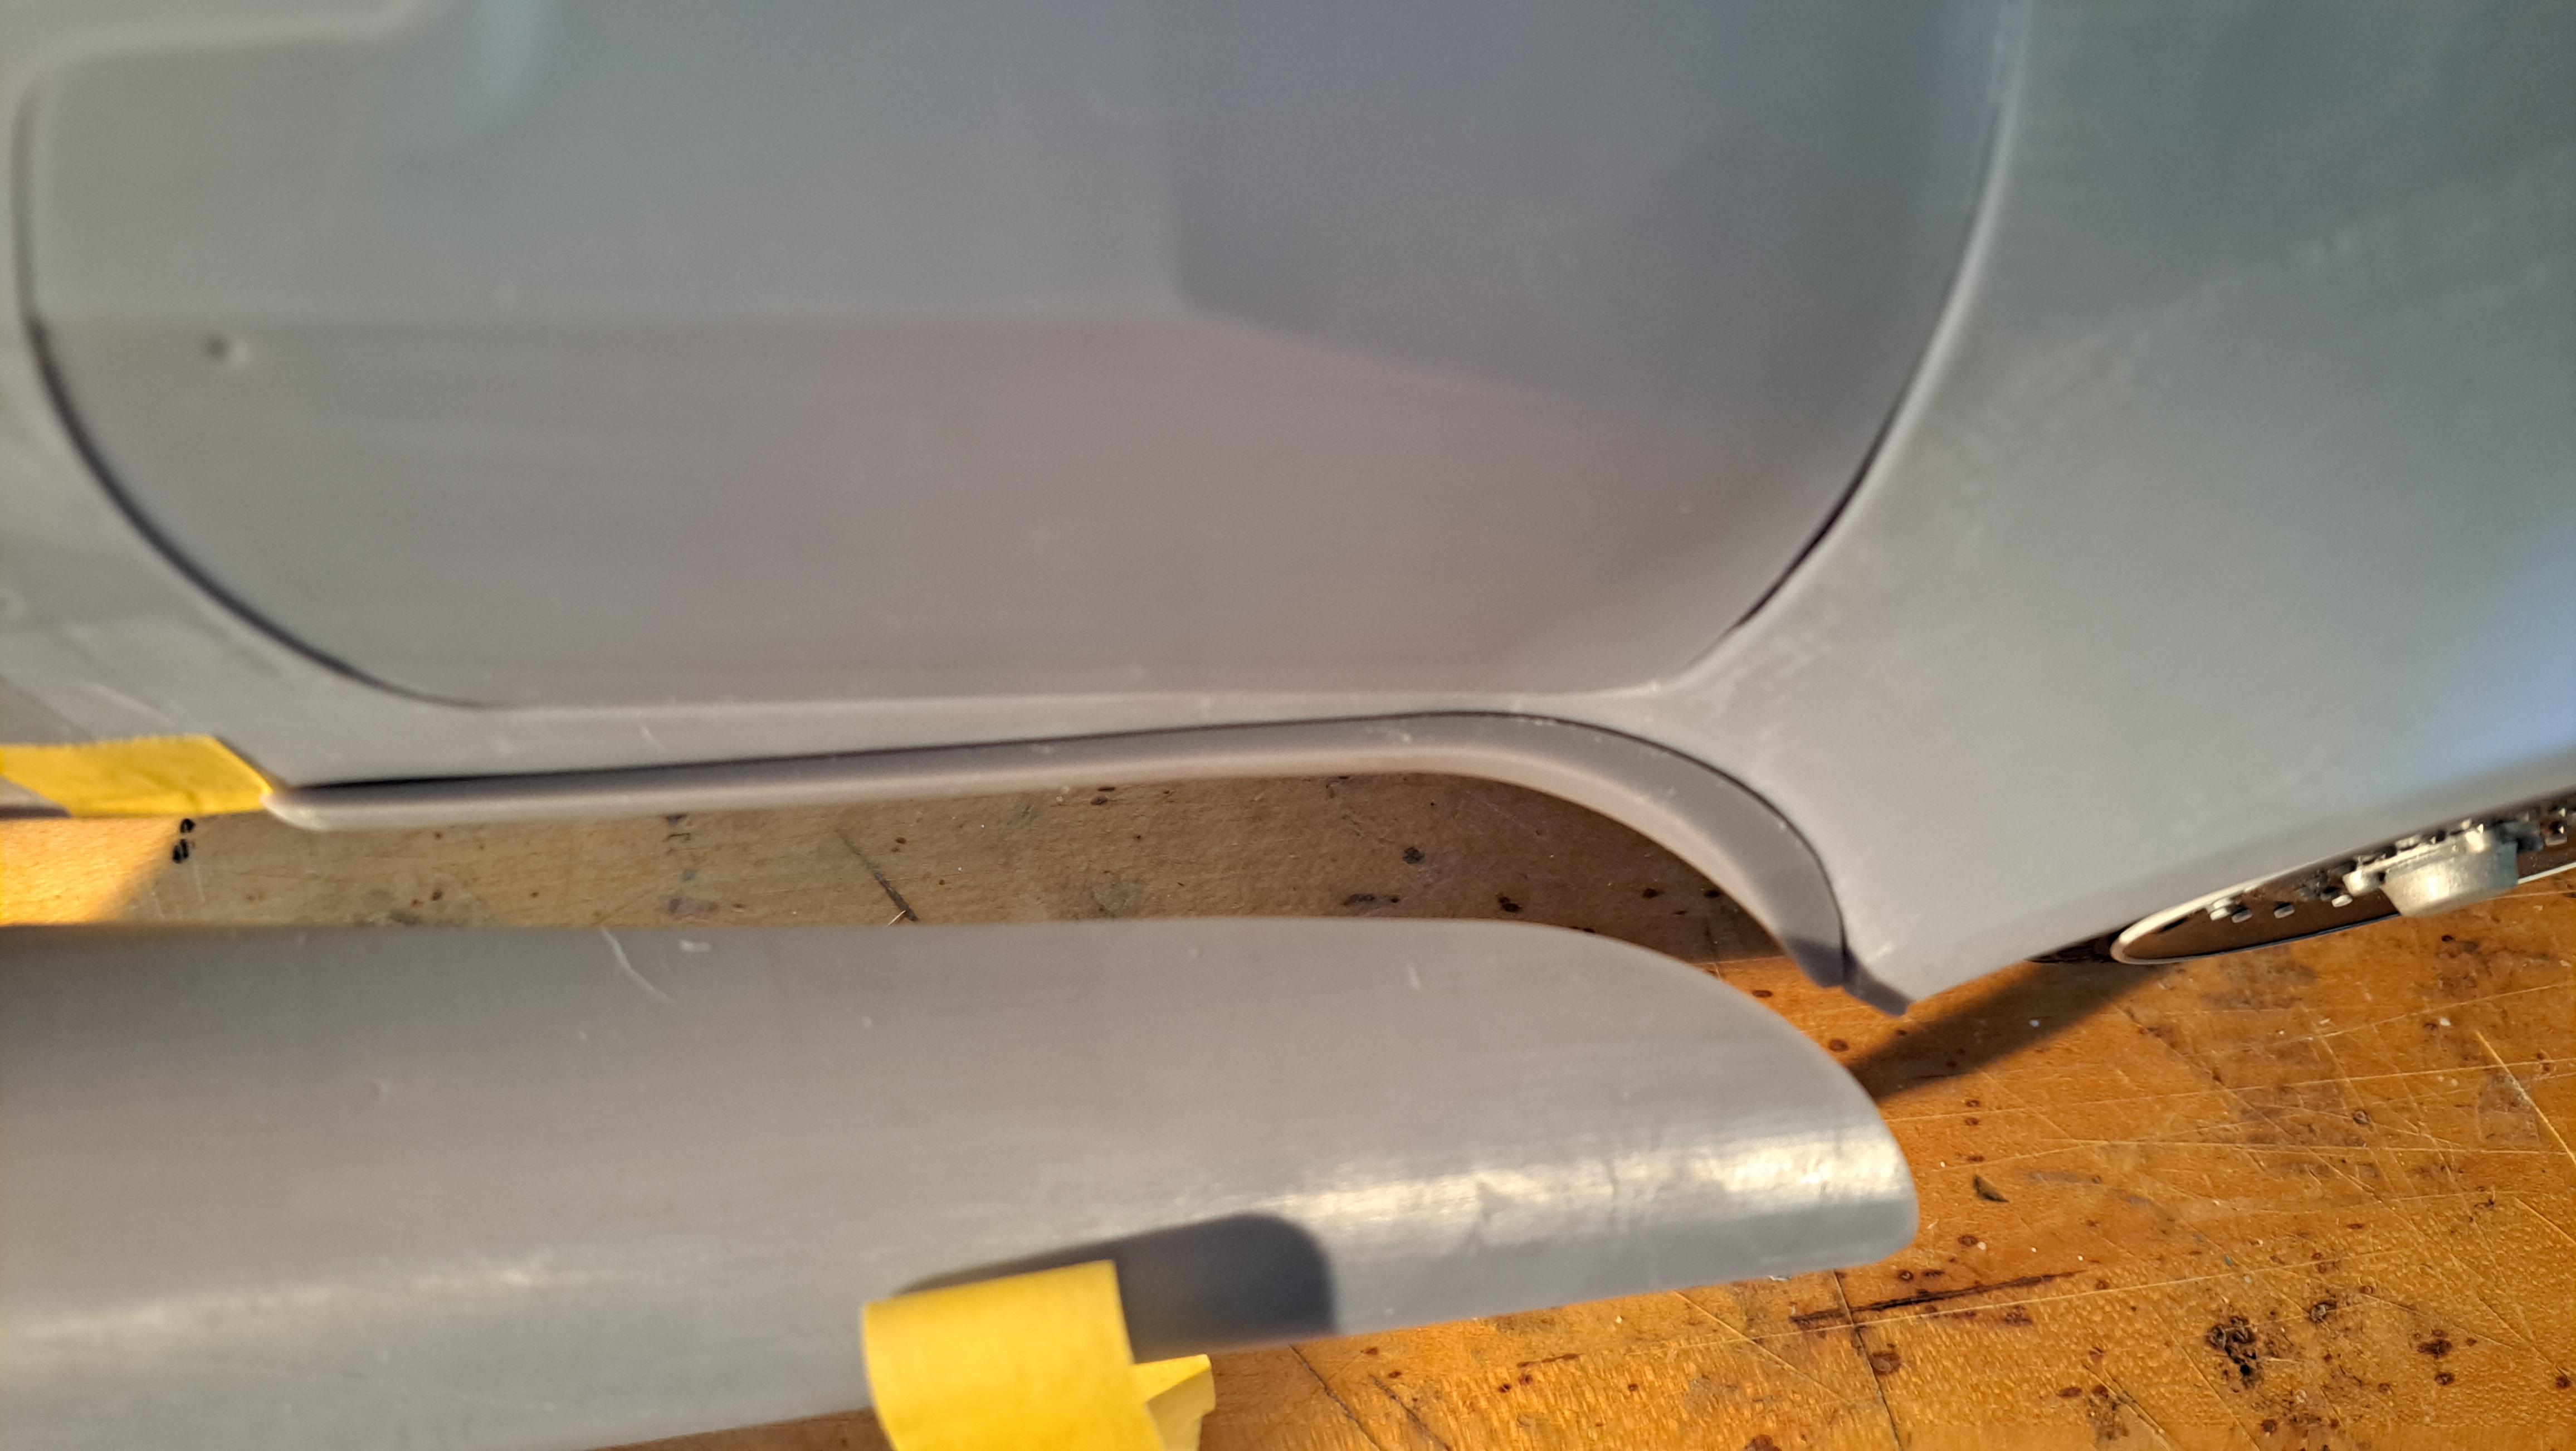
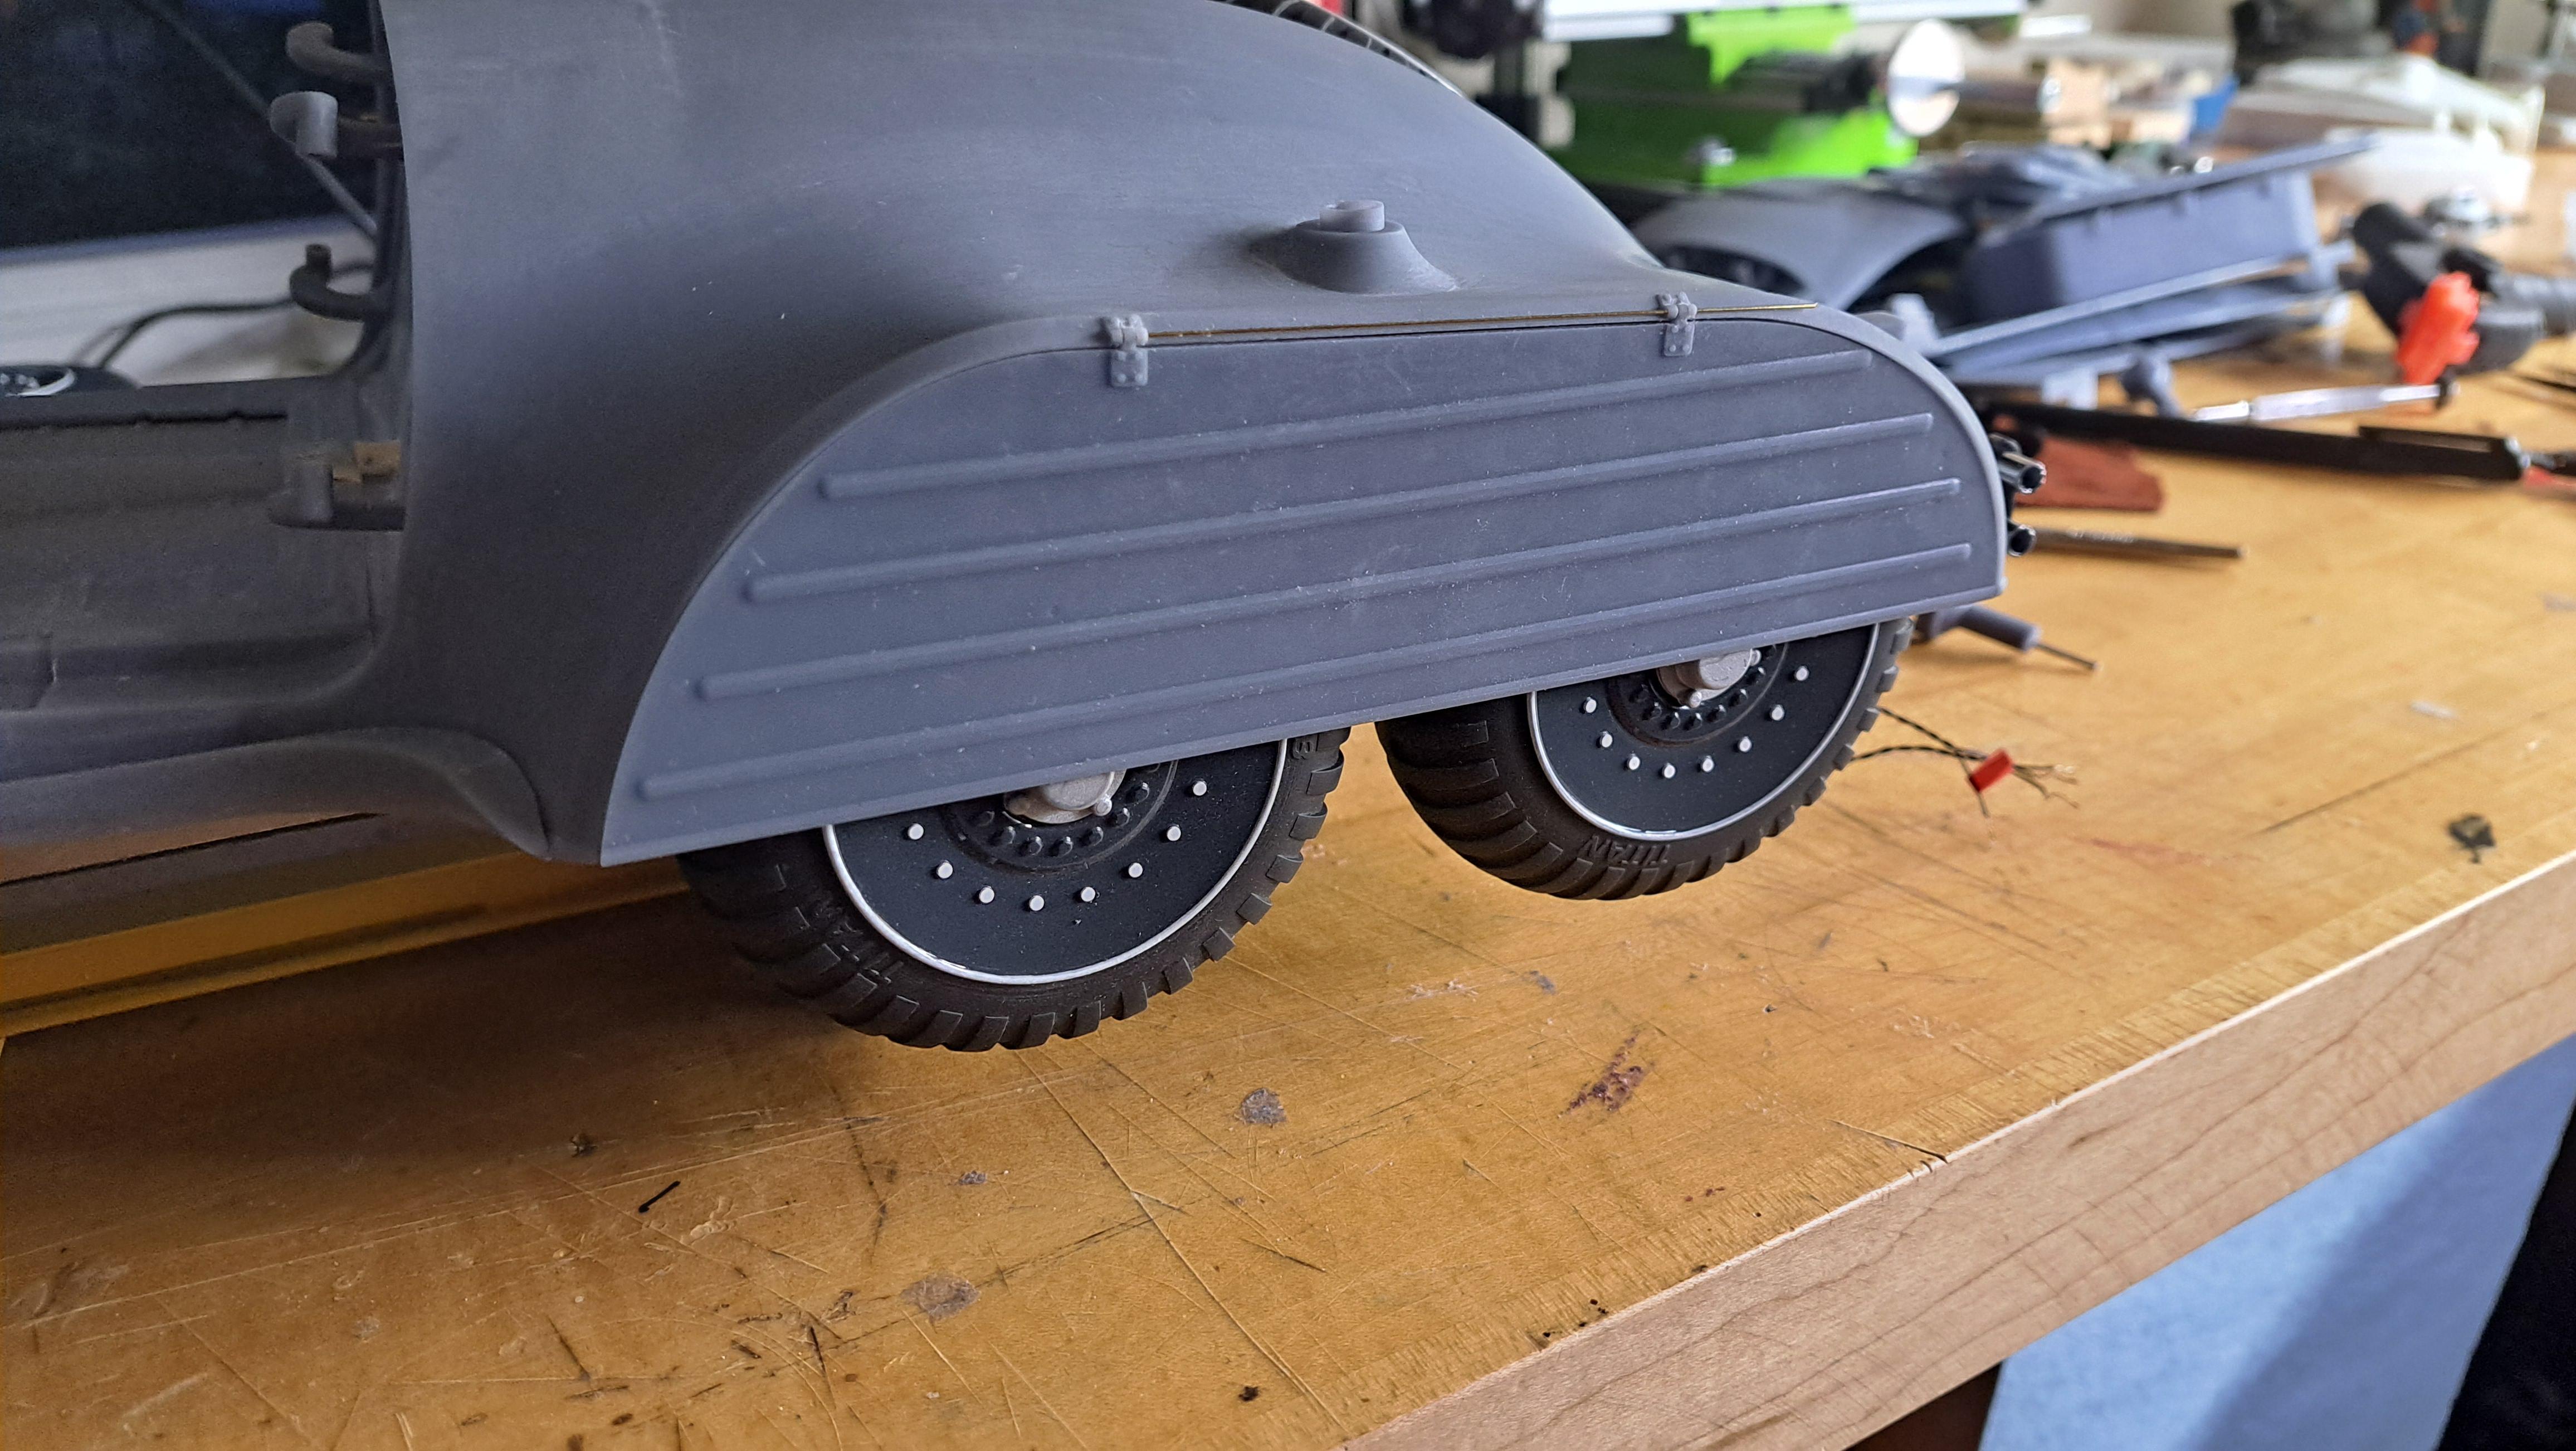
The body is slowly coming together, and the fit is surprisingly good. The doors open and close easily as does the trunk lid. I still have a lot of fitting and sanding/puttying to do. I'll ve applying a sandable primer before paint. Here are some shots as of today. I also took a few shots of the undercarriage.

View attachment 20250502_140340.mp4
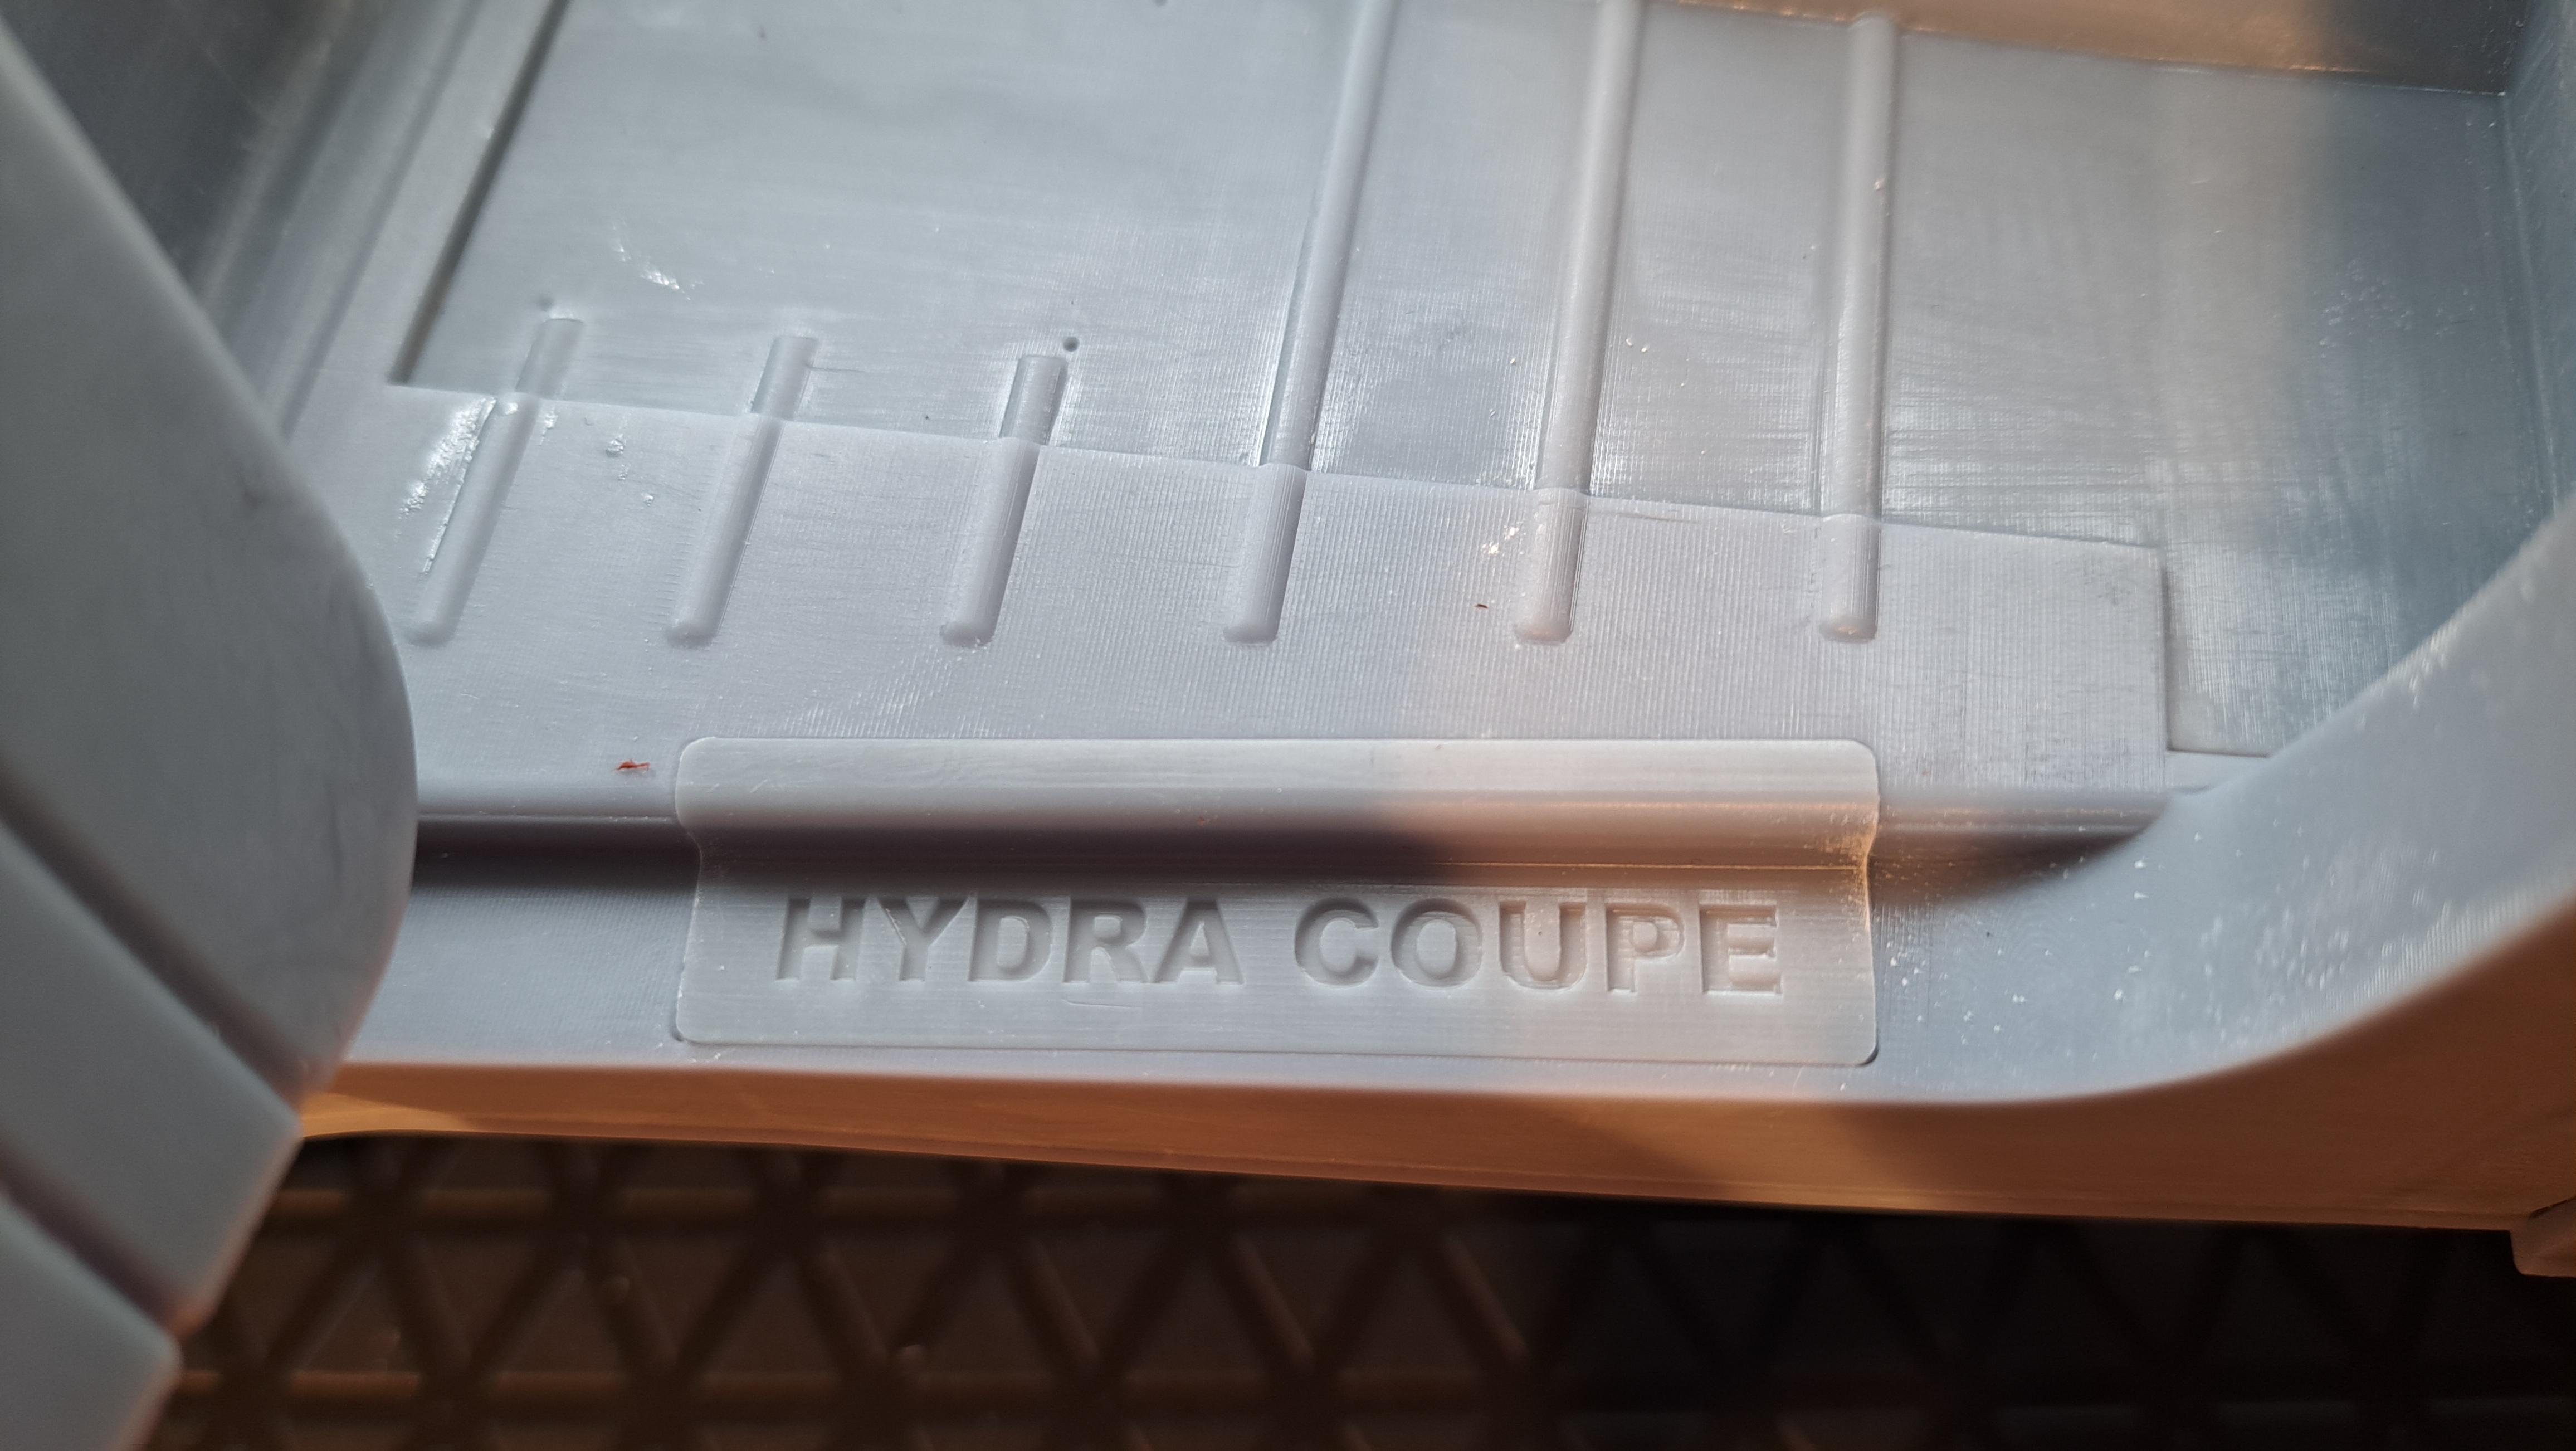
Door sill, will be chromed with black lettres
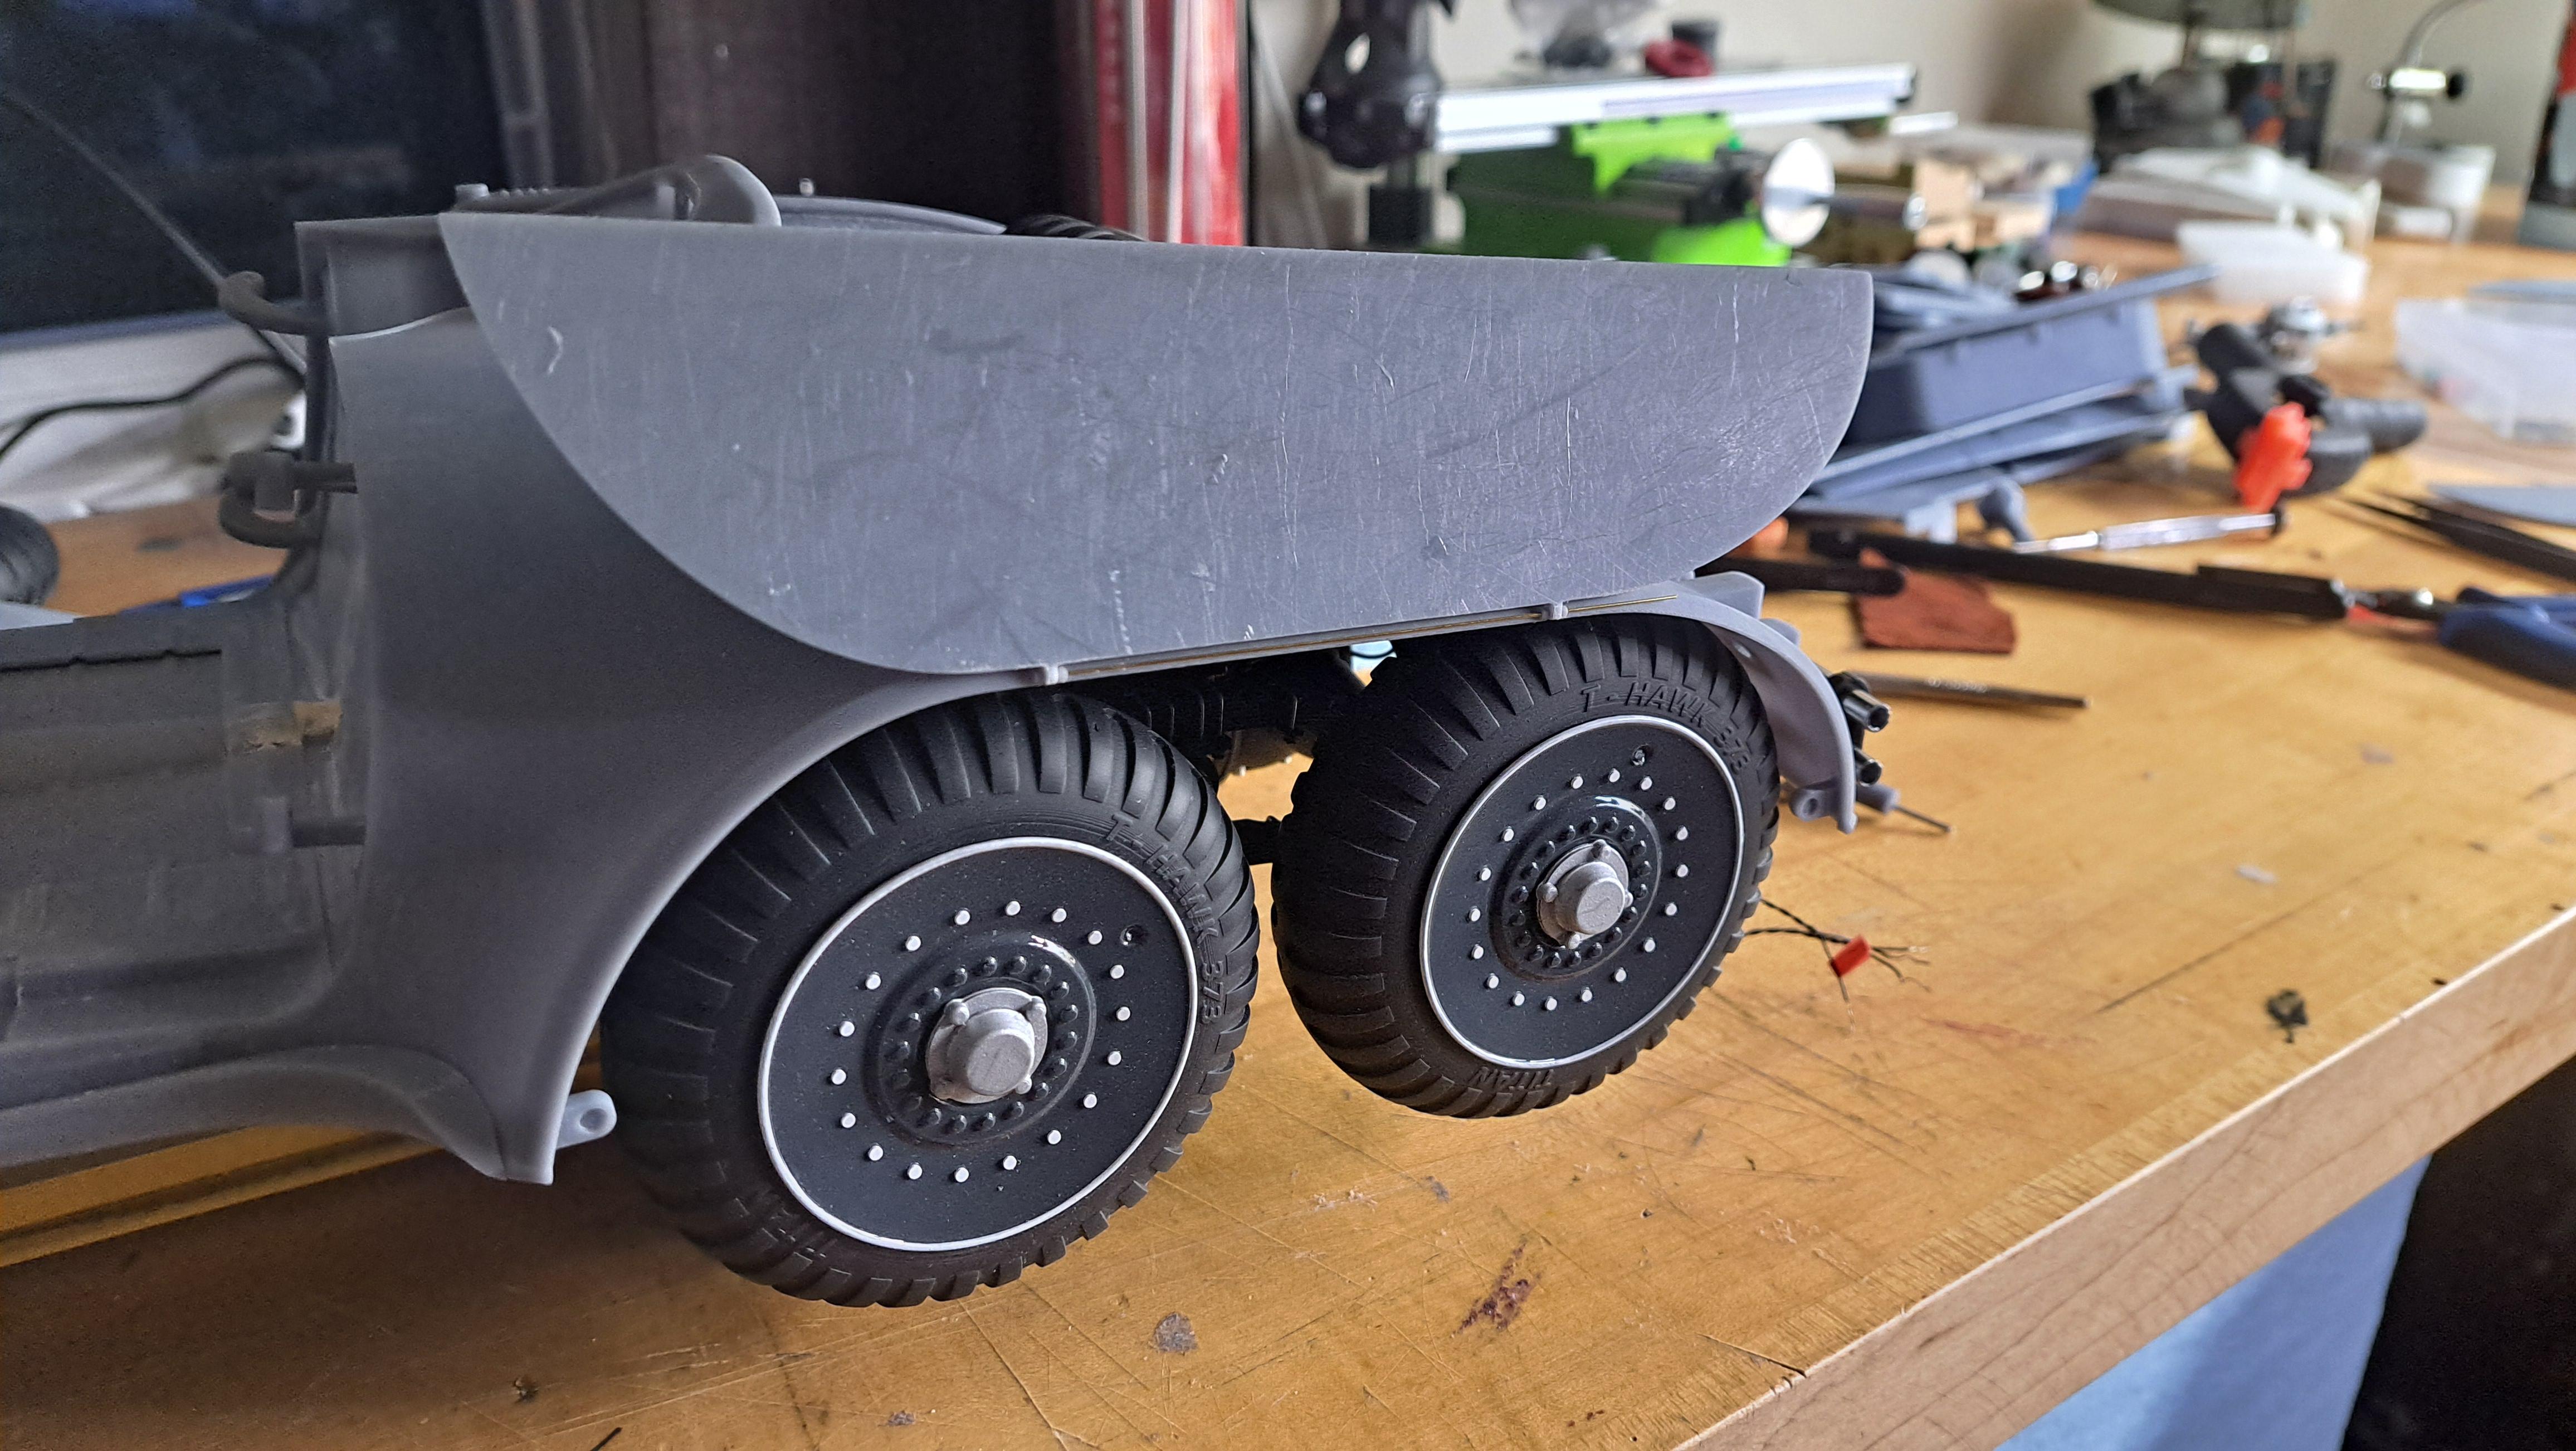
Trunk lid prop bar added

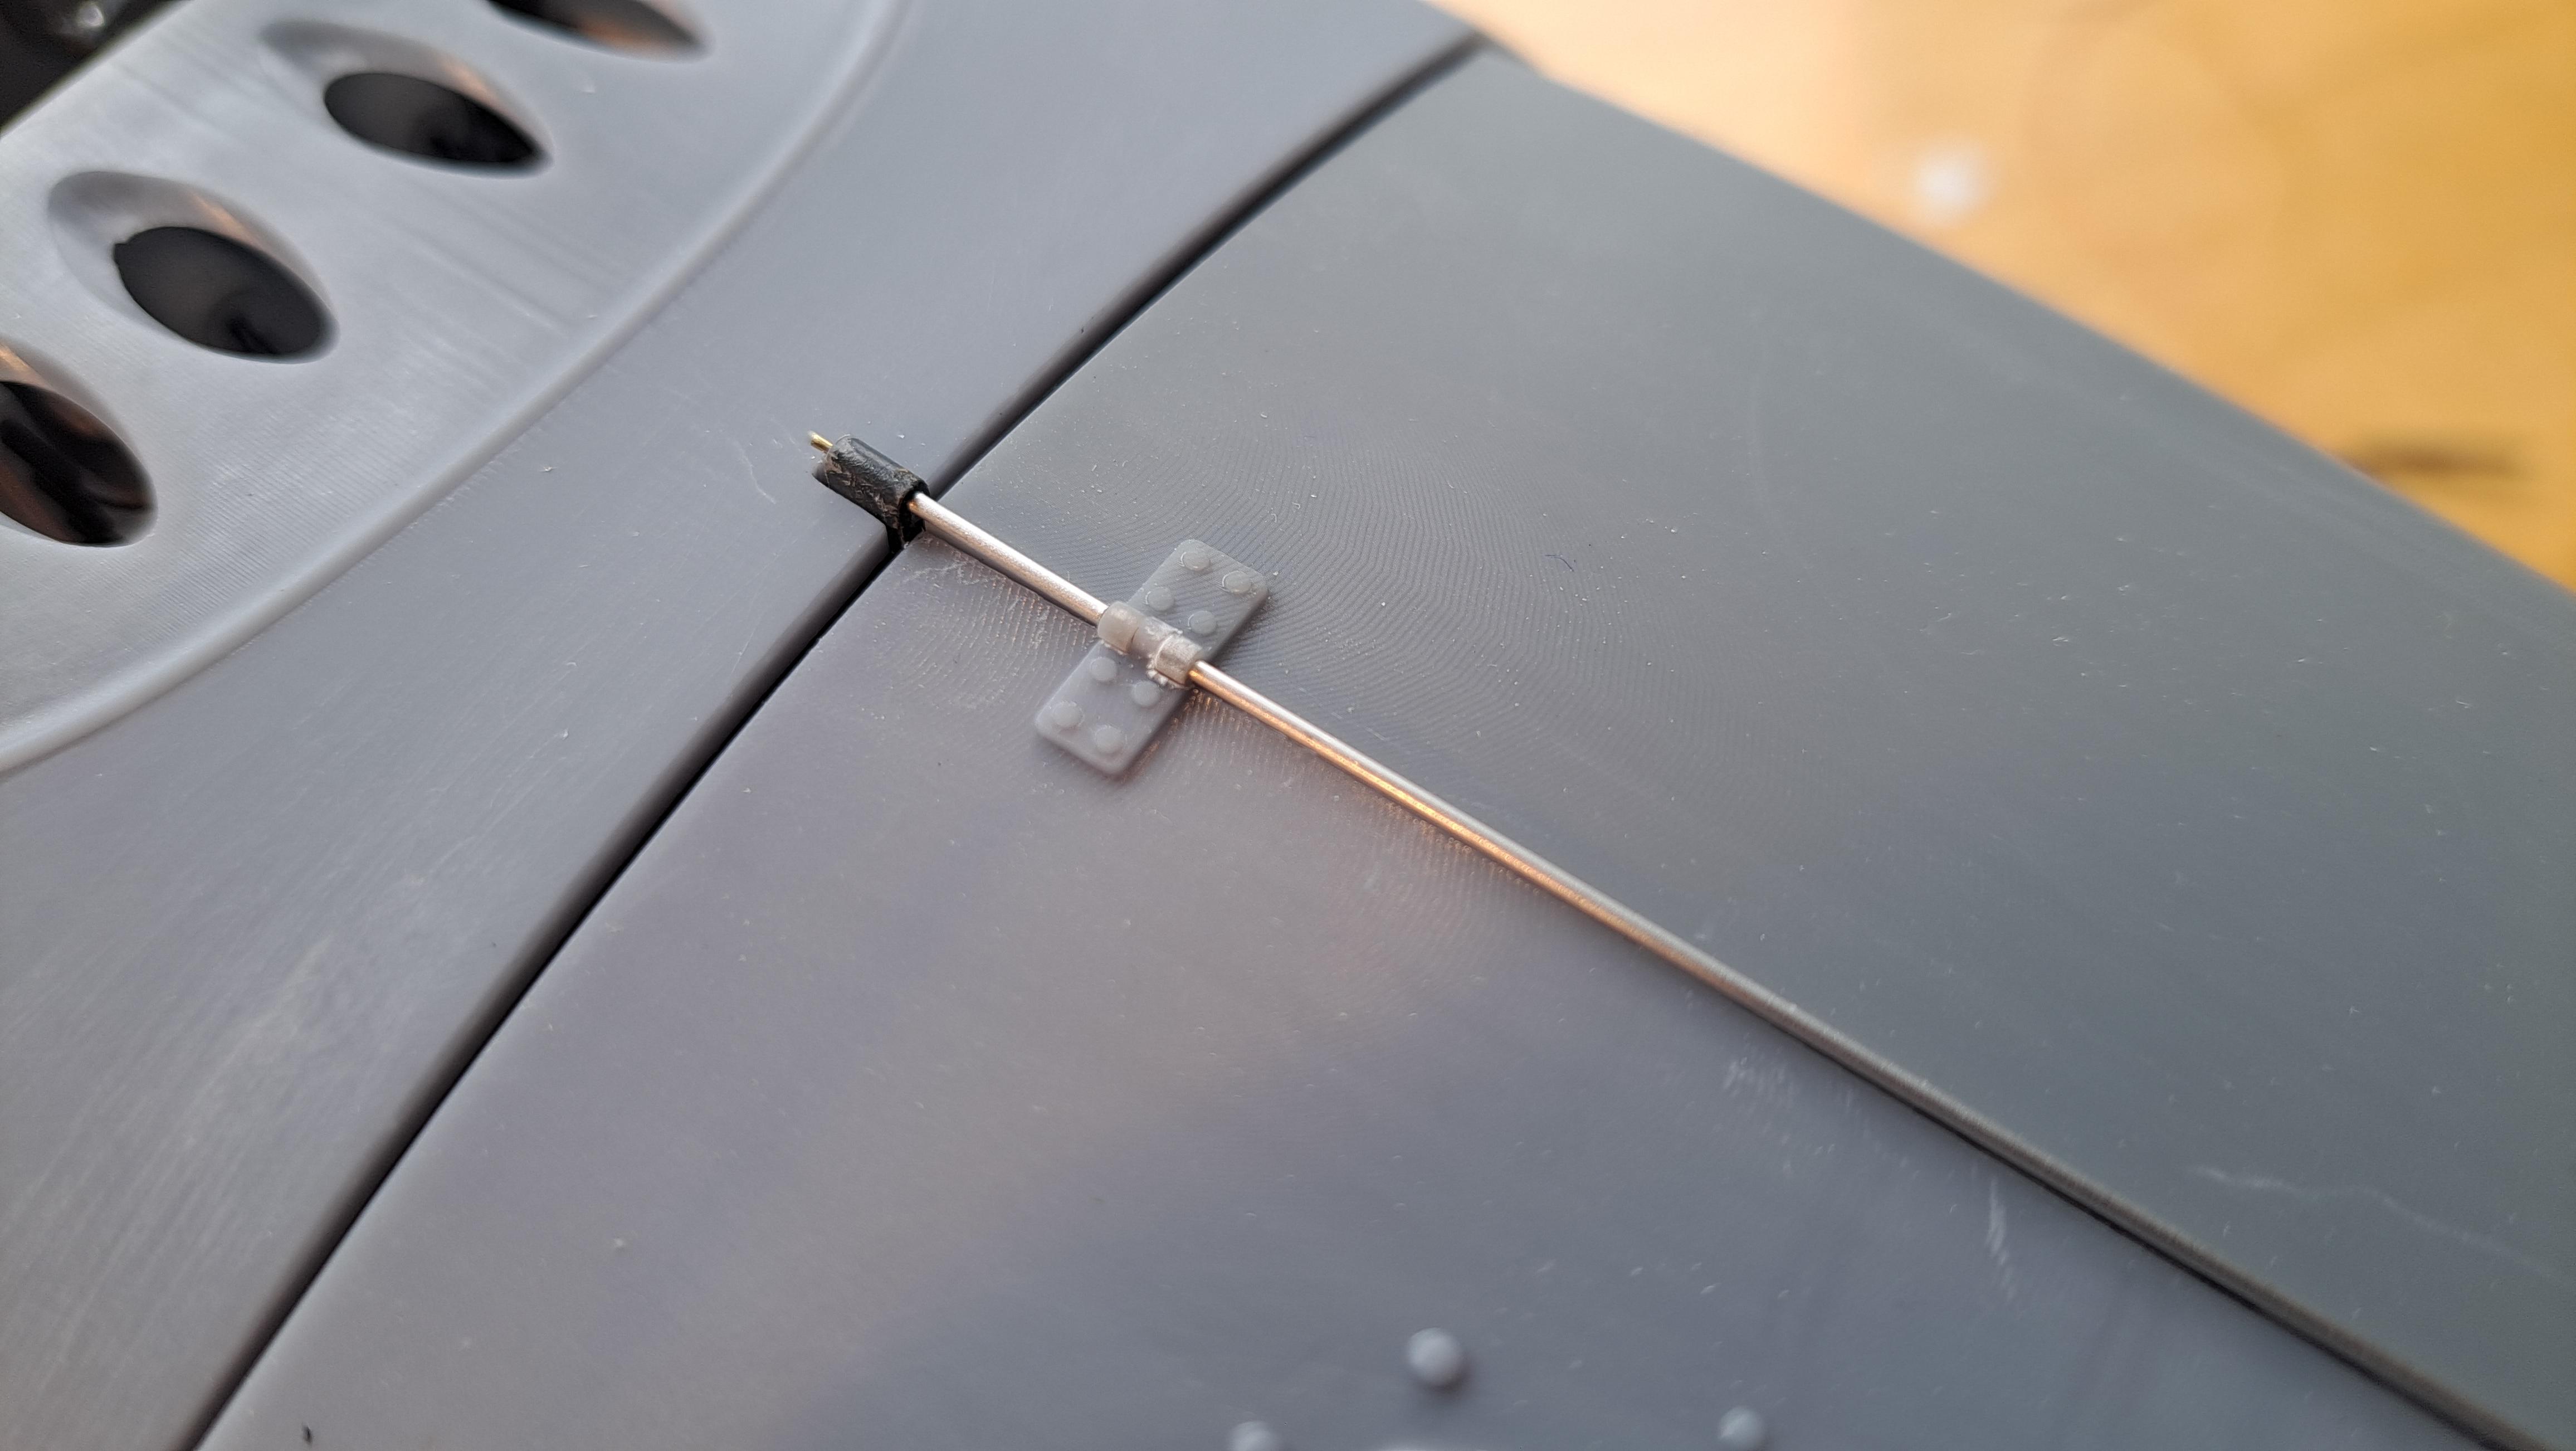
aluminium micro tubing over brass pivot rod
Leather trial, it's a nice reddish brown that I think should look pretty good with the gun ship gray of the body. (Thank you Rick for the leather)

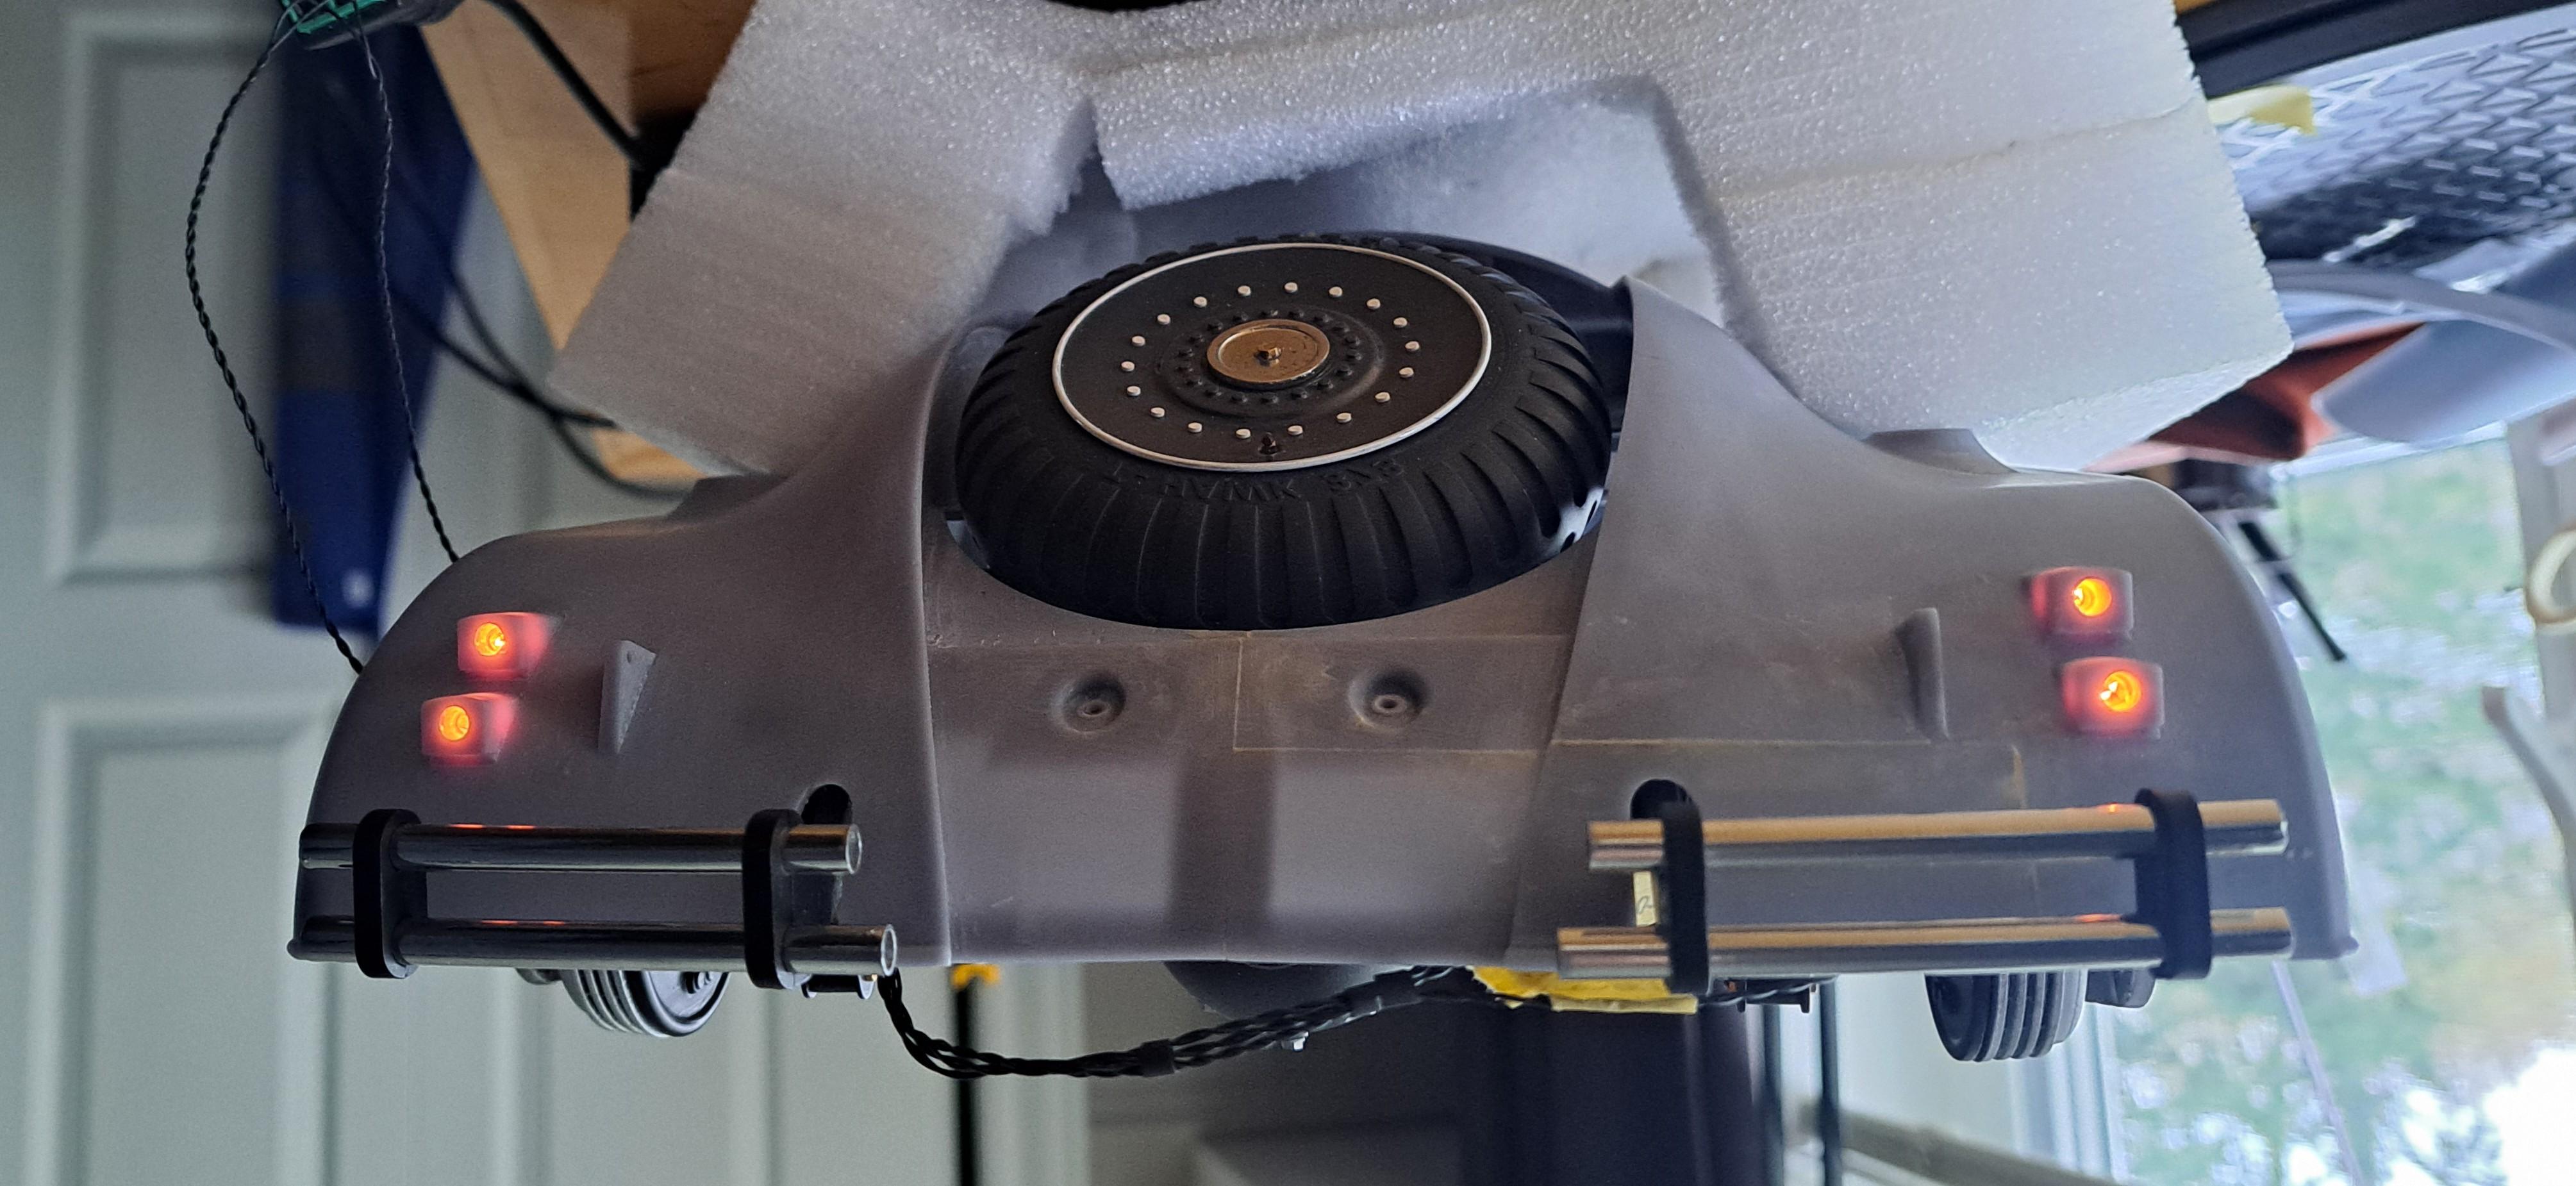
Undercarriage
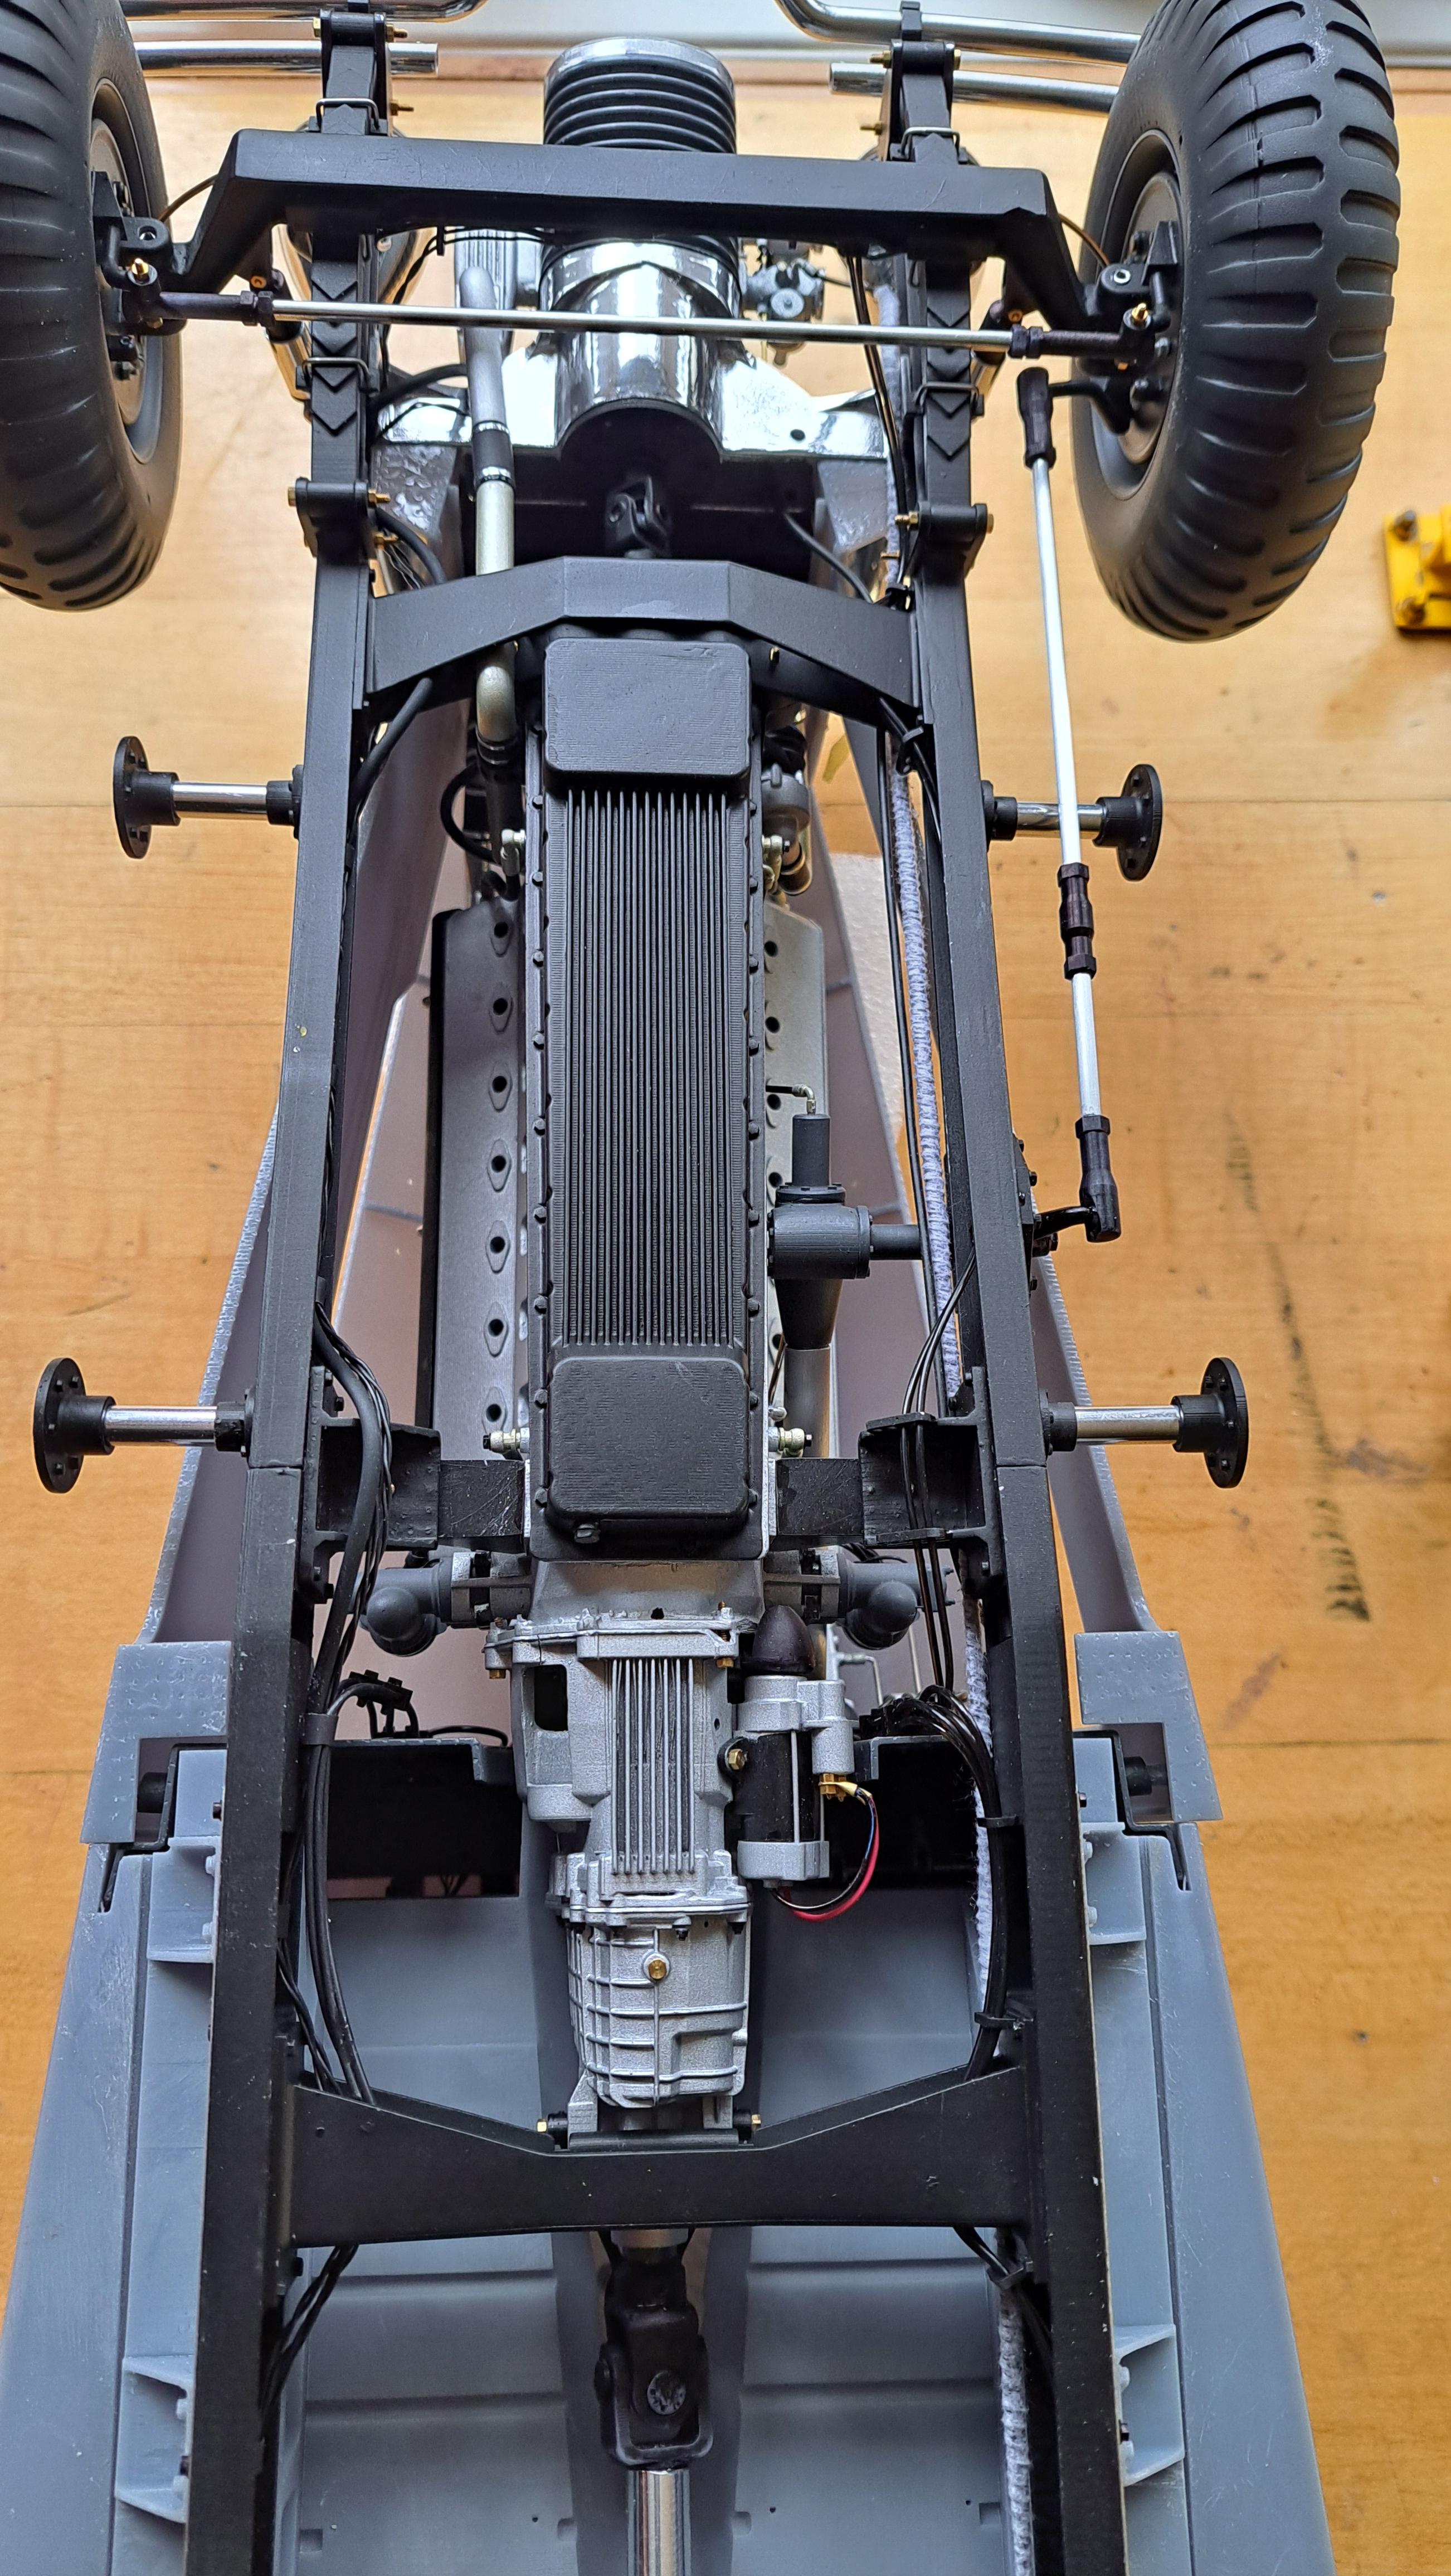
Close up of the wired starter

View attachment 20250502_140340.mp4
Door sill, will be chromed with black lettres
Trunk lid prop bar added
aluminium micro tubing over brass pivot rod
Leather trial, it's a nice reddish brown that I think should look pretty good with the gun ship gray of the body. (Thank you Rick for the leather)
Undercarriage
Close up of the wired starter
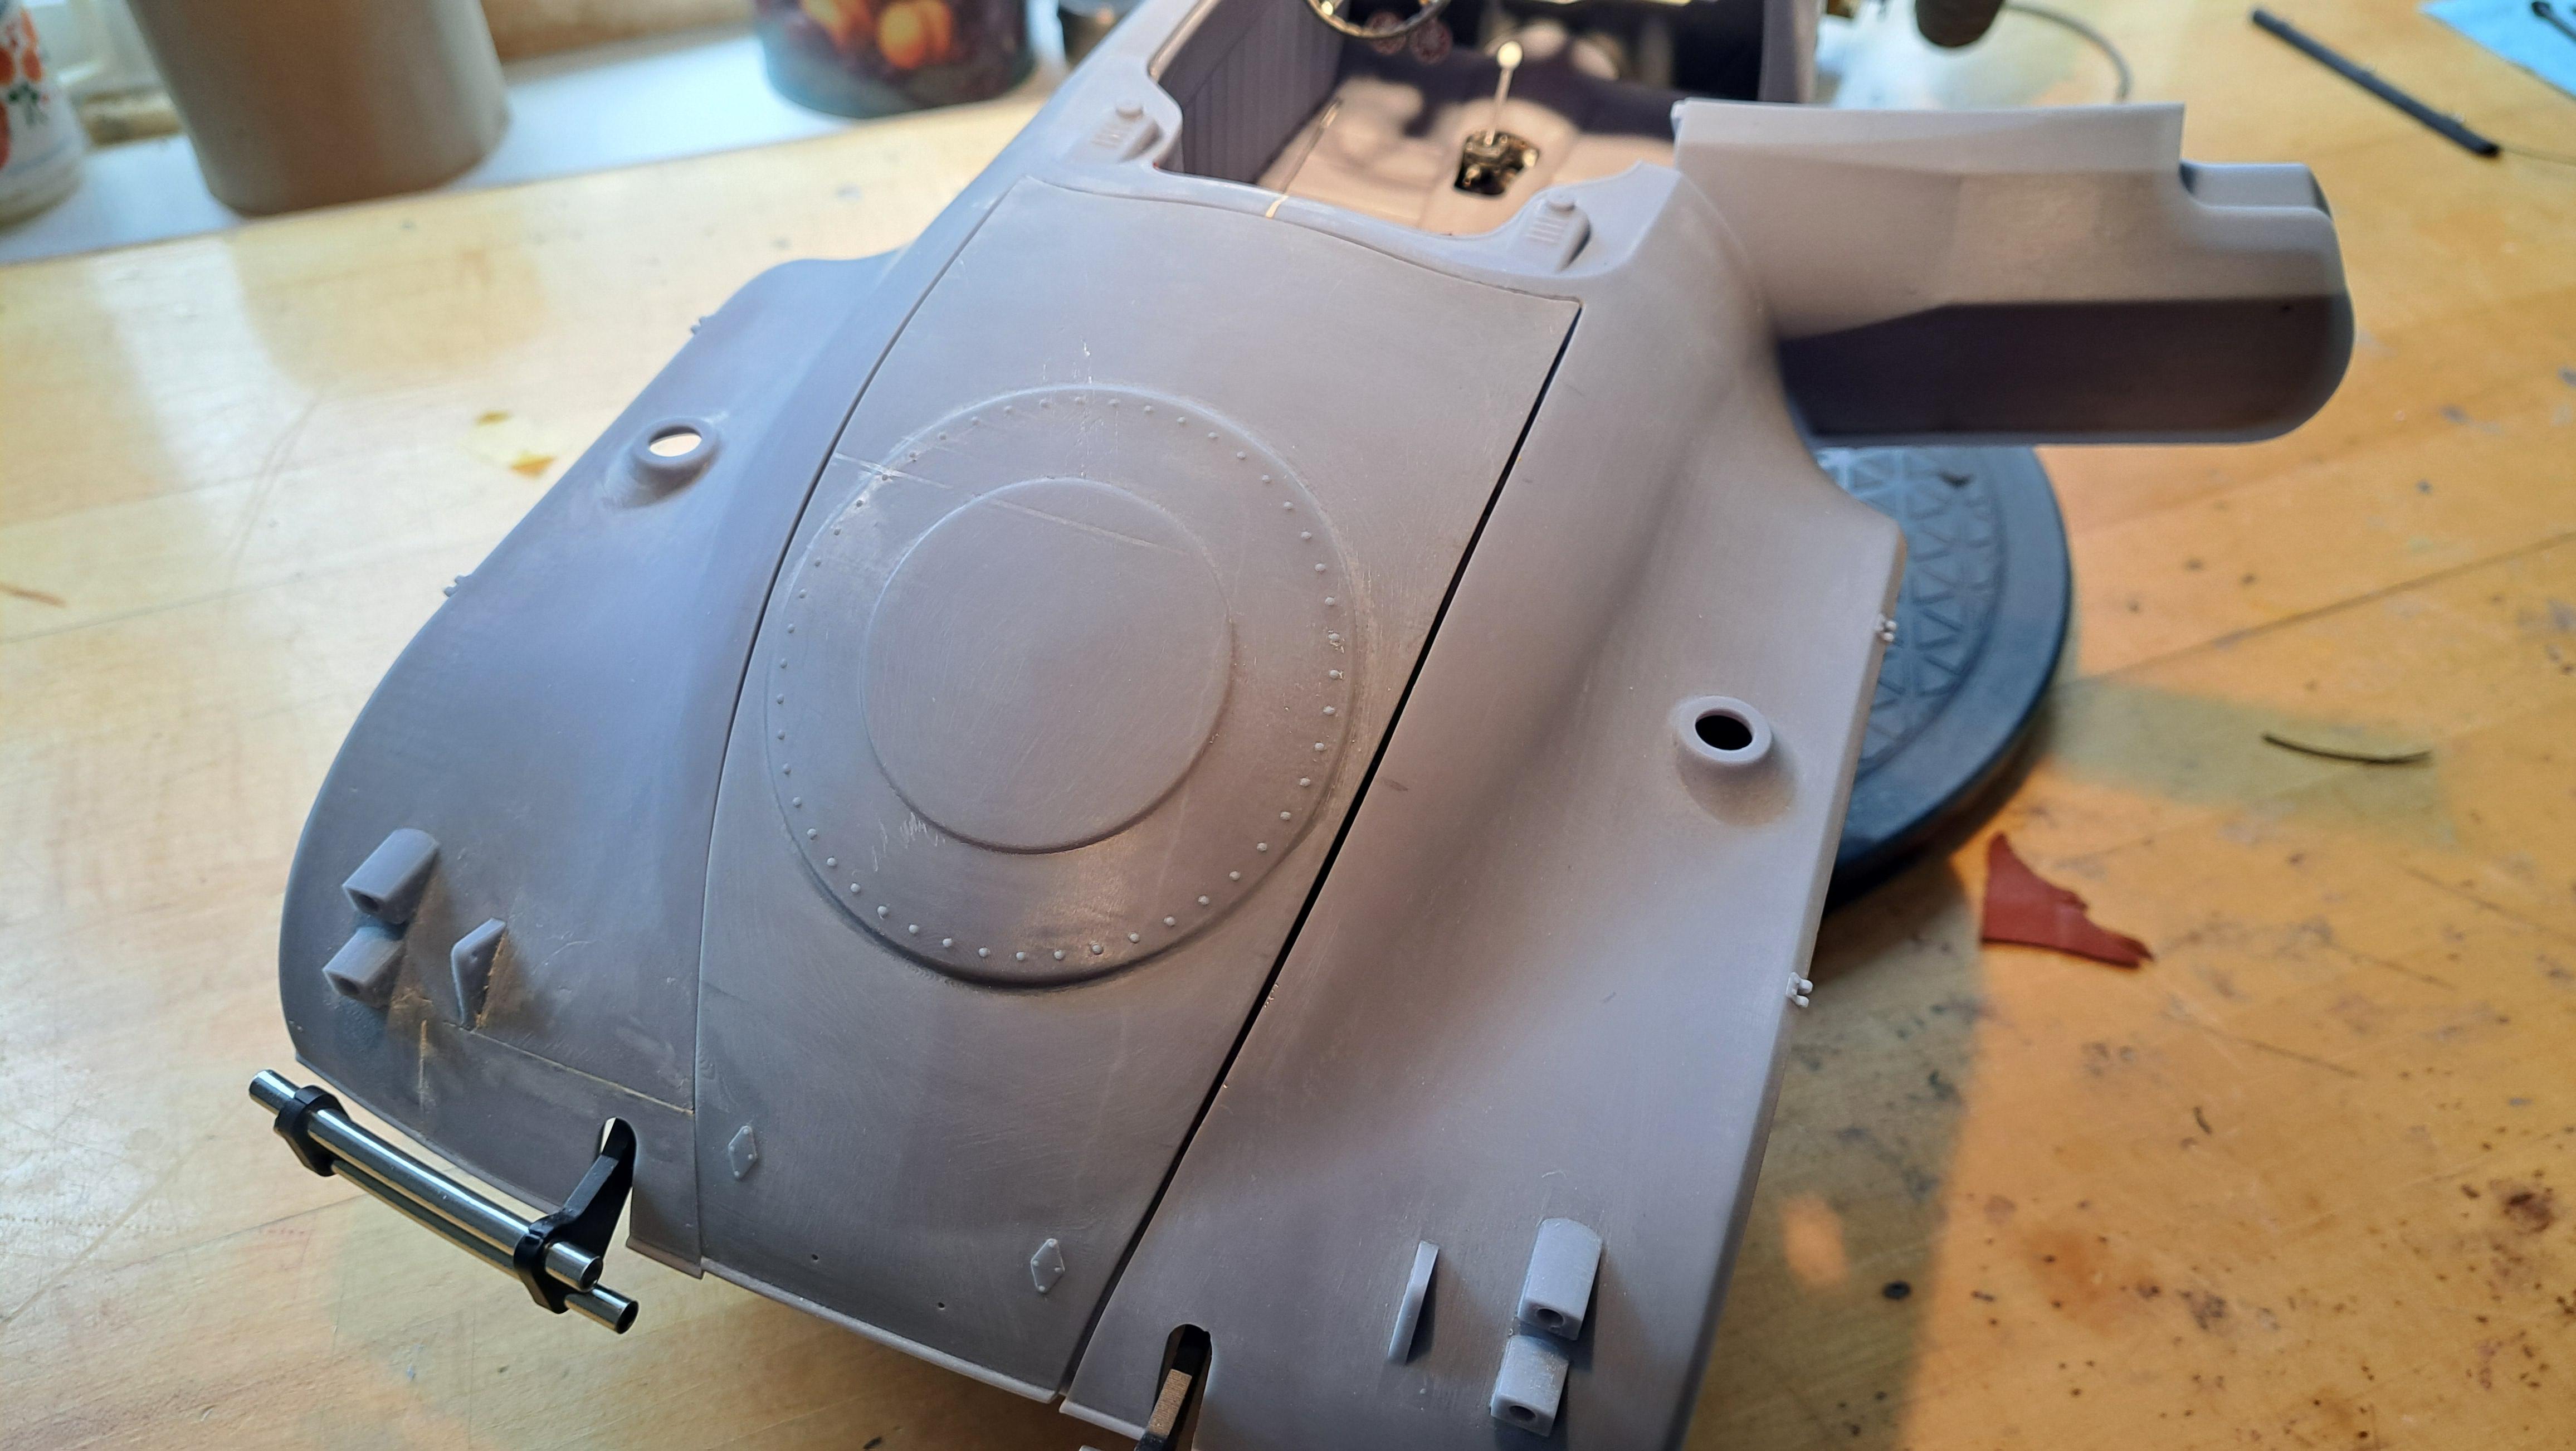
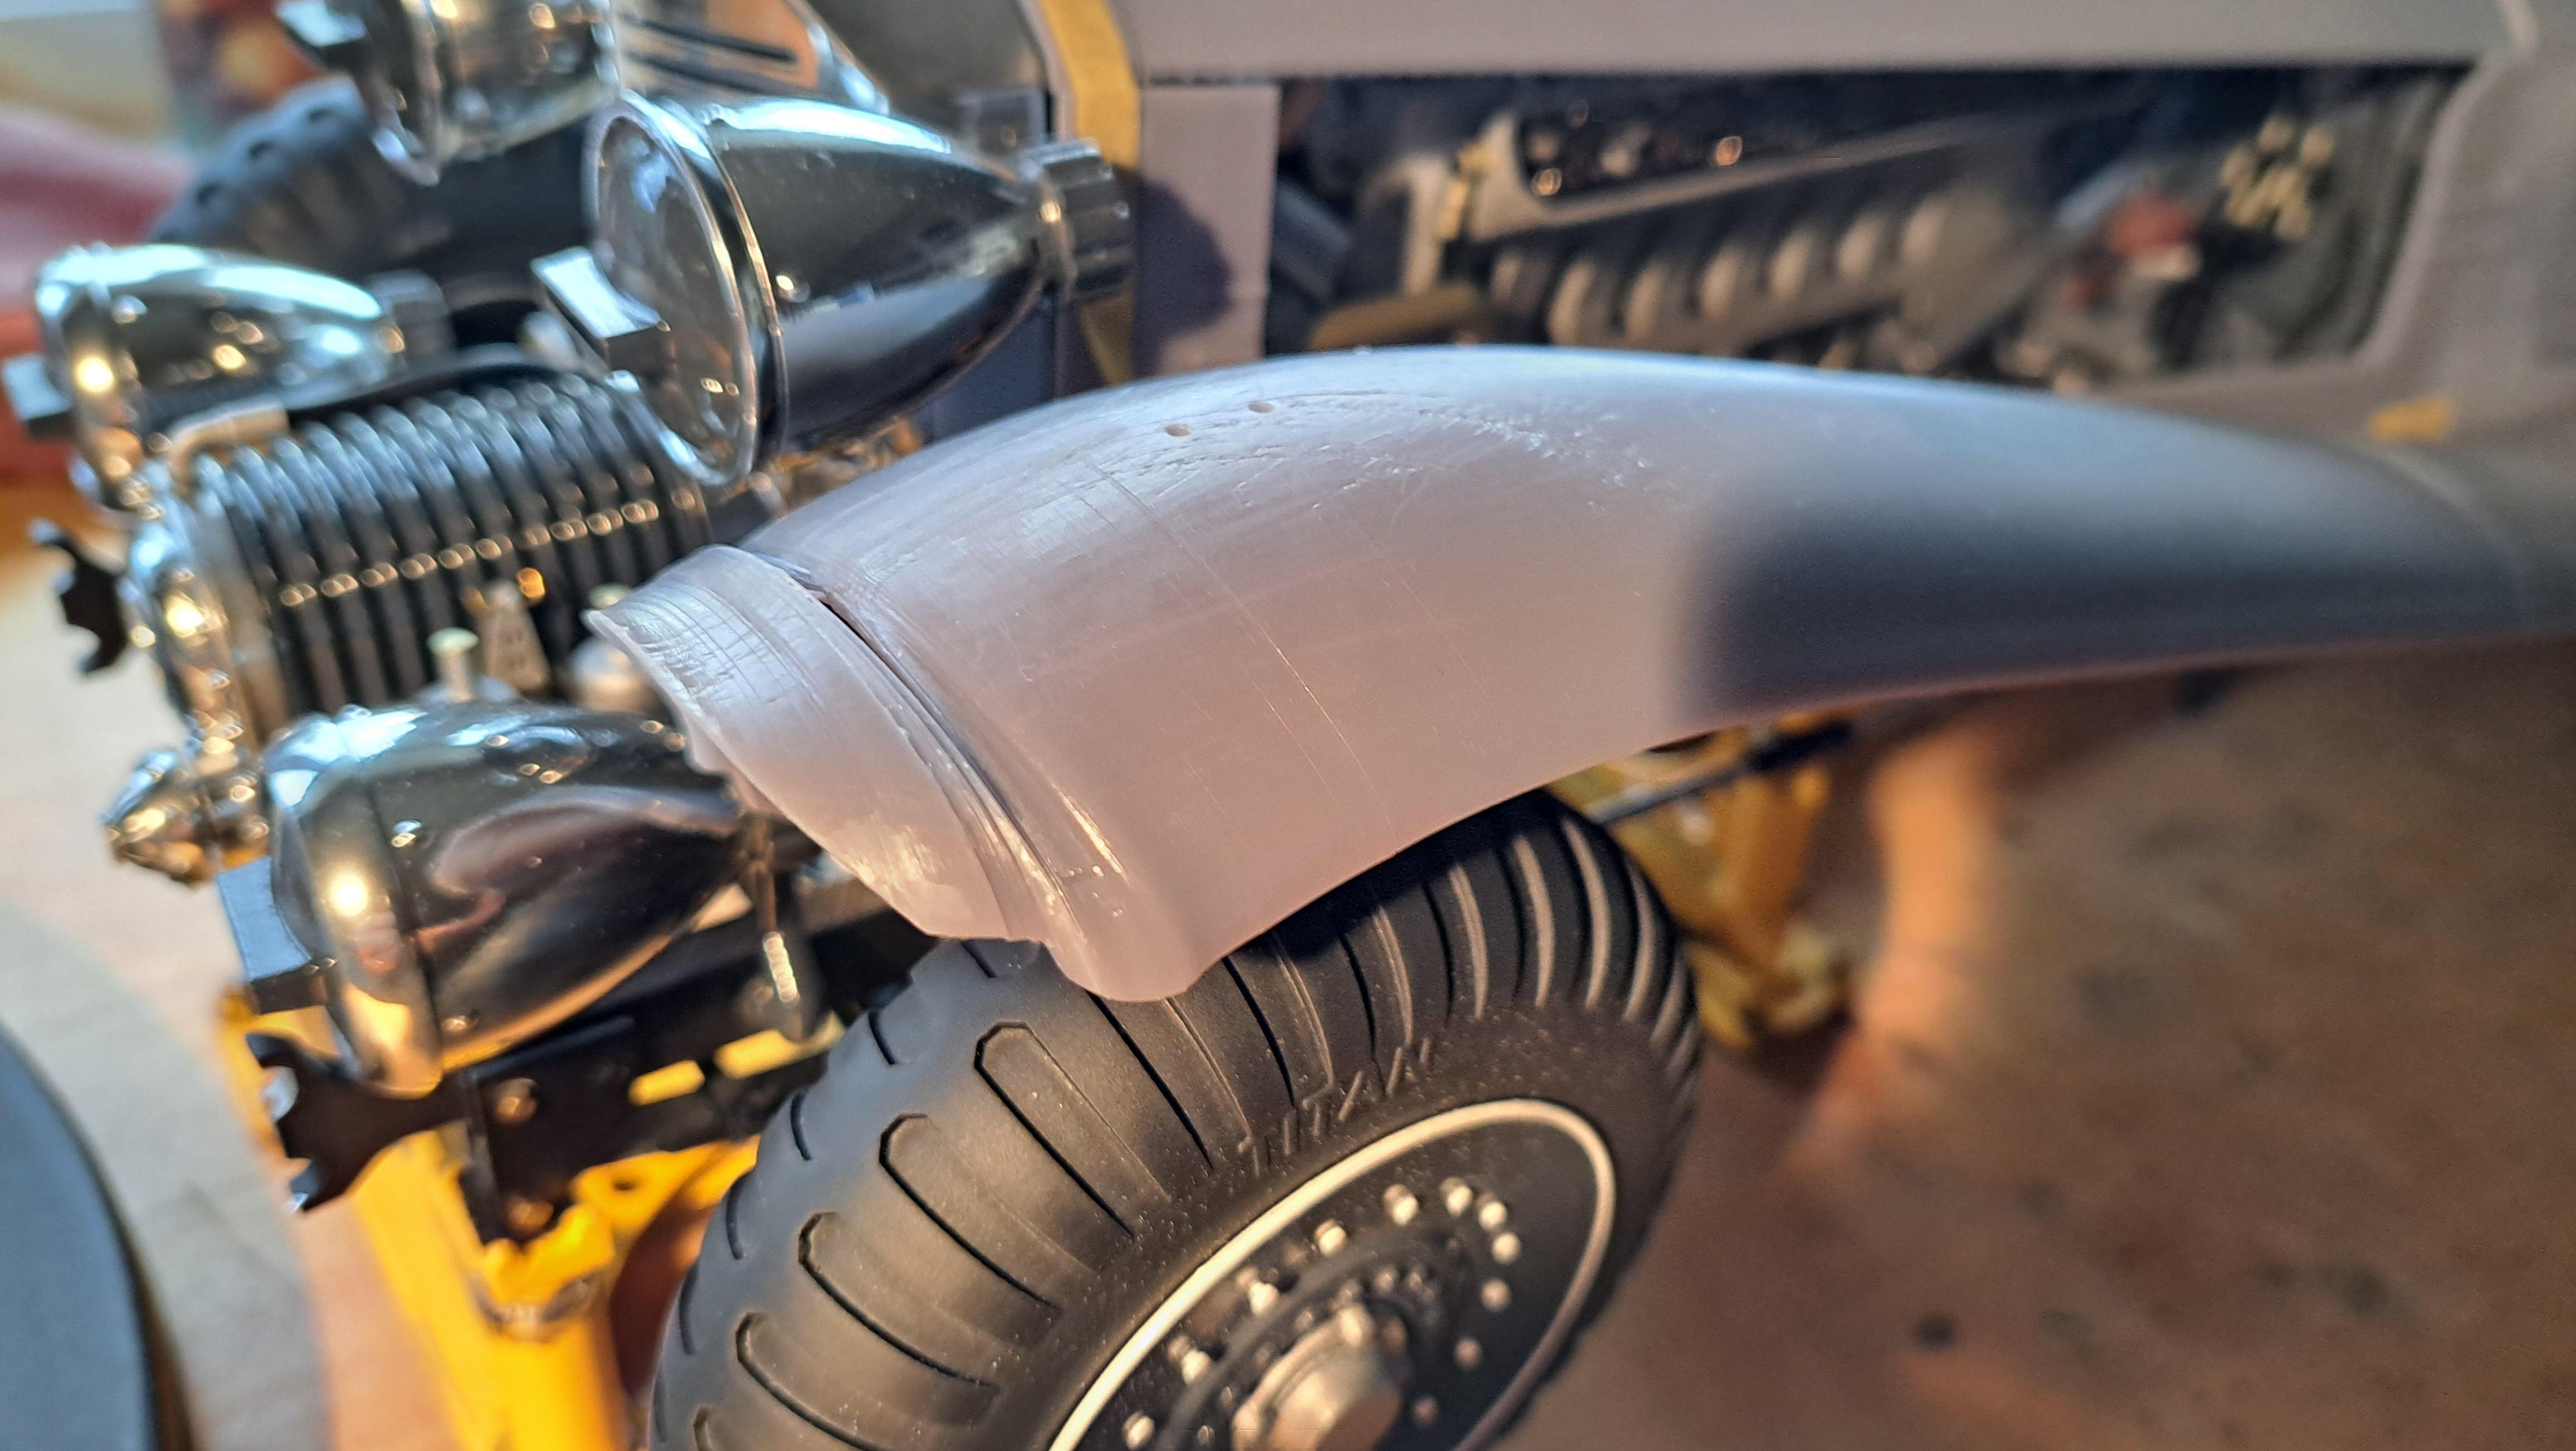
The fenders on this project were among the hardest to 3d model and they prove to be just as difficult to print. They are also very big so they need to be printed in 2 parts. My first try didn't come out so good. I printed the left side fender and althought it has good dimensions and fits as it should, the front amd middle were badly printed. I'm hoping the second try will do better. It wasn't easy to properly locate it again the body so I made a hook up rail that fits perfectly against the body and is glued there. The inside edge of the feeder can then be hooked on the rail in order to be in the correct spot.
Hook up rail glued to body
Fender edge near rail
Front of fender badly printed
But it's promissing

Hook up rail glued to body
Fender edge near rail
Front of fender badly printed
But it's promissing
The second fender print did the trick. The fit is pretty good althought I'll have to wait till the final assy to properly align everything.
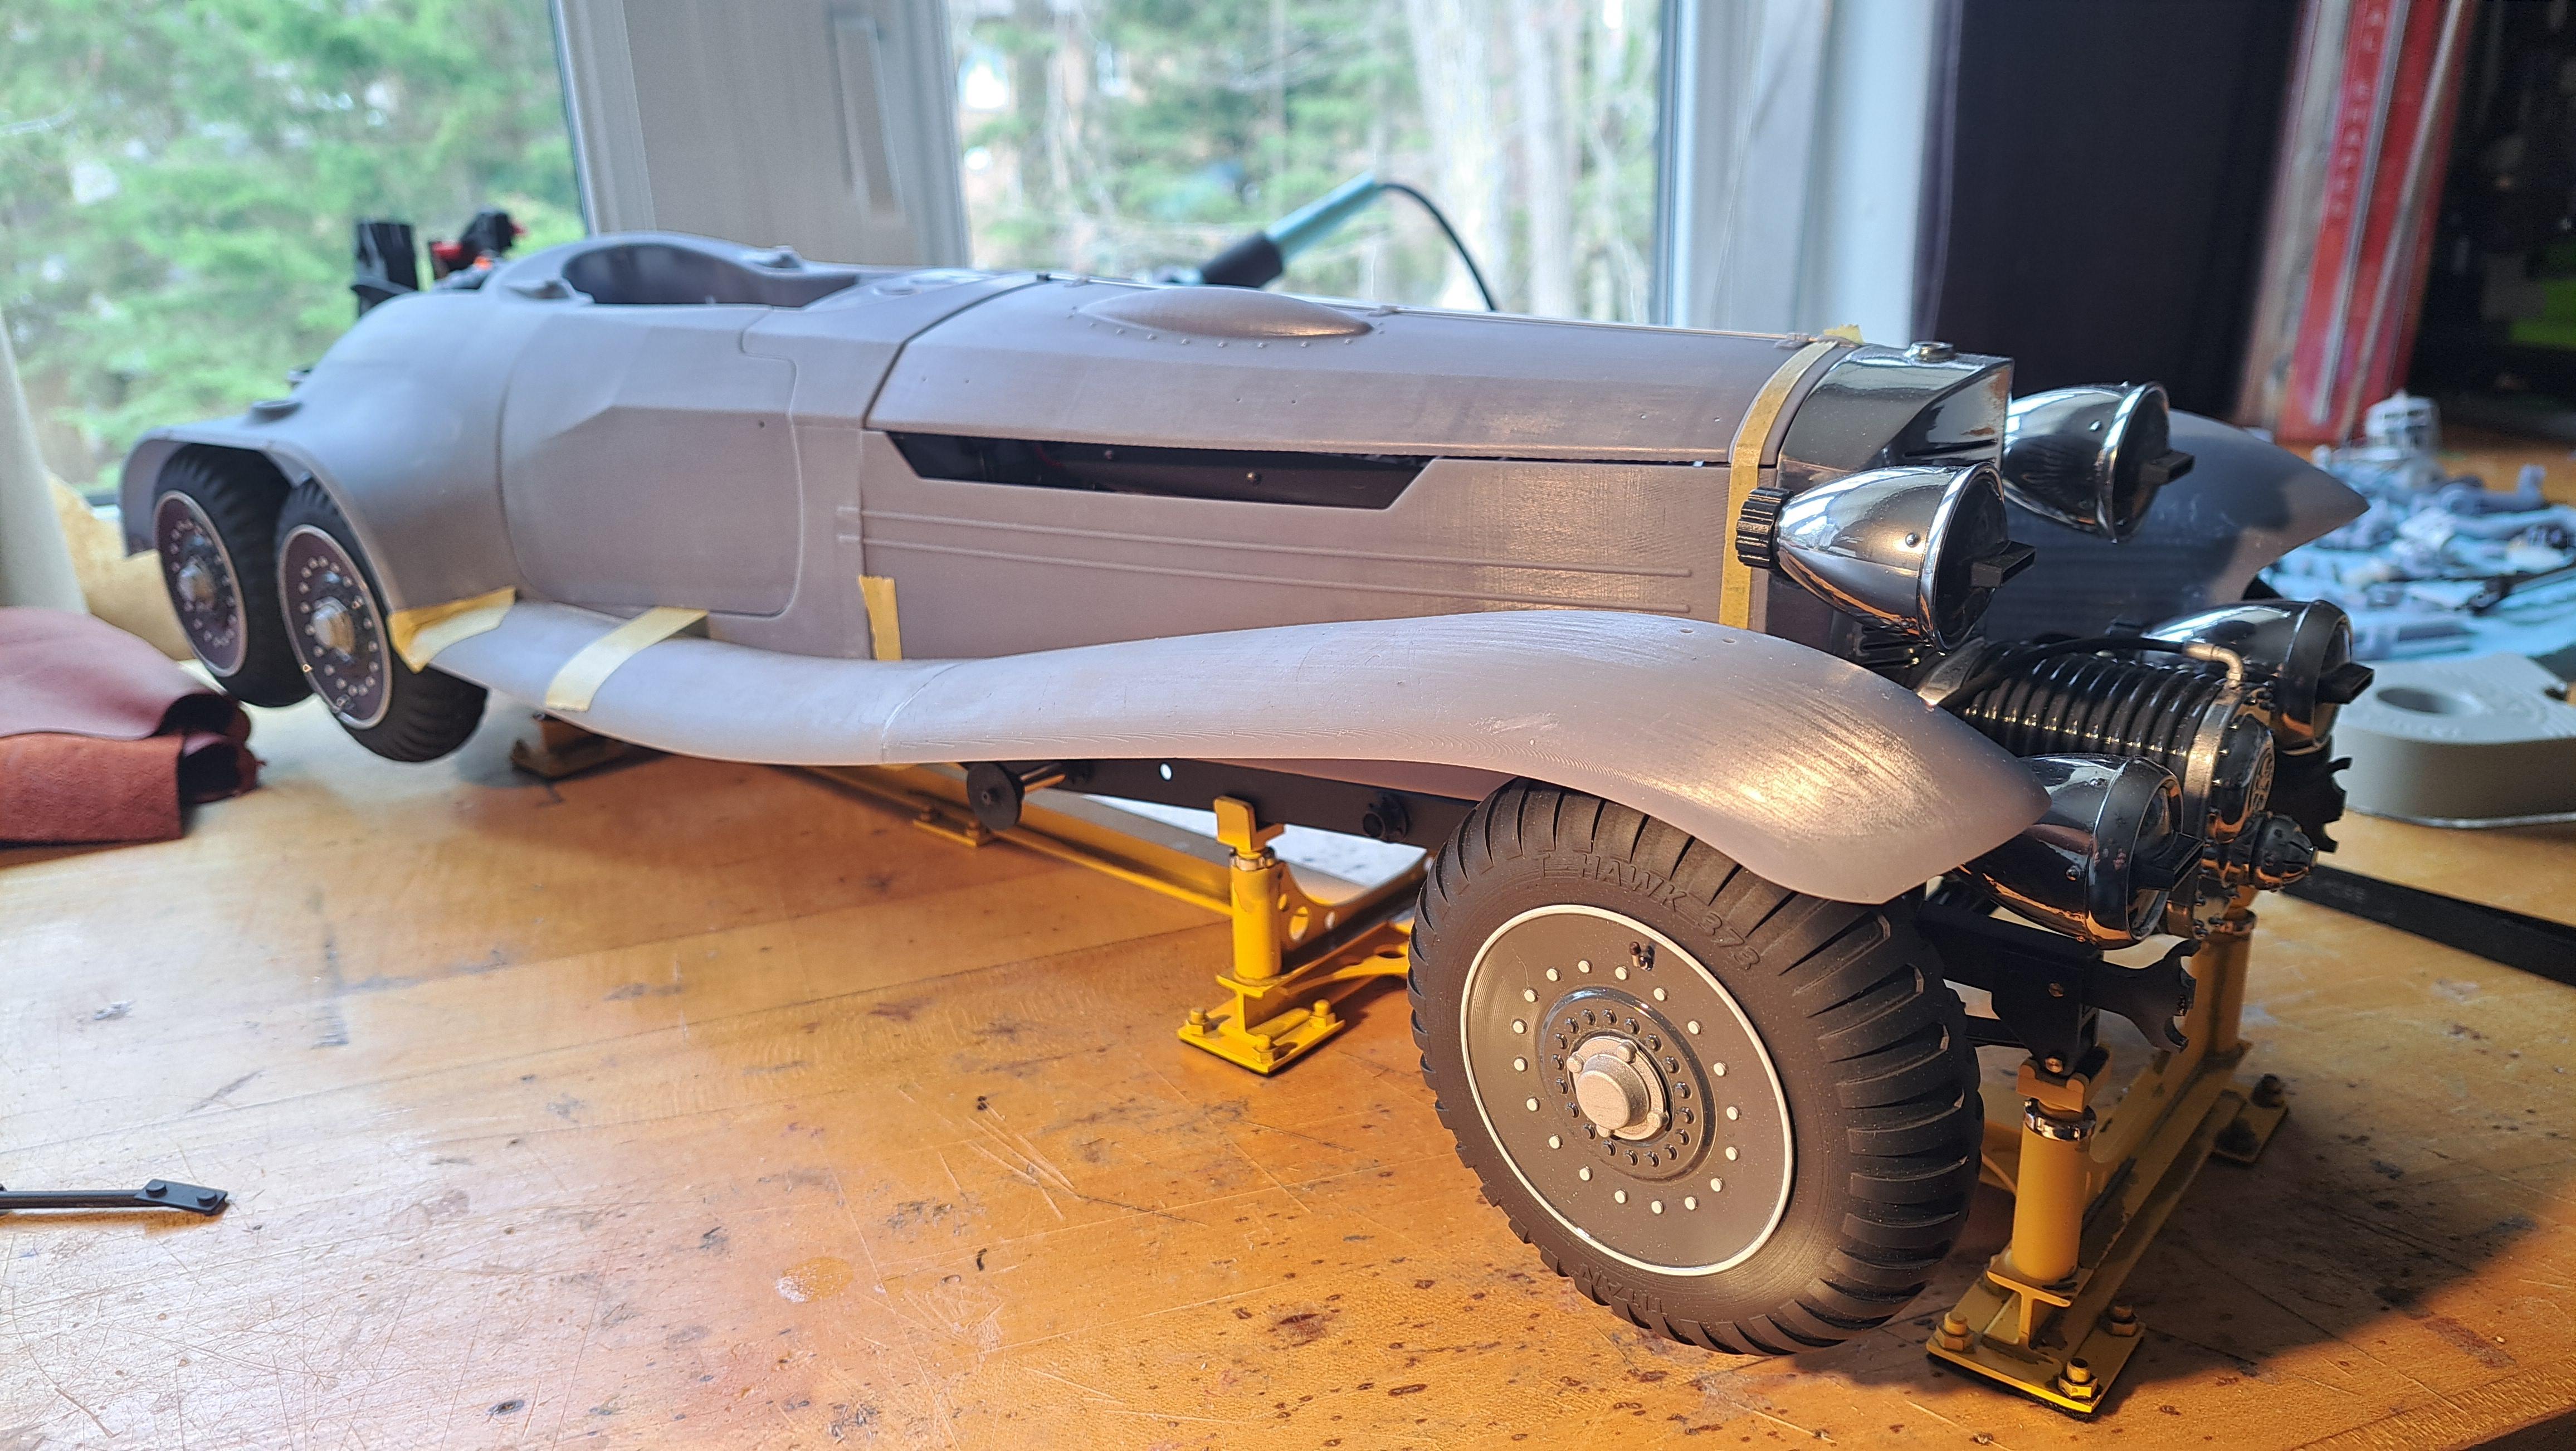


Did a bit more work on the Hydra Coupe today, both under-fender cases are printed, as is the fender step mats. I also did the fender step ladders and wired the rear brake lights. I'm almost done with pre-primer sanding and should be ready to prime pretty soon. I still need to print the rear wheels side covers but not a big deal.
Side case


Step mats and ladder

Wired brake lights
Body parts ready for primer


Side case
Step mats and ladder
Wired brake lights
Body parts ready for primer
Last edited:
I can't wait to see this bad-boy painted. Are those magnets you're using for the doors on the saddlebags?
Namabiiru, yes they are little magnets. I use them thru out the model to hold different things in place like the rocker covers, sump cover, hood, sideboxes covers and rear wheel covers. Not very strong but just enough to hold and make a nice little click sounds.
With the rear wheel covers done, that concludes the body printing phase of this project. I think I'll do the rear seat before priming the body.
- Joined
- Oct 1, 2023
- Messages
- 2,233
- Points
- 488

I second that!This I call a "PROJECT"
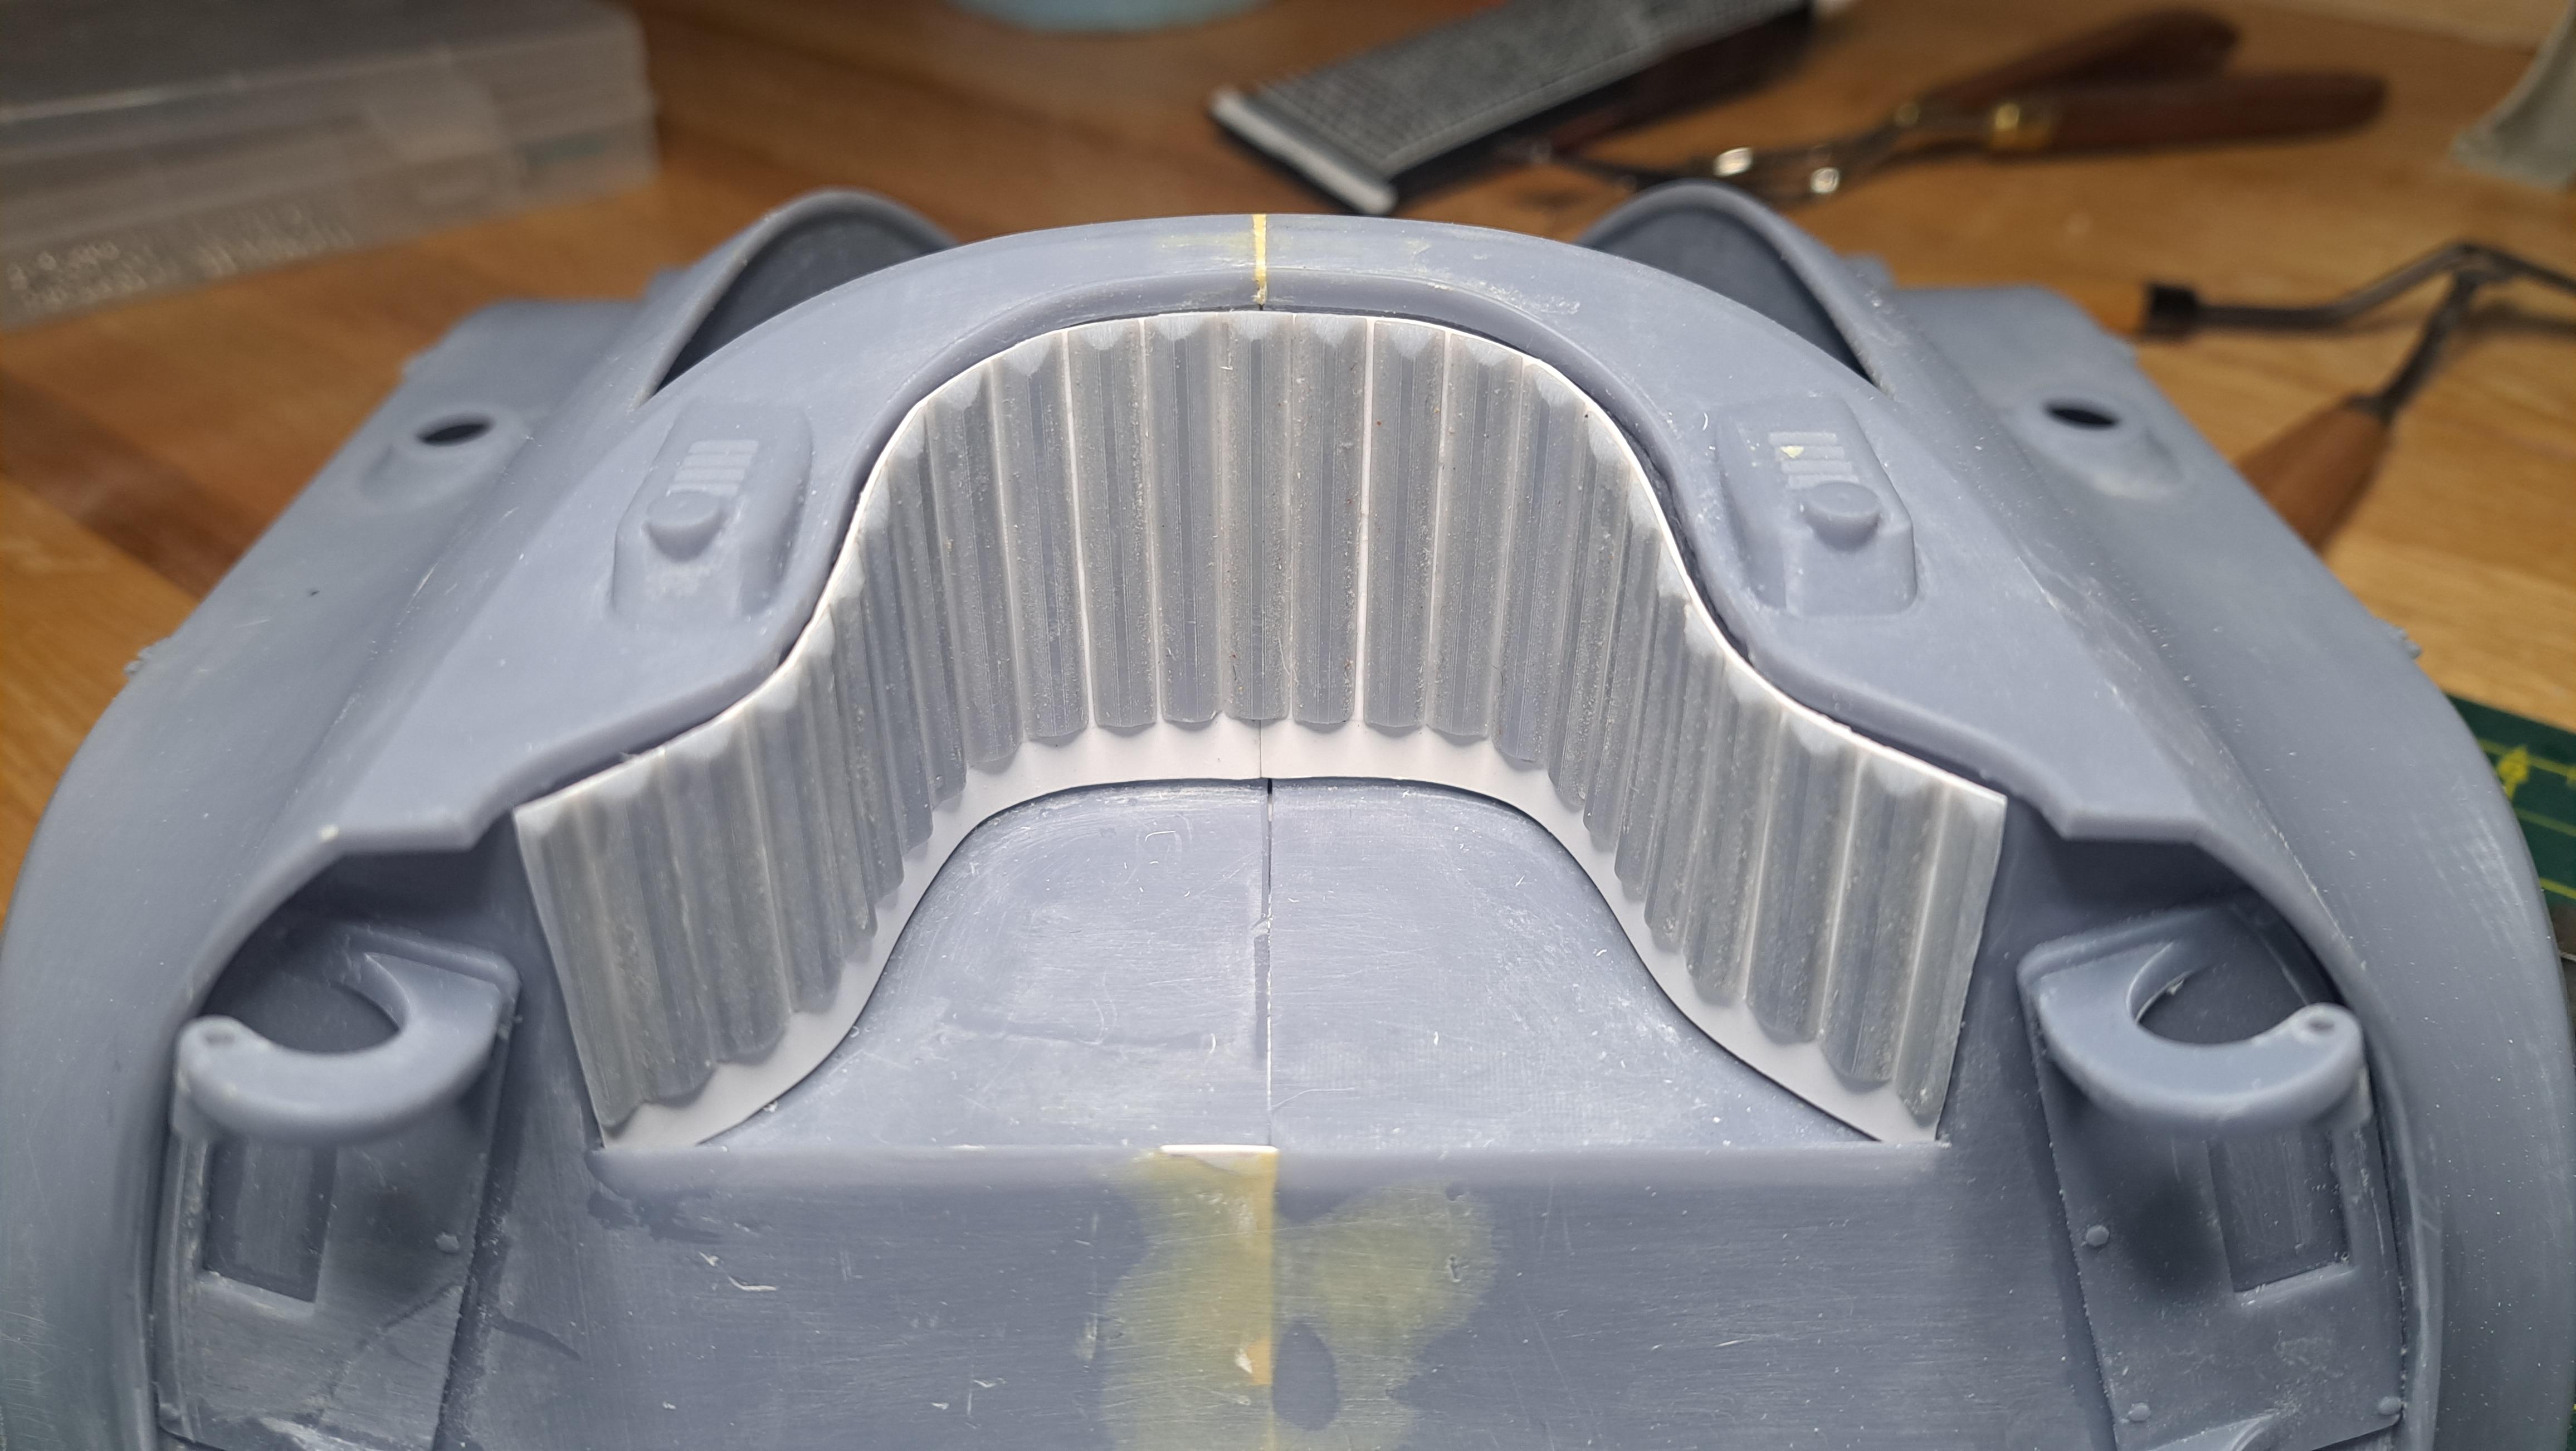
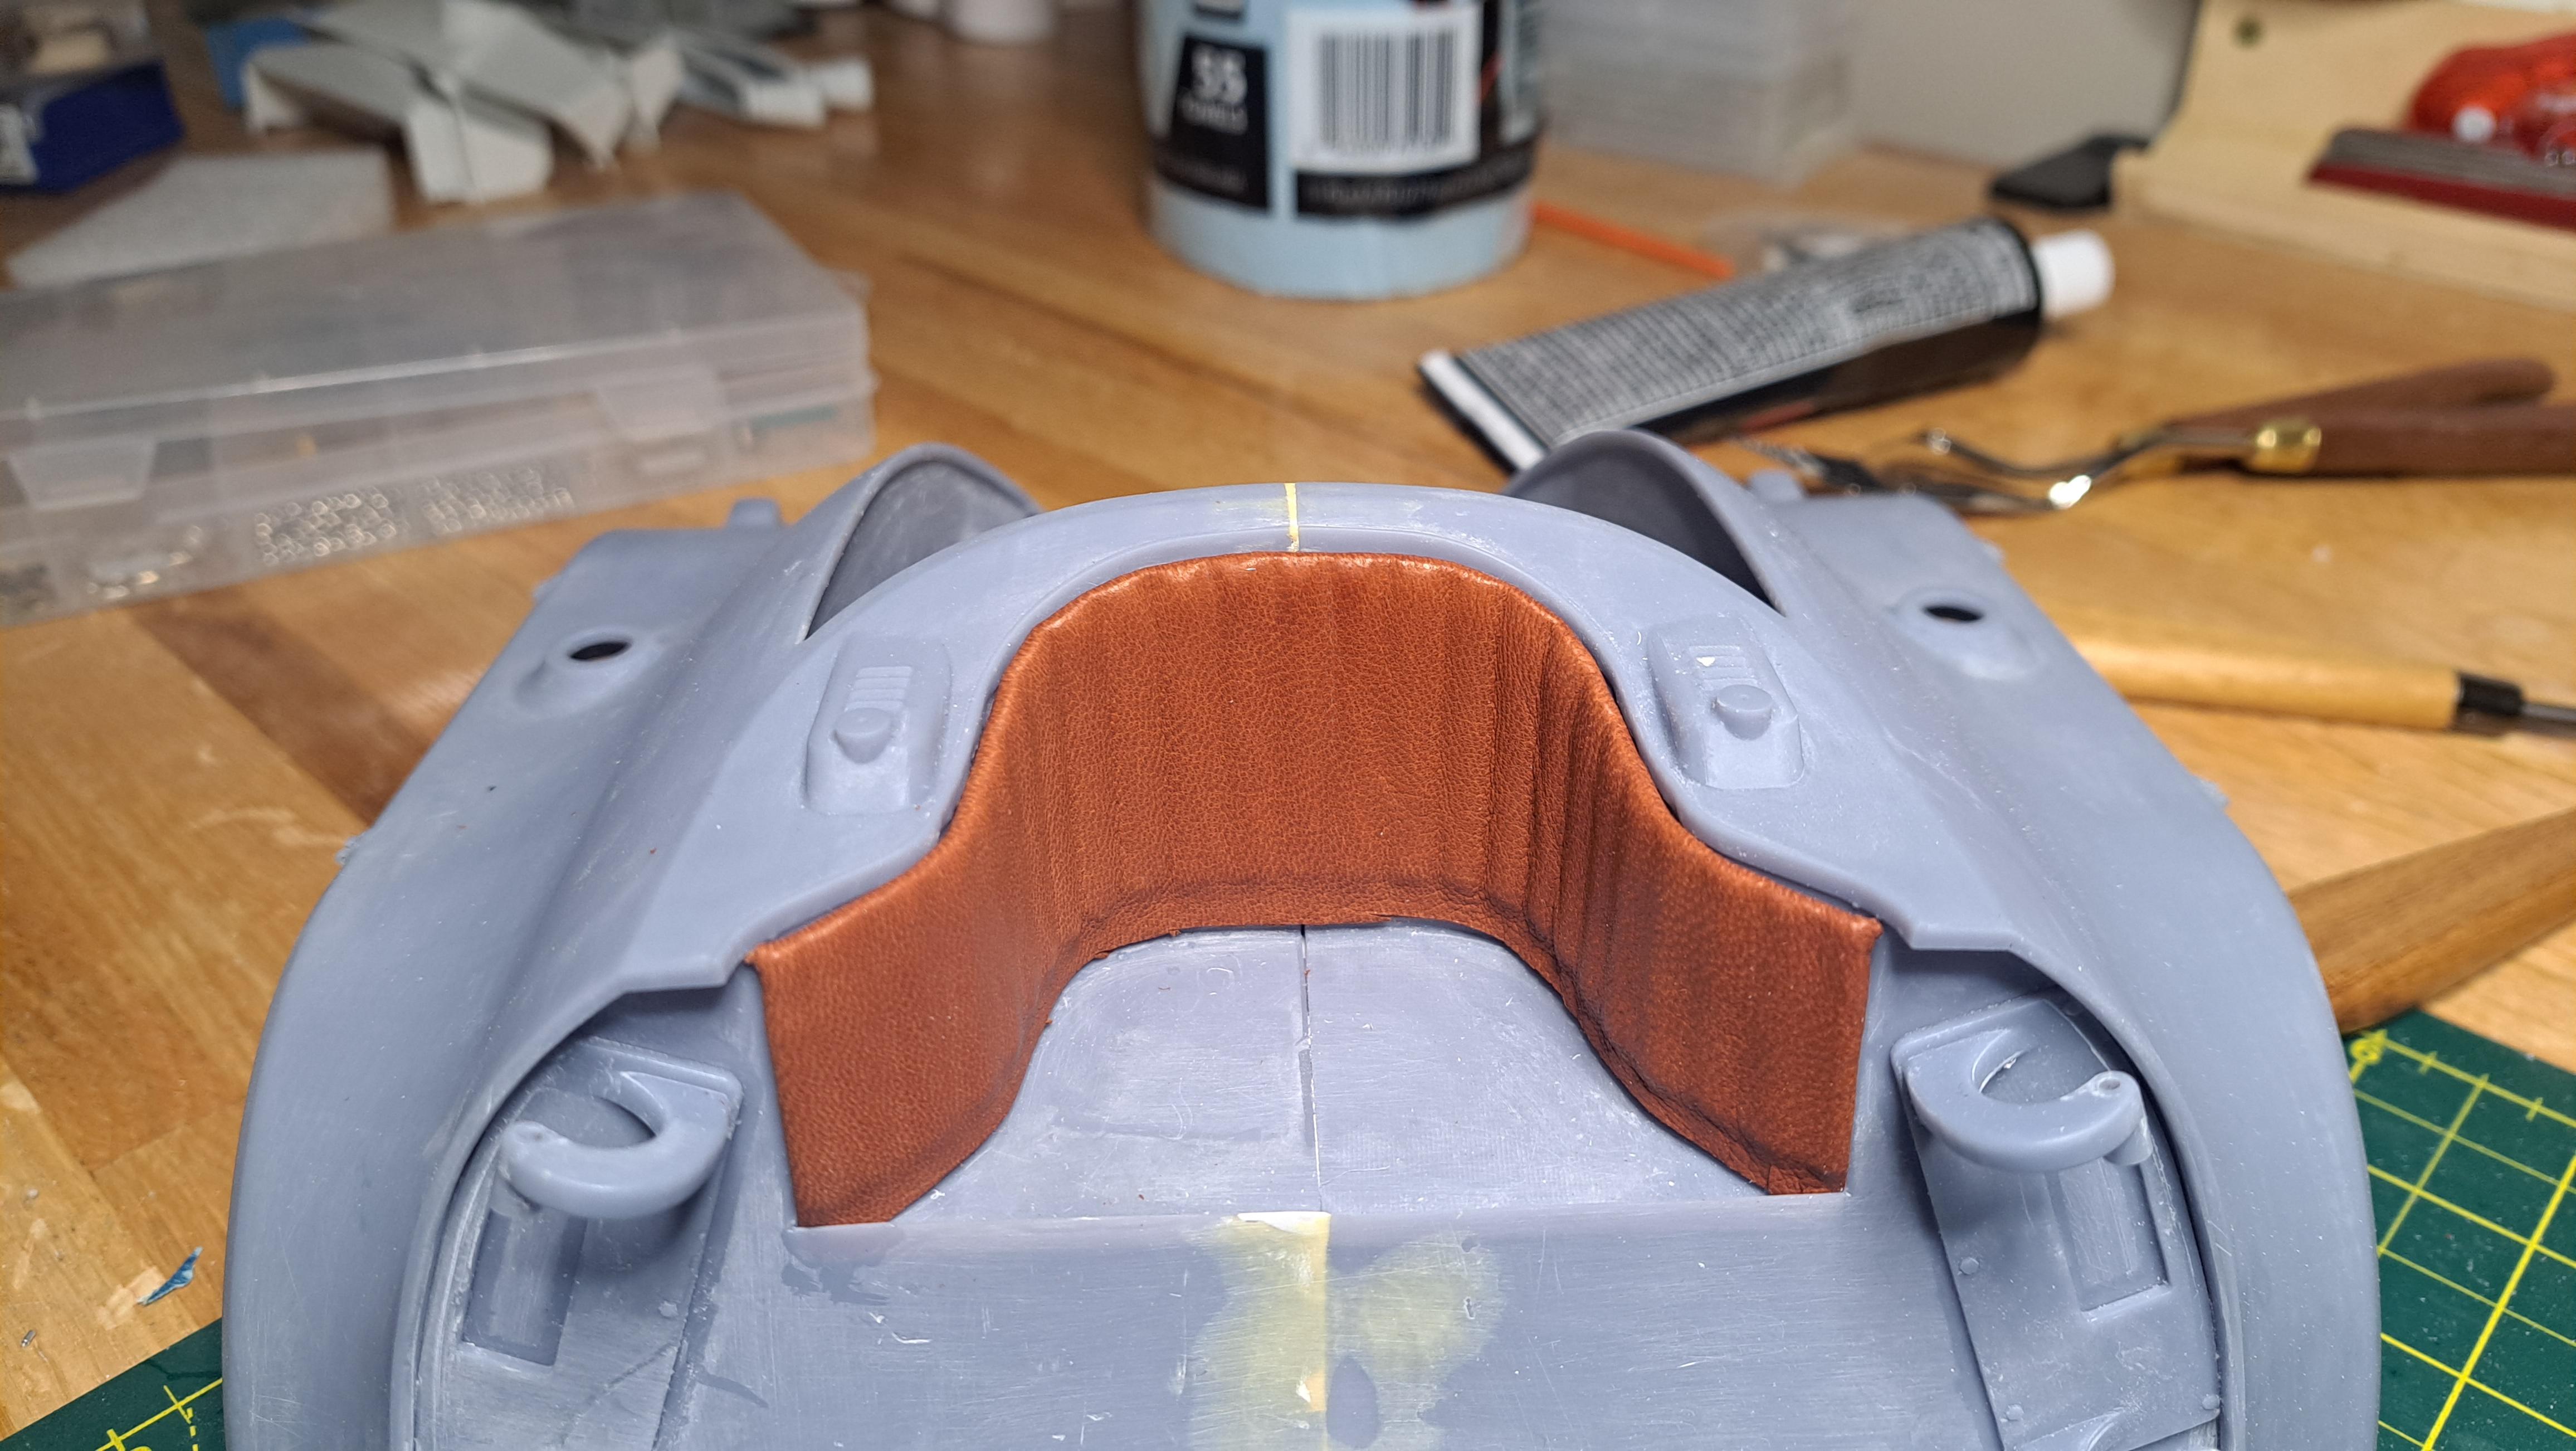
I did the rear seat today. Here's how it was done.
I first made a paper template of the back rest.

Which was then transfered to a .015" thick plasticard

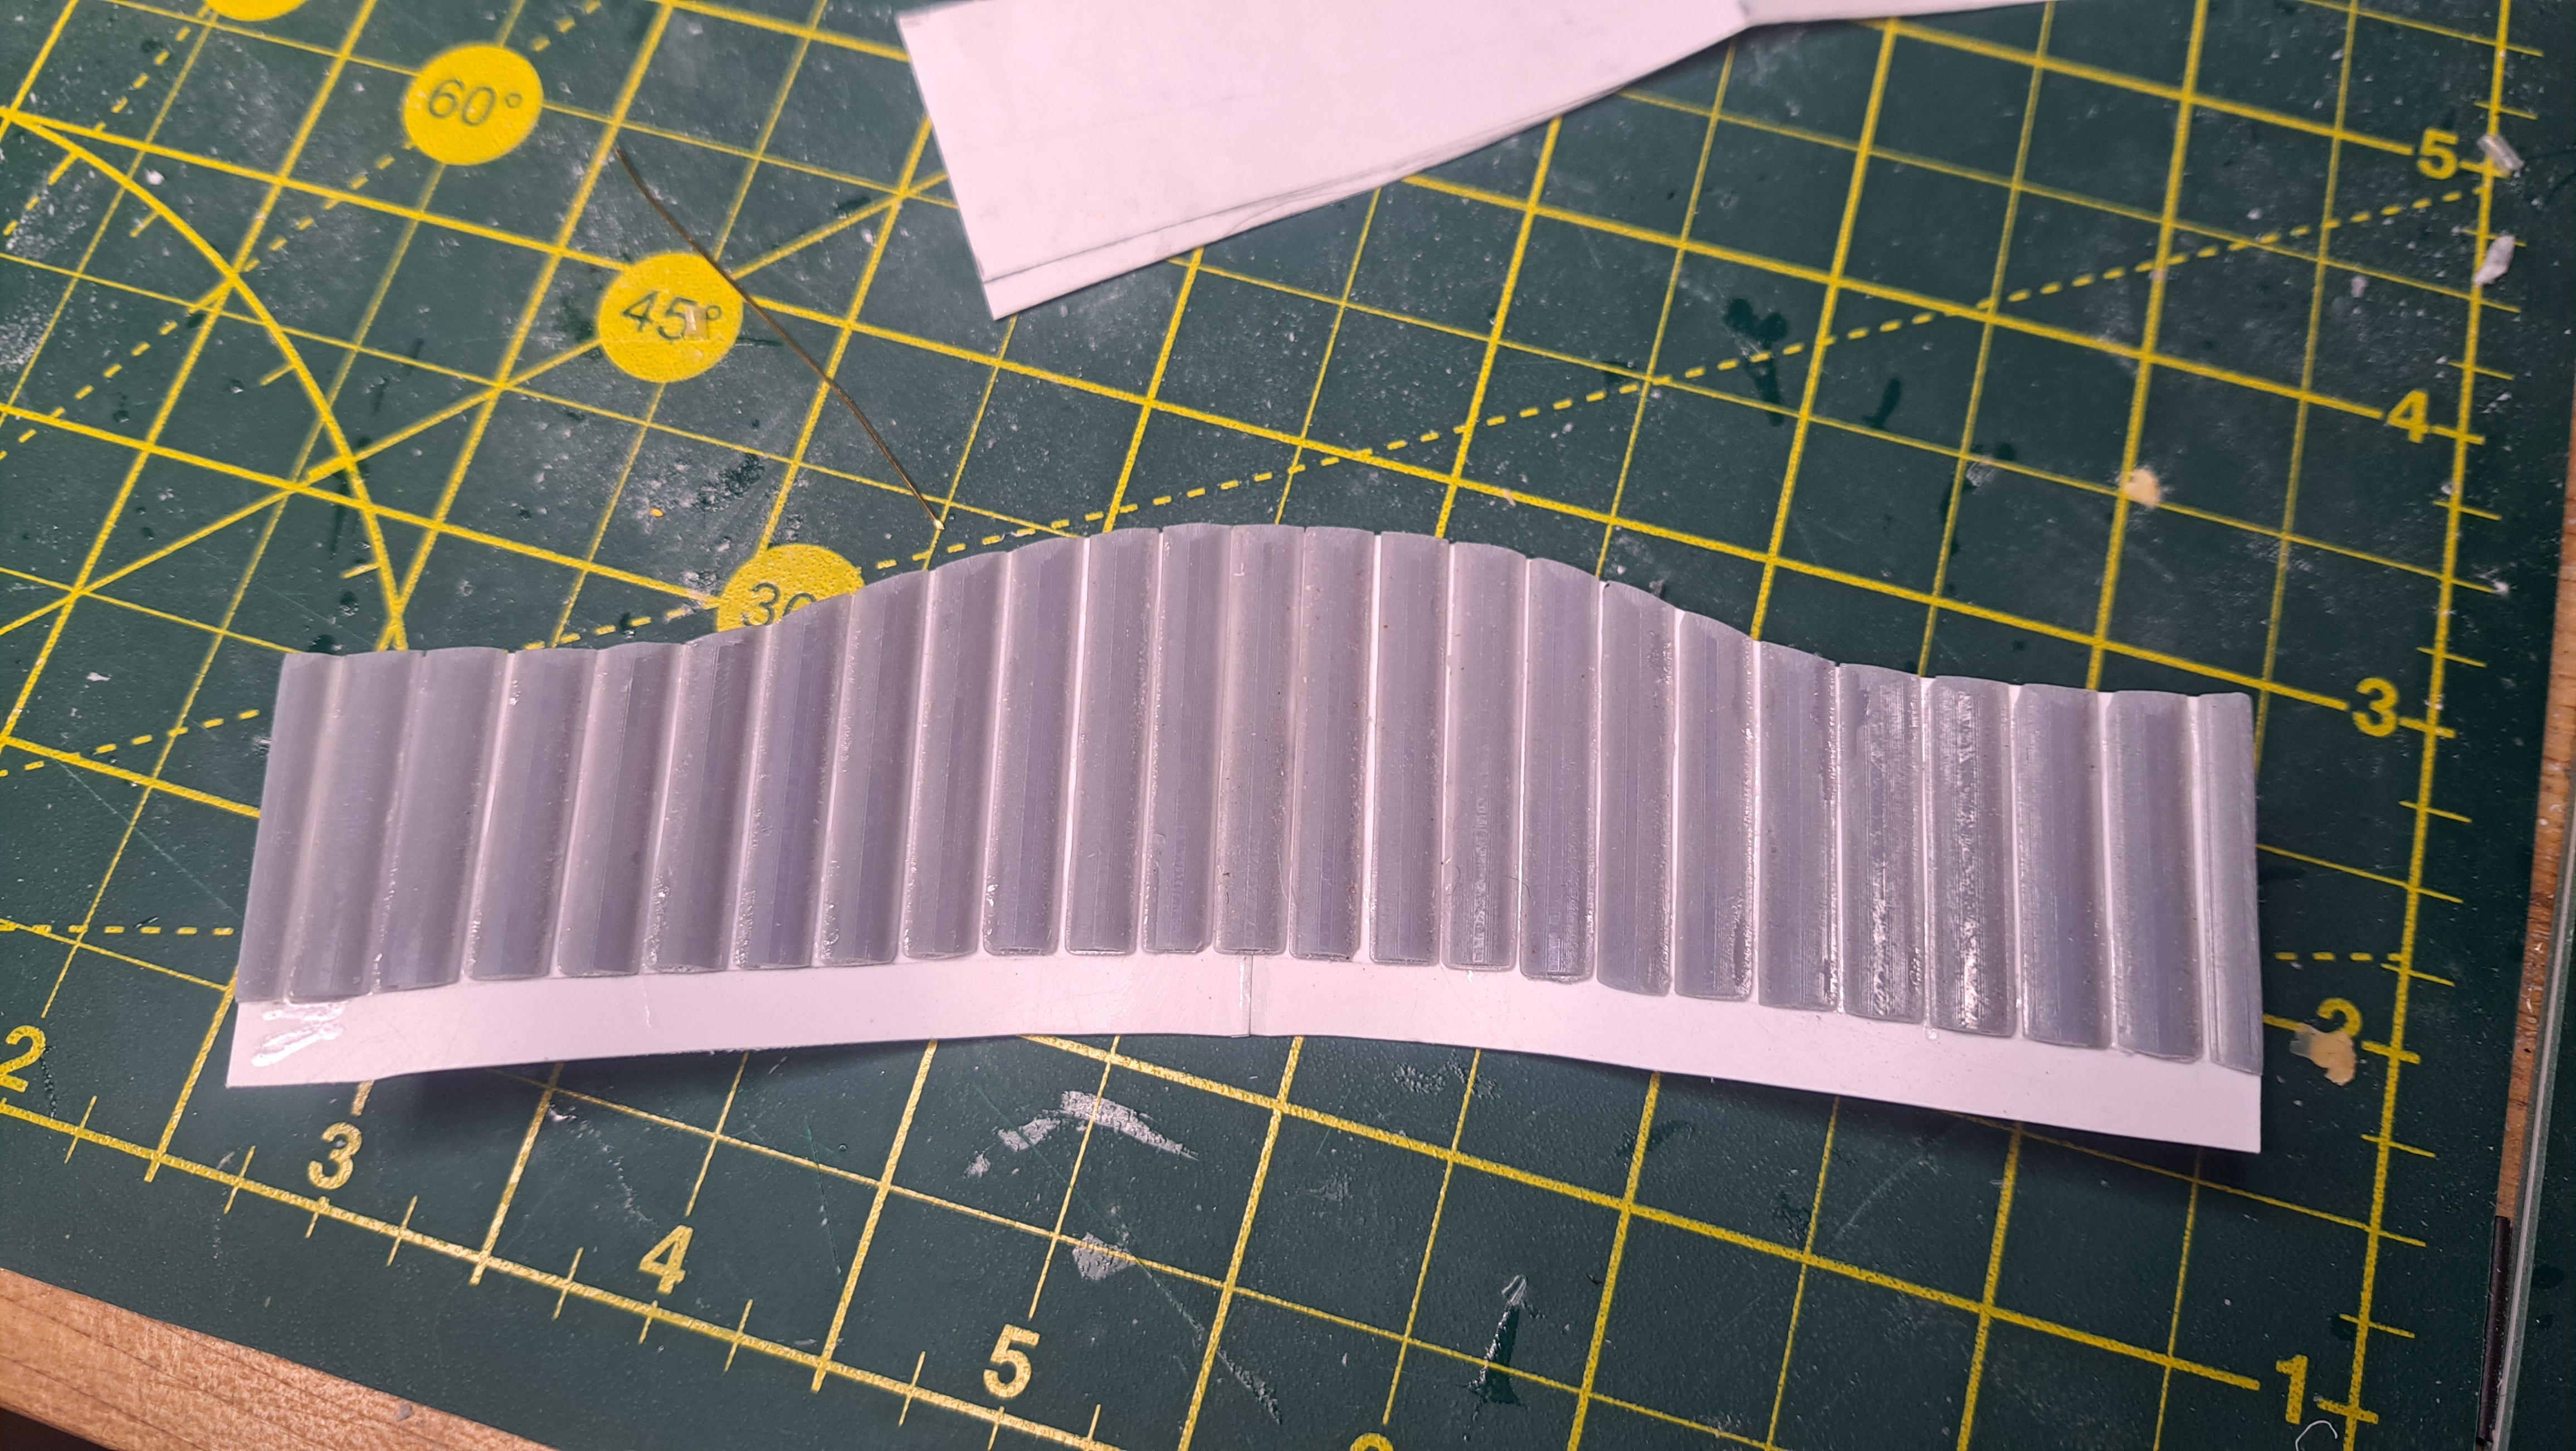
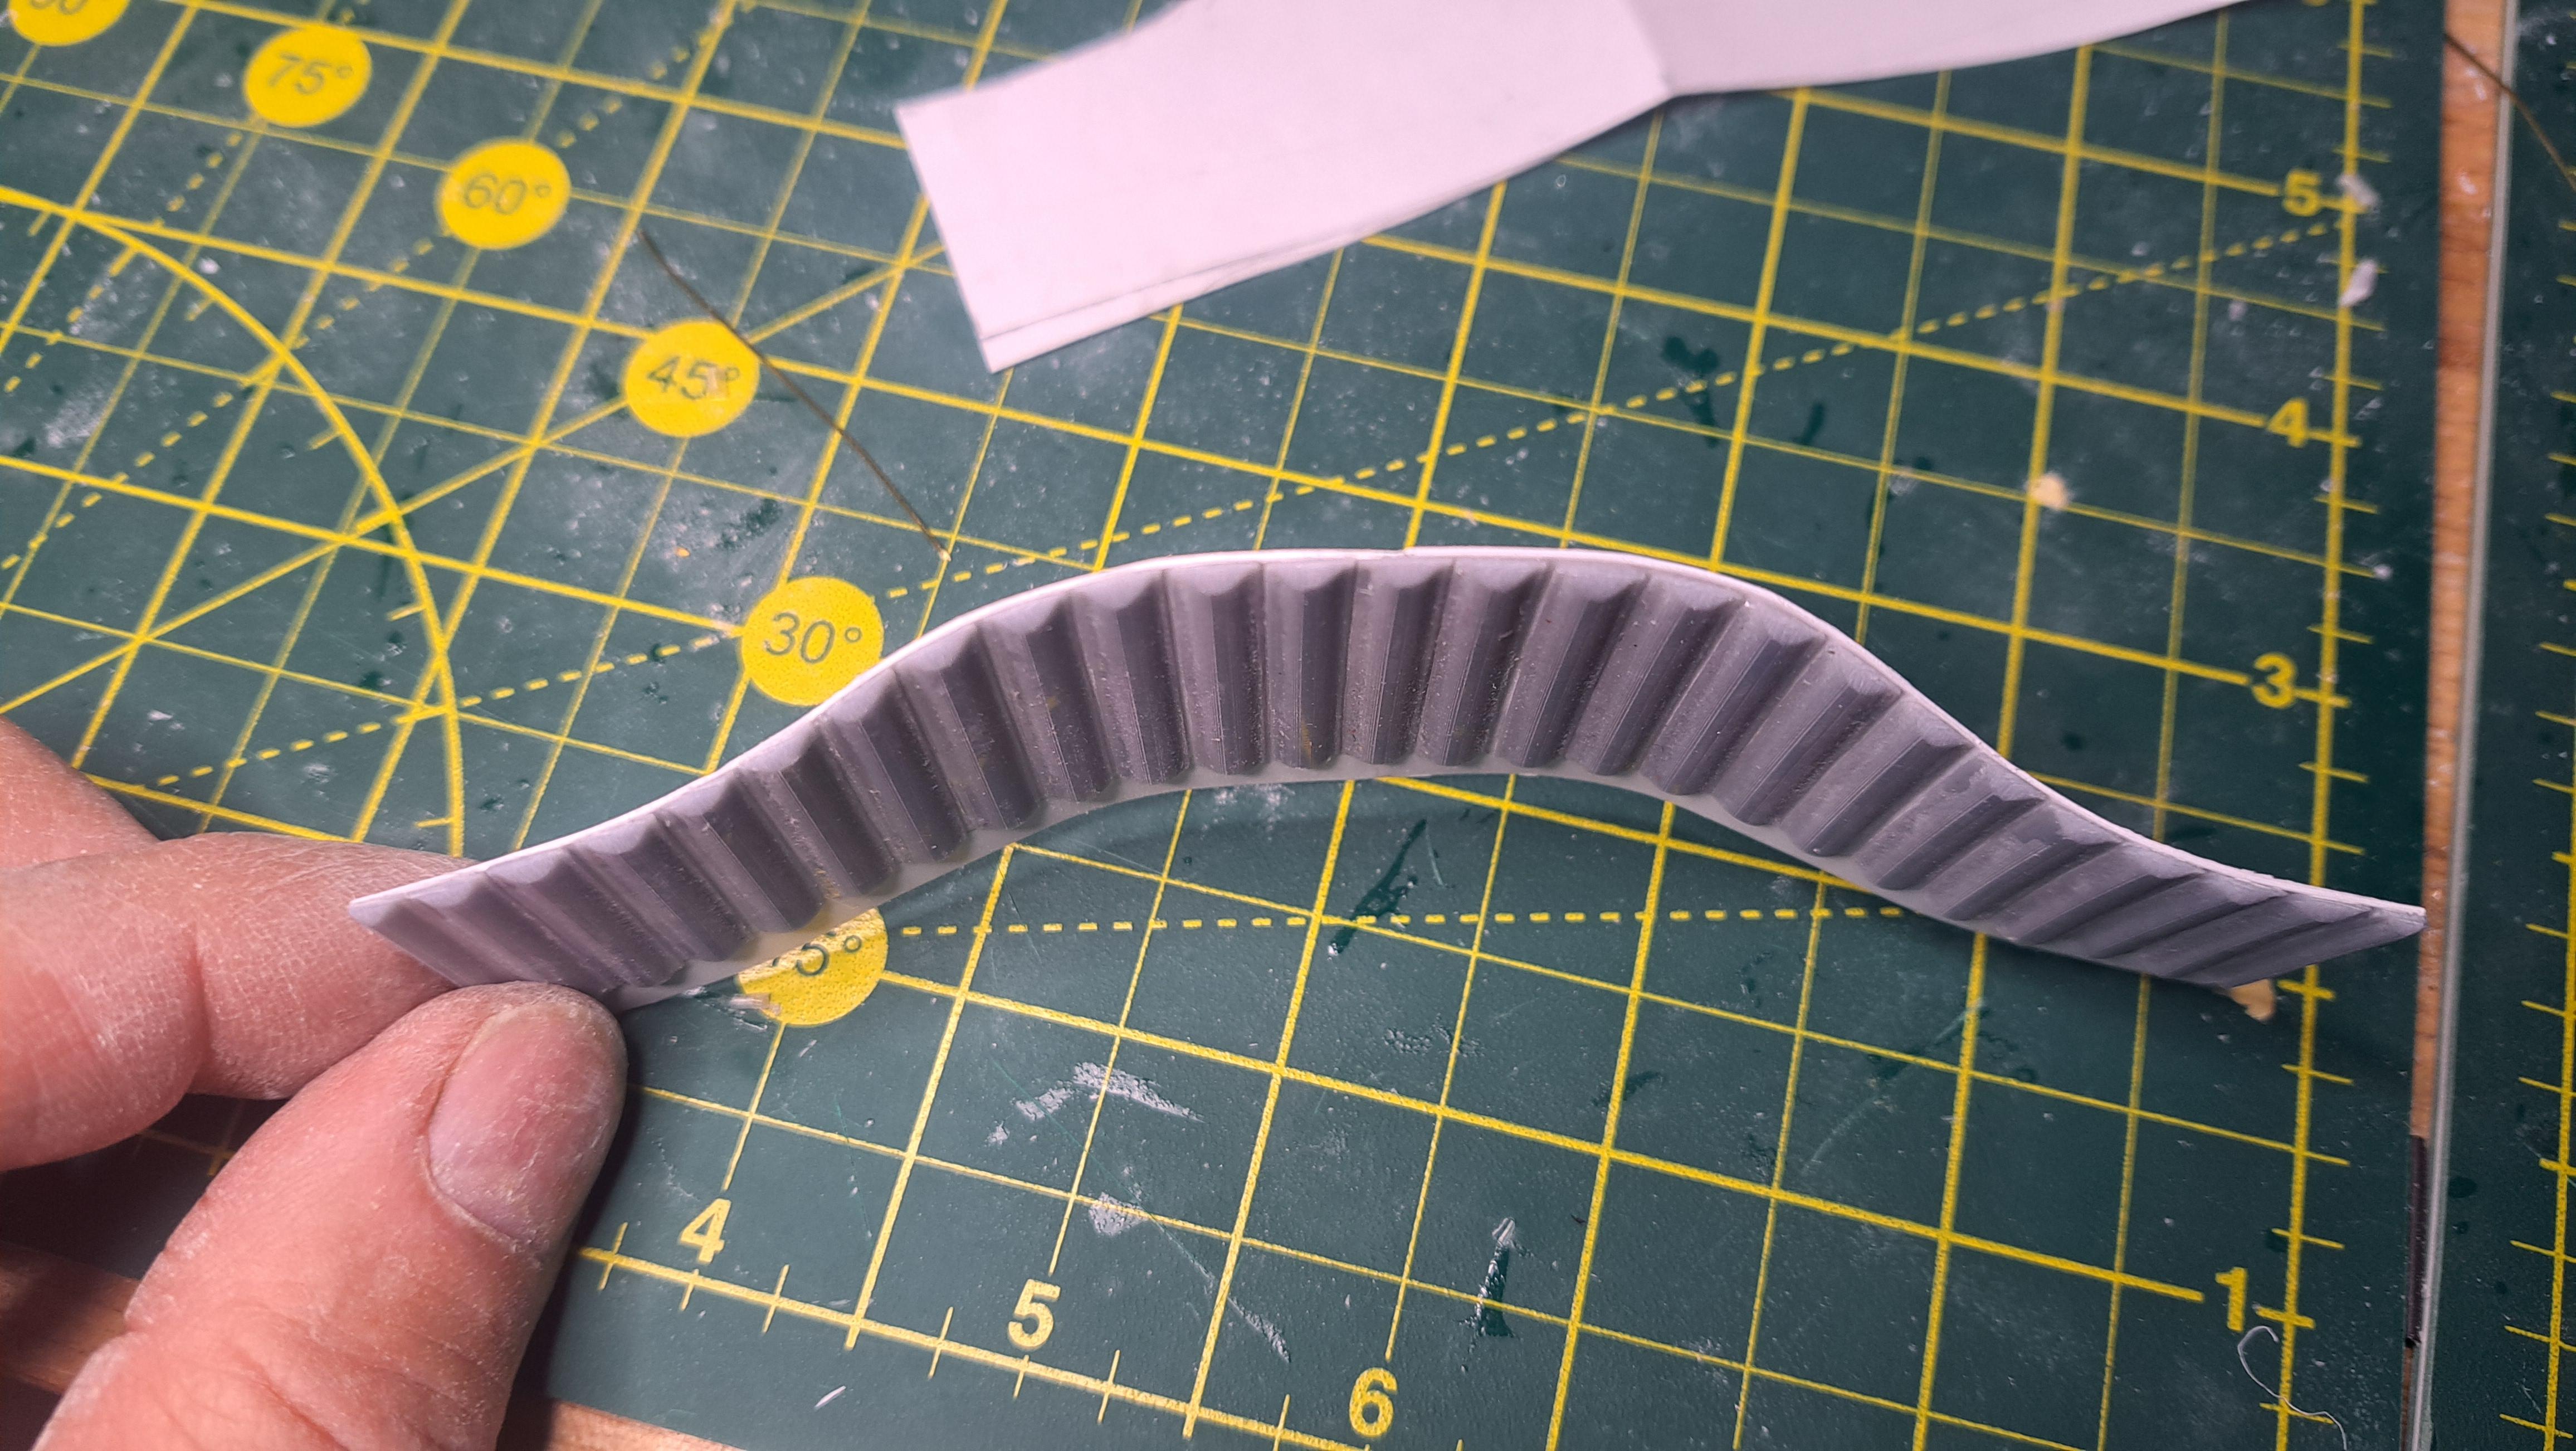
I 3d printed a bunch of domed strip to create the back cushion shape
Which were glued to the plasticard
Next came the leather
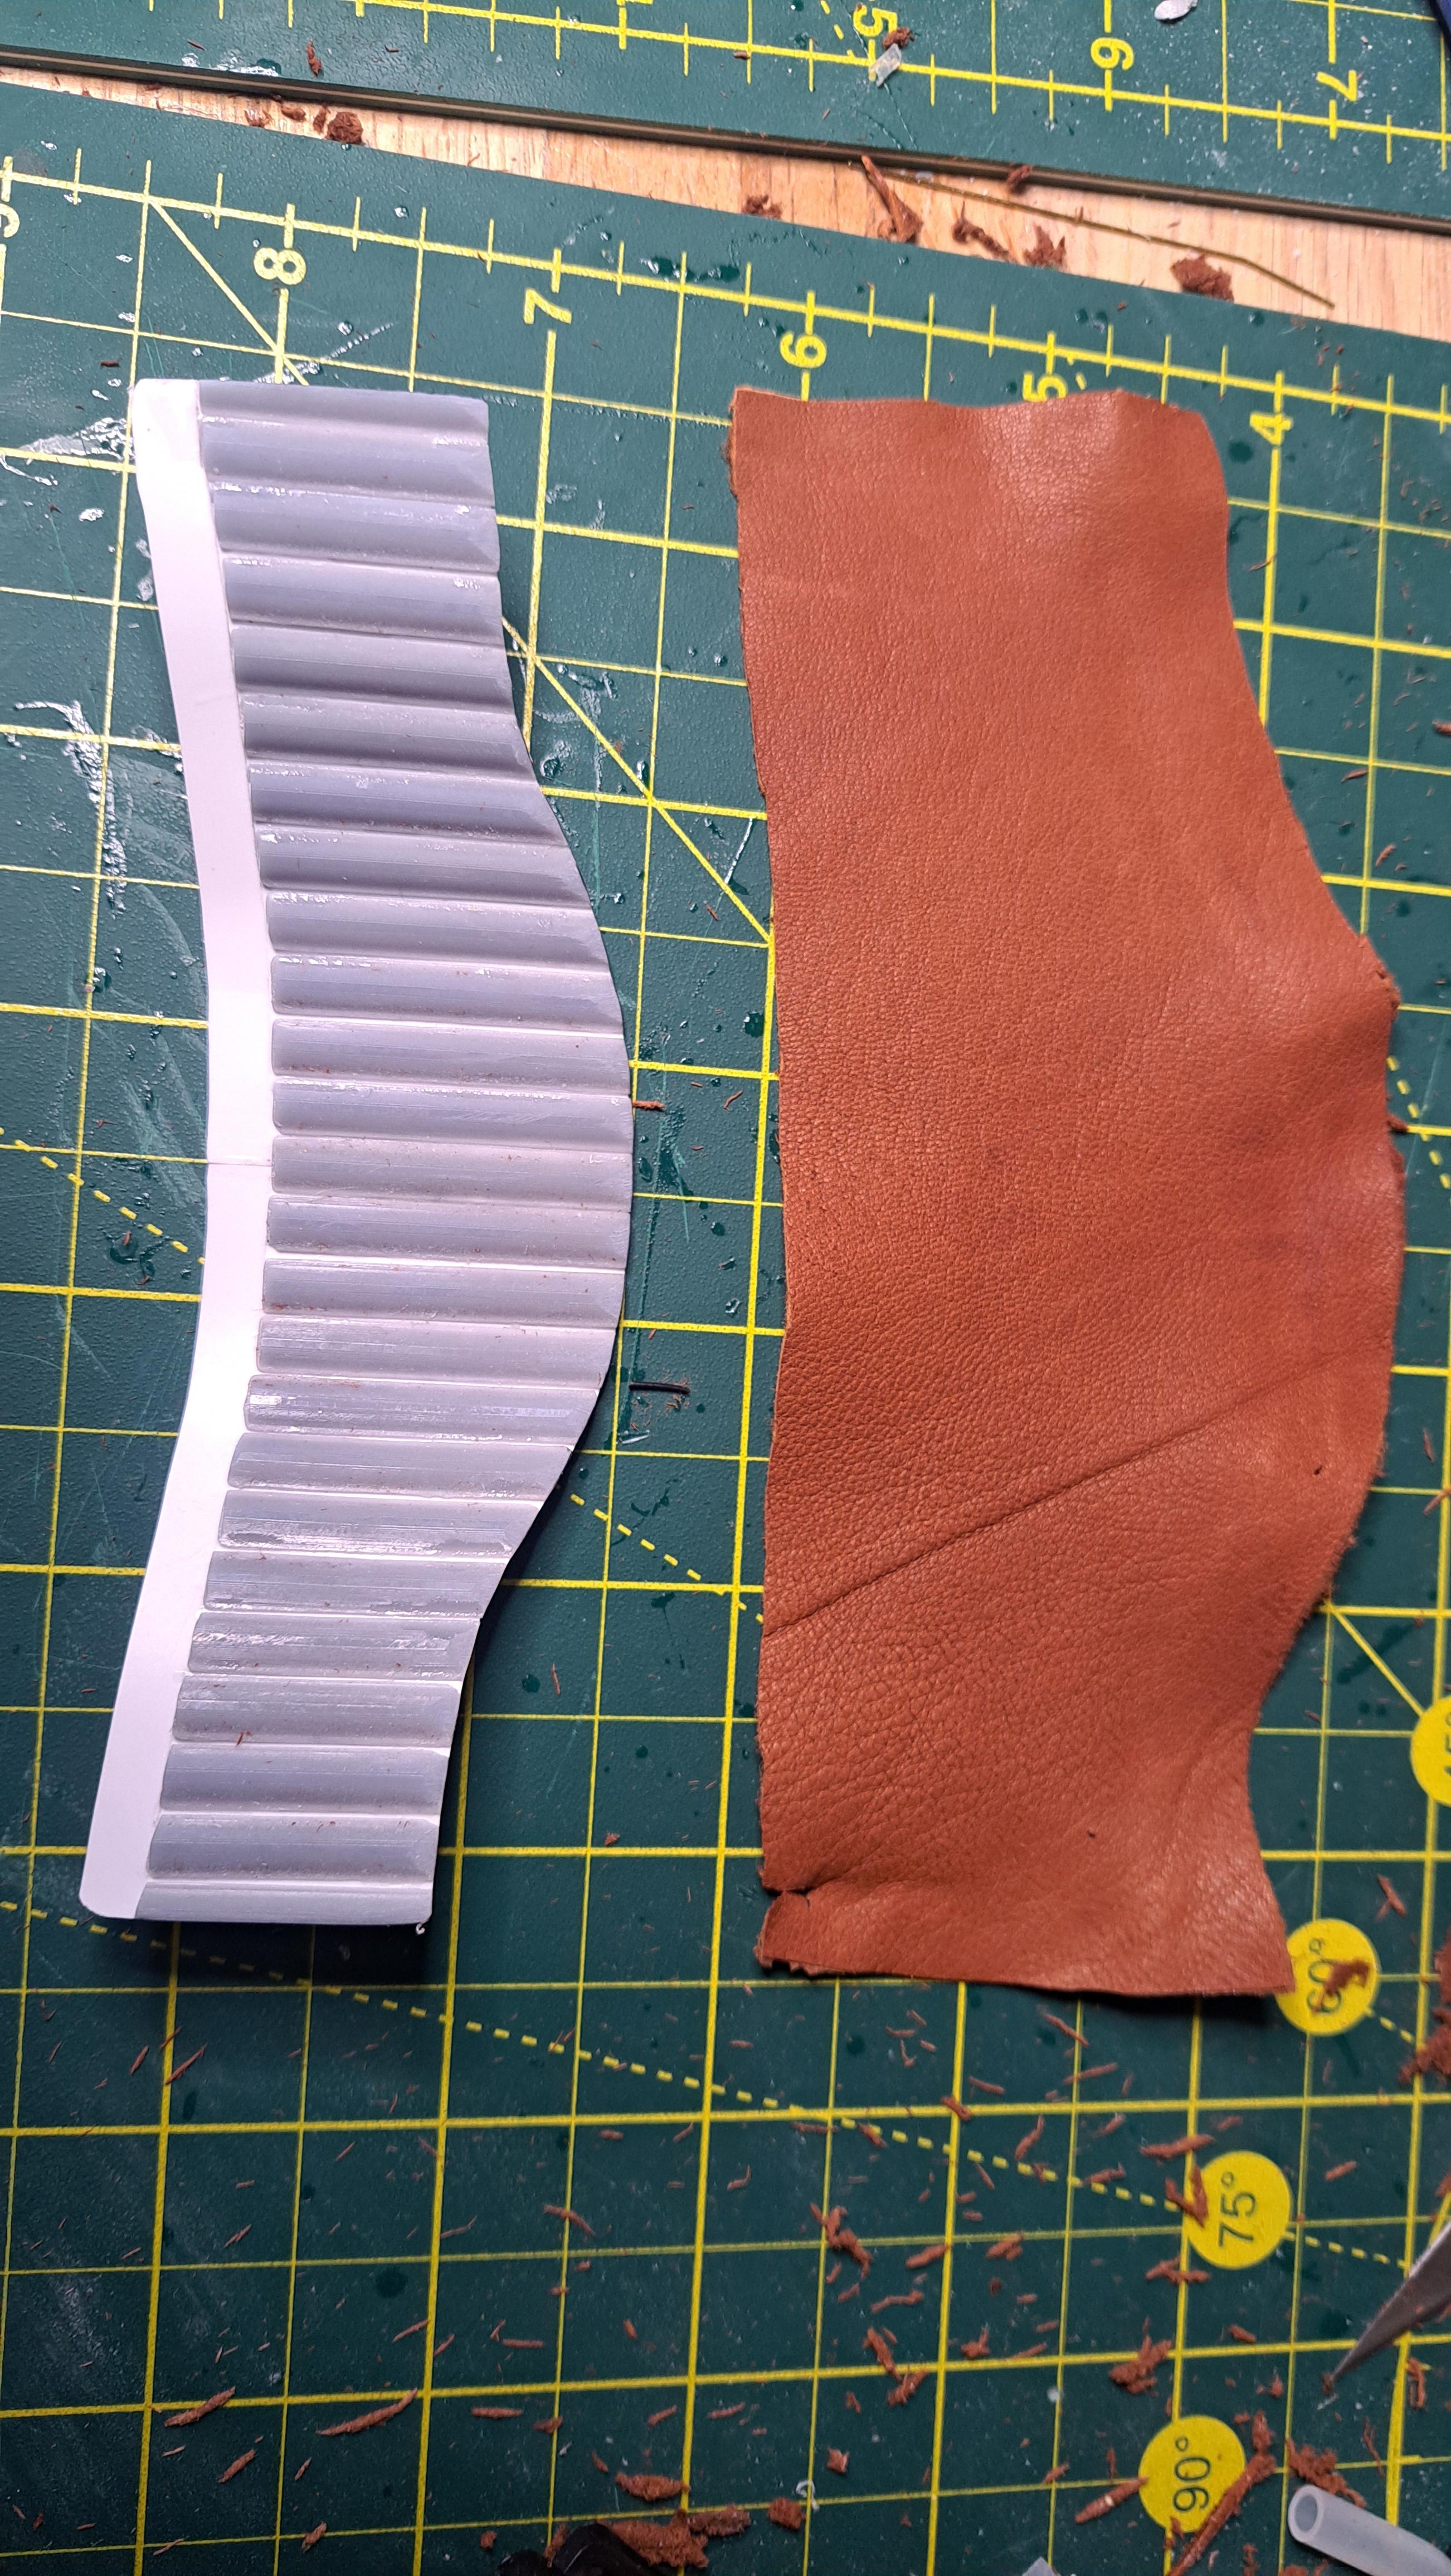
And once glued
I then cut a piece of white foam for the seat cushion
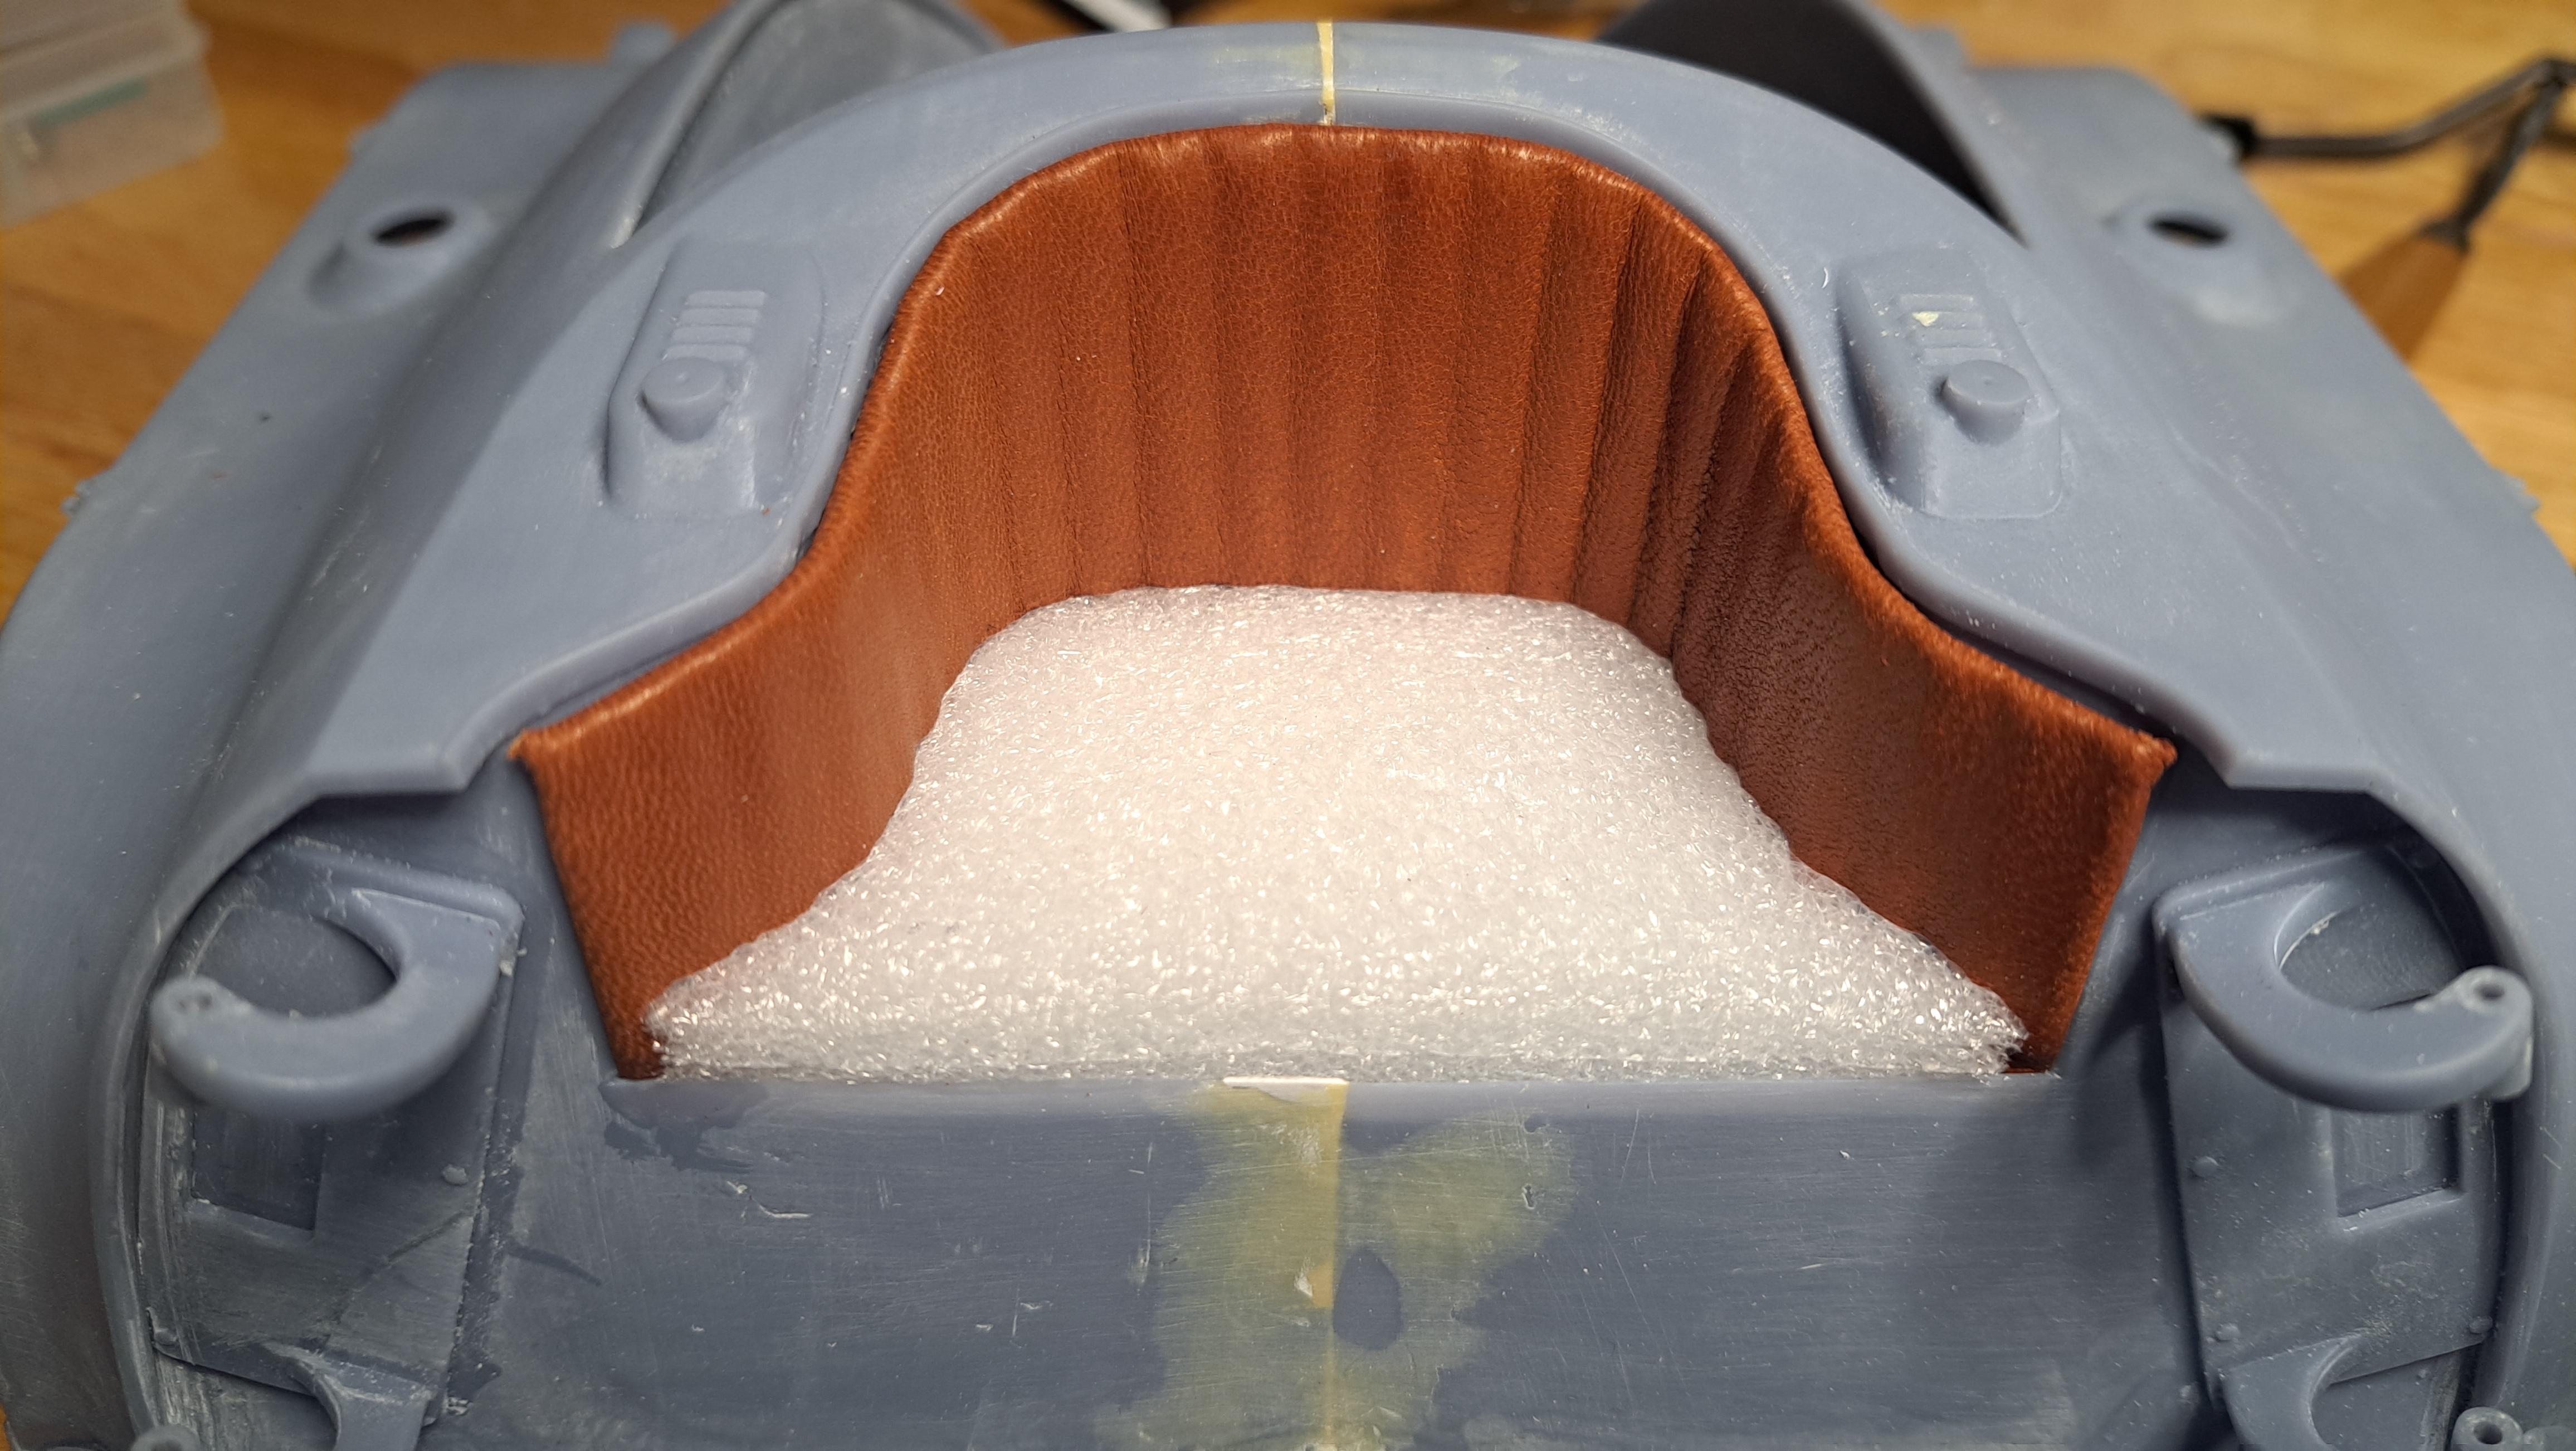
And covered it with leather

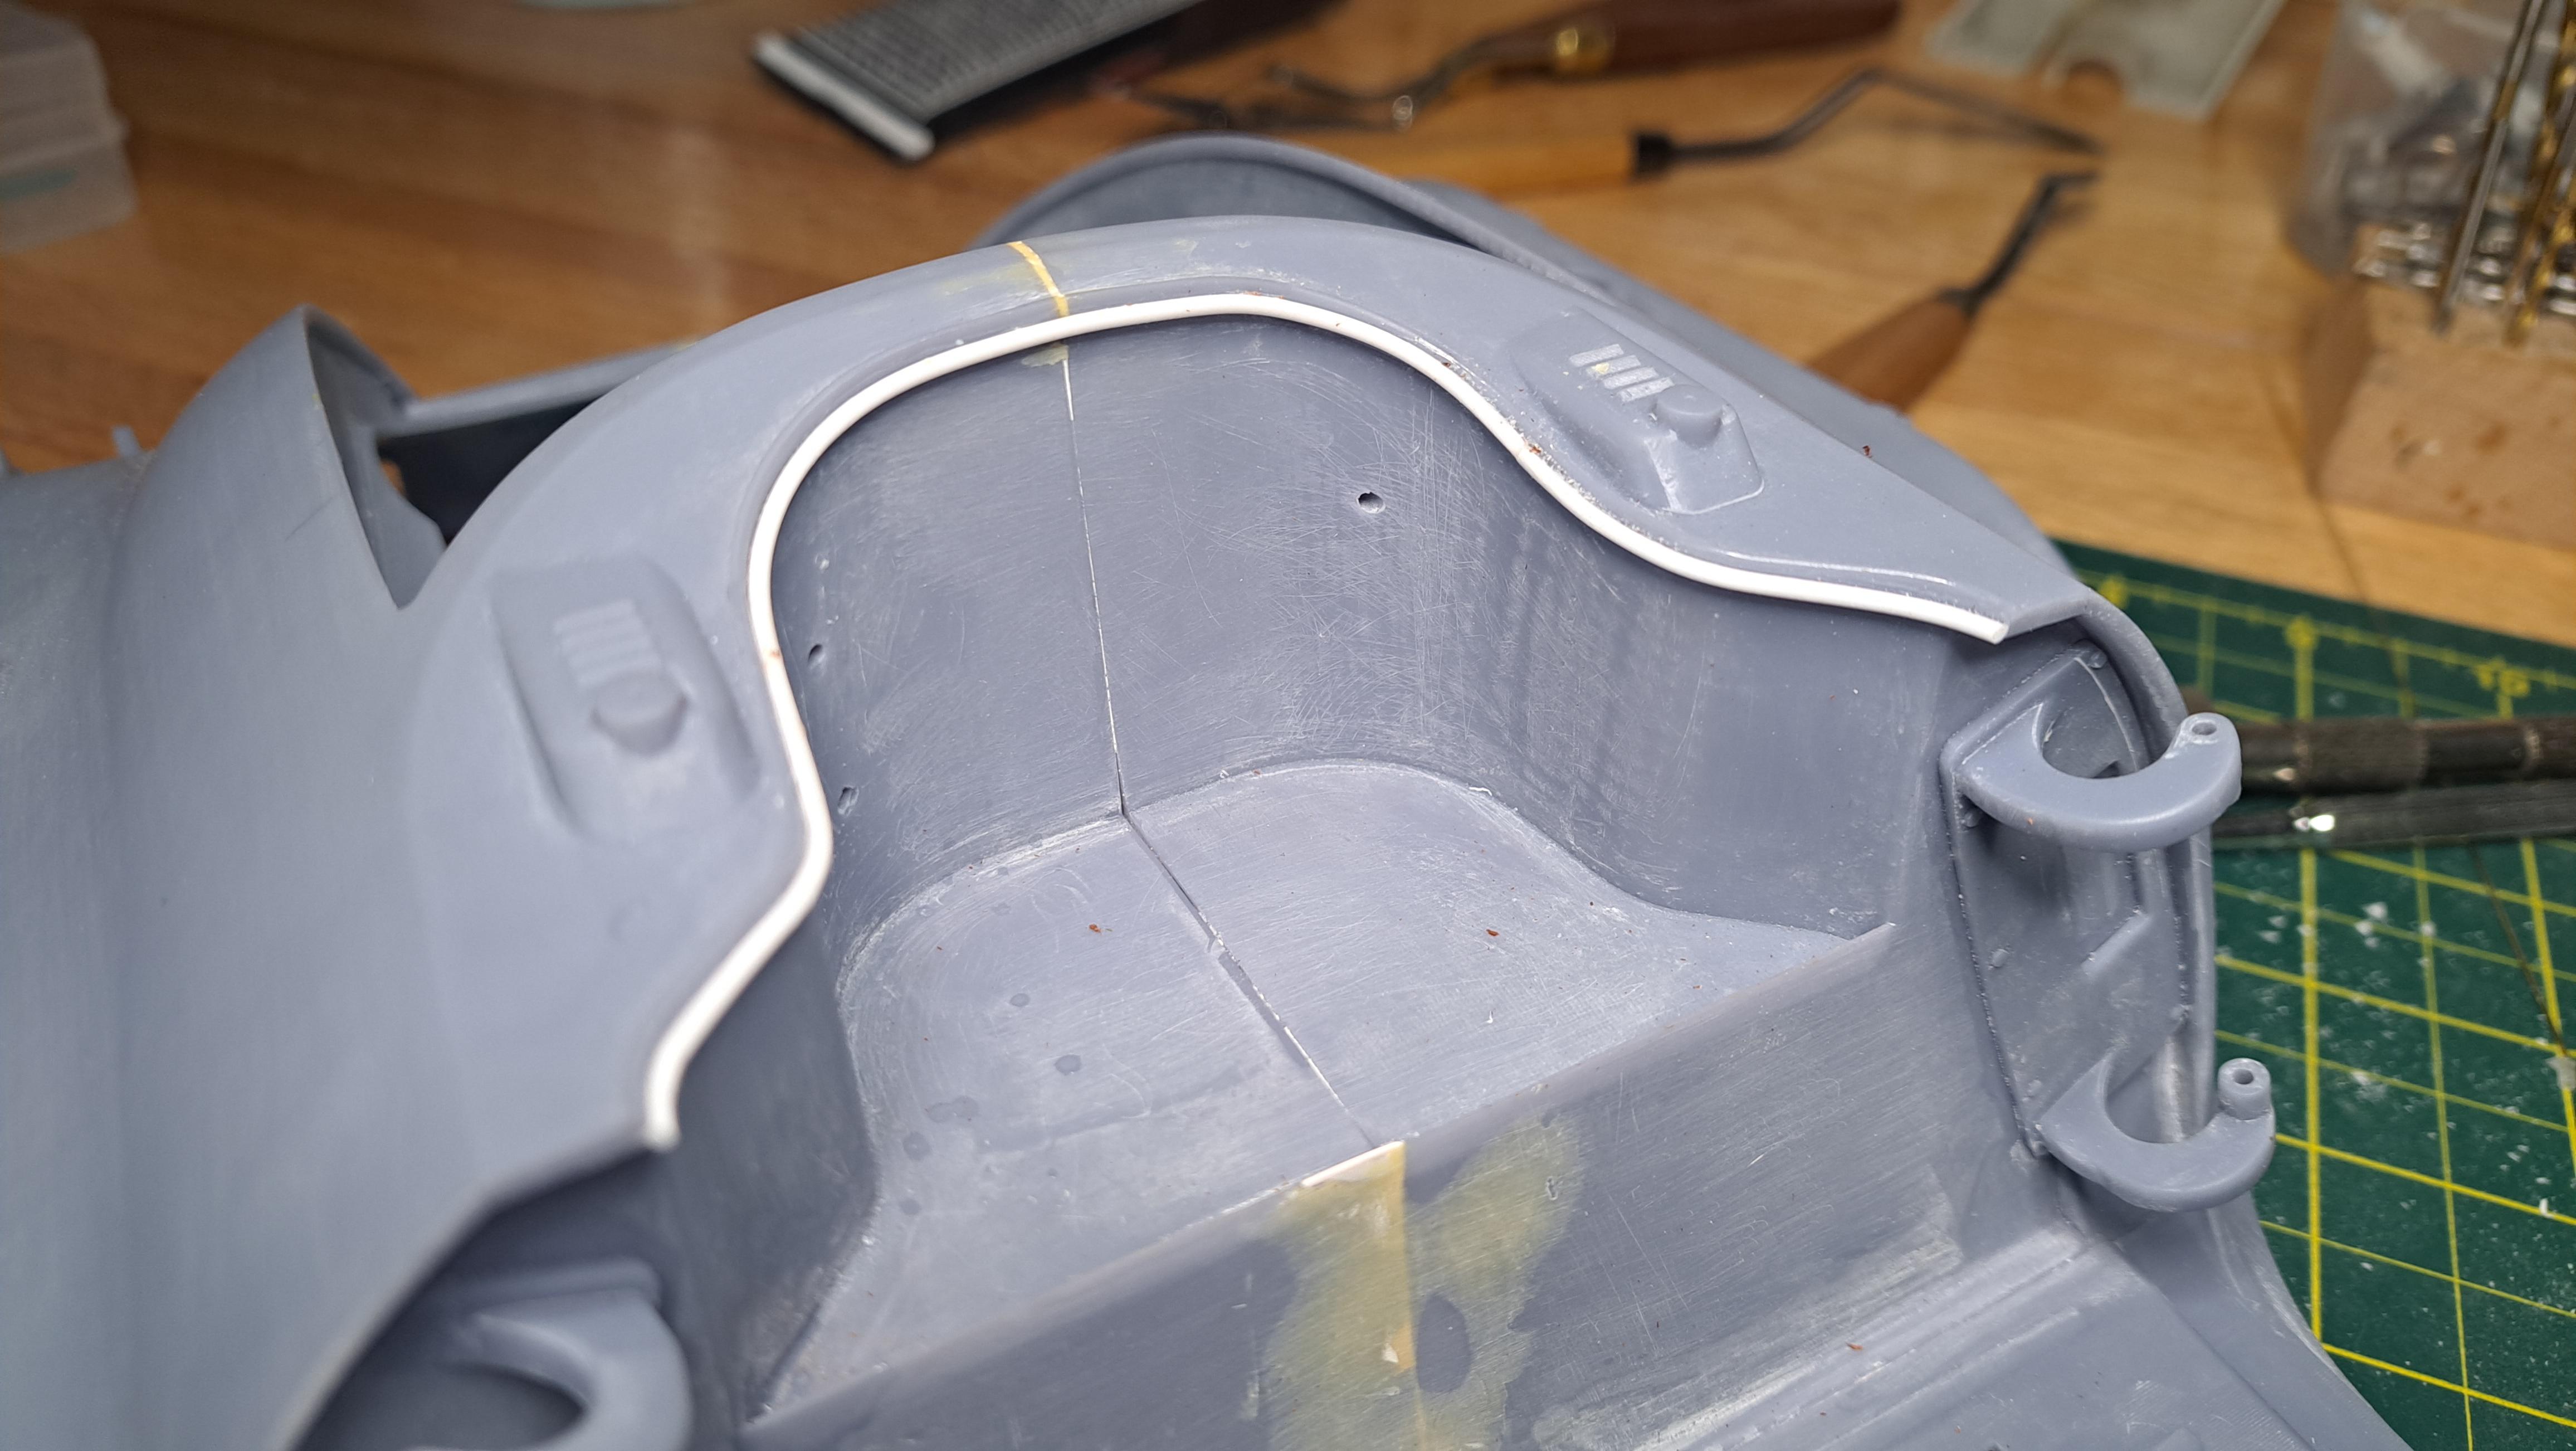
But I didn't like the gap between the back cushion and the body so glued a 1/16" dia styrene rod to create a lip that will hide the gap. The rod will be painted the same color as the bodywork.
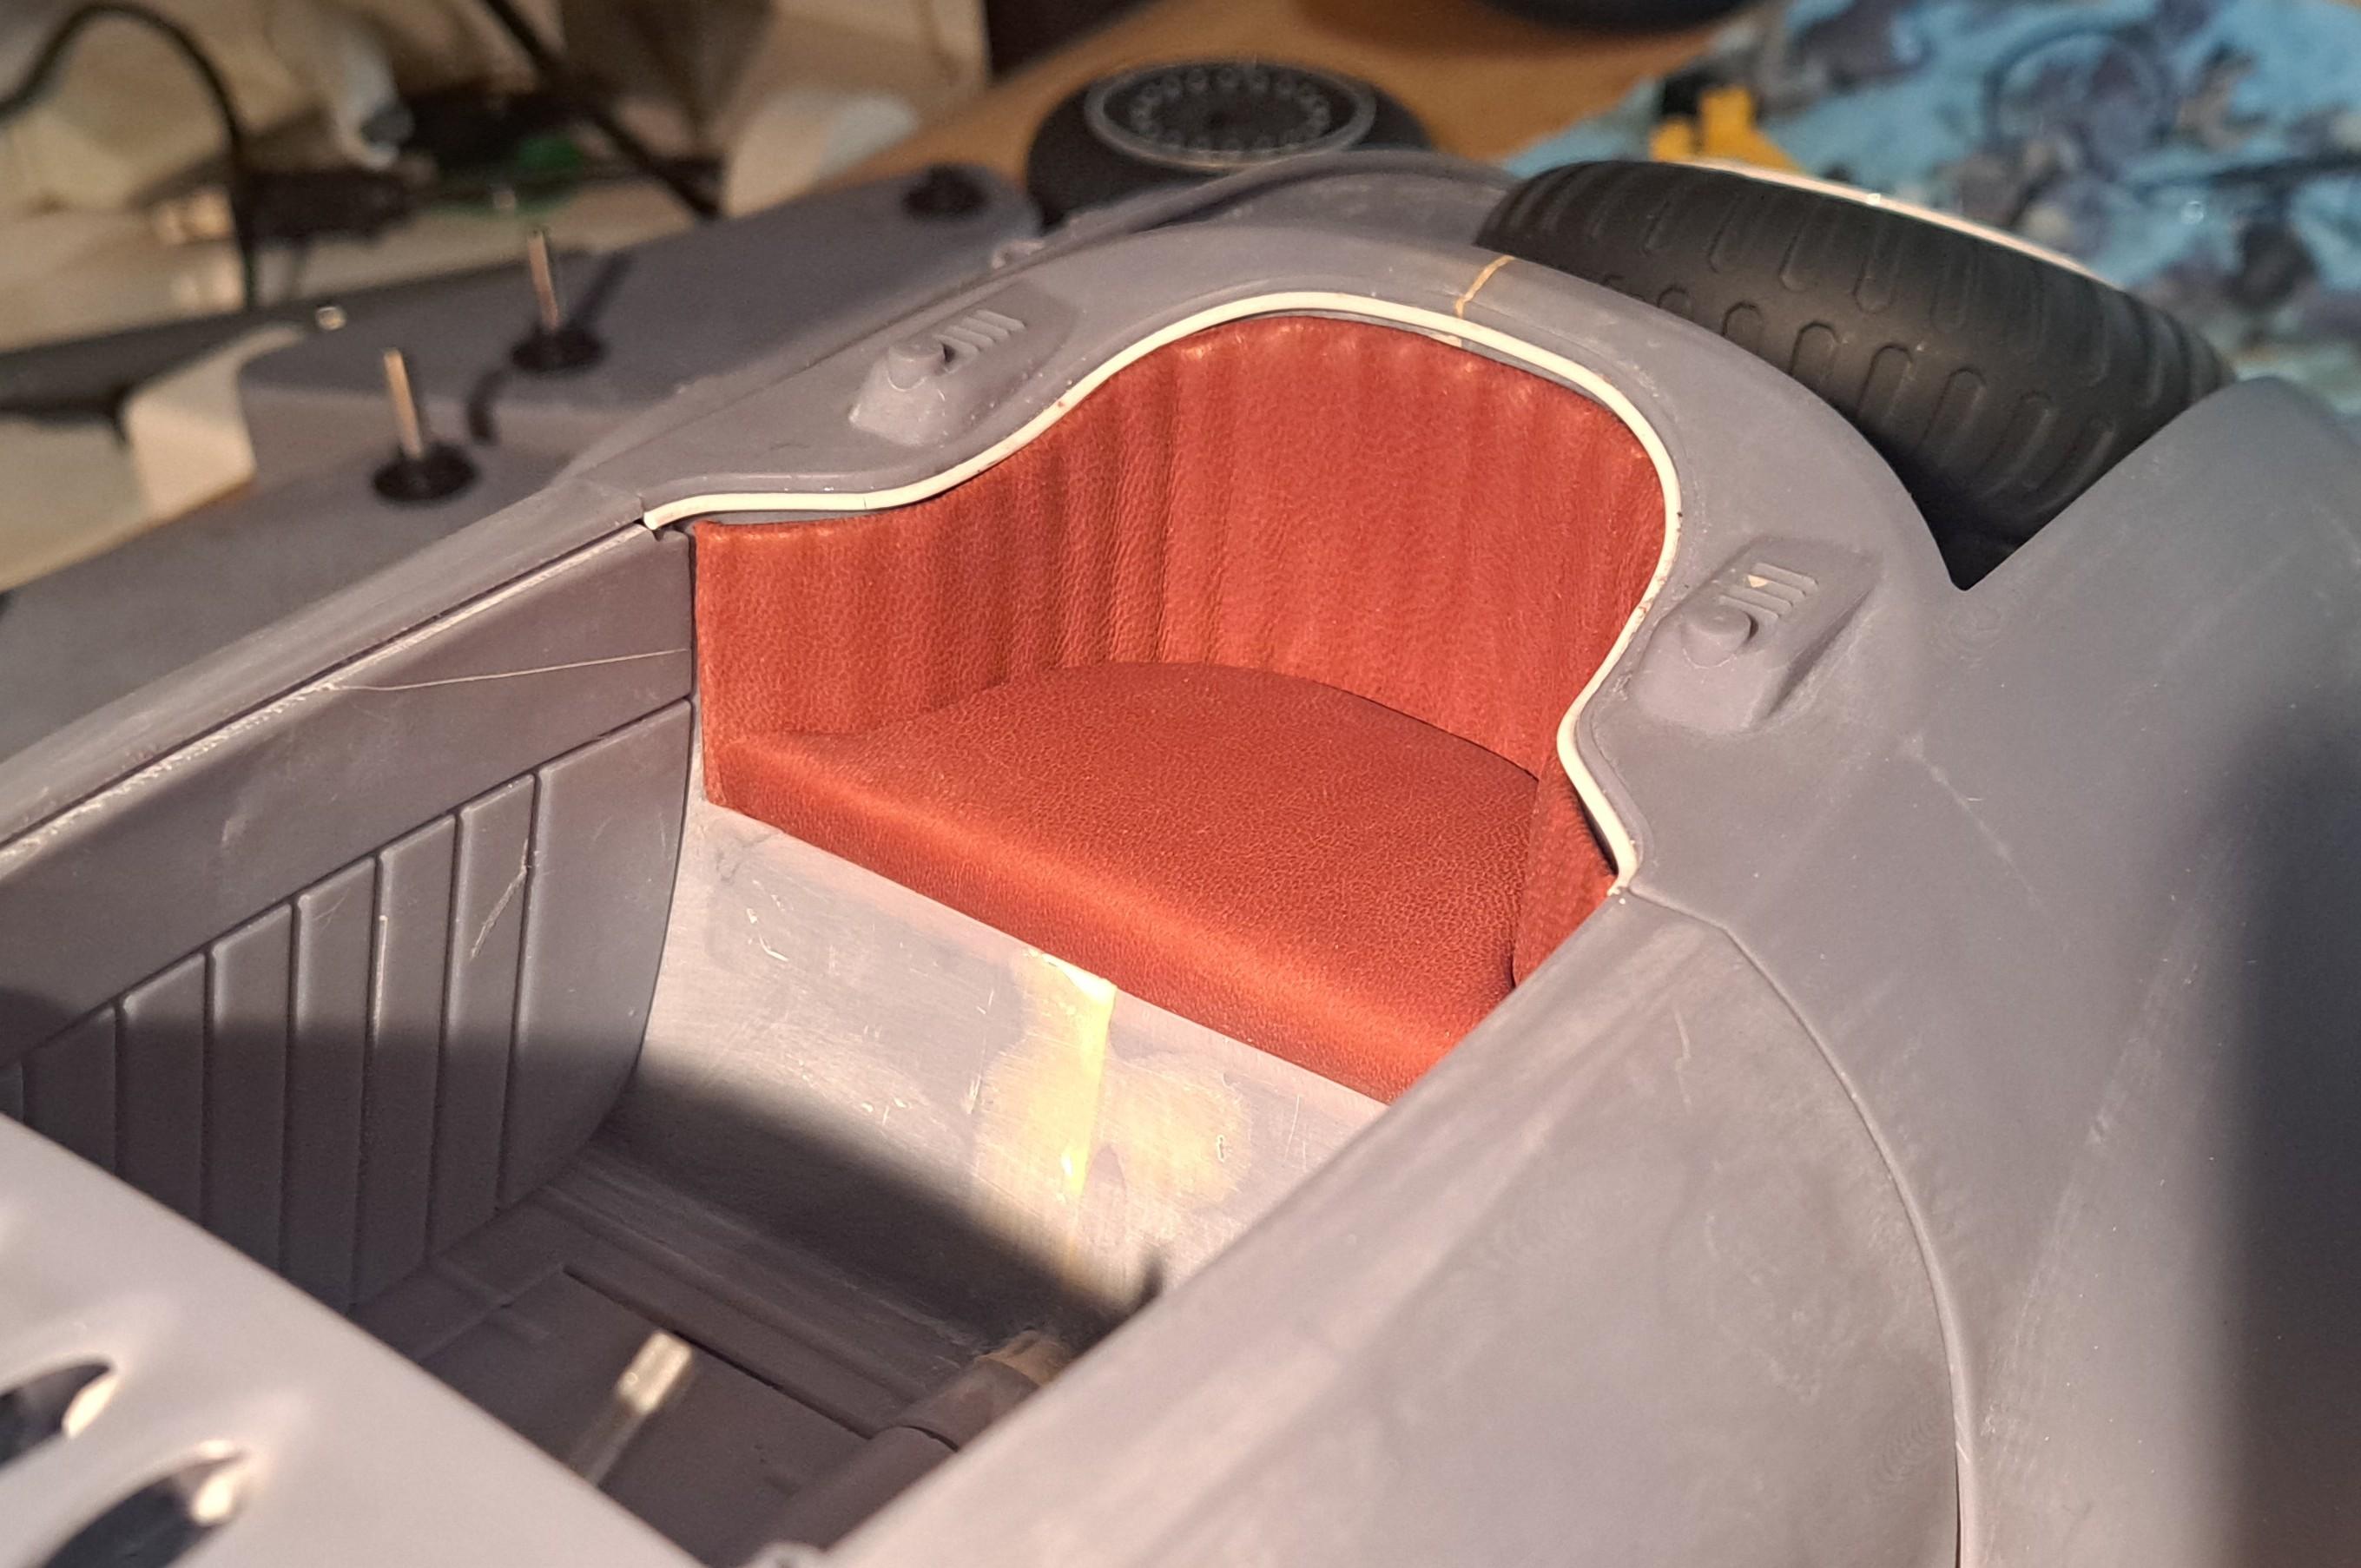
I'm very happy with the result even though it's not final since I have to remove the seat for painting.

And the last project for today was to make a new bigger spray booth. The hydra body didn't fit in the old one. At 28" wide x 14" deep, it will accomodate bigger parts.

I first made a paper template of the back rest.
Which was then transfered to a .015" thick plasticard
I 3d printed a bunch of domed strip to create the back cushion shape
Which were glued to the plasticard
Next came the leather
And once glued
I then cut a piece of white foam for the seat cushion
And covered it with leather
But I didn't like the gap between the back cushion and the body so glued a 1/16" dia styrene rod to create a lip that will hide the gap. The rod will be painted the same color as the bodywork.
I'm very happy with the result even though it's not final since I have to remove the seat for painting.
And the last project for today was to make a new bigger spray booth. The hydra body didn't fit in the old one. At 28" wide x 14" deep, it will accomodate bigger parts.
Wonderful-looking seat!
You might also consider extending the rod along the seatback forward on the tops of the doors.
You might also consider extending the rod along the seatback forward on the tops of the doors.
All body parts have been primed, wet sanded and primed again. They are now ready for final color.

Is that the hood of your TR6? Nice workbench!
Yeah, it is!!! 15 years ago, I would't even breathe near it. Now it's a workbench... either I'm losing interest with age or losing workspace.
Last edited:
Did the leather on the door's inside panels. It's not perfect but I should be able to get it close with a bit of tweaking here and there and a bit of shoe polish.


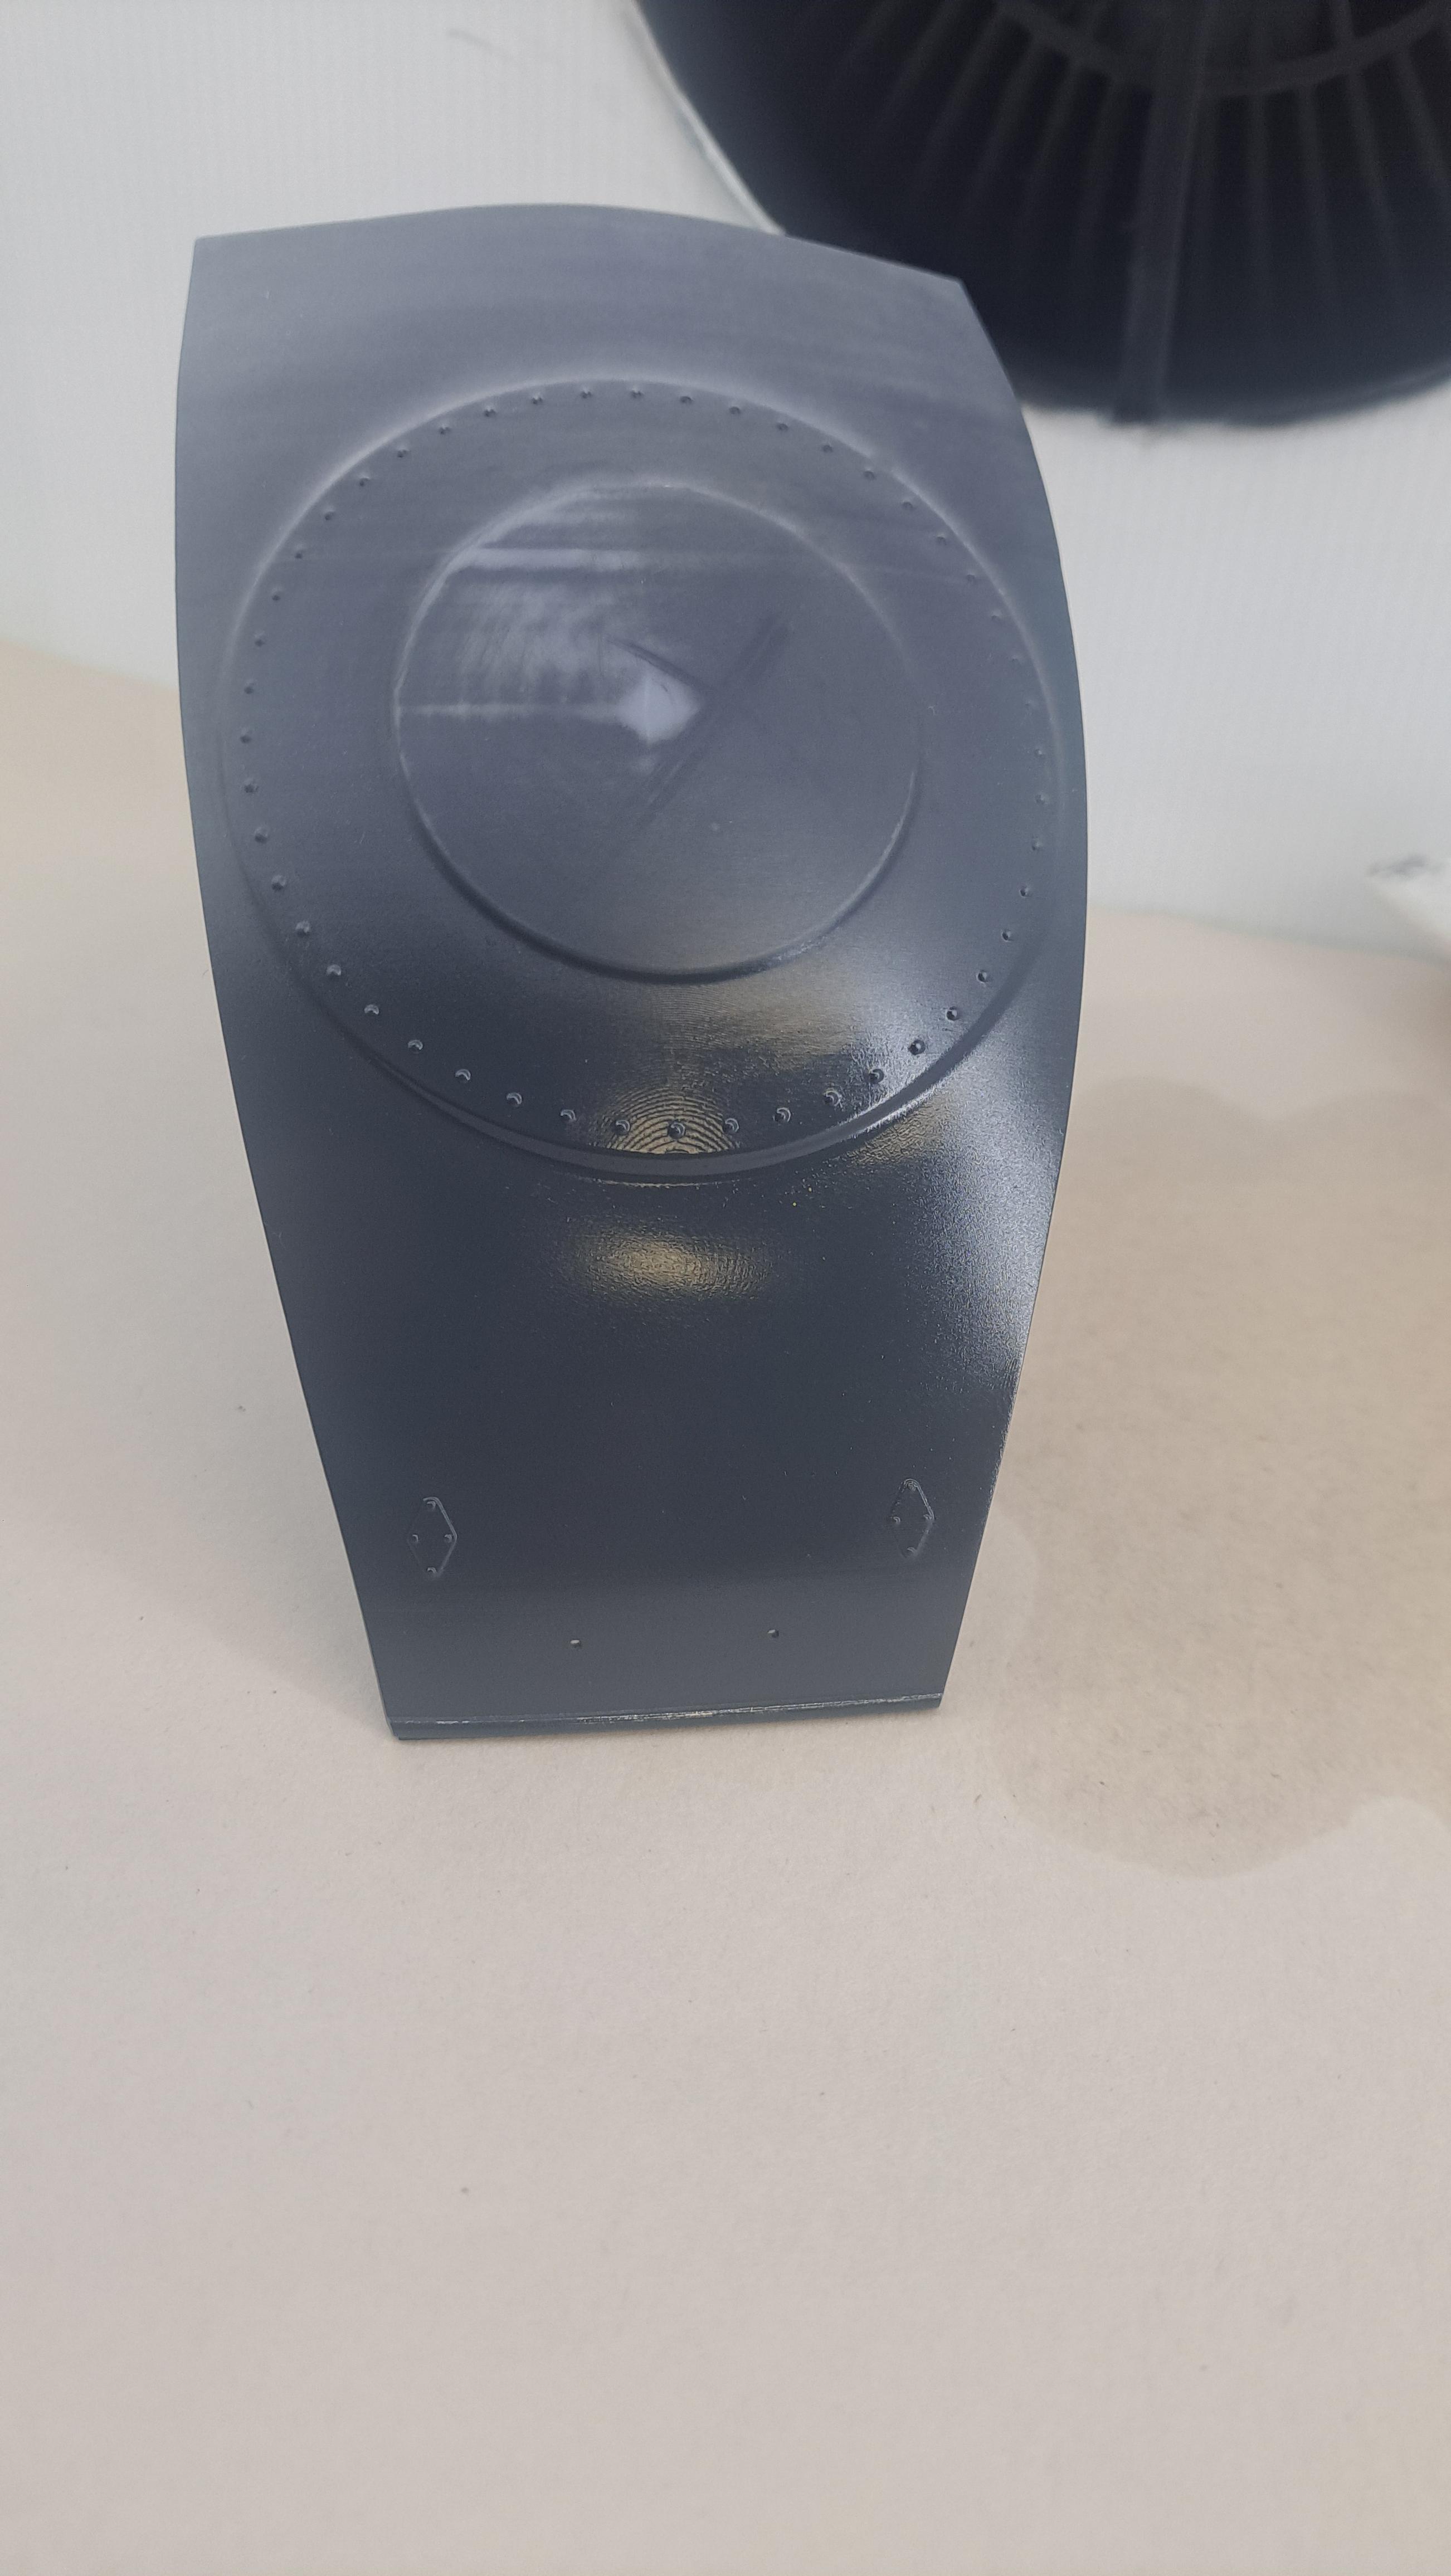
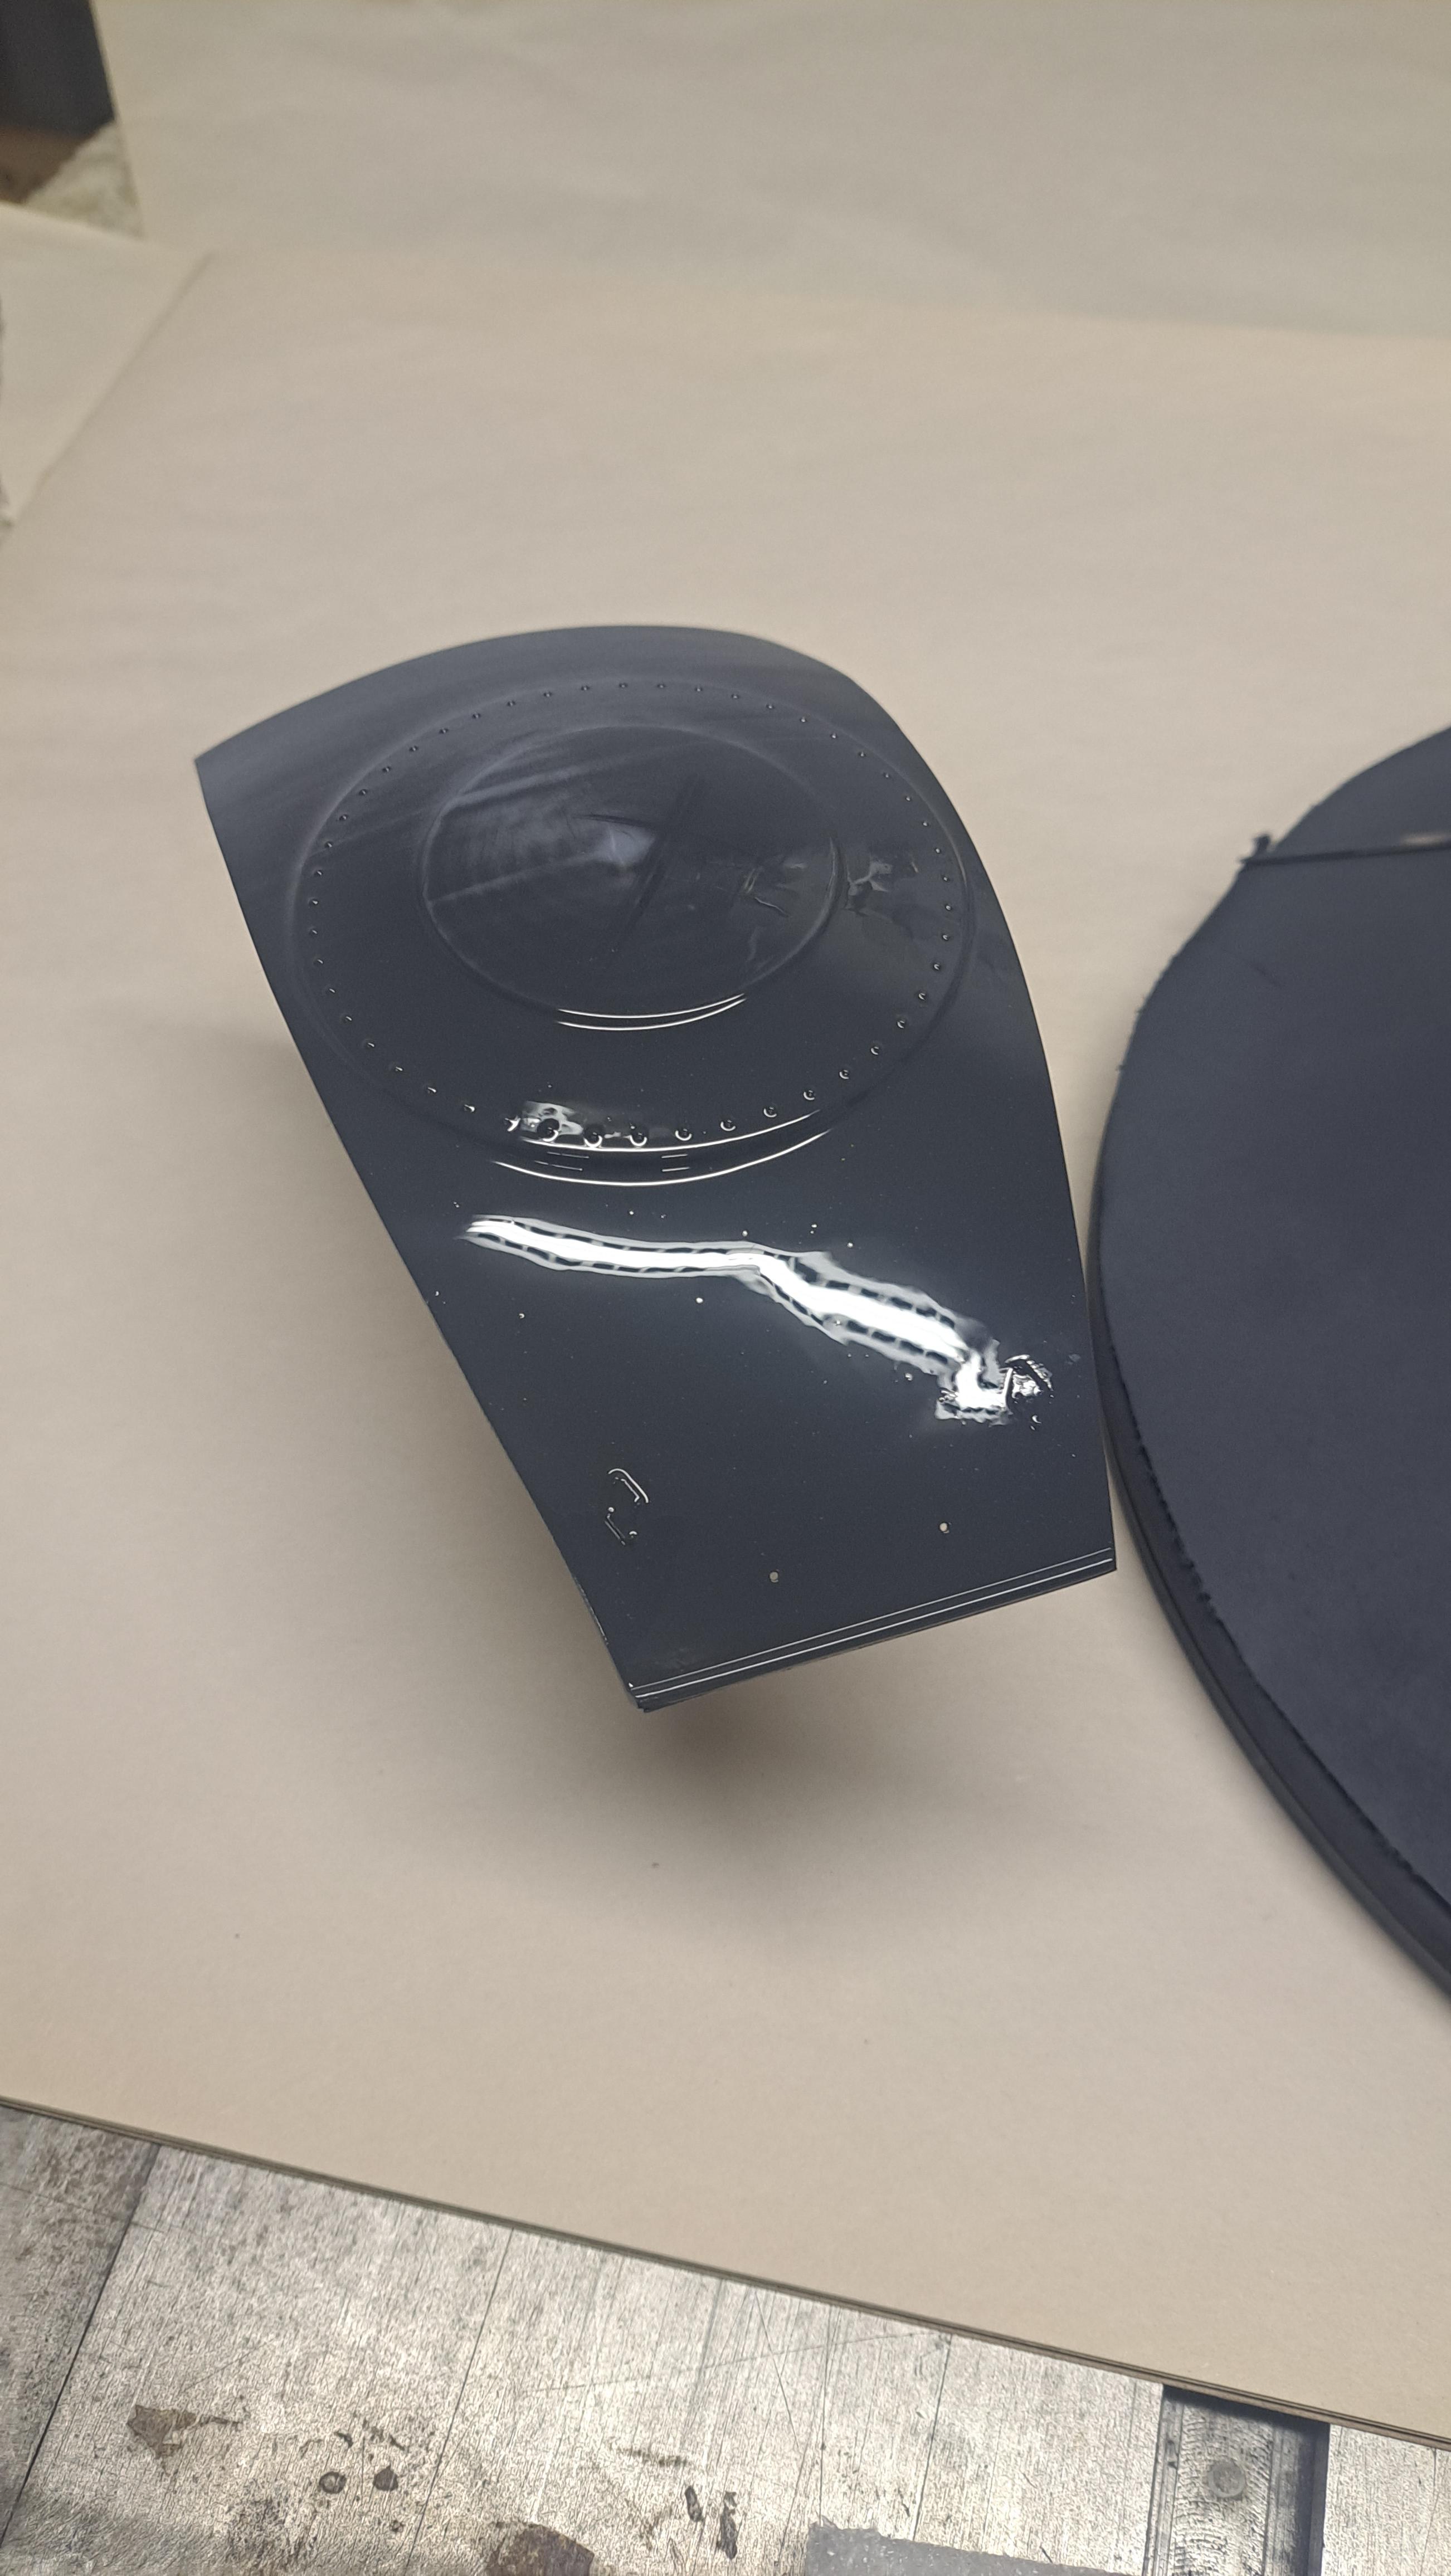
Ok so I painted all the body parts with Tamiya's german gray spray paint.
 As mentionned before, tamiya spray paints are no longer available in Canada but I was lucky enough to find 5 cans of the same color that was close to the gray I wanted. It took 4.5 cans to spray all the body parts (including the previously painted blower, wheels and front light brackets) so not much room for a error there (absolutely no pressure !!). Next step is to clear coat the parts with Tamiya's LP-9 clear lacquer diluted 50/50 with Tamiya's lacquer thinner (the orange capped bottle, apparently it has a retarder in it). But before clear coating the actual parts, I did a test on a extra trunk lid. I laid 3 light coats at 5 minute intervals followed by a last wet coat. Once it's cured (no clue as to curing time but I figure an overnight cure should be good), I'll do some buffing tests with and without wet sanding. Hopefully, I won't need to much wet sanding.
After 2nd light coat (forgot the take a picture of the first)
After 3nd light coat

And after wet coat
After 2nd light coat (forgot the take a picture of the first)
After 3nd light coat
And after wet coat