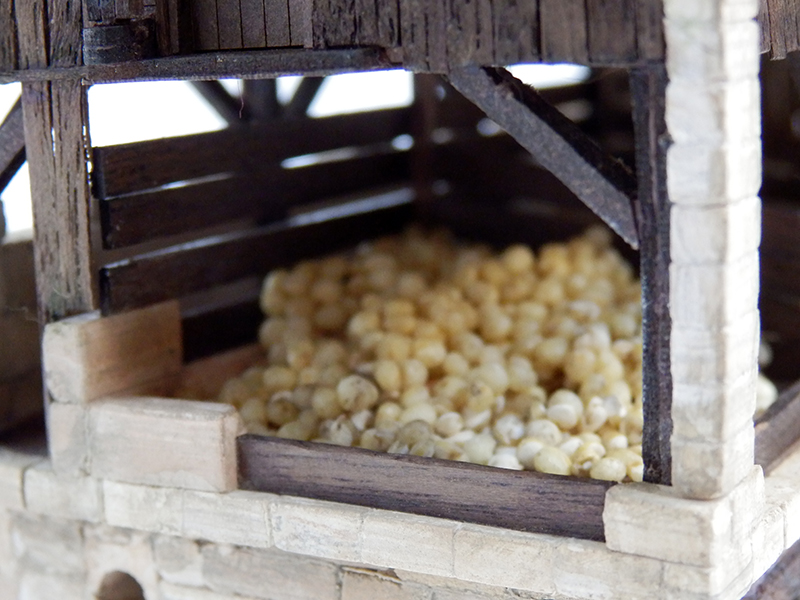
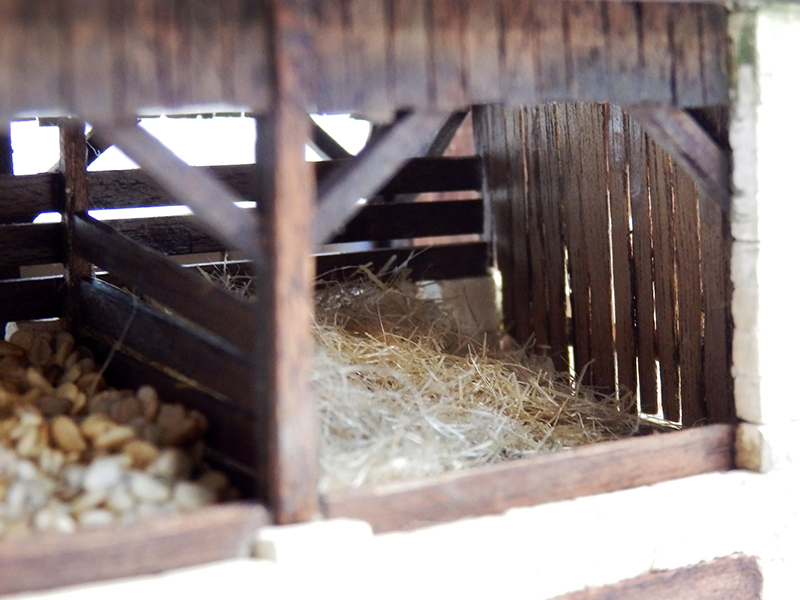
Medieval Fortified Village

The next building will be the lord's house. The cardboard base suits me quite well, I just changed the height of the roofs like the other buildings. But I'm keeping it for the layout, reinforcing it a little inside, of course.


Where I think it's going to get a little tougher is the upgrade of the facade... (knowing that I have 2 or 3 things to add for the other sides too !) I'm starting from this:


...and the project is something like this:


Well, let's be clear, I think I'm going to lighten up a bit, but overall there's a bit of work to be done, so I'm going to take it easy, and do 2 or 3 tries on the hard parts... :) But it's worth a try ! o_O:p
 
Thank you John! :)
Your constructions are quite successful!

No, I don't use CAD to transform the bases of buildings. I prefer to stay with direct cardboard cutting if I need it from an idea or a quick sketch.
Exceptionally, for this lord's house, I wanted to make it a little more concrete in the image to have finer details and be able to use it for the assembly.
 
Come on, first try ! Here are the half-timberings of the first central floor on the right, and a filling try on the left with my mixture between the half-timberings on an exercise square.


We will have to wait for it to dry, of course, before sanding and finding all the wooden structures...Then will come the time to stain all this properly.
But visually, it does it, once sanded ! :cool:

 
Before continuing with the lord's house, I started work on a connecting building between the fortified gate and the Manor.
Not only to continue the wall, but also to build a barn-drying shed. I saw this construction this summer in the south of France, I thought it would be quite suitable... After some research, it is indeed a building of the 14th century, I adapted all this to my fortifications.

The photos are visuals of the building site: it's not finished at all! :cool:
There are still the doors of the stables, the covering of the upper part which must be partly closed, some details.


A small precision of its location :


Last edited:
Very professional workmanship on your project Ekis .
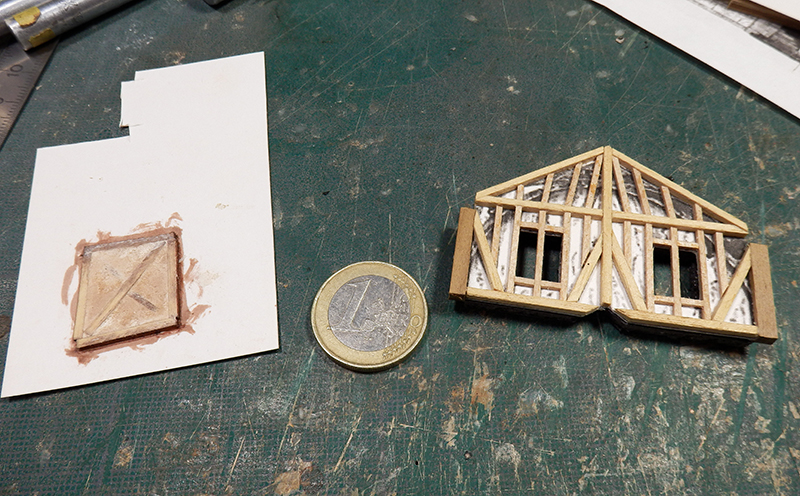
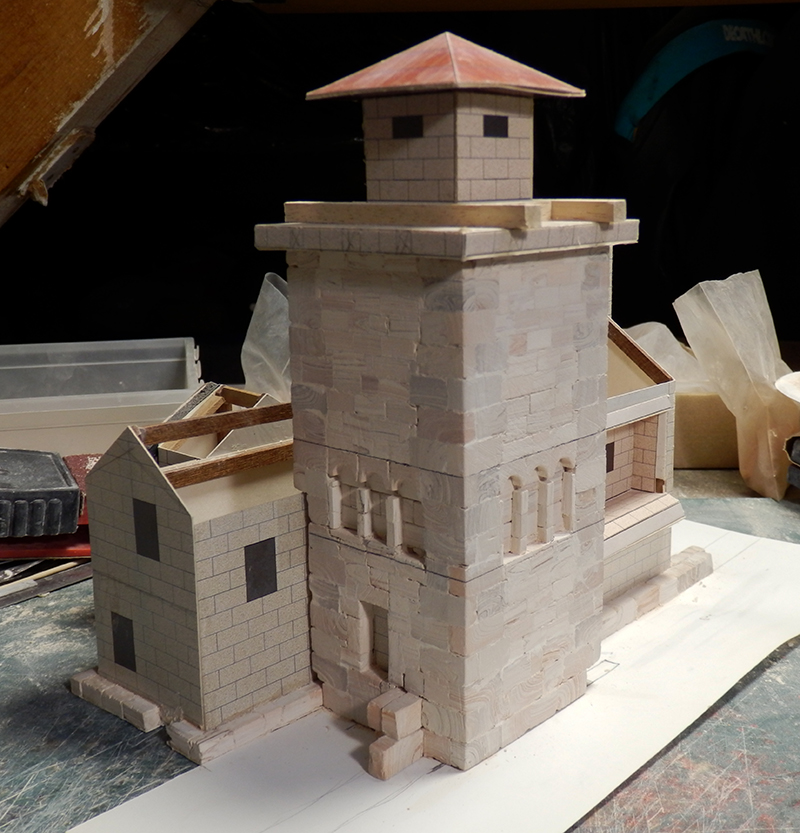
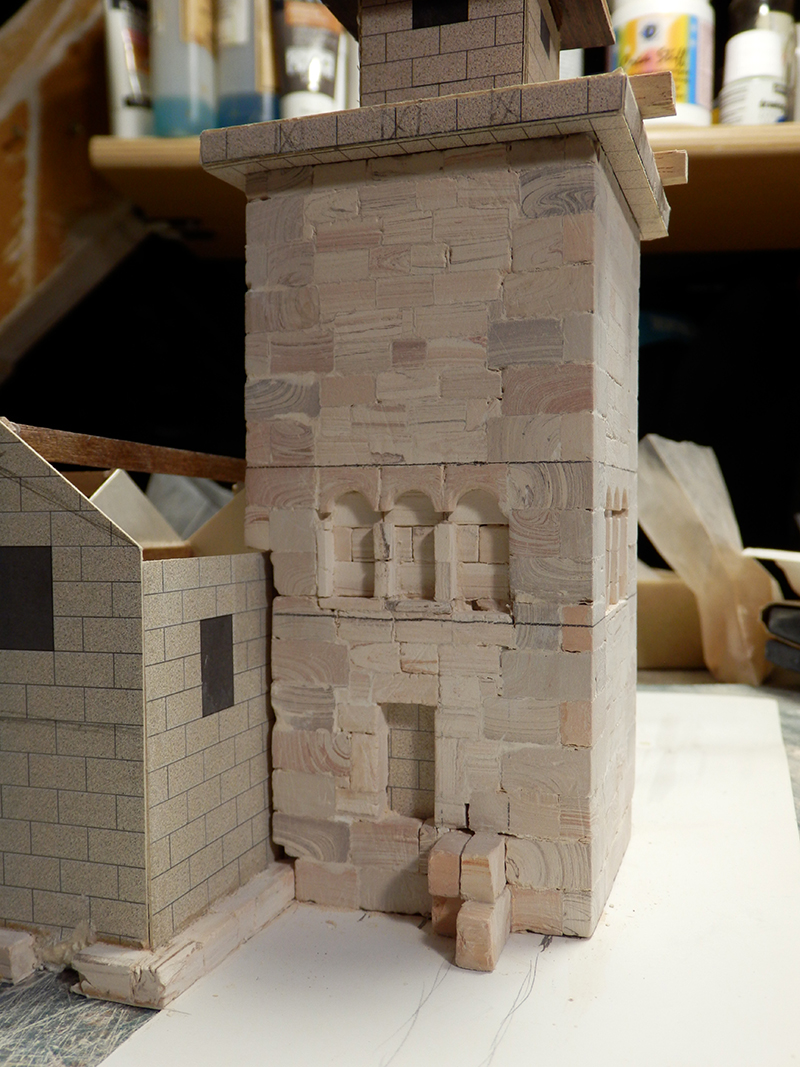
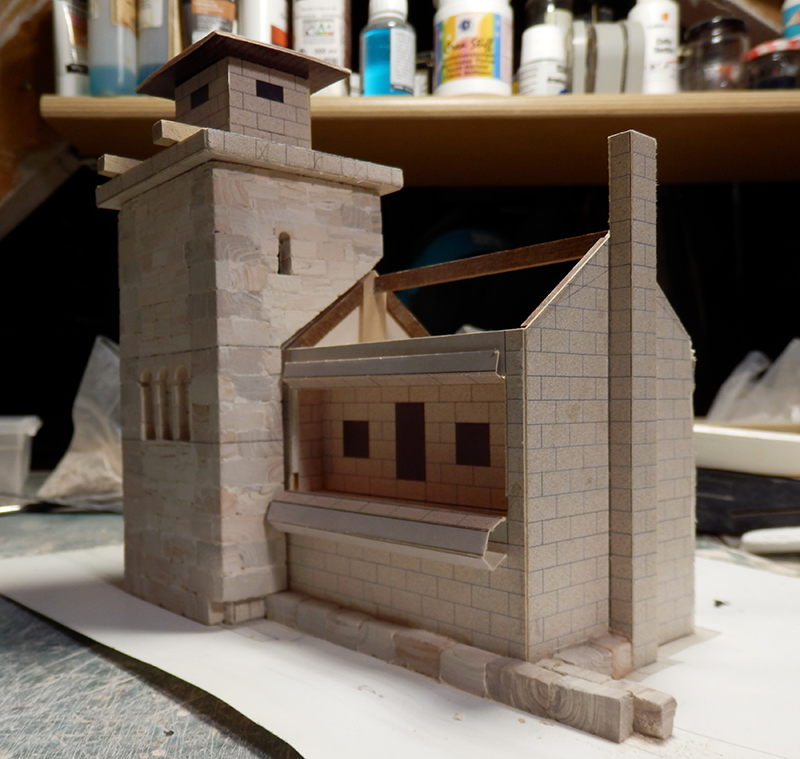
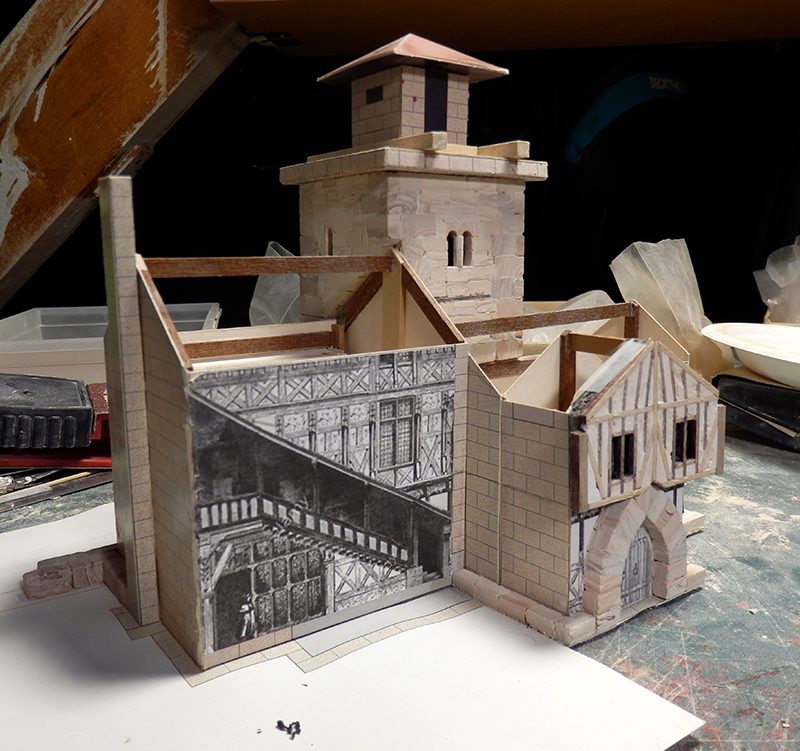
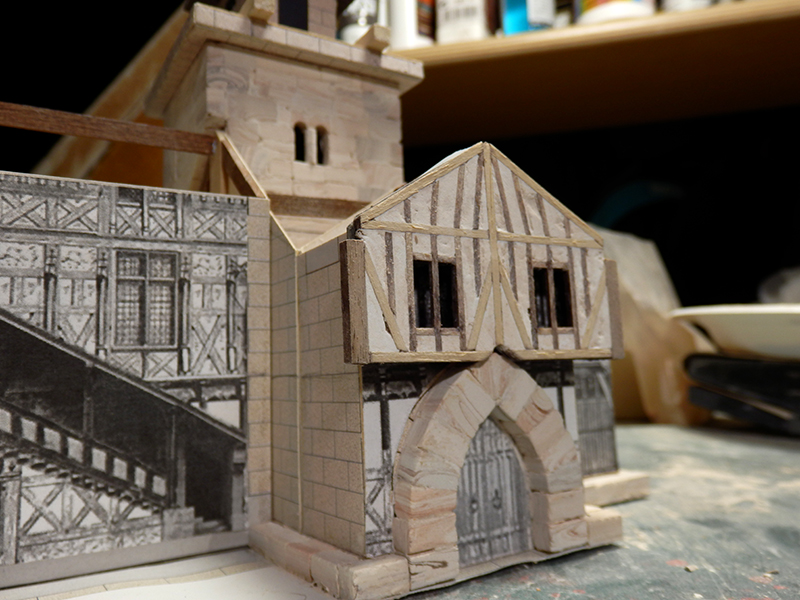
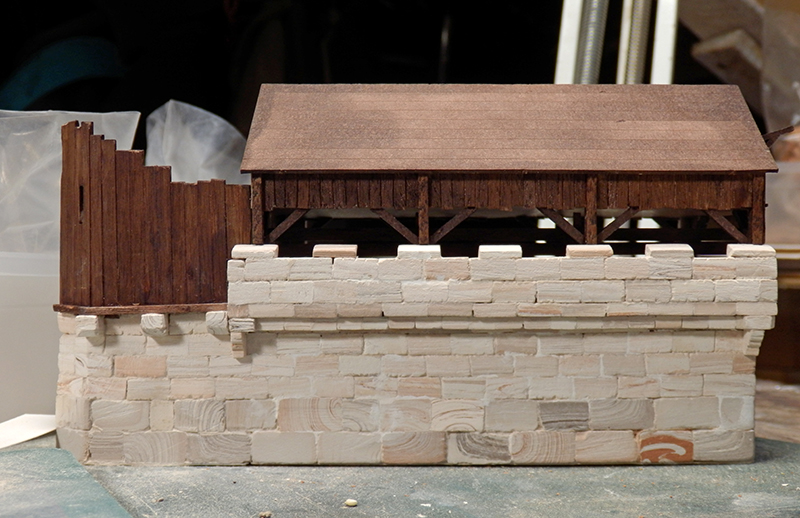
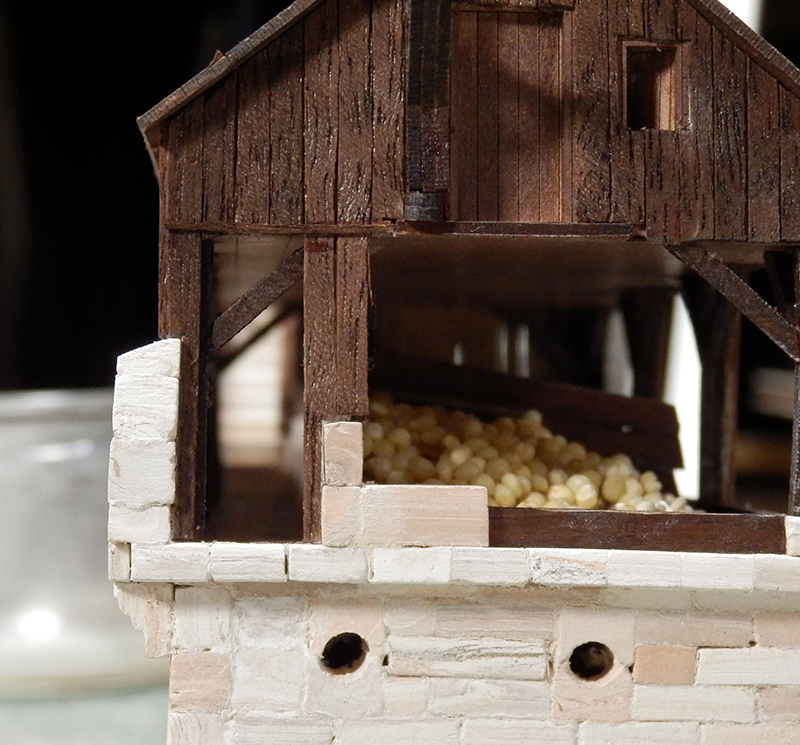
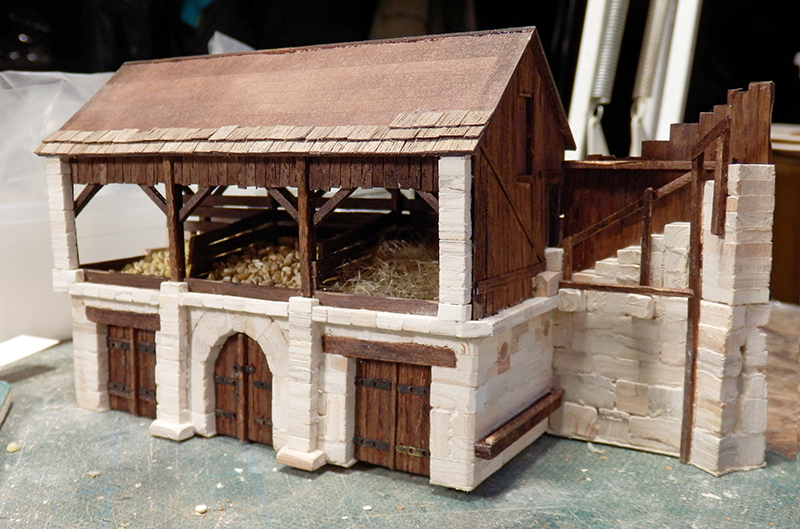
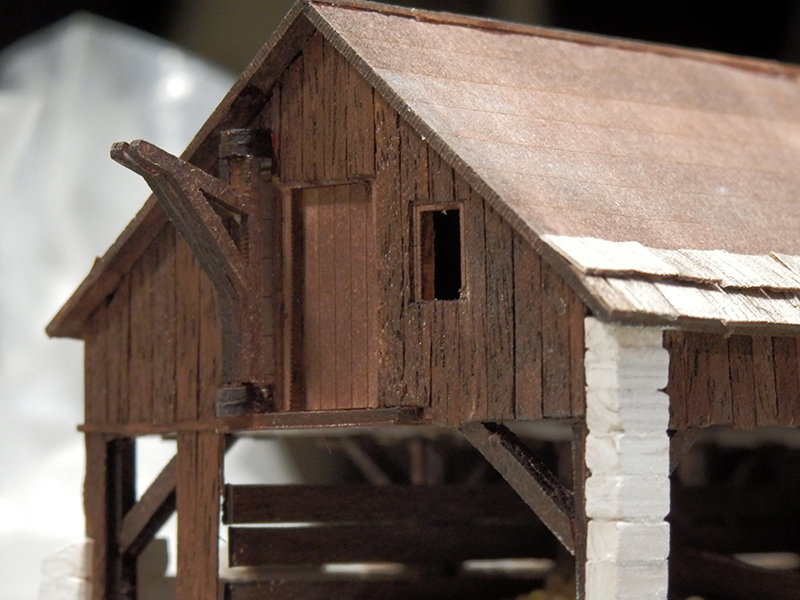
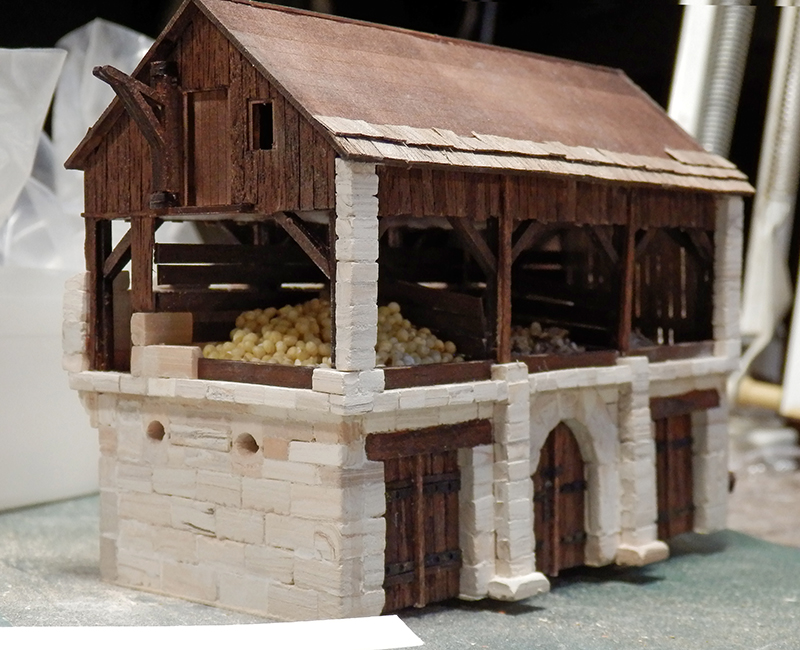
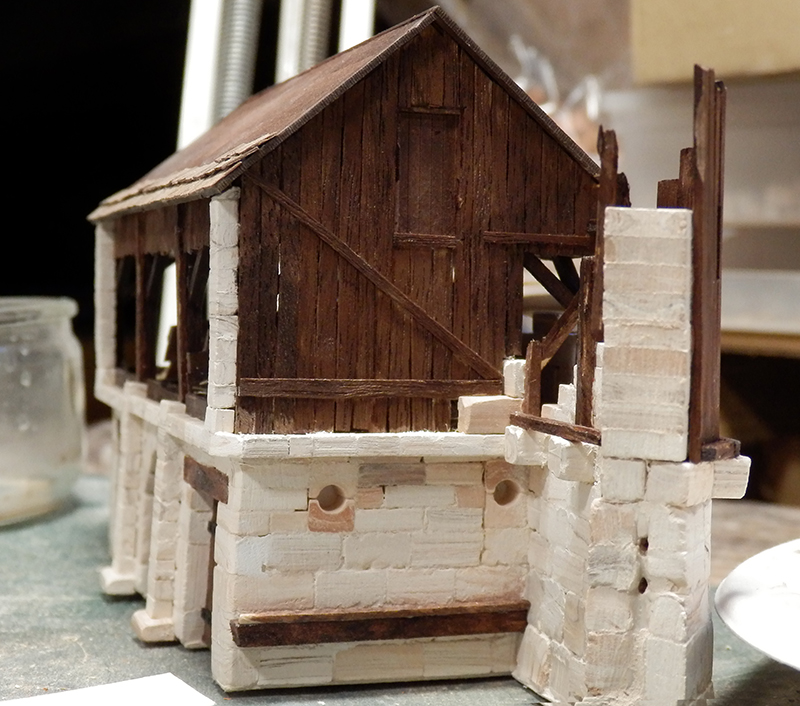
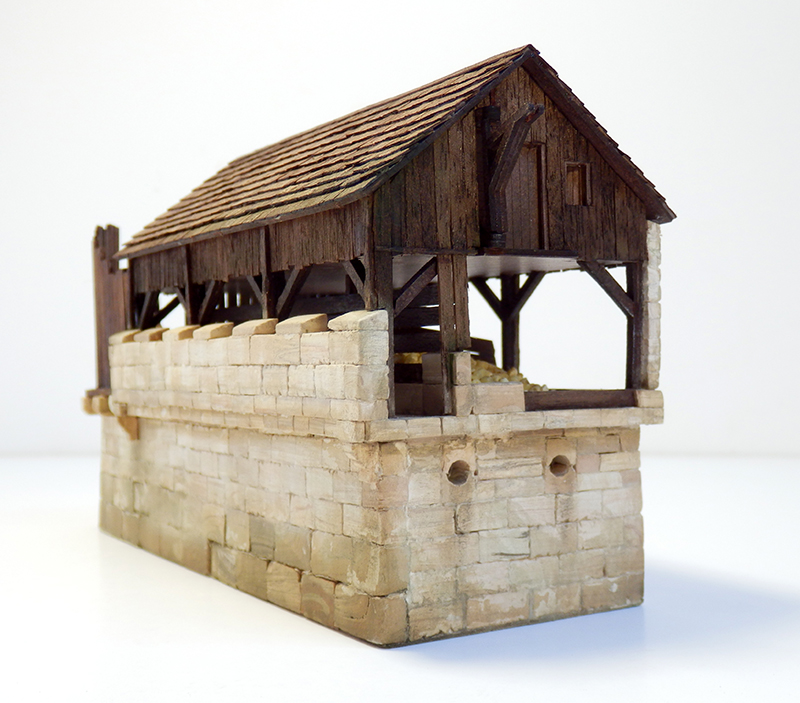
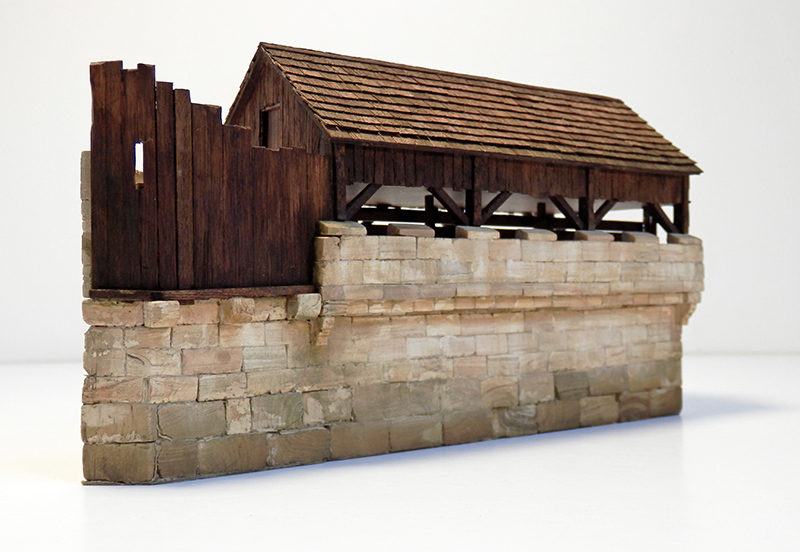
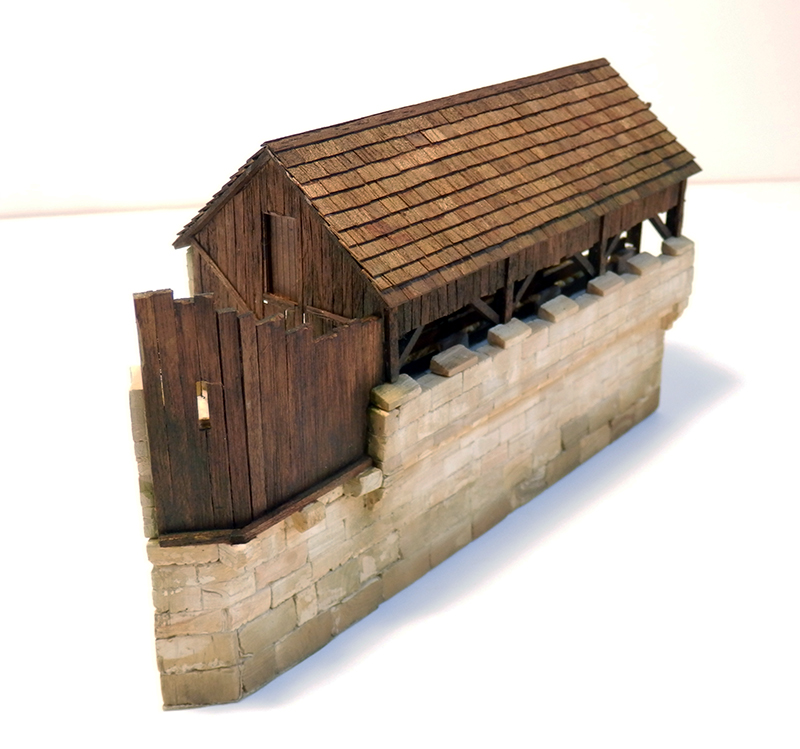
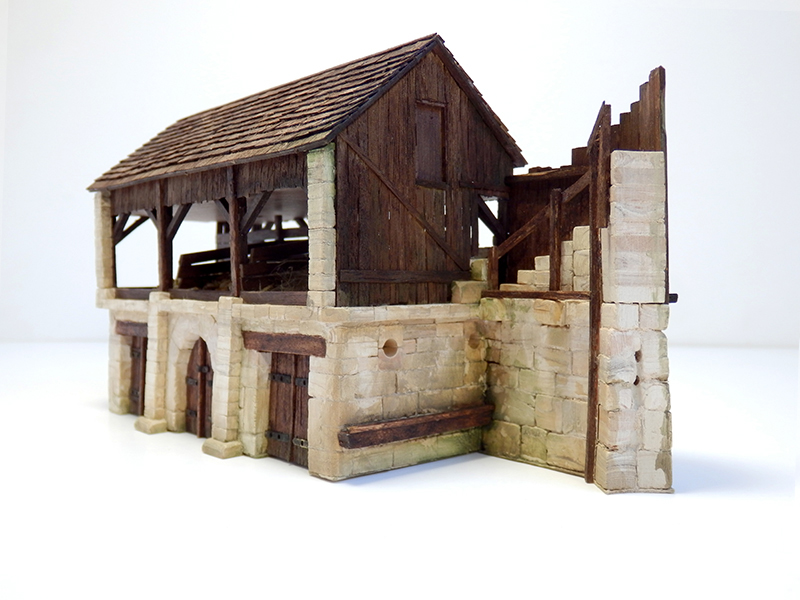
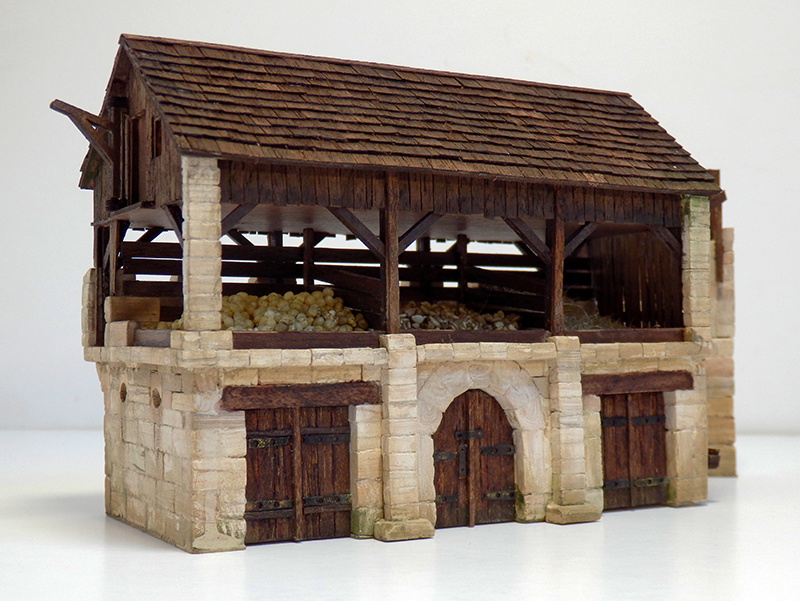
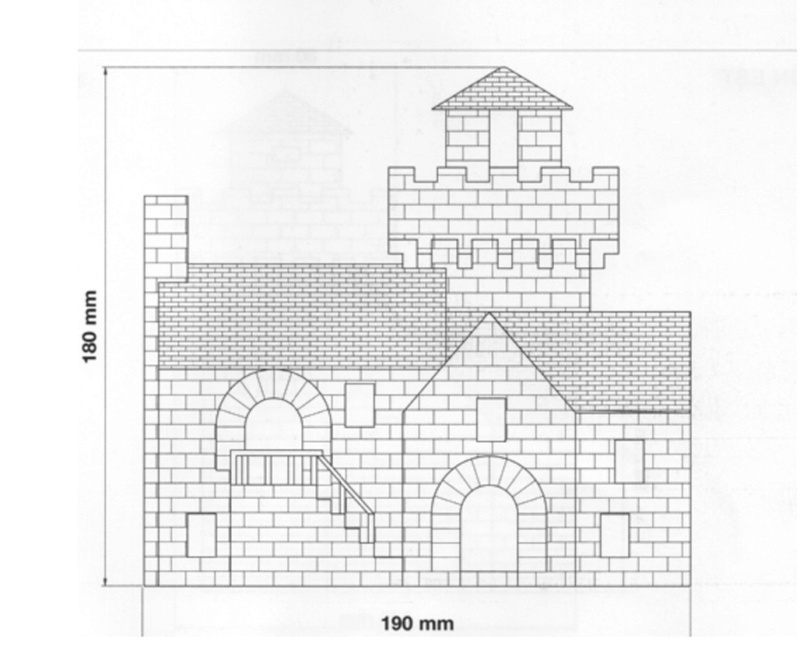
Being a retired architect this looks like an interesting venture that has me asking, how much of the stonemasonry carving do you have to do aside from picking out correctly sized pieces in the kit? Stone masonry as a guild required a 7 year apprenticeship before being able to be advanced and further trained. You are on your way. PT-2
 
A new building finished - and once more very realistic, especially with the slight weathering
I like the "wet" edge very much - we can really see how the green moss is growing - Great
 
thanx all !! :)
how much of the stonemasonry carving do you have to do aside from picking out correctly sized pieces in the kit?
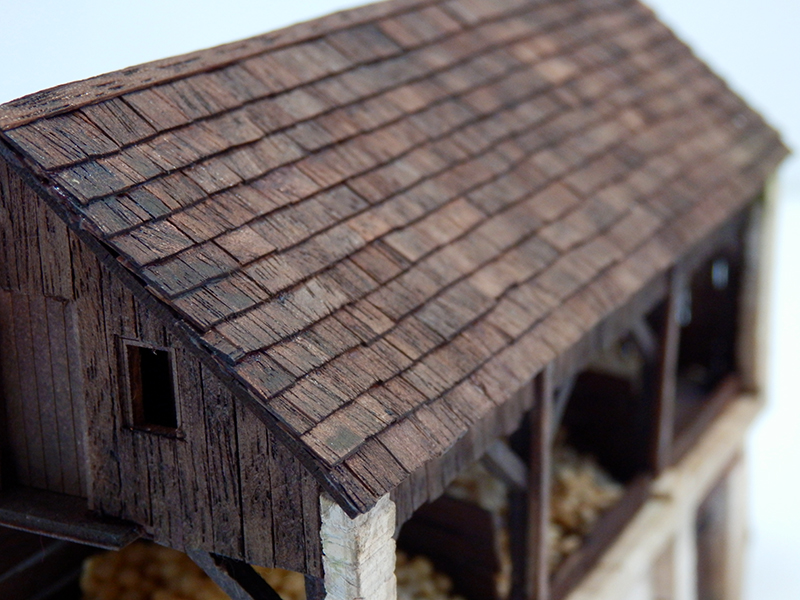
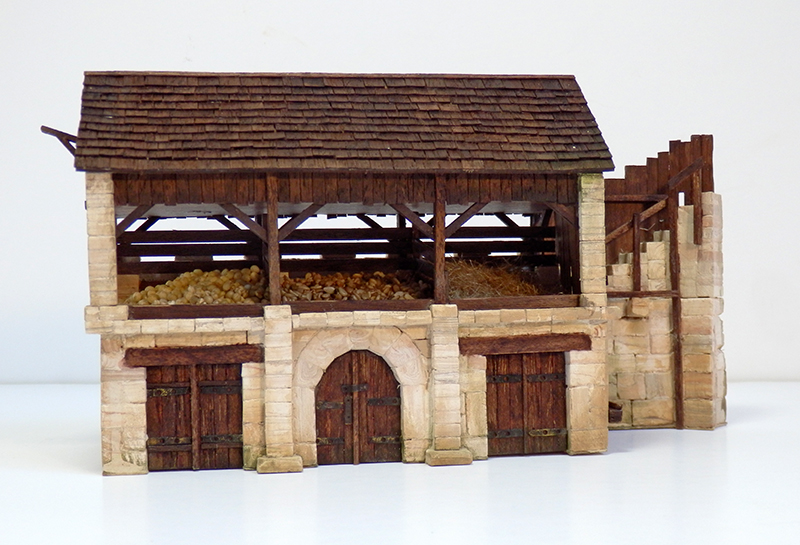
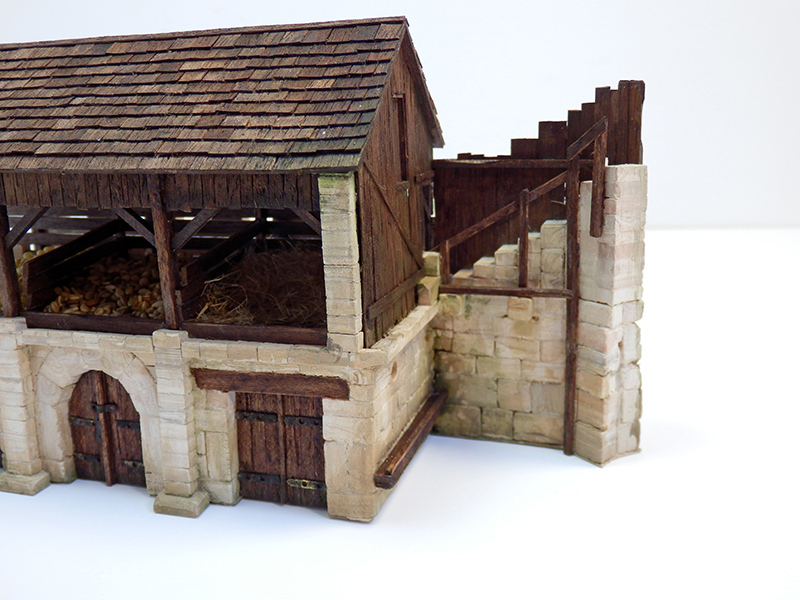
This building is not part of a kit: it's a creation.
To build this village, I do not follow any plan, I adapt according to my desires. I decide the doors, windows, openings and walls in simple masonry or with a larger base.
For example, this building has larger stones at its base on the wall side.
Each stone must therefore be adapted to its location or each arch.
 
I resume the construction of the lord's house.
And I started with the tower - keep - on which all the buildings are based. I added some openings and Romanesque arches. The top will also be modified...
I also started with the half-timbering of the facade, starting with those above the lower door (the simplest ones). :cool:


Very nice indeed.
Is there a reason why there are gaps between the columns and the arches on the tower 'windows'?
Are you planning to insert other details into the gaps?
 
Thanx all! :cool:
John, you're right, there is a reason for these spaces. There will be horizontal and raised fine stones on the columns. For the moment, I am still in the basic masonry, these are small fragile stone parts: I'll glue them later.
 
Back
Top