• Win a Free Custom Engraved Brass Coin!!!
    As a way to introduce our brass coins to the community, we will raffle off a free coin during the month of August. Follow link ABOVE for instructions for entering.

Misticque, 1/36 - Build Log by Moreplovac

Here is my ugly first layer hull planking.... next step is sanding, filling, more sanding and proper second layer planking so I will forget this messy look... to bad, photos will stay here for a while as a reminder :-)..
Mistique 003.jpg

Mistique 004.jpg

Now, I worked a bit on deck planking... From the beginning of this journey, I did not like the deck planking pattern included in kit, so will attempt not to follow it (kind of a flat, straight planks) and will try to adopt planking symmetry from French Le Requin, kind of pattern I saw on this forum from some other members. Not sure if it will be successful but will try...

My attempt will go into this direction:

Mistique 010 - planking plan.jpg
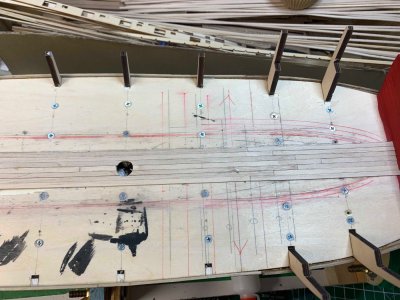
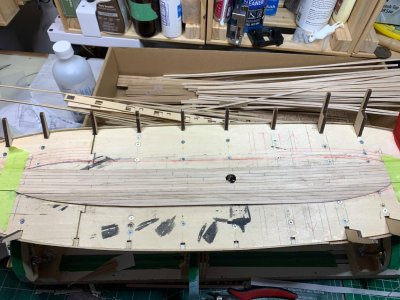
So for the beginning, I marked down the middle planking formation, using ship gun as a reference point.

Mistique 005.jpg

Mistique 006.jpg

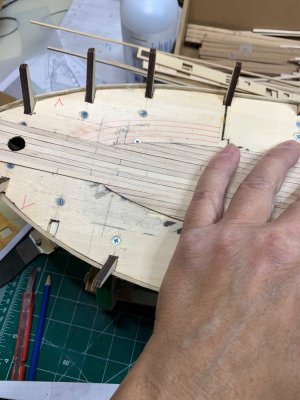
Then give it a bit of curving with attempt to follow ship' deck edges... guessing if those builders were successful maybe I can do it on the smaller scale... It will all depends on how good I will be able to bend the planks laterally.

Mistique 007.jpg

Mistique 008.jpg

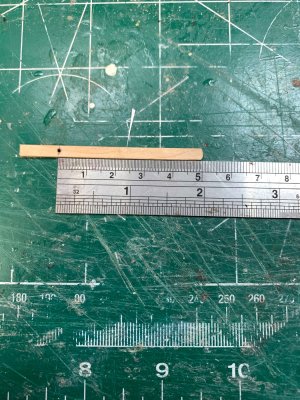
For deck planking I will use maple strips, 1x4mm I have on stock. I think with kit included veneer I might not be able to do bending.. I have tried and break few so decided not to use them...
The biggest challenge with this kit is that deck and hull plans included in it, are not in 1:1 scale so it is harder than usual to locate marking points, but will be able to figure it out..

Mistique 009.jpg


Happy modelling..
 
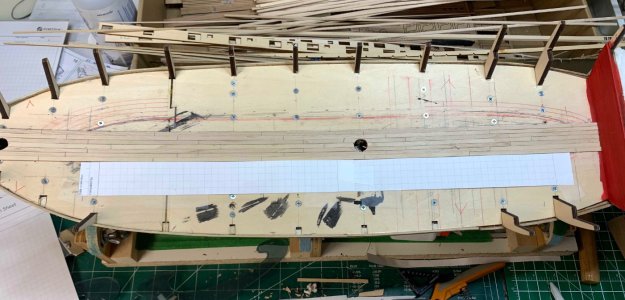
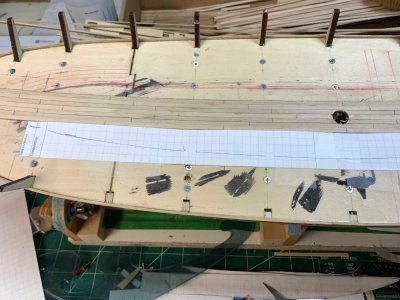
OK, so the first thing is to copy the plank pattern on transparent paper so I can follow it once planks are laid down to the deck...

Mistique 010.jpg

Mistique 011.jpg

Mistique 012.jpg

Then for French-type vessel, I will go with French version of shifts of butts.. The "board" will be 100mm long and shits will be ...

Mistique 013.jpg

...ending up kind of like this...

Mistique 015.jpg

Happy modelling..
 
OK, so the first thing is to copy the plank pattern on transparent paper so I can follow it once planks are laid down to the deck...

View attachment 553150

View attachment 553149

View attachment 553148

Then for French-type vessel, I will go with French version of shifts of butts.. The "board" will be 100mm long and shits will be ...

View attachment 553147

...ending up kind of like this...

View attachment 553151

Happy modelling..
Good morning. Lovely progress. Enjoy making that deck it is a challenge but loads of fun. Cheers Grant
 
I had made some mistakes so need to redo my first few planks on the deck... so here is the new layout..

Mistique 016.jpg

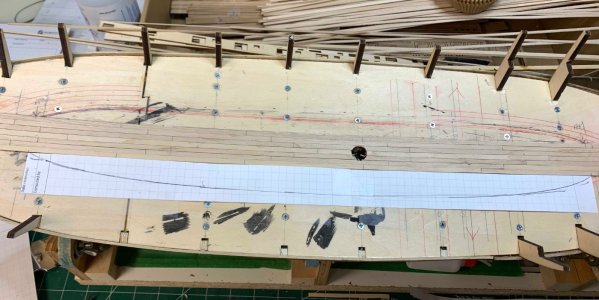
Then next step is to trace the hull curvature so I can continue with deck planking... for that I made a special tracing tool, very advanced.. 50mm plank with a pencil hole on the top and curved bottom for smooth deck following..

Mistique 018.jpg

I put a piece of paper on the deck where tracing will take place..

Mistique 017.jpg

First tracing run...

Mistique 019.jpg

With corrections

Mistique 020.jpg

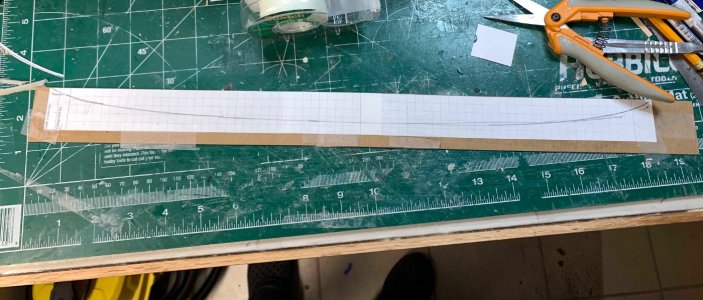
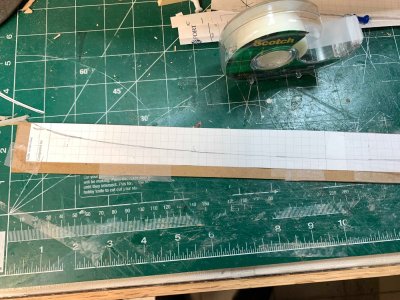
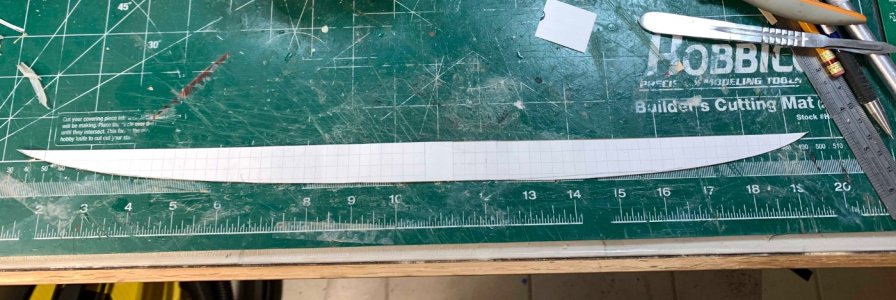
Now lets transfer this model to the stronger paper so I can use it few times..
Mistique 021.jpg
Mistique 022.jpg

And the template is done..

Mistique 024.jpg
Mistique 023.jpg
Now, lets jump on planks...

Happy modelling..
 
Last edited:
Mistique 024.jpg

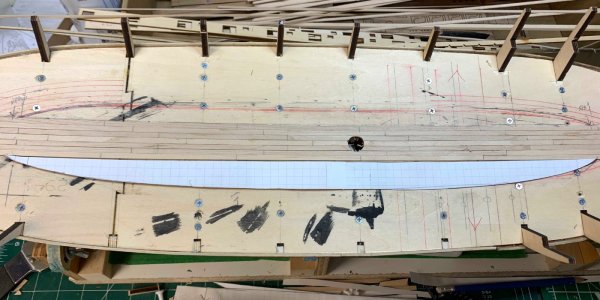
Testing the template...
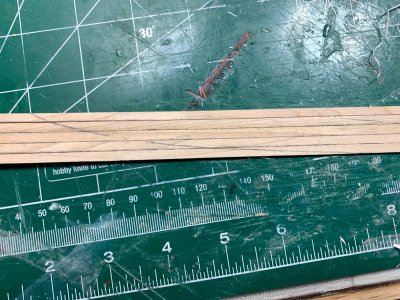
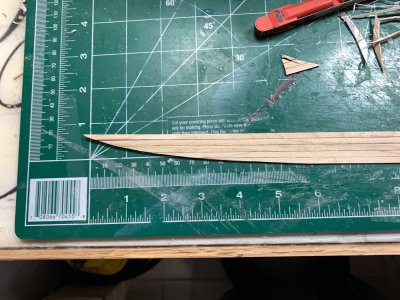
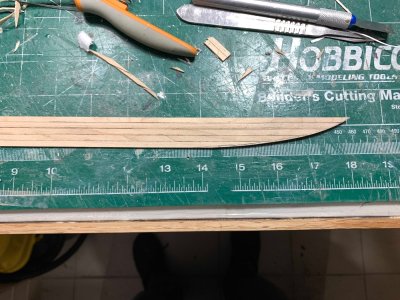
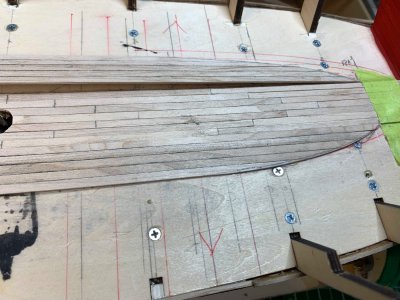
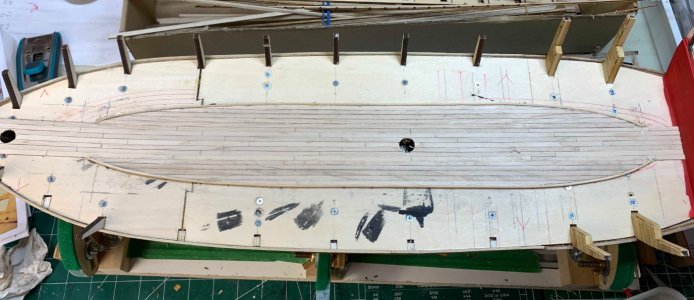
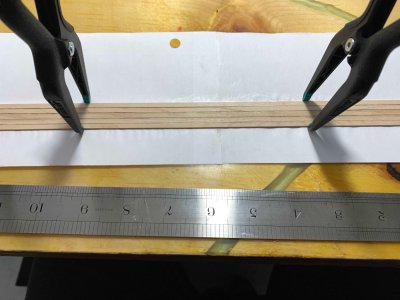
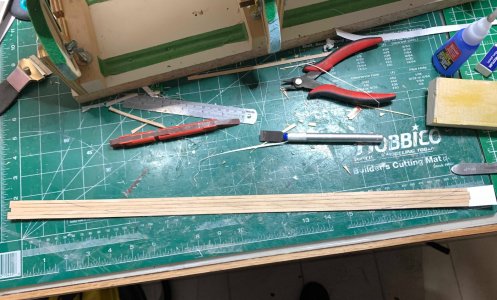
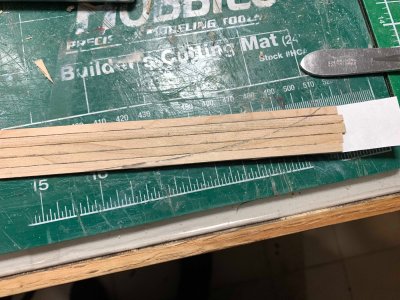
Now, let's create that curving section. First I was planing to lay down one plank at the time and curve it in the process, but was not able to produce adequate results so decided to lay down 5 planks on the piece of paper... glue it with white and D3 glue, mark down with pencil simulating caulking and let it dry..

Mistique 026.jpg

Once dry I cut the excess paper..
Mistique 027.jpg

transfer the template...

Mistique 028a.jpg

Mistique 028b.jpg

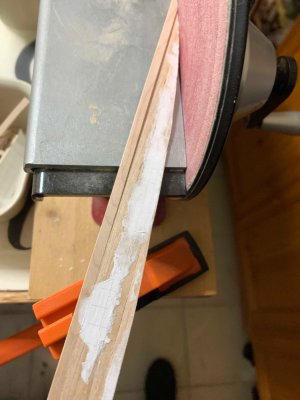
and cut the boards using strong scissors. It is critical to cut very carefully since the wood can split lengthwise if the cut is too strong. So sharp scissors and slowly... or any other method will do. Then started to shape the planks.... filling like those guys from Forget in Fire...

Mistique 028.jpg

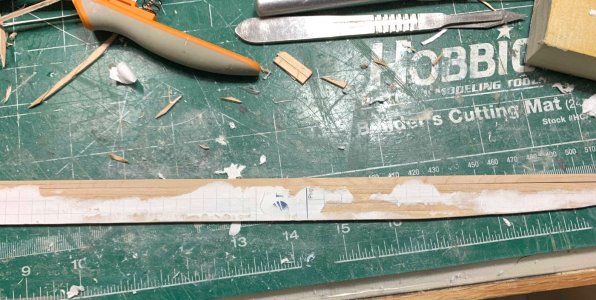
Then I removed excess paper from the back but not completely since my template will fell apart..

Mistique 029.jpg

So the result is here..

Mistique 030.jpg

Mistique 031.jpg

Lets test it on the deck..

Mistique 030a.jpg

Mistique 025.jpg

Ok, looks promising...

Mistique 033.jpg

Glue it and let it dry..

Mistique 032.jpg
 
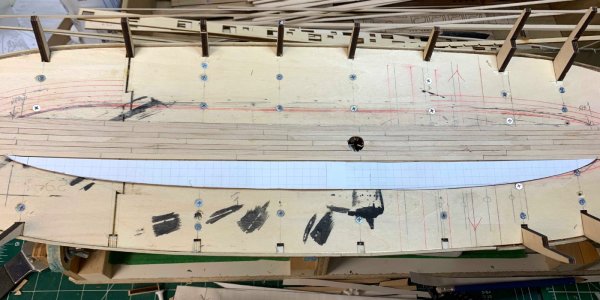
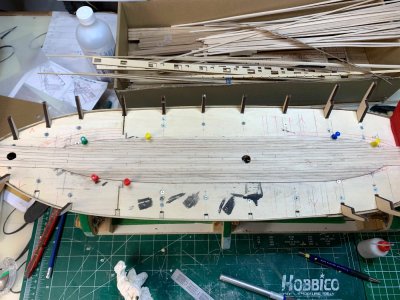
To simulate as close as possible desired deck planking schema, I have added two board/planks to the end of curved planking area..

Mistique 035.jpg

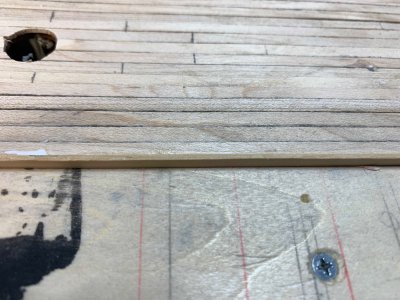
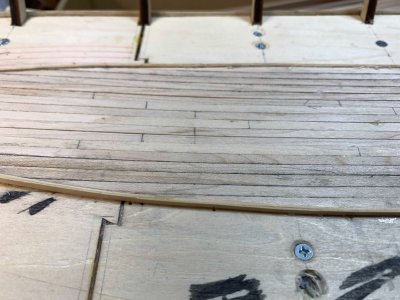
It is 3mm x 1mm Swiss pear plank which I am guessing will give a nice contract between two maple planks areas... This plank has to be sanded, to the level of deck planking..

Mistique 036.jpg

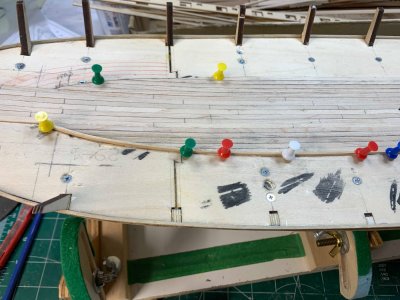
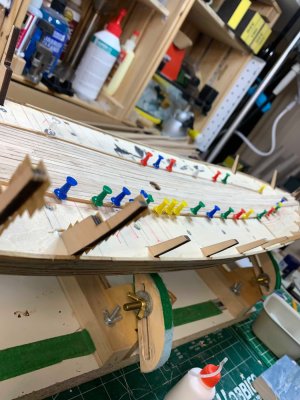
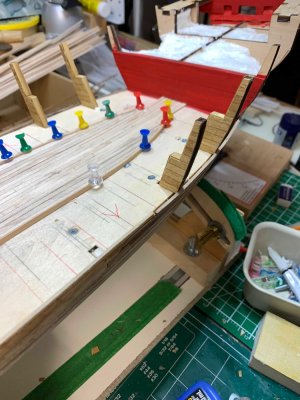
Bending was not bad at all, plank was put into water basin for few minutes and then bended and glued following the shape. Nails are here just to secure it while drying..

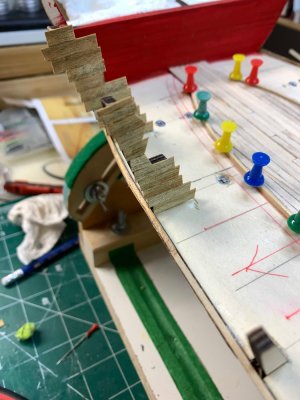
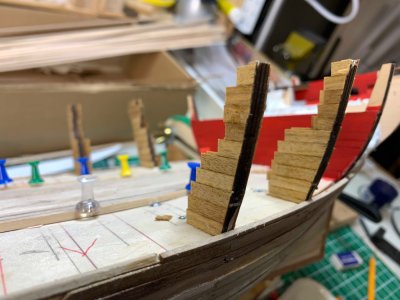
While this was drying, I planked bulwarks which will be painted in red after but wanted to have a plank shape that will be visible thru the colour.

Mistique 038.jpg

Mistique 039.jpg


Mistique 040.jpg
Mistique 041.jpg

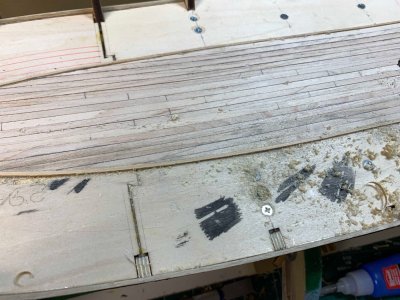
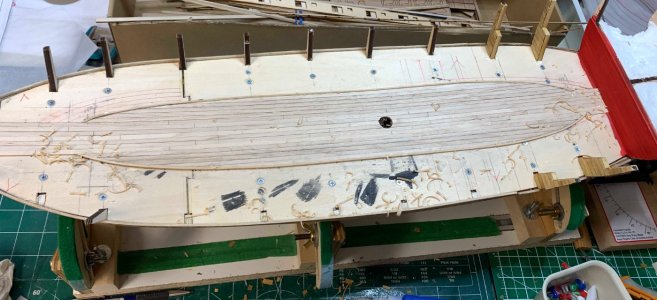
Ok, not it is time to shape the Swiss plank.. using various tools but not sanding paper, the hight is lowerred to the maple plank level, which is 1mm..

Mistique 042.jpg

Mistique 043.jpg

Mistique 044.jpg

Mistique 045.jpg

Mistique 044.jpg

Happy modelling..
Mistique 037.jpg
 
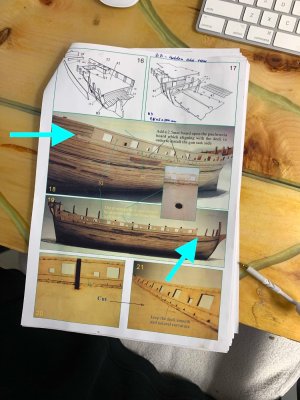
Have I complained about the instructions already? No, OK..

Mistique 046.jpg

Unless there are some specific requirements to have different sides, not quite sure what is this about...

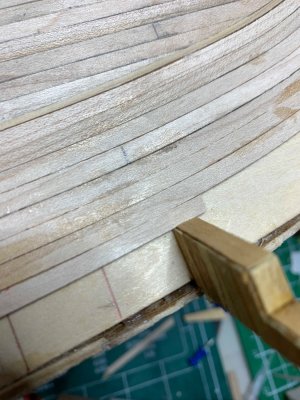
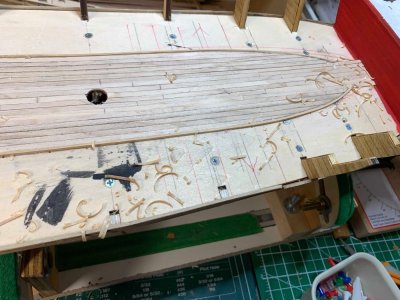
Then, all gloves are down, so I have made decision to finish deck planking in most likely non fully historical fashion, but...

Mistique 050.jpg

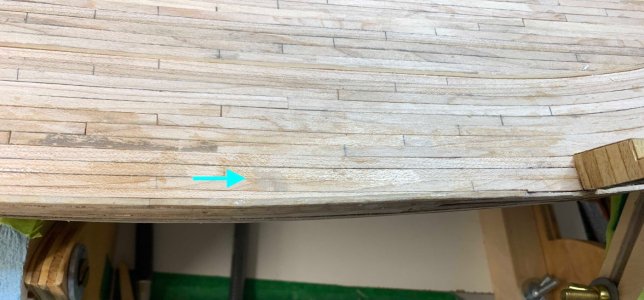
The area marked with arrow is part of my finger' skin left after I kept pressing planking and not realizing CA was on my fingers... :-)

Mistique 051.jpg

Mistique 052.jpg

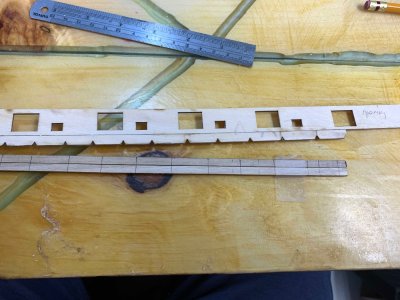
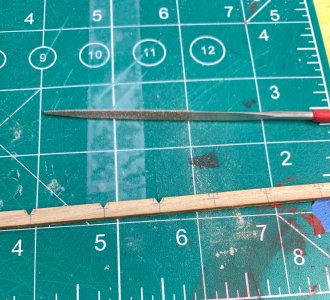
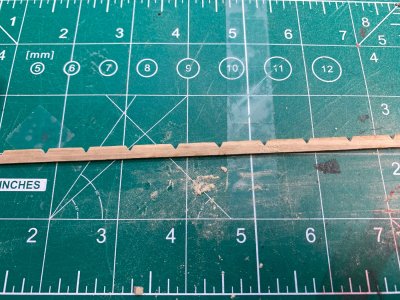
I was able to break the, not sure how to call it,

Mistique 053.jpg

... so had to make two new using planking 2mm from the kit..

Mistique 054.jpg

And with triangle file made all needed details..

Mistique 055.jpg

Happy modelling..
Mistique 049.jpg

Mistique 048.jpg

Mistique 047.jpg
 
Last edited:
Have I complained about the instructions already? No, OK..

View attachment 554830

Unless there are some specific requirements to have different sides, not quite sure what is this about...

Then, all gloves are down, so I have made decision to finish deck planking in most likely non fully historical fashion, but...

View attachment 554826

The area marked with arrow is part of my finger' skin left after I kept pressing planking and not realizing CA was on my fingers... :-)

View attachment 554831

View attachment 554824

I was able to break the, not sure how to call it,

View attachment 554823

... so had to make two new using planking 2mm from the kit..

View attachment 554822

And with triangle file made all needed details..

View attachment 554821

Happy modelling..
View attachment 554827

View attachment 554828

View attachment 554829
Good morning. That is a difficult deck to build and you are doing a fabulous job. Cheers Grant
 
Back
Top