- Joined
- Jan 9, 2020
- Messages
- 10,565
- Points
- 938

Okiedokie! All is good then!The seat belt is actually correct. I will see if I can find a few photos...see below....
View attachment 299489
View attachment 299490

 |
As a way to introduce our brass coins to the community, we will raffle off a free coin during the month of August. Follow link ABOVE for instructions for entering. |
 |
 |
The beloved Ships in Scale Magazine is back and charting a new course for 2026! Discover new skills, new techniques, and new inspirations in every issue. NOTE THAT OUR FIRST ISSUE WILL BE JAN/FEB 2026 |
 |

Okiedokie! All is good then!The seat belt is actually correct. I will see if I can find a few photos...see below....
View attachment 299489
View attachment 299490


Happy Birthday.Today is my 60th Birthday...so...I am not sure if I will be doing any work on the airplane tonight! I am at work, not wanting to be here...ha ha! The life of a working man!

I'm with Dean on this one: airplanes always take precedence over ships, no matter what. That's why I first have to finish my Bluenose, before even ordering an aircraft kit; if I do, I already know what will happen next...Simply stunning work Dean. To me the seatbelt looks slightly on the wide side for the seat, but what do I know? In any case, that does not detract one iota from a marvelous build!
View attachment 299475
I do, however, feel sorry for the NL in the corner - you can always send her to Nantong! Just joking - my Haarlem is also stashed away on the floor in the spare room!

Happy birthday and many healthy and wealthy returns! Cheers!Today is my 60th Birthday...so...I am not sure if I will be doing any work on the airplane tonight! I am at work, not wanting to be here...ha ha! The life of a working man!


Another approach is to cover the nozzle with a pair of SWMBO's retired hosiery. This is especially useful for very small and very delicate parts.A hungry carpet monster! But I have found a way to beat it! We have a Miele vacuum cleaner, and it has an access door to the bag. So if I lose a part, which happens frequently, then I take the bag out of the vacuum cleaner and vacuum until I hear a part go into the vacuum. Then I shut if off and open the access door and get my part out!
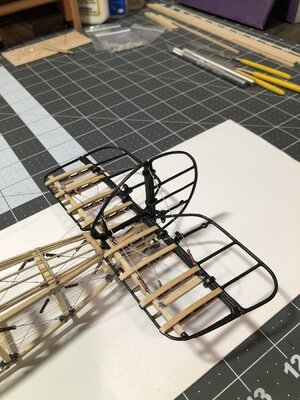
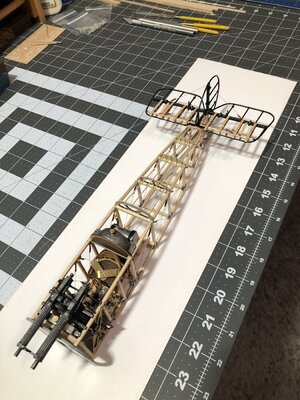
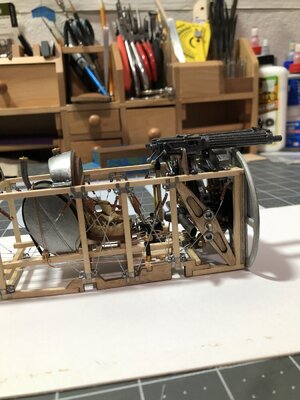
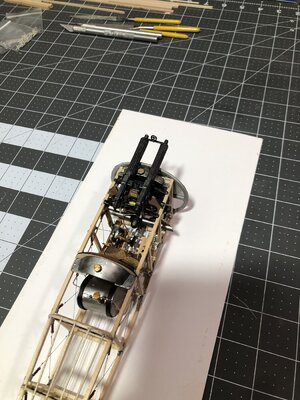

happy Birthday dear friend,I test fit the lower wing, to see how it’s going to look now…
View attachment 299604View attachment 299605View attachment 299606


Thank you very much Shota!happy Birthday dear friend,
your model is a masterpiece
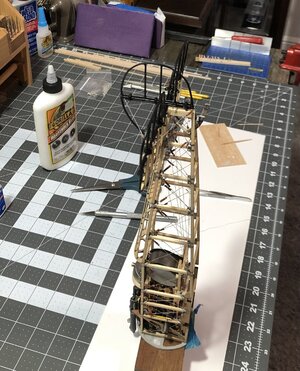
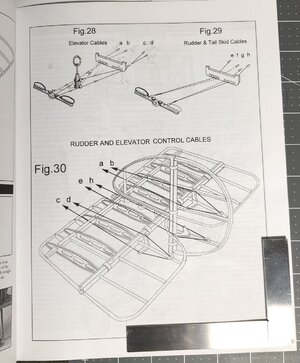
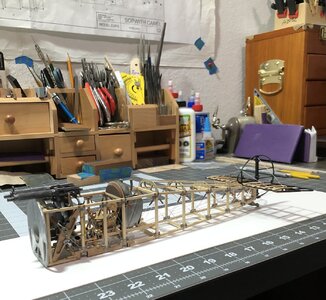
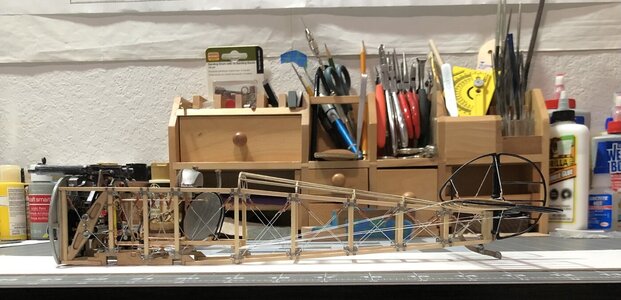
Fantastic Dean. Just curious, how do you seize the cable there at the eyelet end of the turnbuckles and do the turnbuckles actually work, that is are they threaded and turn to tighten like real ones?Tonight after dinner I decided to install the control lines to the rudder and tail skid from the rudder pedal. I know…I could not stay away from the model!
It was an exercise in patients for sure. Typical of ship rigging… you know, pass thread through a hole…oops wrong one…redo…pull slack out of thread, hangs up on everything it can…final get to tie off point, put glue on…about to do celebration dance and cut the excess thread…oops wrong one!!!!
And talk about hard to get to…anyway. After finishing the rudder and tail skid, I figured I might as well add the control lines for the elevator.
So all that’s left is to add the tension cables underneath the fuselage.
Some pics…
View attachment 299595View attachment 299596View attachment 299598View attachment 299599View attachment 299600View attachment 299601View attachment 299602View attachment 299603
