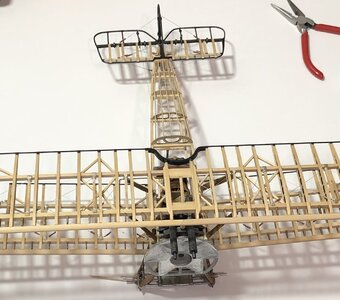
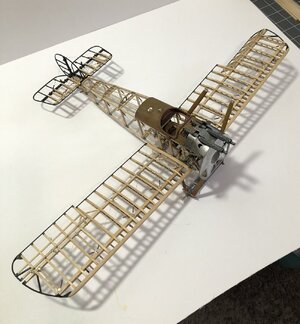
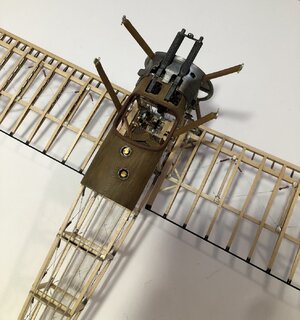
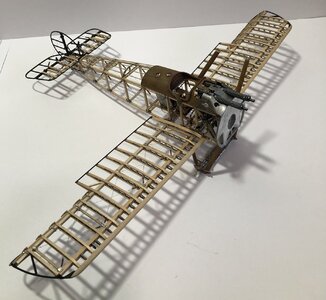
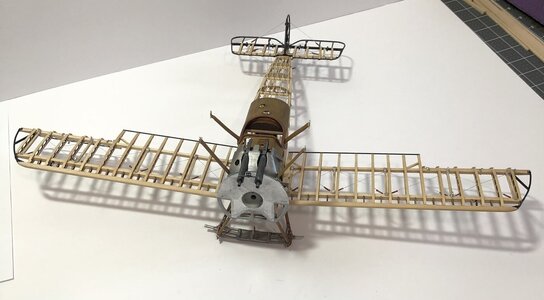
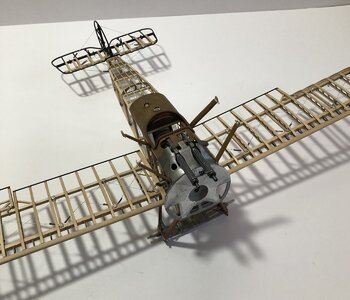
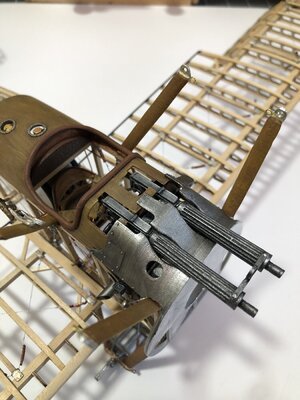
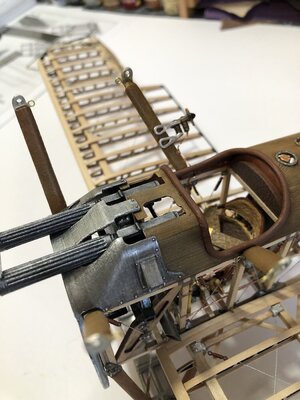
Model Airways Sopwith Camel 1/16 scale [COMPLETED BUILD]

Not a lot to show recently…been doing spring cleaning and yard work!
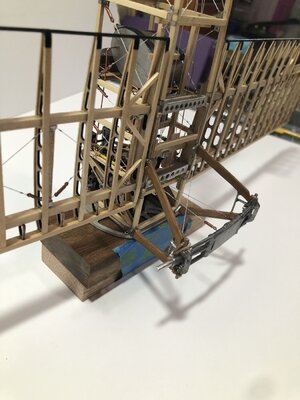
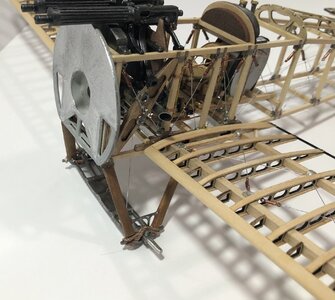
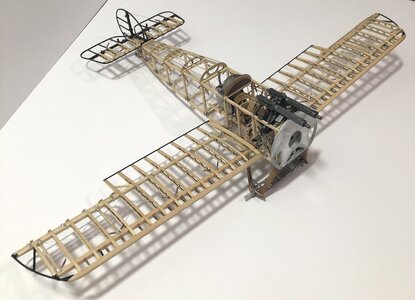
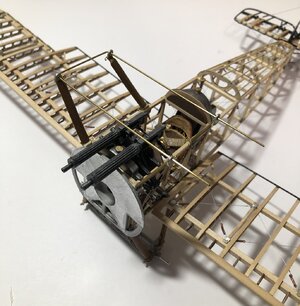
I did manage to get the landing gear installed.
I cleaned up the castings. Since the Brittania metal is soft, I decided to stiffen the struts with strips of wood on both sides. Then I drilled a hole in the wheel shafts, and inserted an aluminum rod. Those things made the entire assembly much more rigid. I now trust it to take the weight of the airplane with motor. ;)
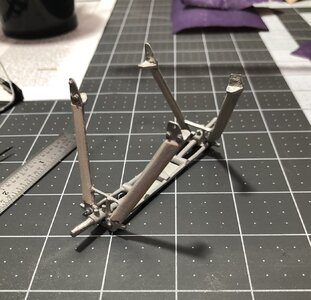
5C7523F9-9395-47E8-B17B-3692965DA602.jpeg

Then I painted and added the bungee rope for suspension and then added the tension cables…
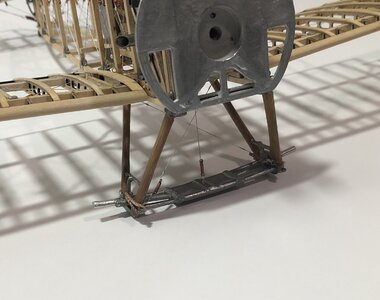
180063A2-ABC0-497D-ABAB-F73E80459624.jpegAC6BFBBF-AA1B-43AE-AAB9-8E4FD3B933D6.jpegC42C118B-BDF4-43DB-A3F1-C55EE28D890D.jpeg0CBFA007-104F-4D5A-827A-BD4CBC5B54D7.jpeg
 
Hi Dean. I have some time to look around tonight and catch up with my fellow-builders' logs. You are making a beautiful model of this and it is a pleasure to watch your methodology in action.
Thank you Heinrich! It has definitely provided some challenges along the way! ;)
 
Last edited:
Stage 9: Attaching the Upper Wing, Cabling & Bracing

The last few days, I had the pleasure of adding the cabane struts! You add the forward struts first, then use the spacing from the upper wing to determine the location of the rear struts.
I made a piece of wire using the upper wing as a jig. This I used for the spacing of the cabane struts…
793DCD20-0A03-4710-BCA1-FD14FAF2F7ED.jpeg
Then I put on the upper wing to set the locations and width. During adjustments they all broke off! :(
After a second attempt using the upper wing as a helping hand, I attached the two forward struts. Then when dry I swung the wing up and added the rear struts. This worked…
B0F823EB-B7F4-414C-A81D-0D63FC1A8CFA.jpeg
You can see the wire in the above pic holding everything together until the glue dries!

Afterwards... I was ready to adjust the notches for the cabane struts in the canopy and upper cowling. Then they were installed at last!
DCDA0DC5-DEF3-4C47-A69D-022640CD2E42.jpegDA59DA61-5BE4-48C1-9FF8-35A69B8A4C0E.jpegFFD0B745-402F-4EB4-BE46-7CD12222CD9A.jpeg715A7D69-C8A9-46F1-AA64-A719F8C3B049.jpeg8613B483-8BFA-41FF-BFFD-E4B88420C768.jpegDEBA10EA-1A1C-4C72-ABD9-78906F5A1957.jpegE340016C-8A4C-49F1-A024-6ADC27A45832.jpegE0D03554-739C-4A59-8F41-21FC2934F20A.jpeg4A9E5F69-3004-409C-BDEE-FEB0F5EA525E.jpeg

Next will be adding the wind driven fuel pressure pump on the cabane strut and the tubing line to it.
Then will be the installation of the upper wing, after making the interplane struts for the outer wings. ;)
 
Last edited:
That appears to be a complicated not enough fingers job to get the upper wing situated properly. Nicely done.
Thank you Jan! The struts are at compound angles due to angling forward and outward. To make matters worse, the mounting flanges are small! So the angles can't be trusted. :( I had to use the upper wing to ensure they were spaced properly in both directions, and to ensure they were aligned, such that the upper wing is parallel to the bottom wing! Fun stuff! ;)
 
Stunning - I would love to build this model - at the moment, I have my hands full - but I know exactly what log now to tune into if I ever do get to build it. Fantastic workmanship.
Please let me know when finished so I can add this to the Showcase Gallery.
 
cowling…
5B20797A-64D6-40FE-9968-1D9325964EF7.jpeg
550CB19B-637E-49C0-A14A-00F975B3572A.jpeg
098ED142-C3C8-4B7F-AAB7-AF03D9413DBD.jpeg
Stunning - I would love to build this model - at the moment, I have my hands full - but I know exactly what log now to tune into if I ever do get to build it. Fantastic workmanship.
Please let me know when finished so I can add this to the Showcase Gallery.
Thank you very much Donnie! I will let you know when it’s done! Hopefully in another couple of weeks!
Soon the upper wing goes on… ;)
 
Last edited:
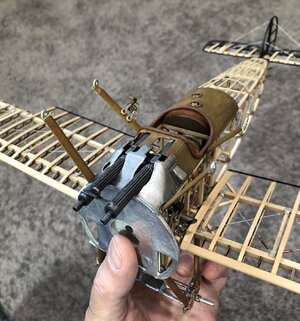
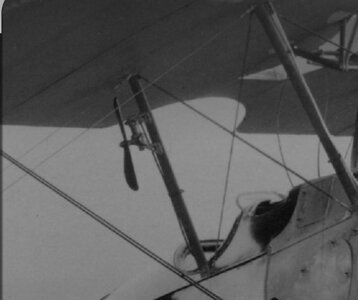
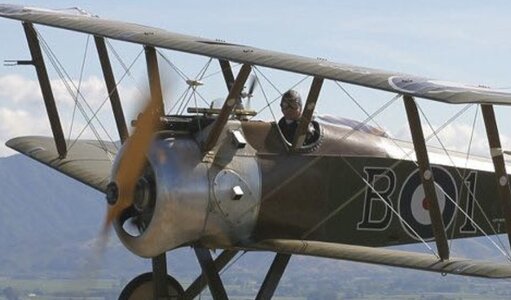
One thing to note, the instructions say to mount the pump to the forward strut, however almost every photo I have seen shows it mounted to the rear strut, next to the pilot. A few examples…
61F2D210-BF03-4931-8D0E-58EEBD410A4E.jpeg3F83731D-FD3A-4B7E-99D0-AA2C55D2D716.jpeg

The height and size seems to vary, so a little artistic license is in order. ;)
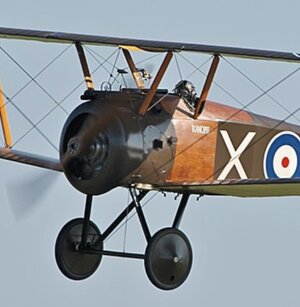
I have found a few discrepancies during the build, including the fuel pressure system. But overall most of the instructions are trust worthy and accurate. Of course you will need to do your homework. I have a wealth of photos and information I have used. That is not to say mine is completely accurate, as there were options… and each pilot had his mechanic make changes according to personal preference. So find an example you like and follow that. ;)
6272004C-58BC-4ECC-9241-021D39CE9665.jpeg
 
Hi Dean, I am totally impressed with your work on your Camel. I have another Wingnut Wing Camel that I'm going to work on one day.
Thank you Adi!
I am looking forward to your Wingnut Wing Camel build! I may get some Wingnut Wing kits for the future. Problem is, they are no longer in production and the cost has gone up significantly. ;)
 
Thank you Adi!
I am looking forward to your Wingnut Wing Camel build! I may get some Wingnut Wing kits for the future. Problem is, they are no longer in production and the cost has gone up significantly. ;)
...I am afraid with so much popularity of planes scale models we will have to change the forum name to Ships & Planes Of the Scale (SPOS), :p
 
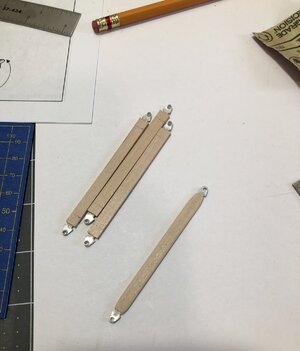
Today I made the interplane struts…you cut the wood to length and add a groove to each end. Then glue the provided casting on the ends for mounting…
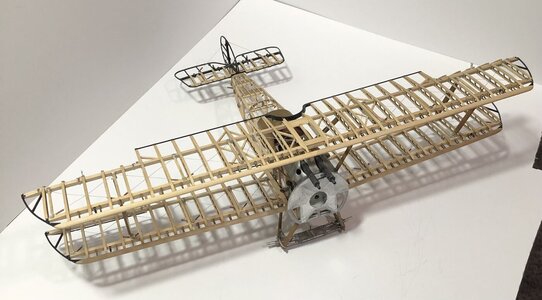
5A5E8E46-D801-422F-BC97-D180C839C5B3.jpeg
Then I shaped all of them and painted them to match the cabane struts. I like the dry brushed look. And it matches the landing gear and canopy cover as well.
72A936F6-3851-4009-9A5C-D4F918A65949.jpegD772F1F3-972C-4052-8E18-ED74650318D9.jpeg

I cleaned up the provided mounting bolts and clear coated the struts…
6AC91405-0348-4571-A548-63A813FD831A.jpeg

Now to attach the upper wing! Wish me luck! ;)

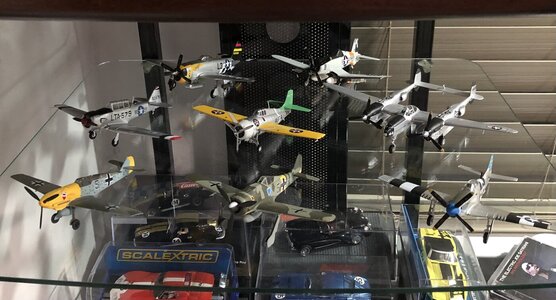
On a side note, my cars had to clear a shelf for some of my WW2 airplanes in 1/72 scale. :p
7635850E-CDDE-44CE-9429-BFD56BBA2CC2.jpeg
 
Well…the upper wing is on! But I still have to do all of the tension cables…and there are a lot of them! 18 to be exact! ;)
Then I have to add the pitot tube to the front interplane strut and run the cable to the instrument panel.
And finally the cables for the ailerons have to be run to the control stick. Then they won’t be hanging anymore…lol
Only then can I add the wheels and motor with cowling.
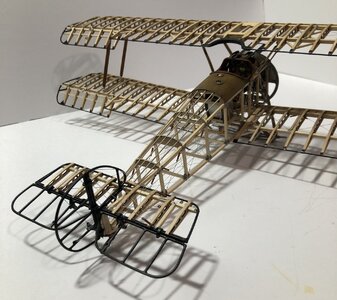
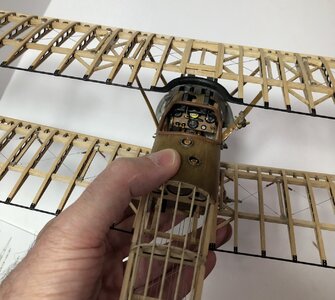
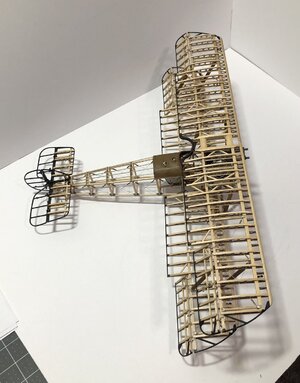
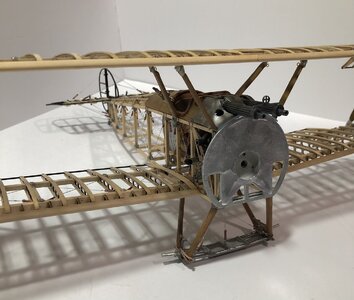
Here are some pics of current progress…
CF8D46C8-861C-4073-9FF0-8CEF65730DB5.jpeg9E8D6B08-3261-4CBA-8299-5EB256FC3092.jpeg03F89C53-E2E3-4F3C-AA8B-78391493B7C2.jpegFDC358CB-1921-456A-A600-0744CDB89CF8.jpeg8358AFC0-03D0-4EC1-9D58-EBE9F1FCD712.jpegEAAFF0FF-E43A-487E-890D-E8659061CEE1.jpeg796CB691-376B-4CAC-9F32-E86296AD2422.jpeg590FD6D9-F8F7-4991-932F-9E0A32B47CC7.jpeg

Then I decided to peek at the motor and prop on the plane…
8E921797-69FE-49CC-96C0-06B4F4DCDD48.jpeg

Anyway…time to get busy with tension cables!
Thanks for looking in on the Camel!
 
Last edited:
Back
Top