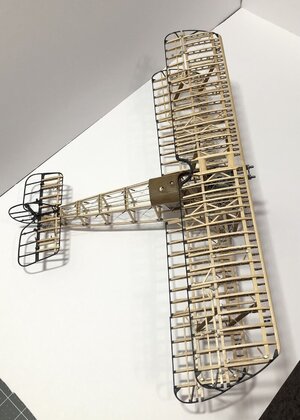
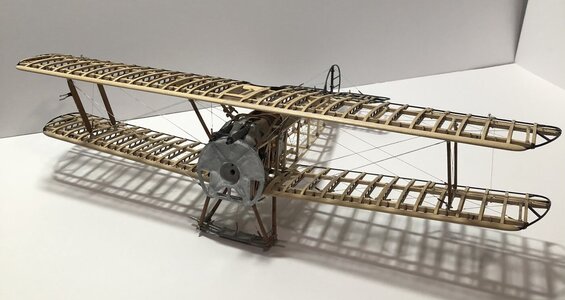
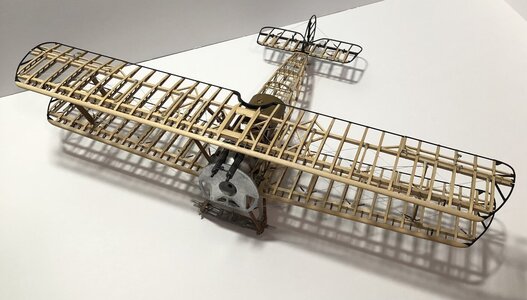
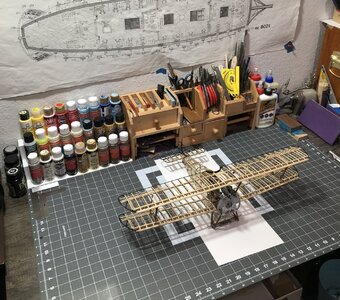
Model Airways Sopwith Camel 1/16 scale [COMPLETED BUILD]

Today I finished the tension cables for the airplane...the last turnbuckle has been used! ;)
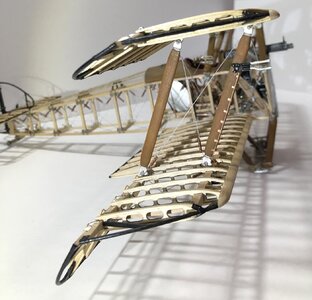
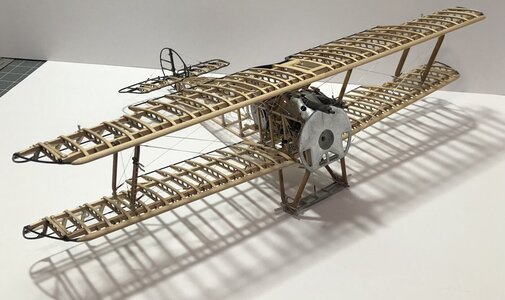
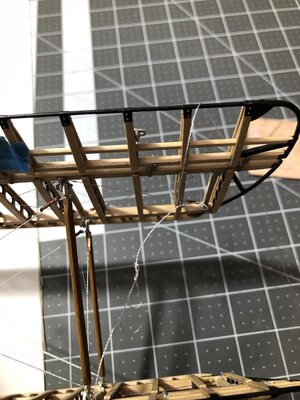
The flying cables are doubled. These are the ones that go from the bottom of the fuselage to the top of the interplane struts. The landing cables are single, like all others. They are the cables that go from the top of the cabane struts to the bottom of the interplane struts.
Pictures…
4F621BFC-28C5-4441-A2C8-128B17BB54D8.jpegDFE07F9E-053B-4DD6-9DC6-C3EF98827CB9.jpeg9F87D318-5863-4FC2-AA50-2A6D29DAC939.jpegD42A1483-2B5E-421F-AB7A-B10A4B871646.jpegAA8AE221-BF2F-468D-8CAA-9E07A7CEB783.jpeg

Next up is the pitot tube and tubing. Then the aileron cable. Which should be a challenge, which I will discuss further when the time comes.
Thank you for stopping in and taking a look. ;)
 
Last edited:
Well Dean - you have built yourself a plane and a fine-looking framework indeed. Would this now be classified as an Admiralty model? ;)
Thank you Heinrich! I suppose it could qualify as an Admiralty model, however it does have rigging! ;) I am leaning towards Admiralty ship models in the future, as I am not a fan of ships rigging!
 
Last edited:
Monday was a busy day…no model work. This evening I had an hour to spare…so…
I realized that the fuel pressure pump on the cabane strut was mounted upside down. So I could not leave it that way! I removed it and repainted the area it was previously mounted to. Then I made the prop a little larger, as it was too small in my opinion compared to reference photos. Then it was reinstalled in the correct orientation, and the plumbing hooked up to the proper area. Then all was clear coated.
B875A367-BAC7-47DF-AB8A-54CE5C1901F3.jpeg

Then I installed the pitot tube on the interplane strut and added the tubing and the straps. That was clear coated…
13F80892-4BE2-4592-A97B-C653BE9AA12A.jpeg8EE7B37A-3439-4FEA-9705-9BB85A2ADA81.jpeg

Now I can install the aileron cable. Hopefully tomorrow! ;)

Ps - I noticed I needed to correct the black on the pitot tube in the picture. ;)
4C02657A-8584-4EA7-9138-18D2F566DC5C.jpeg
Fixed!
 
Last edited:
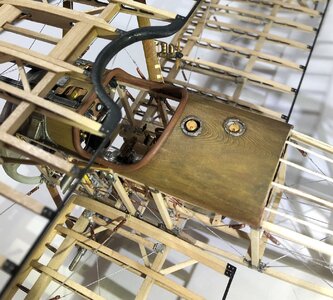
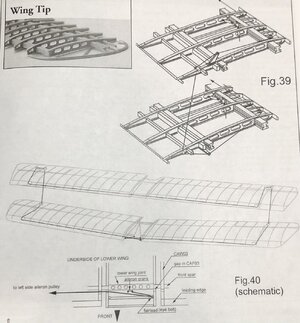
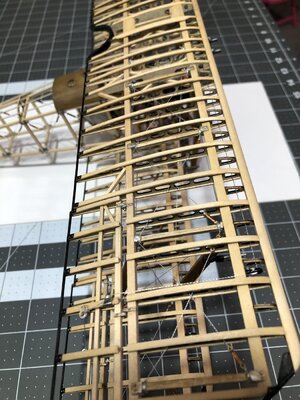
I decided to get the aileron cable over with! It’s one very long run that starts at the control stick (bottom of fuselage) and goes down the lower wing to the ailerons, to the upper wing and across it, then down to the lower wing and back to the control stick. This entire length has to be pulled thru the wing ribs and control horns, etc.
0A852179-1F85-40F2-A30C-FF82639FB391.jpeg

What could go wrong you ask? ;)
First it’s so much thread to pull that you can end up with a knot…despite my best efforts to prevent it…sigh!
9BF6A28C-A2CB-4EB0-8099-ABBABCA3FDFA.jpeg

No fun!
7EE54593-5398-4C4F-9012-11F02A368BAF.jpeg
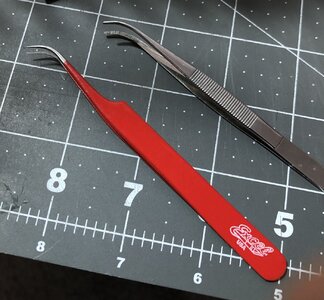
Tweezers and magnifying glasses to the rescue!

Knot was undone and the run continued back to the control stick…and finally I was done!
ACE3C083-55E8-4CDC-B515-E7325B2DB5A2.jpeg
I know you must be thinking…there must be about 100 ribs to pull that control line through, 4 pulleys, 6 eyes, 4 control horns, etc. You would be right! This makes the worst rigging line on a ship seem pleasant! :p

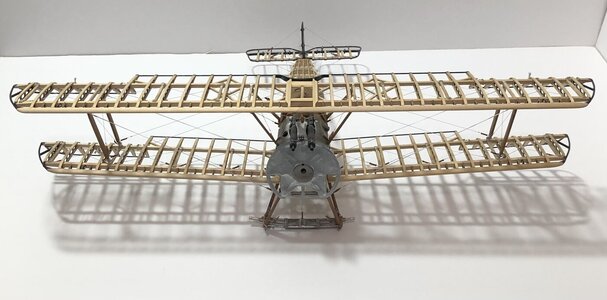
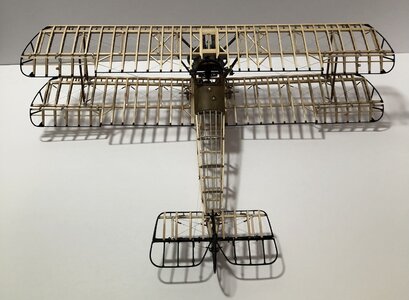
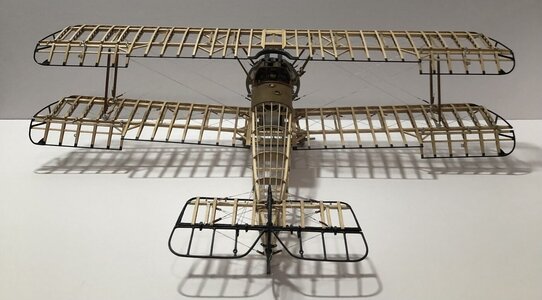
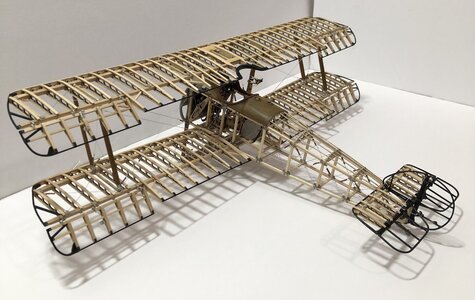
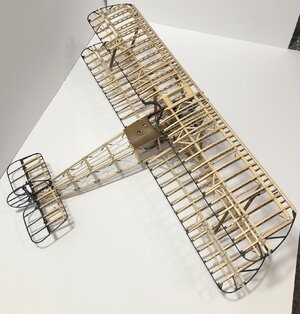
Now for some overall views…
7B71DFD0-F752-4C04-B904-310886AA8AA4.jpeg483937A3-4FEA-4F71-912C-17AD7660648B.jpeg21DFF968-B5C9-4376-92CA-4F94C68828F9.jpeg06ACDD4E-F7B9-4F4F-A5EF-AF5FA061A722.jpeg

So the hangar is closed for the evening! Next will be the wheel assemblies.
5426DE38-FA23-471B-A8A6-D5D33E3E8744.jpeg
 
Last edited:
I decided to get the aileron cable over with! It’s one very long run that starts at the control stick (bottom of fuselage) and goes down the lower wing to the ailerons, to the upper wing and across it, then down to the lower wing and back to the control stick. This entire length has to be pulled thru the wing ribs and control horns, etc.
View attachment 302793

What could go wrong you ask? ;)
First it’s so much thread to pull that you can end up with a knot…despite my best efforts to prevent it…sigh!
View attachment 302794

No fun!
View attachment 302795
Tweezers and magnifying glasses to the rescue!

Knot was undone and the run continued back to the control stick…and finally I was done!
View attachment 302796
I know you must be thinking…there must be about 100 ribs to pull that control line through, 4 pulleys, 6 eyes, 4 control horns, etc. You would be right! This makes the worst rigging line on a ship seem pleasant! :p

Now for some overall views…
View attachment 302797View attachment 302798View attachment 302799View attachment 302800

So the hangar is closed for the evening! Next will be the wheel assemblies.
View attachment 302802
Dear Dean
The quality of your work and this beautiful model, make me want to build it as well :)Thumbsup
 
This is fascinating Dean. I've learned about wind driven fuel pumps, pitot tubes for air speed measurement, and mechanical cabling of the flight control surfaces. Not to mention some of the finest modeling I've seen.
Thanks.
Thank you very much Daniel!
The invention of the pitot tube by the French Engineer Henri Pitot, was very ingenious, as it is still being used by modern aircraft today!
The fuel pressure system was clever as well, for the time. There was a hand pump that the pilot used prior to take off, then once in flight, the wind driven pump kept the fuel system pressurized.
Most biplanes only had one set of ailerons, even though they were biplanes. The Camel utilized two sets of ailerons, that were linked together.
I find the rotary engines very interesting as well. The Le Rhone, Gnome and Clerget were French designed rotary engines. The Le Rhone 9J and the Gnome Monosoupape engines were also manufactured under license in Germany by Oberursel. Oberersul based their first engines on those designs.
 
Your work and the parking ramp are both spectacularly done.

I feel your pains on the flight control cables, as I have run many real aircraft cables in airframes where all the ribs, pulleys and bell cranks aren't all open to access them. Then you have to get exact rig and tension done properly for size cable, and temperature of hanger when doing it.

Can't wait to see her up on her wheels ready for first aircrew to fly away in this magnificent plane.
Thank you Kurt!
Getting close to completion. I think by the end of the week, if all goes well. ;)
 
Stage 10: Finishing Touches

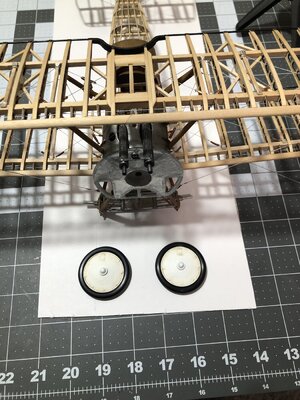
Tonight was the wheel assemblies…
00B16B59-8F91-49E1-BB96-707806879B51.jpeg
Typical casting cleanup… and then paint and clear coat, and finally some mild weathering.
C57EC943-6AA3-4E4A-96FA-563F54444B11.jpeg

I will paint the new cowling next.
Then I will finish the assembly of the engine, cowling and propeller, once I put on the wheels.
Thanks again for stopping in.
 
Last edited:
Back
Top