Nice clean-up on the cannons. I appreciate your efforts with the scratch-building. I'm stretching my legs in that area as well and while it adds to the fun it also adds to the time. Learning curve is steep...and rocky...
-

Win a Free Custom Engraved Brass Coin!!!
As a way to introduce our brass coins to the community, we will raffle off a free coin during the month of August. Follow link ABOVE for instructions for entering.
-

PRE-ORDER SHIPS IN SCALE TODAY!
The beloved Ships in Scale Magazine is back and charting a new course for 2026!
Discover new skills, new techniques, and new inspirations in every issue.
NOTE THAT OUR FIRST ISSUE WILL BE JAN/FEB 2026
You are using an out of date browser. It may not display this or other websites correctly.
You should upgrade or use an alternative browser.
You should upgrade or use an alternative browser.
Marc,Good Morning from South Carolina Paul.
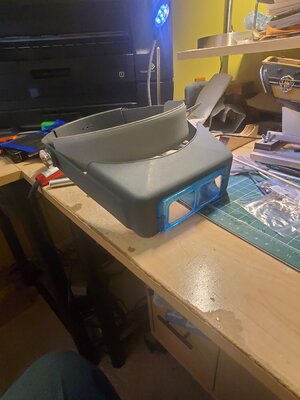
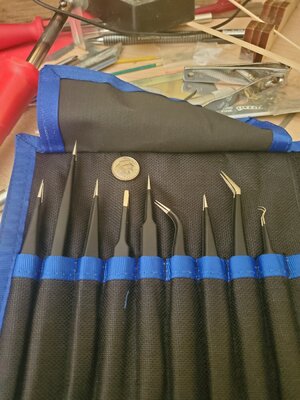
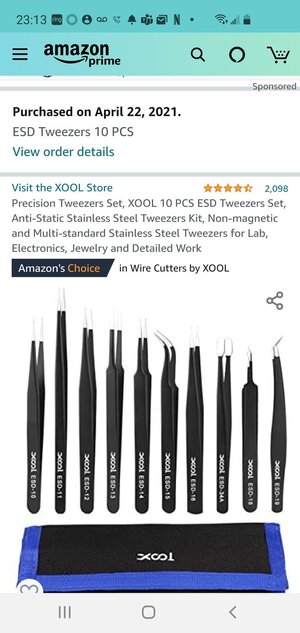
My MS “Rattlesnake” arrived in the mail yesterday. Your build log is fantastically detailed and inspired me to join this forum. I am at about the same point with my first build: Artesania Latina’s latest version of their 1805 Swift Pilot Boat. Thank You for raising children who answer the call to serve their country (I have a son at Fort Bragg) You are clearly very Proud of Your Daughter ( I hope she approves of your work on the 6 pounders!) Good call on pre-staining before building the carriages: Like a woodorker cannot have enough clamps, a model builder cannot have too many tweezers: I have 3 pair on my bench now. My favorite pair gets its points dressed and sharpened on a regular basis. Find what works for YOU. The one tool that I kick myself for not buying earlier is an Optivisor: it has improved the quality of my work more than any single skill or tool I have obtained in my 40 years of Modeling. Keep up the great work!
Marc
Please send my respects and thanks to your son.
I do have to get smaller tweezers and an Optivisor.......rigging is going to test my limits.
I will gladly pass on Your regards to my Son: Thank You! When you get your Optivisor, don’t kick yourself too hard for not getting it sooner. I made up some deadeyes for the first time tonight: the Optivisor was down for the lions share of the process: I am not entirely displeased with the effort, and I would not have fared as well without it on my noggin. Hope Your Lieutenant’s transition to her next posting is going well. Looking forward to your progress!
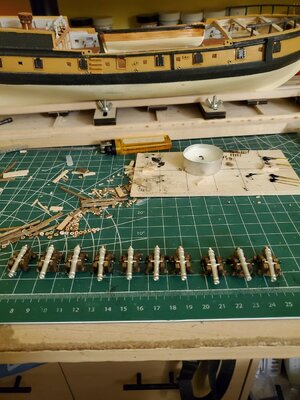
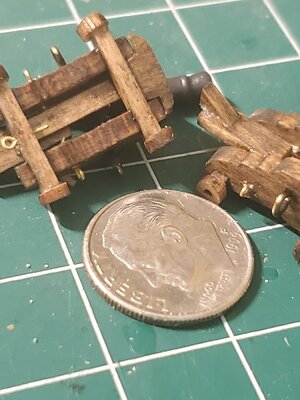
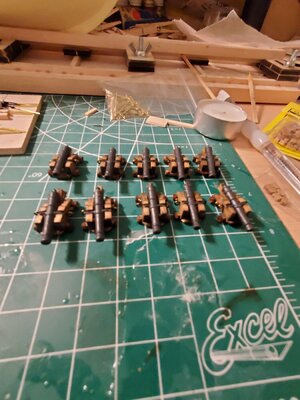
I gave a shot at assembly line type building for the remaining 8 cannon carriages. It came out okay but I think I like building them indiviually. I have to adjust the quoin and stool bed on some of the carriages in order to have them sighted in at the same angle. I also forgot to put front bumpers (?) on the carriages.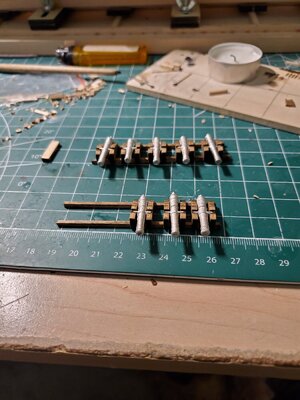


Last edited:
She is finally adjusting to being back in the States. A very different pace for her coming from a forward deployed destroyer. I found out she didn't want to mention the cannons when she was here because she didn't want to interfere with the progress. She was way too busy to get involved in with the model. She is taking off in a couple weeks to attend a course at NWC in RI. When our youngest graduates HS in June, I'll be driving her down in her car to spend the summer with her. She'll end up being the Tereza's working party when her housing shipment arrives.Hope Your Lieutenant’s transition to her next posting is going well. Looking forward to your progress!
Then again.....maybe I stressed her out when she was here......

Last edited:
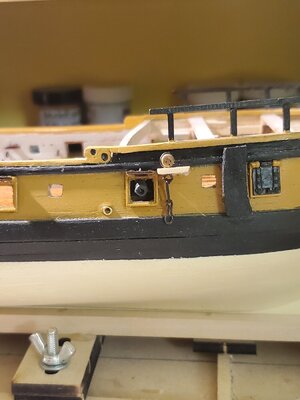
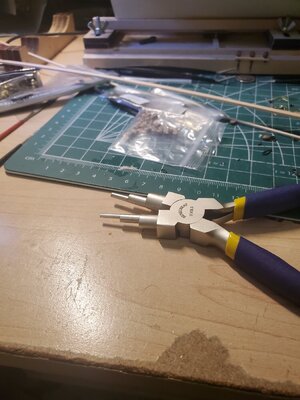
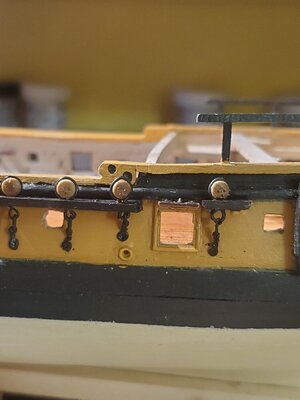
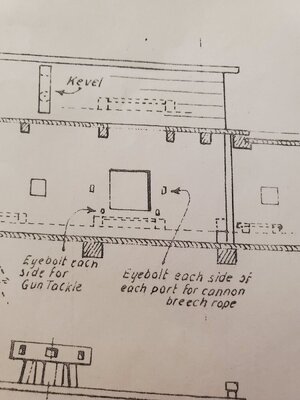
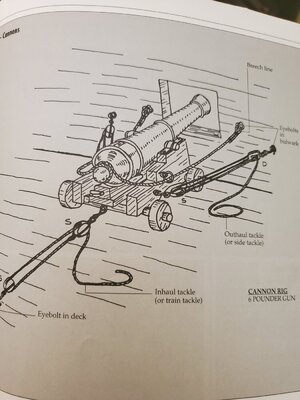
Painted the barrels but noticed a problem. I placed eyebolts for the outhaul tackle closer to the gun ports as shown on the blueprints. Looking at the directions, it has the eyebolts for the output tackle further away from the gun port. The second drawing makes more sense because the angle would be better for putting the cannon in the firing position once it has been reloaded. I also put the eyebolts on the gun carriages. I'm going to need some magnifying glasses and jewelers tools to rig the carriages correctly.


Agreed. Smaller tools or bigger ships...
Thanks, I'll give that a try tonight.Добрый день. Подскажу: если в этом месте использовать пайку (стрелка), то места пайки не будет видно. Пайки будут спрятаны в руслах рек. А для создания колец используйте оправку. Например, сверло.View attachment 230117
Thanks, I'll give that a try tonight.Добрый день. Подскажу: если в этом месте использовать пайку (стрелка), то места пайки не будет видно. Пайки будут спрятаны в руслах рек. А для создания колец используйте оправку. Например, сверло.View attachment 230117
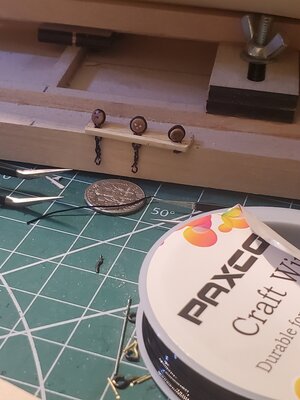
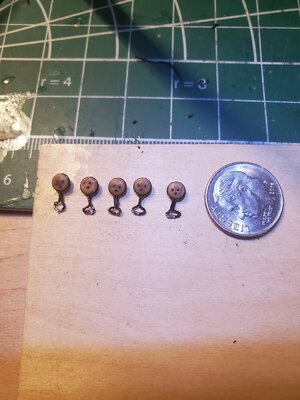
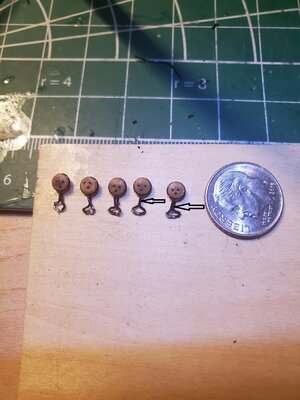
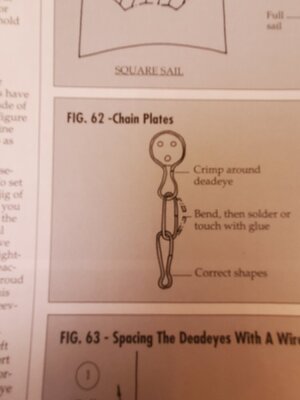
Just tried it with one deadeye..... I think I'm going to rebuild all of them. The picture with 2 has the new one using your method on the bottom. The picture from the directions has the chain plate.... where should I solder those links?Добрый день. Подскажу: если в этом месте использовать пайку (стрелка), то места пайки не будет видно. Пайки будут спрятаны в руслах рек. А для создания колец используйте оправку. Например, сверло.View attachment 230117
Thank you, your willingness to pass on knowledge is appreciated.

Last edited:
Там, где нарисован рисунок, есть место пайки. Только после пайки место следует зачистить надфилем, чтобы не было видно пайки. А затем почерните его
Thank you.Там, где нарисован рисунок, есть место пайки. Только после пайки место следует зачистить надфилем, чтобы не было видно пайки. А затем почерните его
..... now I have to find a small file.....
Сломанный можно заточить на станке до нужного размера. Наверное будут такие файлы
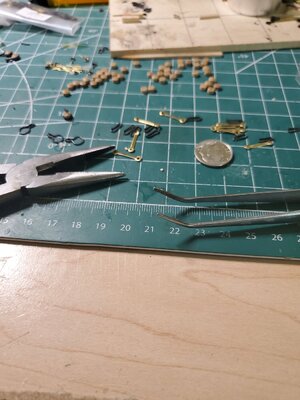
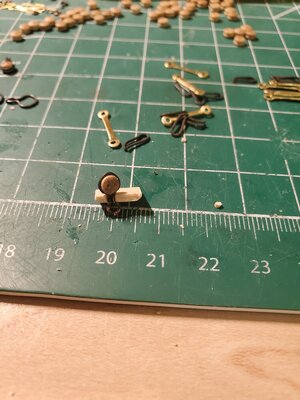
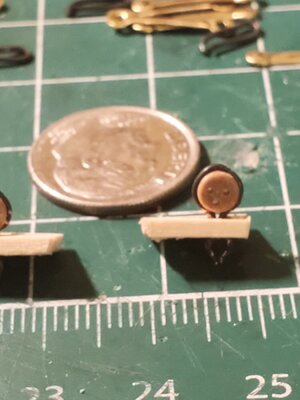
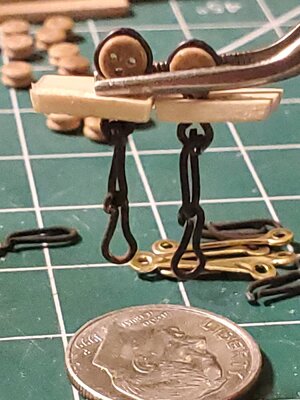
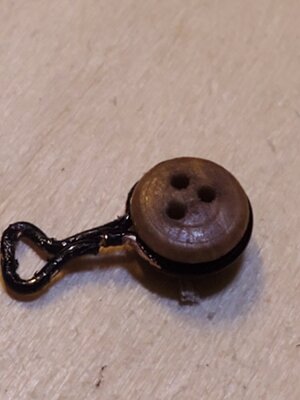
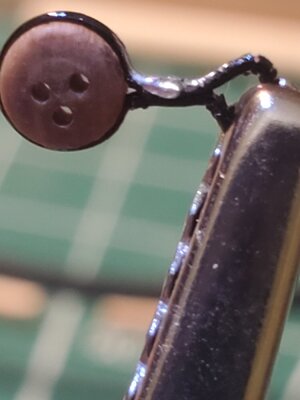
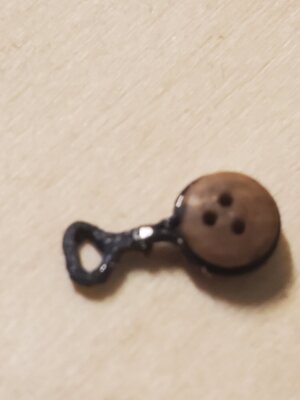
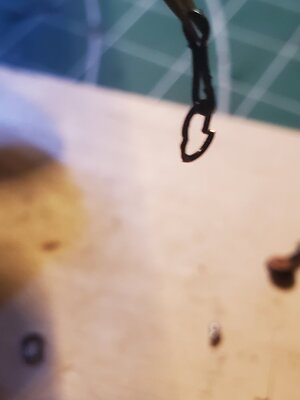
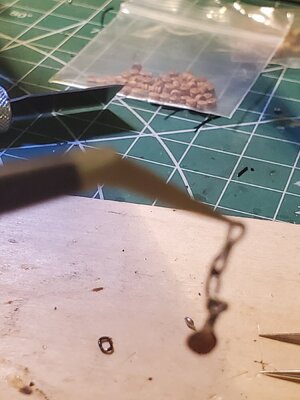
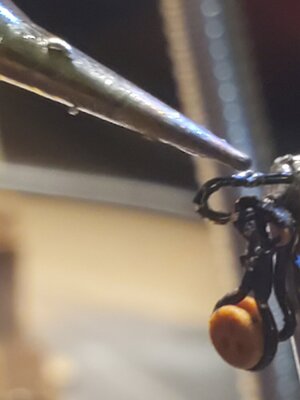
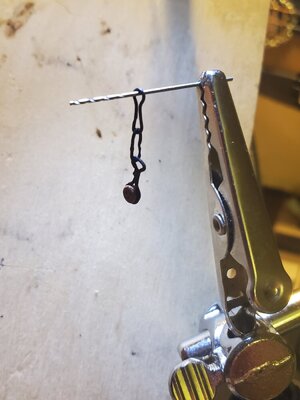
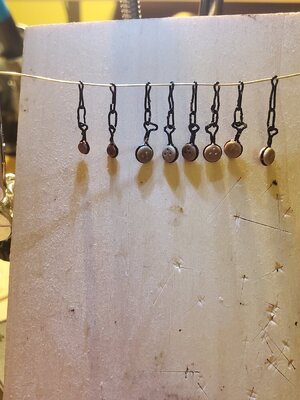
Making deadeyes and chainplates. The first 10 deadeyes on each side; I thought they were small. The deadeyes aft of those are smaller. First attempt at making the chainplate...the deadeye was crushed. The second picture is of the crushed one, above it is the small one...and above that is the big one. The remaining pictures show how to.make the chainplate. Alexander, your method is working out great. I may go back and rebuild the first ones, it depends if I have time for it. This is my learning model, my next one will be better.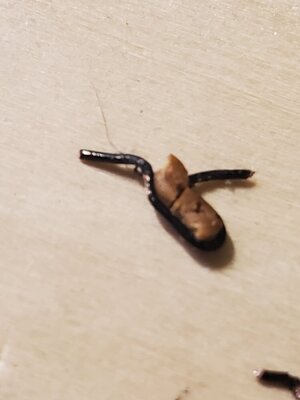

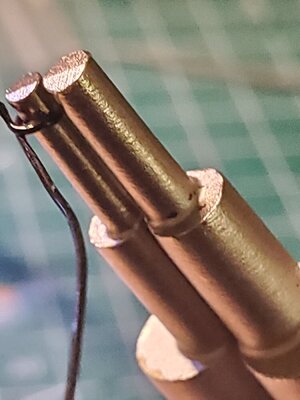
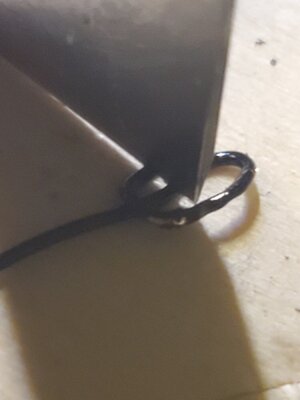
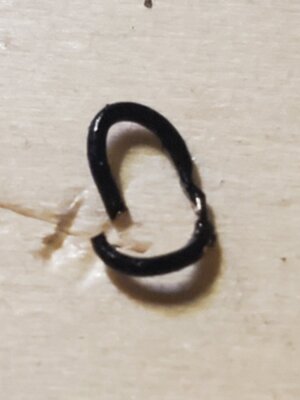


Last edited:
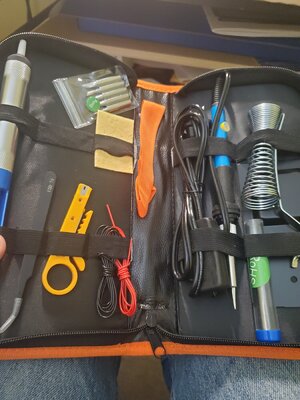
The wire is very stiff, I think. It can be annealed by the flame of the burner, it will be better to bend.


