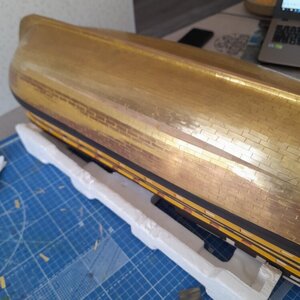
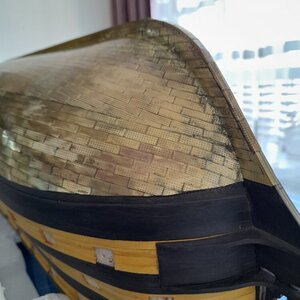
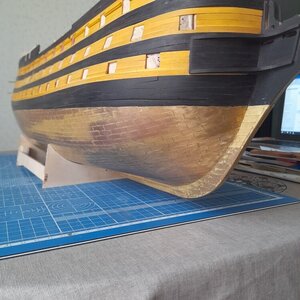
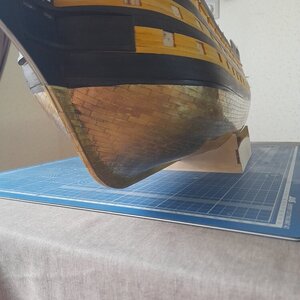
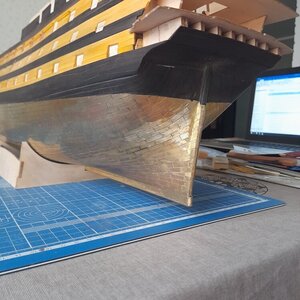
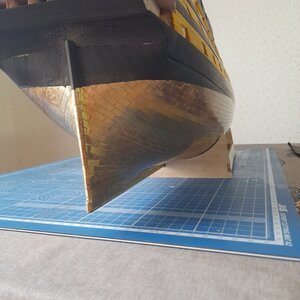
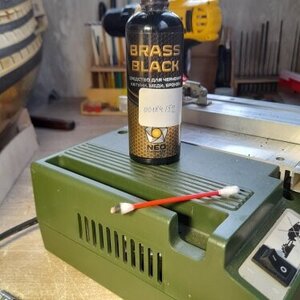
After removing the remaining glue, I plan to leave it in its natural form. Over time, the skin will acquire a natural patina. I don't plan on using chemicals.Hello Sasha,
Beautiful work on the copper plating!
Maybe you already mentioned this before, but are you planning on leaving it "all shiny" or will the plating receive a more weathered finish?
You are using an out of date browser. It may not display this or other websites correctly.
You should upgrade or use an alternative browser.
You should upgrade or use an alternative browser.
Model VICTORY by Deagostini, scale 1/84
- Thread starter Alexander74
- Start date
- Watchers 85
-
- Tags
- deagostini victory
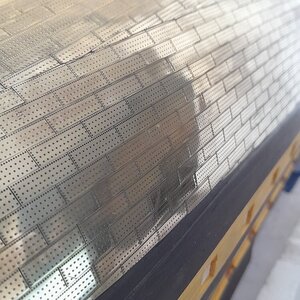
At some point, the idea came to me to rub the sheets with GOYA paste. This is such a hard green stick, for polishing metal surfaces. The result turned out like this. I did not rub the whole body, only part of it. Now I'm wondering if it was even worth it. Shines like a new samovar. On the other hand, at the moment of rubbing, you can see all the places where the glue remains and it can be easily removed.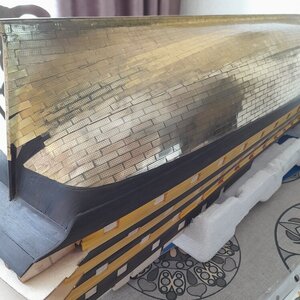


Good evening Sasha. I always wait for your posts on your Victory with anticipation and you certainly exceed expectations. Cheers GrantWell, here is the very completion of the work of laying all the sheets. It turned out 2450 sheets. There are some flaws in the feed, but I will fix them.
View attachment 317157View attachment 317158View attachment 317159View attachment 317160
Grant, I tried 


Well that sure was a lot of work Sasha! But the results speak to your dedication and skill. Congratulations!
Thanks Paul. There is still a lot of work ahead. But it will be more tangible than the skin (a lot of work, but the result, as if you are trampling on the meth)Well that sure was a lot of work Sasha! But the results speak to your dedication and skill. Congratulations!
- Joined
- Sep 3, 2021
- Messages
- 4,858
- Points
- 688

Now that's progress being made and what a sight, those 2450 copper plates.Well, here is the very completion of the work of laying all the sheets. It turned out 2450 sheets. There are some flaws in the feed, but I will fix them.
View attachment 317157View attachment 317158View attachment 317159View attachment 317160

You probably found something worse than ratlines...
Now that is stunning Sasha!Well, here is the very completion of the work of laying all the sheets. It turned out 2450 sheets. There are some flaws in the feed, but I will fix them.
View attachment 317157View attachment 317158View attachment 317159View attachment 317160
Rat lines are meditationNow that's progress being made and what a sight, those 2450 copper plates.
You probably found something worse than ratlines...

Or NOTRat lines are meditation

- Joined
- Sep 3, 2021
- Messages
- 4,858
- Points
- 688

Yep, of the wrong sort...Rat lines are meditation
Your Victory is amazing, Sasha. Everything looks colorful and neat. Keep up the incredible work!
Friends, hello everyone and have a nice day.
Continuation of the construction of the Victory ship model.
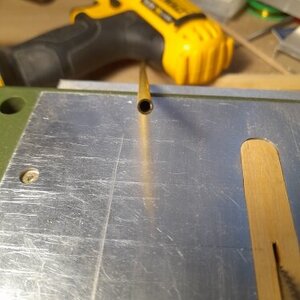
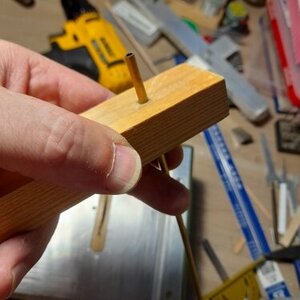
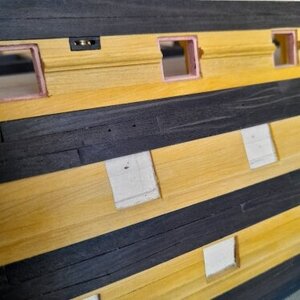
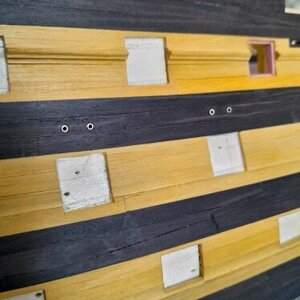
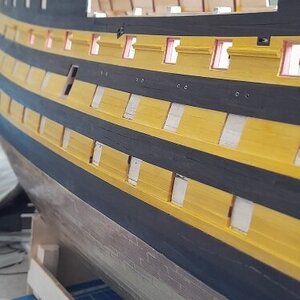
I made guides for the hoists of the gun ports. First, I made a template for marking the drilling sites. Marked over each gun port on the lower two decks of the gondek and middeldek. I drilled holes with a diameter of 1.5 mm and a depth of 5 mm. I cut pieces from a brass tube and inserted them into the holes. After processing the sides, I will blacken the ends of the tubes already in place. Photo result


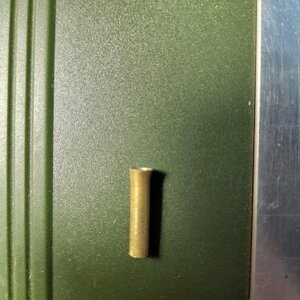
I installed the anchors yesterday. How I did it: first marked out the places for installing the fairleads, drilled holes for the tube. Brass tube with an outer diameter of 4 mm and an inner diameter of 3.4 mm. I made a template, cut the tube according to the depth of the template. I inserted the tube into the template and flared it. I did it with such a tool (this is a round profile scriber). from below, under the template, he placed an anvil. It turned out to be a clef as in the photo.
