Very good work - great overall appearance
-

Win a Free Custom Engraved Brass Coin!!!
As a way to introduce our brass coins to the community, we will raffle off a free coin during the month of August. Follow link ABOVE for instructions for entering.
-

PRE-ORDER SHIPS IN SCALE TODAY!
The beloved Ships in Scale Magazine is back and charting a new course for 2026!
Discover new skills, new techniques, and new inspirations in every issue.
NOTE THAT OUR FIRST ISSUE WILL BE JAN/FEB 2026
You are using an out of date browser. It may not display this or other websites correctly.
You should upgrade or use an alternative browser.
You should upgrade or use an alternative browser.
My Swing at Caldercraft HMS Victory
- Thread starter Adiefenbach
- Start date
- Watchers 34
-
- Tags
- caldercraft jotika victory
Thanks very muchWonderful job.
Thank you, appreciate the feedbackWow - outstanding !!!
Thanks much, I hope I am up to the challenge of rigging this. Caldercraft certainly provides enough plans to manage it.Good morning. This is stunning. A wonderful rendition of the HMS Victory. You have owned it and I’m sure you will own the rigging too. Cheers Grant
Thank you, it is certainly a challenge to build but rewarding when a step comes together.
Very good work - great overall appearance
- Joined
- Oct 9, 2020
- Messages
- 2,228
- Points
- 488

fun project! looks great. Congrats.
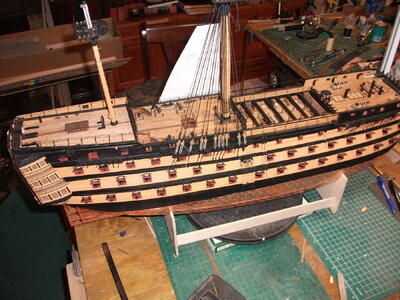
Outstanding job.Have been at this for 10 months now, get in about an hour or so a day, sometimes more, sometimes less. Have been slowed a little lately as the Admiral just had a knee replaced a month ago and I have been doing double duty around the house. This kit has been very challenging and rewarding and sometimes a little overwhelming. I have taken some liberties with some of the painting and some of gun rigging but I am pleased with the results. All the pieces up on the bow went together better than I hoped. Rigging for the guns on the focsle was not really described anywhere so I did my own thing. Not historically precise but it works for me. The catheads were among the most challenging things to install. It involves a three dimensional angle with three separate pieces and a lot of precise sanding. Am happy with how they turned out, a lot of luck involved there. Anyway, am now planking the poop deck and getting ready for work on deck fittings. Rigging looms like a cumulo-nimbus cloud on the horizon. Pray for mePlease..
View attachment 391569
View attachment 391570View attachment 391571View attachment 391572View attachment 391573View attachment 391574View attachment 391575View attachment 391576View attachment 391577
I just saw this thread only today and am admiring the hull copper plating job you did.
Congrats
Thanks, appreciate the commentfun project! looks great. Congrats.
Thanks very much. Was long and tedious process but I like the result too.Outstanding job.
I just saw this thread only today and am admiring the hull copper plating job you did.
Congrats
Work continues. Got the flag lockers done on the stern and played around with putting some simulated flags/shapes in the locker. Does brighten up the poop deck a little. Also worked on the bow/figurehead installation. That was pretty daunting but I am happy overall with the results. One issue that I couldn't fix was the connection of the banner "Dieu et mon droit". I have a gap on both sides where there just isn't enough banner material. My fault, and I think that the issue goes back to my placement of the wooden scroll material on the stem. Took my best shot on that using the drawings as guidance but the forward scroll piece needed to be a few mm further forward. Live and learn. Deck fitting work continues.
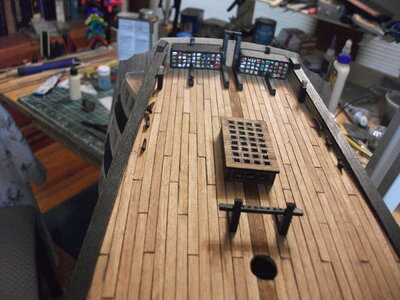
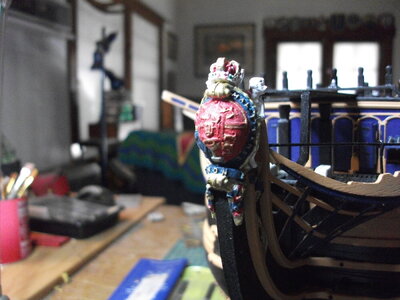
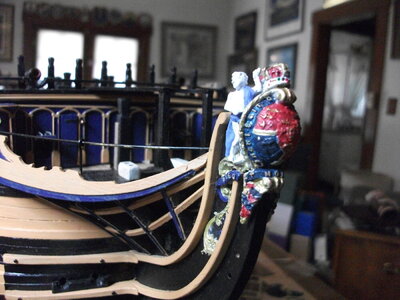
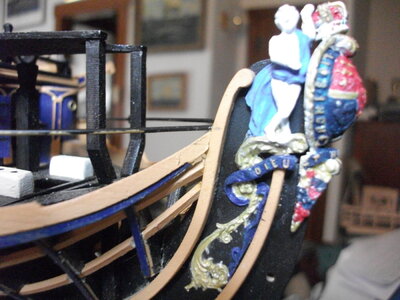
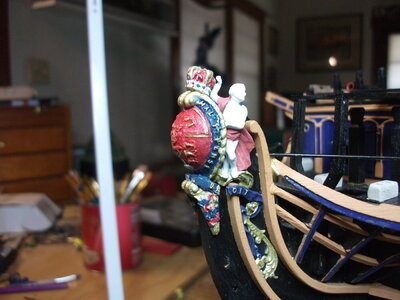
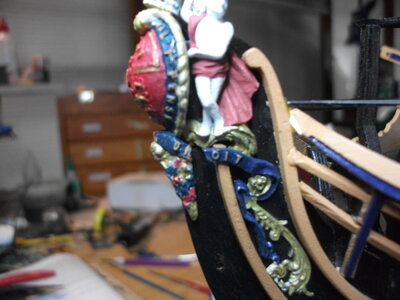


Wow, that’s looking sensational. Well done.
Thanks Brian, appreciate the feedback. That gap is annoying but I can live with it.
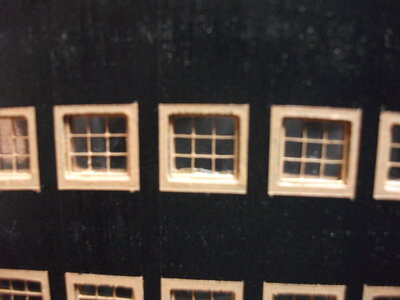
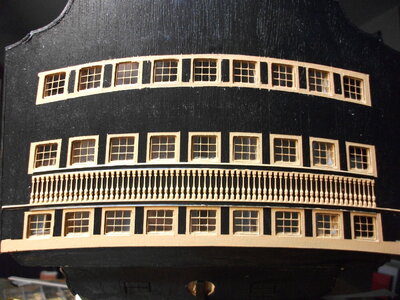
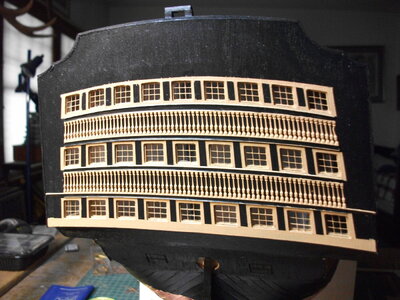
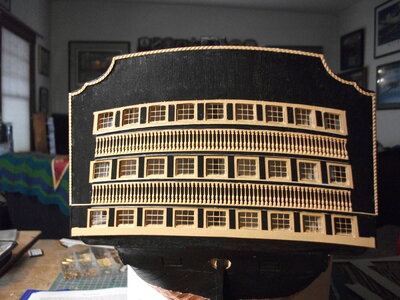
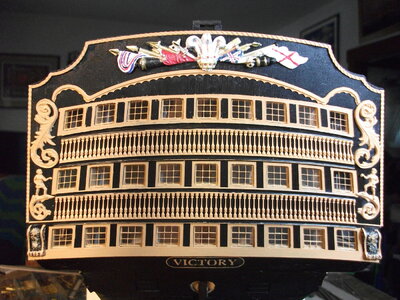
Have been continuing to plug along, have been able to finish up the stern fascia section. The quality of the PE is very good and the window inserts only required a small bit of filing to achieve a press fit. The rest of the pieces on the stern fit with little/no modification. This section of the build was very nerve wracking as this is an iconic view of the ship when completed. Glad that it is finished but am pleased with the results.
First windows going in
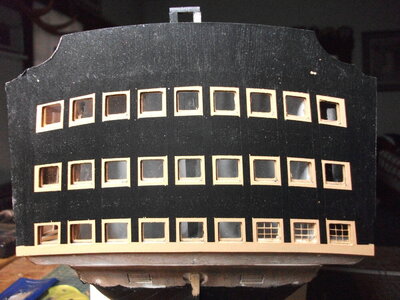
All windows in
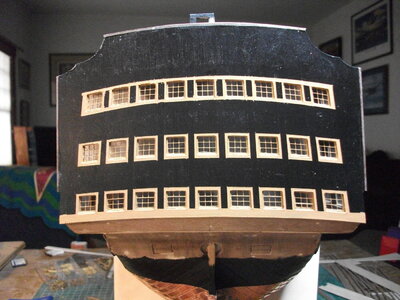
First baluster rail in
Both baluster rails in
Edge railing installed
Decorative figures installed
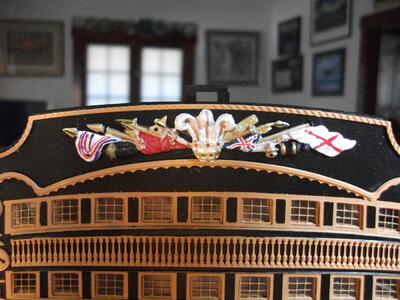
Spent some time on this decoration. The high quality of the casting really helped.
Getting started on the stern quarter galleries now.
First windows going in

All windows in


First baluster rail in

Both baluster rails in

Edge railing installed

Decorative figures installed

Spent some time on this decoration. The high quality of the casting really helped.

Getting started on the stern quarter galleries now.
Hallo @AdiefenbachHave been watching TraumaDoc's progress with great interest as he is just a few weeks ahead of me. Also see that Maddog Harry is also embarking on the same voyage. I have been learning a lot from Paul Vicker's videos/log as well. I started my build on 23 November and have gotten the first planking done and just starting on the stern quarter gallerys. Have been sanding, and sanding, ...... and sanding on the hull to smooth everything out, think I am just about there. I don't have the equipment or talent to take great photos so I will not do a full build log but will try to chime in with lessons learned when I figure out something useful. I have been very impressed with the quality`of the materials provided by Caldercraft as well as the quantity. The first planking material is 1.5 by 6mm lime and every piece was spot on 6 mm. This has been an issue for me with other kits (planking width variations). Also, they provided 70 pieces and I have 20 remaining after finishing up the planking. The fit and finish on all the keel and bulkhead pieces is first rate as you would expect. It is a beast though, and is getting heavy. Here are some shots of progress to date:
View attachment 348559View attachment 348560
+View attachment 348561View attachment 348562
View attachment 348563View attachment 348565
View attachment 348566View attachment 348568
Just started with the stern quarter gallerys, using the walnut ply pieces provided. Quite a bit of fitting and concern with this but Paul's videos help a lot.
View attachment 348570
Also, on a previous kit I discovered these Marklin railroad screws to use where you just can't get a clamp to hold well enough. They were invaluable as I did the first planking and I still recommend them.
View attachment 348572
Anyway, having a lot of fun with this one so far and I really appreciate the work of those ahead of me who have helped illuminate the way. Happy New Year to all.
we wish you all the BEST and a HAPPY BIRTHDAY

Good morning. I hope you had an enjoyable birthday yesterday. Cheers Grant
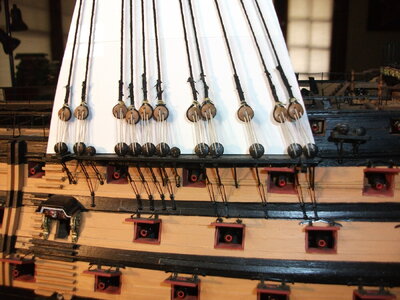
Have completed the first set of shrouds for the main mast. Interesting process. Now on to the ratlines for this section. Based on what I have read, ratlines are only a slight step above the copper plating effort in terms of tediousness. This will be another process I am undertaking for the first time. I have a question for the group in that it seems that the shrouds are quite flexible at this point and I think would be easily distorted out of straight as I ham fist my way through ratlining. Has anyone tried applying a coat of matte deck sealant or polyurethane or some other material to the shrouds as a way to stiffen them up a bit. Seems that might help keep them straight. Just wondering. Appreciate any feedback. Cheers. 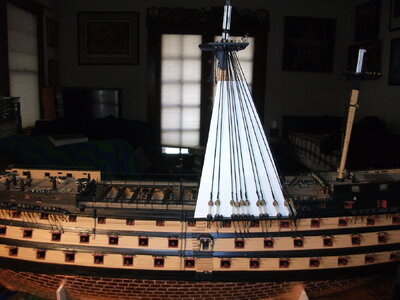


- Joined
- Feb 20, 2022
- Messages
- 225
- Points
- 113

When rattling, I've always drawn lines on the "backing card" exactly where the real lines will be. By being careful when you tie & tighten the clove hitches, you can usually keep everything in line, & even have just a "smidge" of wiggle room. It's worked for me!
Rick1011
Rick1011
Thanks Rick, will certainly follow that advice.When rattling, I've always drawn lines on the "backing card" exactly where the real lines will be. By being careful when you tie & tighten the clove hitches, you can usually keep everything in line, & even have just a "smidge" of wiggle room. It's worked for me!
Rick1011
Your Victory looks amazingly beautiful. Congratulations on your achievement thus far.
Would love to see more details and photos.
How did you make the flags in the lockers? Looks great.
Would love to see more details and photos.
How did you make the flags in the lockers? Looks great.


