Hmm, last I checked they were collection sawdust from this build.So Jan…..how are your WB and Chaperon going…….. just asking
.
Cheers Grant

Oh, cruel grant just cruel. I love it
Yah, yah. It’s OK. I can handle it.
 |
As a way to introduce our brass coins to the community, we will raffle off a free coin during the month of August. Follow link ABOVE for instructions for entering. |
 |
 |
The beloved Ships in Scale Magazine is back and charting a new course for 2026! Discover new skills, new techniques, and new inspirations in every issue. NOTE THAT OUR FIRST ISSUE WILL BE JAN/FEB 2026 |
 |
Hmm, last I checked they were collection sawdust from this build.So Jan…..how are your WB and Chaperon going…….. just asking
.
Cheers Grant

Oh, cruel grant just cruel. I love it
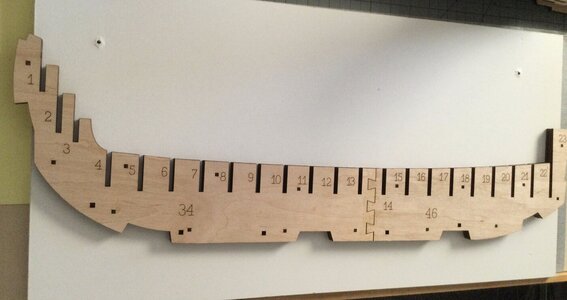
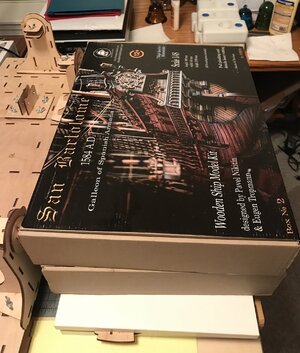
Yup Pavel has thirty plus videos so far. They are good to watch before starting a particular piece of the build. The build instructions are also excellent.This is pretty cool that you can follow the build on You Tube, Jan. I, however, would be disqualified at that point straight off the bat!
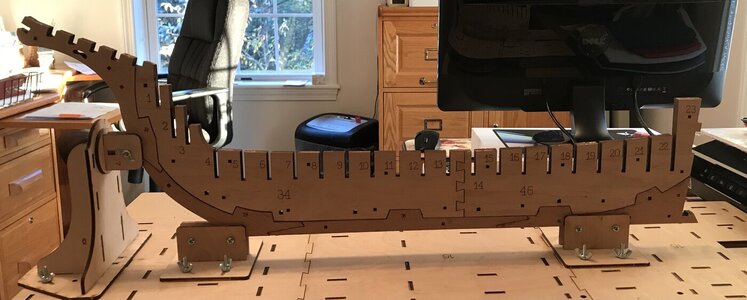 This mornings test of the slipway with the keel locked in. It looks odd but I think I might have the bow support on the wrong end since the keel support looks off.
That keel assembly looks lovely, Jan - really nice! What do you mean by the bow support on the wrong end?
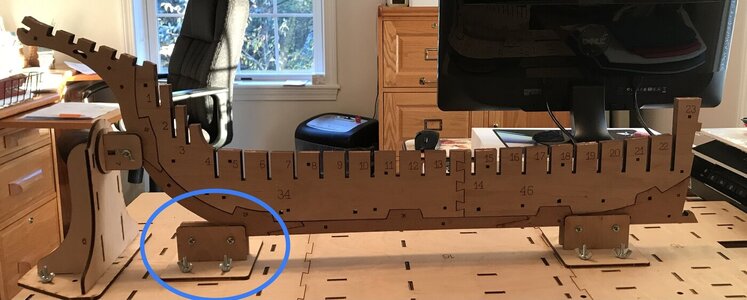
Doesn't the whole thing (ship) just slide forward (?) or is the thumbscrew on the stem (the front end) in the way?View attachment 337121
The circled clamp should probably more attached to the keel. So I’m thinking the bow holder and keel need to be rotated 180 for a better fit in the keel clamps. I’ll have to piddle with the bitts to get the best fit.
Yes and No. I definitely had the jig turned wrong.Doesn't the whole thing (ship) just slide forward (?) or is the thumbscrew on the stem (the front end) in the way?
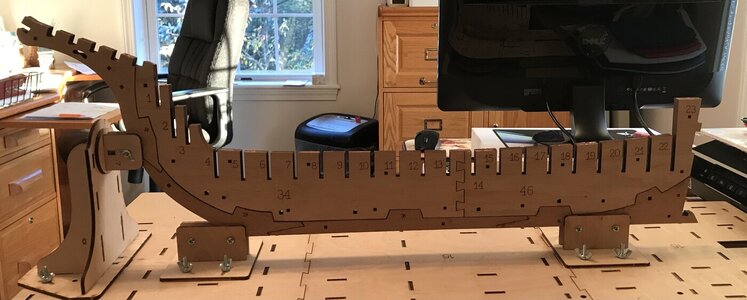
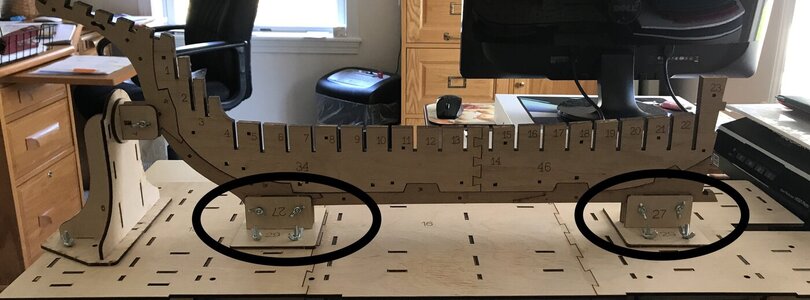
Oh, by the way, your wife called and wanted me to remind you that there are a room full of unfinished kits she'd like you to work on...
 I thank you for taking the initiative and calling her. I think she's meeting with an Architect next week. I overheard her chatting about an outbuilding at the end of the property. Something suited to being used as hobby/workshop with a central vacuum cleaner system. Quite the chat about SANDING DUST, SANDING DUST, DUST and more DUST. I have no idea what the PROBLEM is.
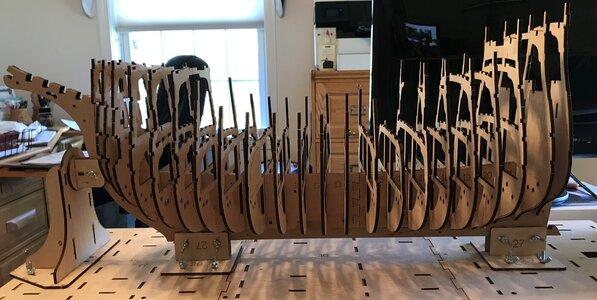

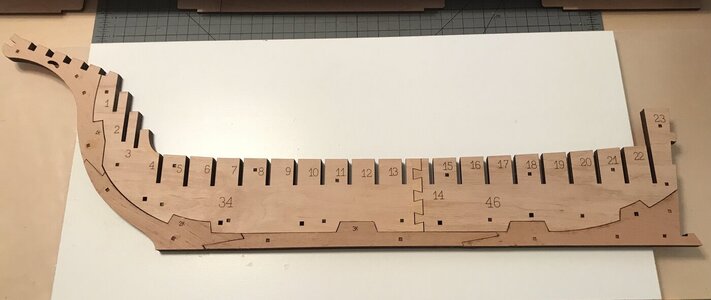
Wow! I love that number of frames!The slipway is done, the false keel and keel are glued together and mounted in the slipway. the next step was to check the fit of the frames.
View attachment 337192
I was pleasantly surprised to note that all the frames except #23 slid easily into their respective slots. Frame #23 needs a little bit adjustment work before it can be placed at the stern.
There is quite a bit of fairing required for the first three or four frames as well as the last four. I’ll try to get to that as I have down periods from my other builds. (Note to Heinrich, Paul and Grant — Chaperon, Duyfken and WB have been vacuumed, dusted and are on the agenda starting tomorrow).


 That will create a very accurate hull - it looks great Jan!
 Build what you love ... love what you build.
Good morning Jan. Worth repeating- this kit looks so cool! I excited for you Jan.The slipway is done, the false keel and keel are glued together and mounted in the slipway. the next step was to check the fit of the frames.
View attachment 337192
I was pleasantly surprised to note that all the frames except #23 slid easily into their respective slots. Frame #23 needs a little bit adjustment work before it can be placed at the stern.
There is quite a bit of fairing required for the first three or four frames as well as the last four. I’ll try to get to that as I have down periods from my other builds. (Note to Heinrich, Paul and Grant — Chaperon, Duyfken and WB have been vacuumed, dusted and are on the agenda starting tomorrow).
True story.Just with regards to your quote above: My friend, you know my sentiments. Time is a rare and valuable commodity. You need it to spend it on what gives you the greatest enjoyment. If you finish this ship first, so what? Or, if you derive greater enjoyment from this build than from the others ... so what as well!Build what you love ... love what you build.

Wow, that is some sleek looking. I can see where there would be a stability problem.No jetski, Jan - one of these numbers.
View attachment 337237
Let me know about WB and see if I can help.
