Nikitin San Bartolome 1584 A.D. (Kit #35)

Little bit of an update

We are still in the Florida weather mode, I can't spend any time outside working on the hull so I've been spending my indoor time working on bits and pieces.

1 of 3

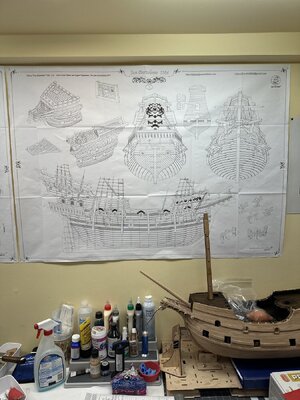
The plan .

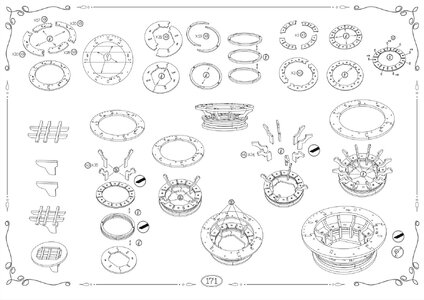
Study the instructions, start in the upper lefthand corner, assemble the pieces left to right, go to the middle left of the plan, work from the bottom to the top, carefully follow the glue/no glue symbols. Move to the middle right and follow the glue/assembly instructions.

Screenshot 2024-07-03 at 9.57.05 AM.jpeg

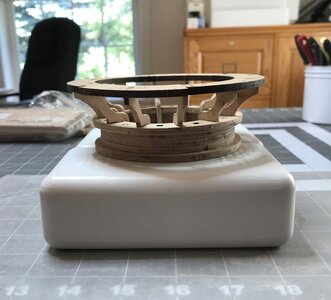
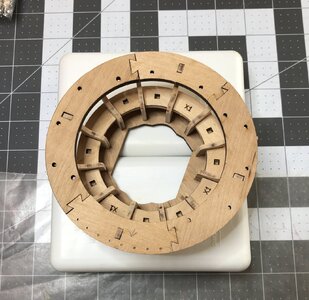
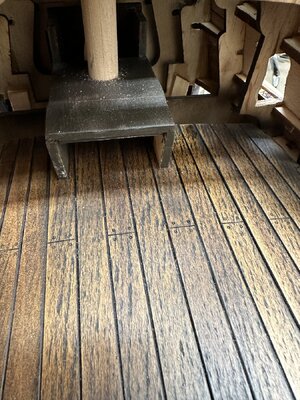
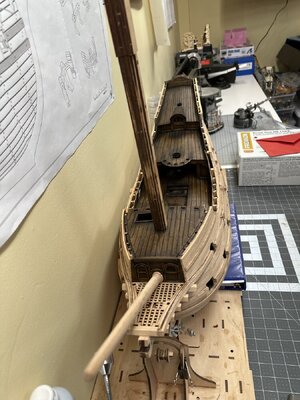
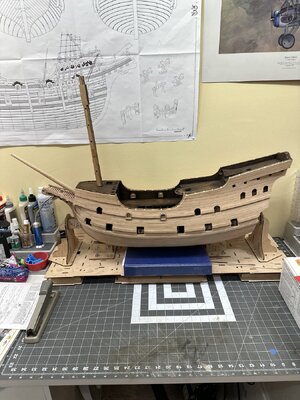
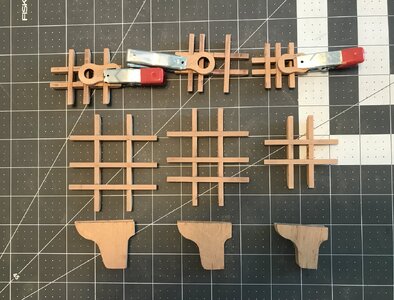
The finished assembly.

IMG_4387.jpeg
IMG_4388.jpeg

Pavels engineering was spot on. I did not need to make any adjustments, all parts were a nice snug fit.

Jan
 
Last edited:
Little bit of an update

We are still in the Florida weather mode, I can't spend any time outside working on the hull so I've been spending my indoor time working on bits and pieces.

1 of 3

The plan .

Study the instructions, start in the upper lefthand corner, assemble the pieces left to right, go to the middle left of the plan, work from the bottom to the top, carefully follow the glue/no glue symbols. Move to the middle right and follow the glue/assembly instructions.


View attachment 457126

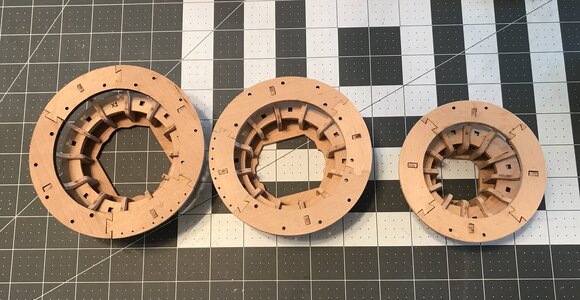
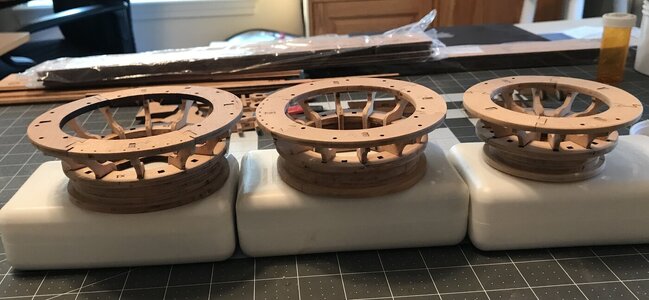
The finished assembly.

View attachment 457127
View attachment 457128

Pavels engineering was spot on. I did not need to any adjustments, all parts were a nice snug fit.

Jan
Jan,
Looking great
I am working masts and crows nests as well. Will post an update soon. With the masts installed the ship really comes to life. And it’s true size is coming to realization. The captain said we are going to need higher ceilings.
Chris
 
Jan,
Looking great
I am working masts and crows nests as well. Will post an update soon. With the masts installed the ship really comes to life. And it’s true size is coming to realization. The captain said we are going to need higher ceilings.
Chris
I've not gotten to the masts yet. Those look like an interesting event. Hmm, going from square to round.
I've jjust about finished the third crows nest. Very pleased with the outcome on all three assemblies.
Jan
 
I've not gotten to the masts yet. Those look like an interesting event. Hmm, going from square to round.
I've jjust about finished the third crows nest. Very pleased with the outcome on all three assemblies.
Jan
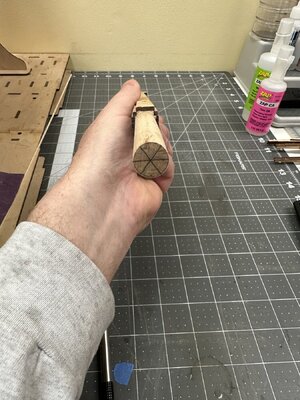
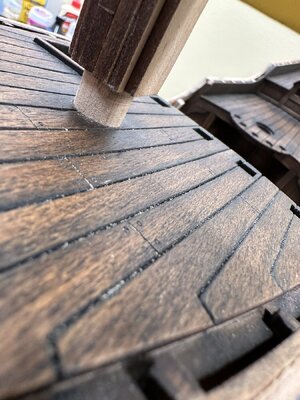
Just be super careful when shaping the mast. You want to sneak up on the correct diameter constantly dry fit your masts into the deck. I have all 3of my masts fit before even shaping the main part of the mast. I have included some of progress of the foremast. Maybe useful.IMG_8453.jpegIMG_8452.jpegIMG_8451.jpegIMG_8735.jpegIMG_8734.jpegIMG_8733.jpegIMG_8450.jpeg
 
I meant to post this earlier when I posted the first crows nest assembly.

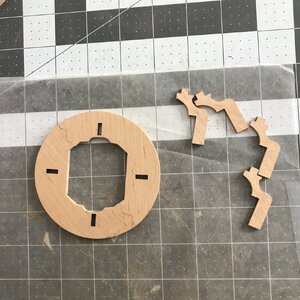
I had a bit of trouble aligning the base piece with the next section. I fiddled around enough to come up with a solution.

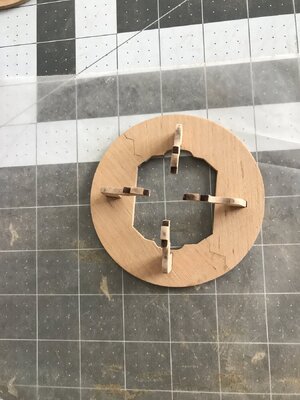
I placed the supports (Pieces X3 on flat X3) backwards in the slots of the base and they neatly aligned the next section,

The Base and Supports

IMG_4390.jpeg

The supports in the base (not glued )

IMG_4389.jpeg

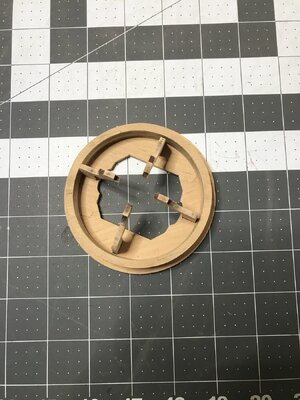
The next section centered by using the supports.

IMG_4391.jpeg

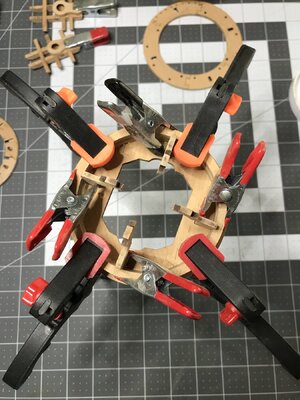
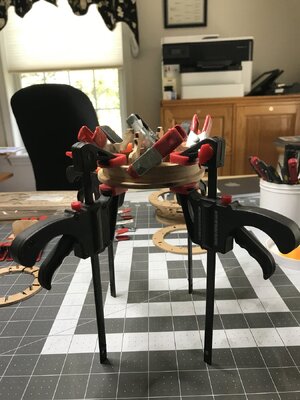
And finally the overkill clamping/gluing process.

IMG_4393.jpeg
IMG_4392.jpeg

Jan
 
I meant to post this earlier when I posted the first crows nest assembly.

I had a bit of trouble aligning the base piece with the next section. I fiddled around enough to come up with a solution.

I placed the supports (Pieces X3 on flat X3) backwards in the slots of the base and they neatly aligned the next section,

The Base and Supports

View attachment 457277

The supports in the base (not glued )

View attachment 457278

The next section centered by using the supports.

View attachment 457280

And finally the overkill clamping/gluing process.

View attachment 457281
View attachment 457282

Jan
No such thing as an excess of clamps Jan;)
 
I meant to post this earlier when I posted the first crows nest assembly.

I had a bit of trouble aligning the base piece with the next section. I fiddled around enough to come up with a solution.

I placed the supports (Pieces X3 on flat X3) backwards in the slots of the base and they neatly aligned the next section,

The Base and Supports

View attachment 457277

The supports in the base (not glued )

View attachment 457278

The next section centered by using the supports.

View attachment 457280

And finally the overkill clamping/gluing process.

View attachment 457281
View attachment 457282

Jan
It’s nice to see how a crows nest transferred into a big spider. Clamping is a art! You are a master, Jan.
Regards, Peter
 
No such thing as an excess of clamps Jan;)
True story
It’s nice to see how a crows nest transferred into a big spider. Clamping is a art! You are a master, Jan.
Regards, Peter
The clamps made that part look like a Lunar lander.


It’s great to have all of you looking in on my modest efforts. I’m patiently waiting for cooler temperatures so I can continue work on the hull. I need to trim, sand and edge the planking on the stern and finish shaping and cutting out the gun ports. As per the Admiral “you make an awful mess when you work on that THING”. So……..

Jan
 
:rolleyes: To hot to be out by or in the pool (91F/33C air temp, pool patio temp 105F/41C).

A good excuse to be in the shipyard sanding laser char and gluing up more bits and pieces.

The Crosstrees.

IMG_4399.jpeg

A bit of exercise for the fat fumbly fingers.

The next puzzle is assembling the masts and yardarms.

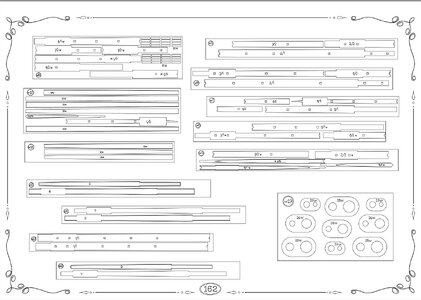
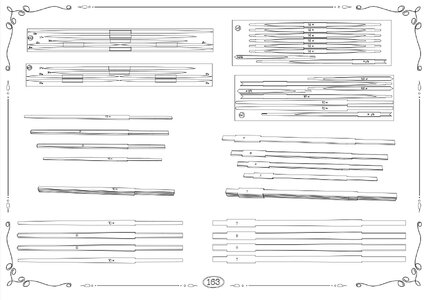
The build plans.

Screenshot 2024-07-07 at 12.19.37 PM.jpeg


Screenshot 2024-07-07 at 12.16.47 PM.jpeg

No dowels etc. for masts or yardarms. Interesting construction.

Jan
 
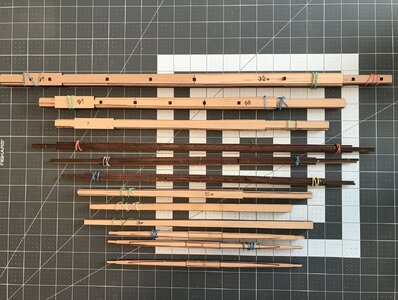
The heatwave continues. The daily high temperature is forecast to be close to 90F. Yesterday I busied myself in the shipyard. I punched out and sorted all the mast and yardarm bits and pieces,

Today chore is to start gluing the various bits and pieces.

98083C38-39AA-43CD-81B1-7F7853B42924.jpeg

Kudos to the San Bartolome kit builders that have finished this step. I think I might be some time getting these glued up and shaped.

Jan
 
Woo, woo, another over 90F day, so I'm vegging in the shipyard.

Working on the yardarms.

It's a gluing and sanding marathon. Since I have never had to go from assembled pieces to a final product, this quite the experiment.

IMG_4401.jpeg

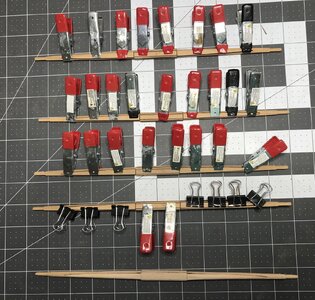
These are the smaller yard arms ( three of them). The one without clamps I've rough sanded into an almost round shape (more like oval), the clamps are holding the the pieces of the other two. The four clamped pieces make up the other two yardarms. Once glued up there will be another sanding marathon.

My first error was not removing the char from the first yard arm pieces prior to gluing them together. Trying to sand char off while trying to shape the piece was a lot of work. I've removed the char from the other pieces prior to starting to glue them together.

I've no idea if "Oval" is the right shape, But I"m afraid of taking off much more material.

To be continued.

Jan
 
Woo, woo, another over 90F day, so I'm vegging in the shipyard.

Working on the yardarms.

It's a gluing and sanding marathon. Since I have never had to go from assembled pieces to a final product, this quite the experiment.

View attachment 458339

These are the smaller yard arms ( three of them). The one without clamps I've rough sanded into an almost round shape (more like oval), the clamps are holding the the pieces of the other two. The four clamped pieces make up the other two yardarms. Once glued up there will be another sanding marathon.

My first error was not removing the char from the first yard arm pieces prior to gluing them together. Trying to sand char off while trying to shape the piece was a lot of work. I've removed the char from the other pieces prior to starting to glue them together.

I've no idea if "Oval" is the right shape, But I"m afraid of taking off much more material.

To be continued.

Jan
Good morning Jan. This is such an amazing kit from Pavel. Not an easy one for sure. You are doing it justice. I think I should move up to Maine for a few weeks and get some of that lovely hot weather. We are having one of those Cape Storms (usual for this time of the year), plenty wind, rain (some flooding) and even snow in the Boland. Cheers Grant
 
Good morning Jan. This is such an amazing kit from Pavel. Not an easy one for sure. You are doing it justice. I think I should move up to Maine for a few weeks and get some of that lovely hot weather. We are having one of those Cape Storms (usual for this time of the year), plenty wind, rain (some flooding) and even snow in the Boland. Cheers Grant
It’s a great kit, I’m having a grand time with it. I think you would enjoy our unusual summer. Normally the summer temperatures are a bit lower than the current ones. The forecast for today is “iffy”, remnants of Hurricane Beryl are moving through the Western part of the state. So temporarily we are getting a break from the heatwave. But tomorrow it’s back to the high 80’s to 90’s.

Jan
 
Back
Top