Nikitin San Bartolome 1584 A.D. (Kit #35)

Another head scratcher moment.

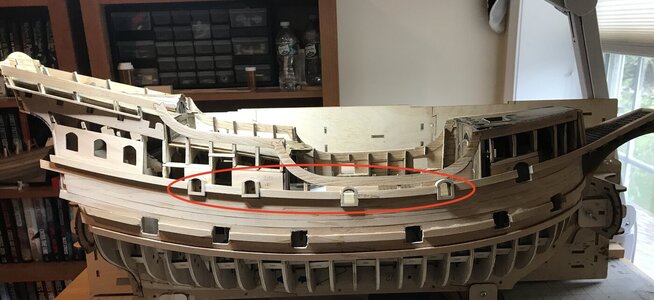
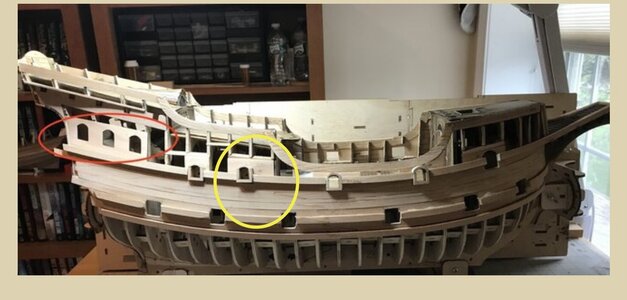
Trying to follow the video for marking the beam holes on plank #38 (Arrow). The plank fits over the openings off the beam holes (circle). BUT the holes are smaller than the dimensions of the beams.

@giocomail. How did you solve this part???

View attachment 377839
The holes, as seen in the video, serve only as a reference for the subsequent square-shaped shaping work to allow the subsequent insertion of the square rulers, they serve as a sign to identify the point to be shaped well
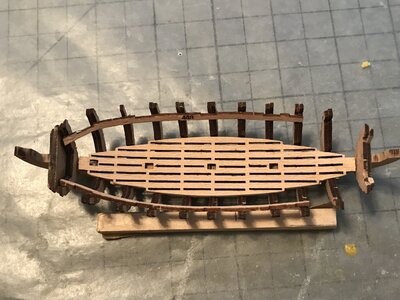
This build plan shows the beams "cut short" and not passing all the way through the hull. Previous plans show the beams inserted trough the hull.

So ..... ????

View attachment 377840

View attachment 377841

Jan
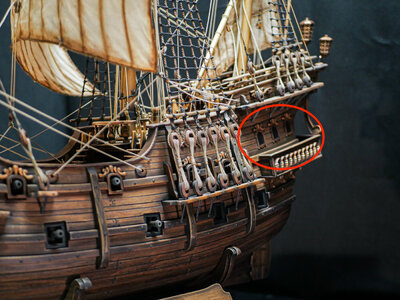
The beams look “cut short” but in reality they are not because they go all the way through the hull. The drawing shown in the manual, as you can see, is just an excerpt, an explosion of that point, a kind of section. On the other hand, from the photos of the finished ship, you can see that they go from one side of the hull to the other
 
The holes, as seen in the video, serve only as a reference for the subsequent square-shaped shaping work to allow the subsequent insertion of the square rulers, they serve as a sign to identify the point to be shaped well

The beams look “cut short” but in reality they are not because they go all the way through the hull. The drawing shown in the manual, as you can see, is just an excerpt, an explosion of that point, a kind of section. On the other hand, from the photos of the finished ship, you can see that they go from one side of the hull to the other
Excellent, that part was a little confusing. The "beam" holes need be enlarged to fit the "beams". I'll work on that this afternoon. Hmm, have to go, commercial power has quit and our generator just powered up. Good old UPS just saved my PC.

Jan
 
The “Bad Word” jar got a workout.

View attachment 378068

Place a plank, cut out the gunport housing. Feed the jar. Place a plank, cut out the gunport housing, Feed the jar. REPEAT!!!

:rolleyes:
Good morning Jan…and so this hobby goes….ROTF.What an amazing pic of your galleon. A wonderful construction process swear jar and all. Cheers Grant
 
Wowsers, big bumbly fingers and itty-bitty parts help out the bad word jar.

05C43996-C1E7-4743-ABE0-9F3A0767A9B2.jpeg

E991580B-B62C-42D5-B6CC-6F9730D06EBC.jpeg

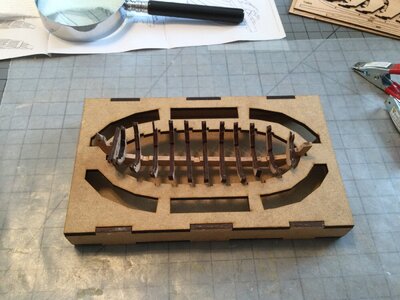
There are a lot of opportunities to break things, just a bit to much pressure and ”SNAP GOES THE ….”.

Going to put this back on the shelf for now. I thought it might be a good project while fitting, bending and gluing planks on the Galleon. I think I’ll stick to playing solitaire on the PC while the glue sets.
 
After the small boat adventure I'm back to the BIG RUGGED STUFF.

A lot easier to work on.:D

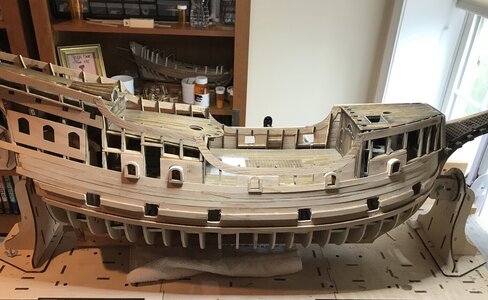
Just finished gluing the upper wale (Three planks laminated together). Now have to cut, file, whack at and fit the the gunport housings.

fullsizeoutput_1a7.jpeg

I have two more full planks to place above the wale and then need to "adjust" the opening for the gunport housing on those. The next step is the planking of the Forecastle and Sterncastle.

Jan
 
Ah, the gunport saga continues.

Cut, fit, sand, sand some more, fit and repeat. Four out of five ports done.


fullsizeoutput_1ab.jpeg
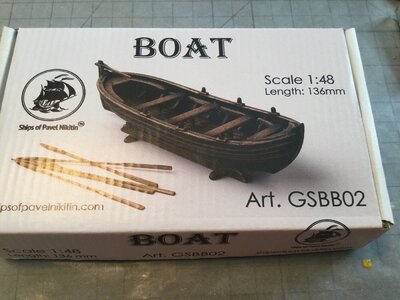
Rough on the old and not so nimble "Bumble" fingers. To take a break form the tedious sanding we tested the old guys eyesight by working a bit on the ships boat.

fullsizeoutput_1a8.jpeg

I don't know which is worse, the old guys vision or the old guys hands. :rolleyes::rolleyes:

But we are definitely making progress.

Jan
 
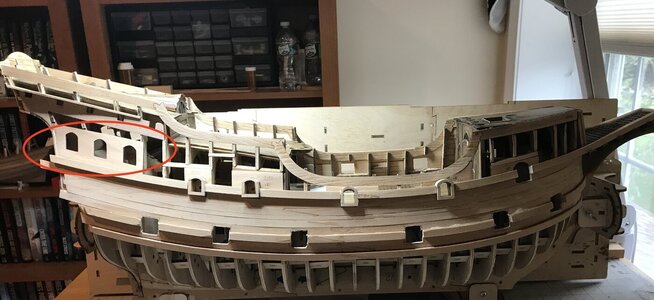
Good afternoon Jan. “Old hands and vision “ seem just fine to me. Around 7 months in and starting to look like a galleon. Not knowing this ship I’m going to ask a stupid question. The 3 gunport from fore doesn’t follow the wale line of the other 3? Cheers Grant
 
Jan my question was clearly misleading… I meant this one:
View attachment 379733
It looks a little high relative to the wale if I look at the other 3 you did. Cheers Grant
Ah, got it. All the housings need to be "adjusted". The housings are just temporarily fitted into those openings. The next two planks to be added will also need to be trimmed to allow for the top curve of the housings. Then the final squaring and fitting will happen. The housing you've circled and its partner toward the stern are shaped to fit at a slight angle (I guess to align with the phantom deck behind). The housing at the bow is shaped the same way.

I think the final "Fitting" session is a bit in the future. I still have a lot of planking to do and then the initial painting of the hull and then....

I hope this answers your concern????

Jan
Good morning Jan. It most certainly does- thank you. Your log is stimulating that temptation for me to attempt this galleon one day. I do think my skill level needs a little “levelling up” before though. Cheers Grant
 
Good morning Jan. It most certainly does- thank you. Your log is stimulating that temptation for me to attempt this galleon one day. I do think my skill level needs a little “levelling up” before though. Cheers Grant
Good morning/ afternoon Grant. Hmm I think following your build logs your skill levels are up to par for any future build you have in mind. No “leveling” needed. The Galleon is a great kit, well engineered and coupled with the many build videos (45 so far) is a pleasure to build.

Jan
 
No sir, contrary to lack of posting I’ve not given up on the build. It‘s the busy time of year and working in the shipyard is sporadic.

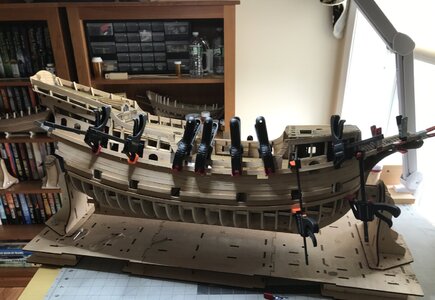
Planking is progressing slowly, one or two planks a day. Only nine more to go to finish this part of the build.

11825F4D-BAAF-4A98-B579-99187F254701.jpeg

BTW. For those who haven’t started the planking process planks 2 - 11 are in three pieces on the flats. In an earlier post I noted my mistake using Titebond II to bond the pieces. That was a good idea until I tried to bend them into shape after immersing them in hot water. This time around I used Titebond III and had no problems soaking and bending those planks.

Off to my morning dip in the pool.

Jan
 
Back
Top