-

Win a Free Custom Engraved Brass Coin!!!
As a way to introduce our brass coins to the community, we will raffle off a free coin during the month of August. Follow link ABOVE for instructions for entering.
-

PRE-ORDER SHIPS IN SCALE TODAY!
The beloved Ships in Scale Magazine is back and charting a new course for 2026!
Discover new skills, new techniques, and new inspirations in every issue.
NOTE THAT OUR FIRST ISSUE WILL BE JAN/FEB 2026
You are using an out of date browser. It may not display this or other websites correctly.
You should upgrade or use an alternative browser.
You should upgrade or use an alternative browser.
NORSKE LOVE - Billing Boats 1:75 scale
- Thread starter Dean62
- Start date
- Watchers 74
-
- Tags
- billing boats norske lowe
- Joined
- Sep 3, 2021
- Messages
- 5,196
- Points
- 738

This is a way better pastime than bugging your neighbours or spending your money at the Starbucks...Thank you! I’ve been busy!
Waterway boards were added, and holes drilled for eyes and eyes placed in them…
Then I added the waterway board on the bow deck and the end board…stained all of them and then clear coat…
Next will be the catwalk, and then the fluted board on the edge of the bow deck.
Then I can make the cat davit and Lion head for it.
And finally once both cat davits are in place, I can make the railing at the front of the bow deck that goes between them.

Then I added the waterway board on the bow deck and the end board…stained all of them and then clear coat…


Next will be the catwalk, and then the fluted board on the edge of the bow deck.
Then I can make the cat davit and Lion head for it.
And finally once both cat davits are in place, I can make the railing at the front of the bow deck that goes between them.
Step by step this railing process comes to an end to join the other side. And then new energy, Dean, for new parts. I assume the aft deck also gets 'something'?Waterway boards were added, and holes drilled for eyes and eyes placed in them…
View attachment 367420
Then I added the waterway board on the bow deck and the end board…stained all of them and then clear coat…
View attachment 367421View attachment 367422
Next will be the catwalk, and then the fluted board on the edge of the bow deck.
Then I can make the cat davit and Lion head for it.
And finally once both cat davits are in place, I can make the railing at the front of the bow deck that goes between them.
Regards, Peter
All decks will eventually get something,Step by step this railing process comes to an end to join the other side. And then new energy, Dean, for new parts. I assume the aft deck also gets 'something'?
Regards, Peter
Hi Dean, just re-reading and catching up on your log. You’re doing some really fine work, it’s impressive.
Thank you Roger, I appreciate the comment!Hi Dean, just re-reading and catching up on your log. You’re doing some really fine work, it’s impressive.
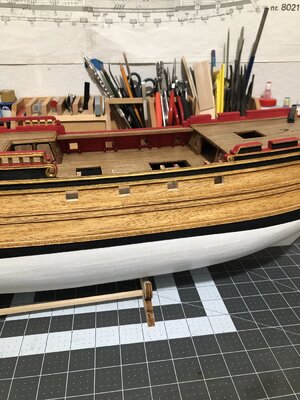
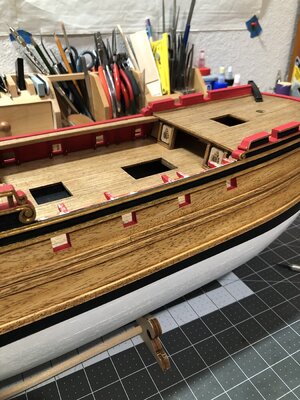
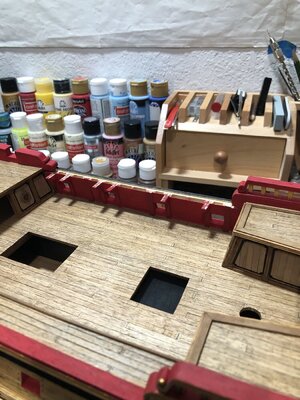
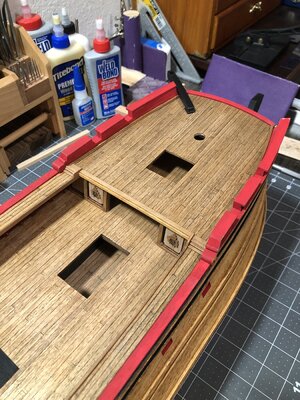
Today was a busy day! It was time for the second catwalk.
So that was cut and sanded and glued on the knees…
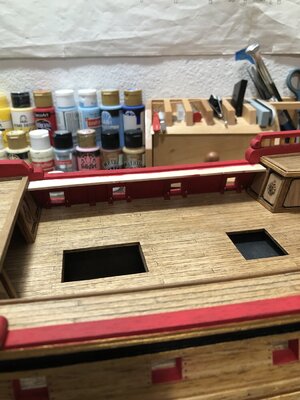
The lower rail board that is painted red had to be profiled on each end with a rat tail file…
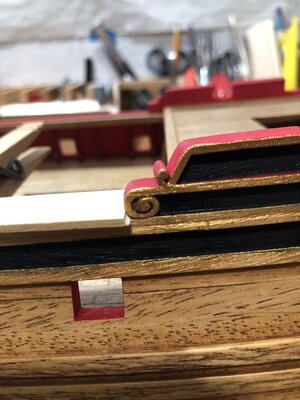
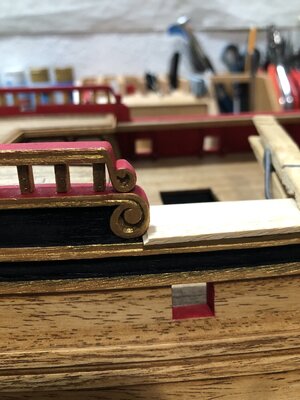
Then that was painted red and the planks were edged with a charcoal pencil and glued on…
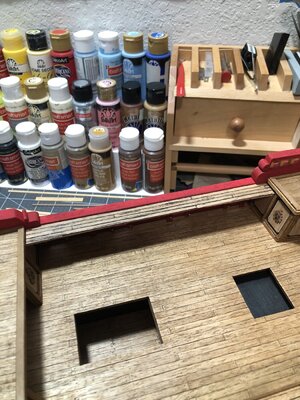
In the ugly stage at that point, was then sanded and clear coated…stained and then a final coat of clear. And then the inner side board was added.
It was then that I noticed the large step at each end…
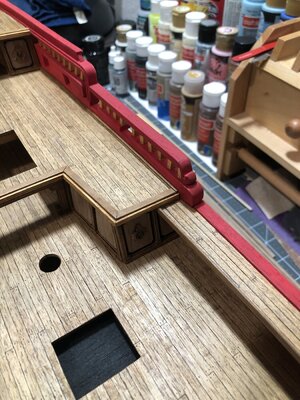
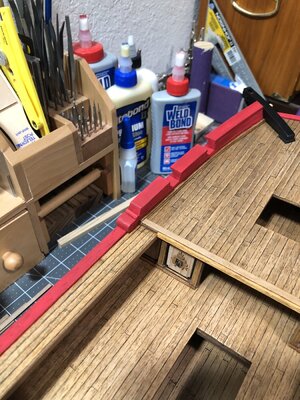
That just didn’t look right to me. So I decided to make steps at each end. 3 steps for the taller side and 2 steps for the other side…then I decided to add a taller side board to the edge of the stairs…
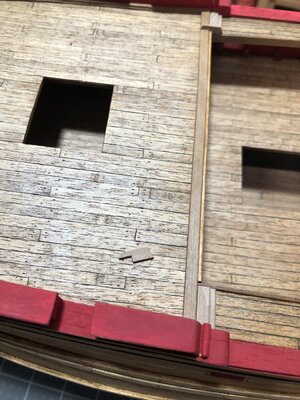
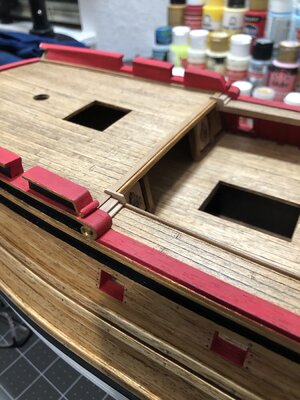
Now some pictures of the completed steps and side boards…
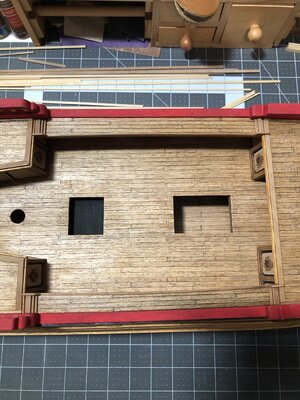
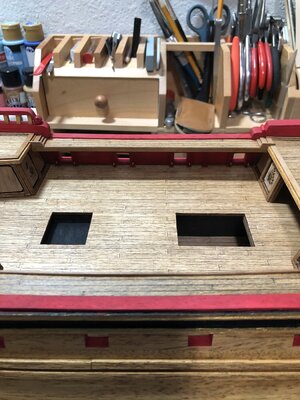
I feel like this makes the catwalks look more cohesive and well thought out. A little AL as it were!
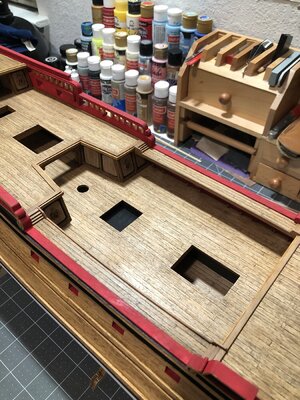
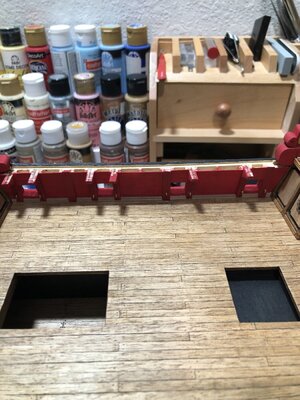
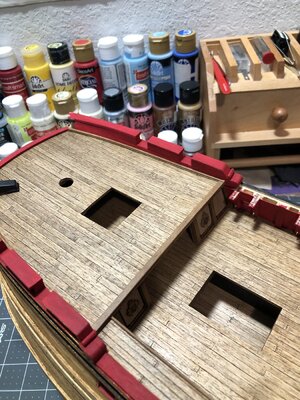
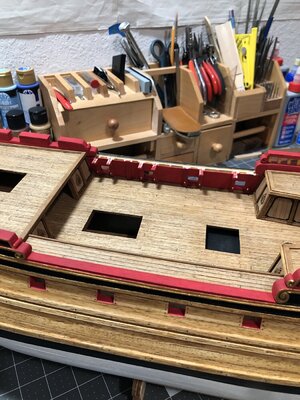
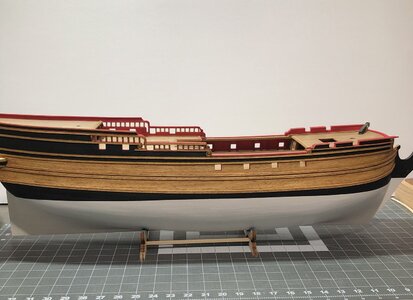
Now some overall progress pictures…
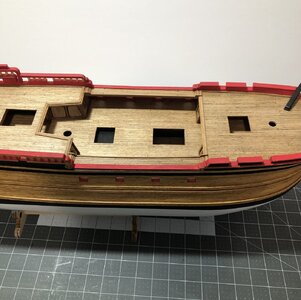
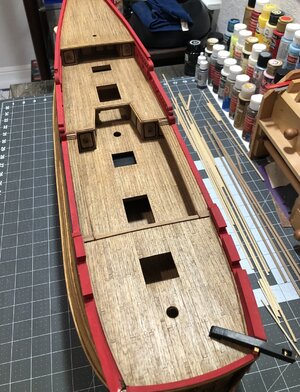
Time for sleep! Happy modeling!
So that was cut and sanded and glued on the knees…

The lower rail board that is painted red had to be profiled on each end with a rat tail file…


Then that was painted red and the planks were edged with a charcoal pencil and glued on…

In the ugly stage at that point, was then sanded and clear coated…stained and then a final coat of clear. And then the inner side board was added.
It was then that I noticed the large step at each end…


That just didn’t look right to me. So I decided to make steps at each end. 3 steps for the taller side and 2 steps for the other side…then I decided to add a taller side board to the edge of the stairs…


Now some pictures of the completed steps and side boards…


I feel like this makes the catwalks look more cohesive and well thought out. A little AL as it were!
Now some overall progress pictures…


Time for sleep! Happy modeling!
Good morning Dean. First class. The steps and side boards finish it off. AL is what enhance off those little details into something wonderful. Now you have made the cannon fitting under those catwalks a little more funToday was a busy day! It was time for the second catwalk.
So that was cut and sanded and glued on the knees…
View attachment 367596
The lower rail board that is painted red had to be profiled on each end with a rat tail file…
View attachment 367597View attachment 367598
Then that was painted red and the planks were edged with a charcoal pencil and glued on…
View attachment 367599
In the ugly stage at that point, was then sanded and clear coated…stained and then a final coat of clear. And then the inner side board was added.
It was then that I noticed the large step at each end…
View attachment 367600
View attachment 367601
That just didn’t look right to me. So I decided to make steps at each end. 3 steps for the taller side and 2 steps for the other side…then I decided to add a taller side board to the edge of the stairs…
View attachment 367602View attachment 367603
Now some pictures of the completed steps and side boards…
View attachment 367604View attachment 367605
I feel like this makes the catwalks look more cohesive and well thought out. A little AL as it were!
Now some overall progress pictures…
View attachment 367606View attachment 367607View attachment 367608
Time for sleep! Happy modeling!
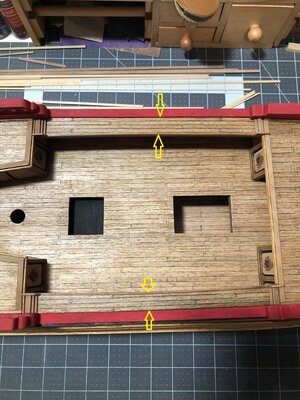
Dean, hi. Great job. But I have one remark. Check the number of boards on the false deck. You have 4 and some board on one side, and 3 and some on the other. 1 board less in widthToday was a busy day! It was time for the second catwalk.
So that was cut and sanded and glued on the knees…
View attachment 367596
The lower rail board that is painted red had to be profiled on each end with a rat tail file…
View attachment 367597View attachment 367598
Then that was painted red and the planks were edged with a charcoal pencil and glued on…
View attachment 367599
In the ugly stage at that point, was then sanded and clear coated…stained and then a final coat of clear. And then the inner side board was added.
It was then that I noticed the large step at each end…
View attachment 367600
View attachment 367601
That just didn’t look right to me. So I decided to make steps at each end. 3 steps for the taller side and 2 steps for the other side…then I decided to add a taller side board to the edge of the stairs…
View attachment 367602View attachment 367603
Now some pictures of the completed steps and side boards…
View attachment 367604View attachment 367605
I feel like this makes the catwalks look more cohesive and well thought out. A little AL as it were!
Now some overall progress pictures…
View attachment 367606View attachment 367607View attachment 367608
Time for sleep! Happy modeling!
Thanks Grant!Good morning Dean. First class. The steps and side boards finish it off. AL is what enhance off those little details into something wonderful. Now you have made the cannon fitting under those catwalks a little more fun. Luckily they are not too wide. Cheers Grant
Thank you...yes, I also noticed that Sasha! I located the red board at the outer edge more inboard, to be in line with the railings at both ends. The result was I lost some width. So…The first side was 4 and a tiny bit of one. The second is 3 and a half. So I’m off by about a half board! Oh well…nothing I can do now!Dean, hi. Great job. But I have one remark. Check the number of boards on the false deck. You have 4 and some board on one side, and 3 and some on the other. 1 board less in width
View attachment 367614
Last edited:
Thank you Peter!Small steps, big result! I love it!
Dean, it is such fun to watch your work. The extra step did the trick!
dear dean,
thank you for sharing your beautiful work. I particularly appreciate the accuracy work. For me, this phase of construction was one that gives the most satisfaction. The model becomes more and more beautiful day by day... I look forward what comes next !
thank you for sharing your beautiful work. I particularly appreciate the accuracy work. For me, this phase of construction was one that gives the most satisfaction. The model becomes more and more beautiful day by day... I look forward what comes next !
Such nice work Dean!
The stairs are nice AL-parts, Dean. The ‘tree of a kind’ looks better.
Regards, Peter
Regards, Peter

