Pretty convincing, the black glue looks spot on
-

Win a Free Custom Engraved Brass Coin!!!
As a way to introduce our brass coins to the community, we will raffle off a free coin during the month of August. Follow link ABOVE for instructions for entering.
-

PRE-ORDER SHIPS IN SCALE TODAY!
The beloved Ships in Scale Magazine is back and charting a new course for 2026!
Discover new skills, new techniques, and new inspirations in every issue.
NOTE THAT OUR FIRST ISSUE WILL BE JAN/FEB 2026
- Home
- Forums
- Ships of Scale Group Builds and Projects
- Group Build Archives
- Blandford Cross Section PoF Group Build
You are using an out of date browser. It may not display this or other websites correctly.
You should upgrade or use an alternative browser.
You should upgrade or use an alternative browser.
Hi Knut, I like the way you try different things out. Like Steve said practice makes perfect. Thanks for sharing your results, so many ways to do things.
- Joined
- Dec 3, 2018
- Messages
- 2,451
- Points
- 538

Thanks for the great feedback, I just built regular kits before,
Therefore, I will try different techniques before starting the construction of Blandford.
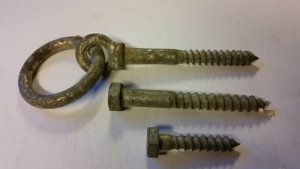
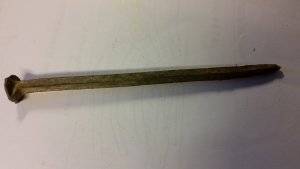
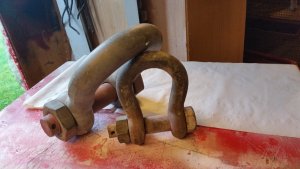
I like to know that oil, bolts and wooden nails look right before I start mounting.
This is my first model with this build technique.
I also have some new tools I want to try.
Therefore, I will try different techniques before starting the construction of Blandford.
I like to know that oil, bolts and wooden nails look right before I start mounting.
This is my first model with this build technique.
I also have some new tools I want to try.
- Joined
- Dec 3, 2018
- Messages
- 2,451
- Points
- 538

- Joined
- Dec 3, 2018
- Messages
- 2,451
- Points
- 538

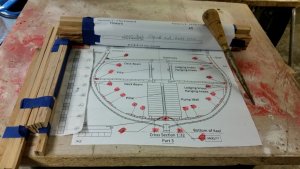
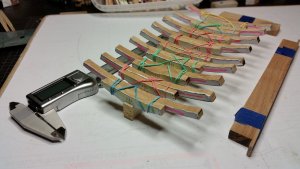
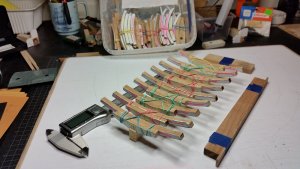
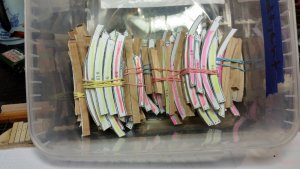
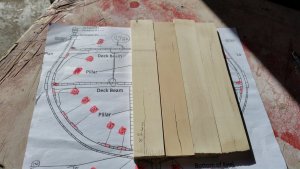
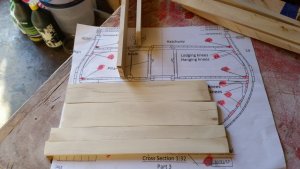
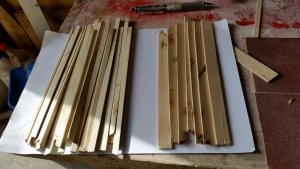
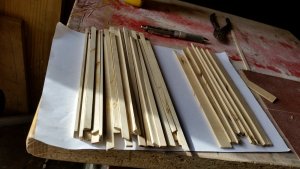
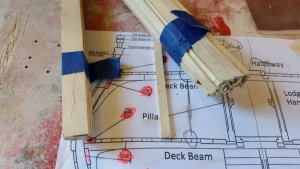
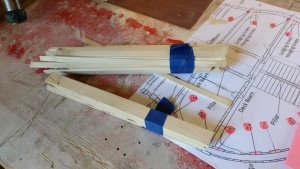
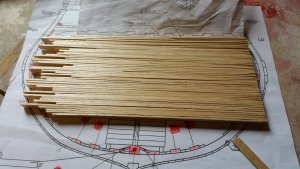
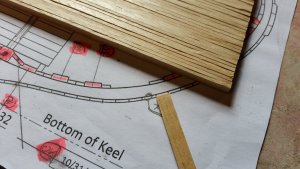
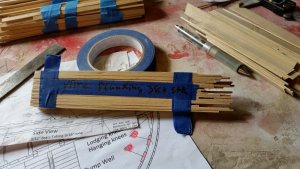
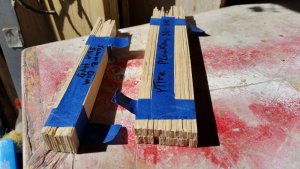
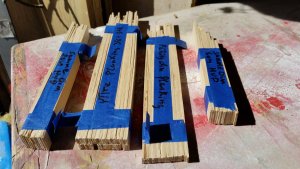
Some more prefabricated materials, birch for outer and inner planking.
It gets planking only on one side of the hull.
All materials have the same thickness,
According to the drawings, some planks are wider but the same thickness.
Therefore, some extra planks with extra width that will be adapted during the actual planking.
A little step further, greeting
It gets planking only on one side of the hull.
All materials have the same thickness,
According to the drawings, some planks are wider but the same thickness.
Therefore, some extra planks with extra width that will be adapted during the actual planking.


A little step further, greeting
- Joined
- Dec 3, 2018
- Messages
- 2,451
- Points
- 538

Thank you guys while still planning and trying out glue, bolts and poly
I make several materials that I will need later in the project.
I am not happy with the poly I have tried, it became very shiny.
Bolts in the frames I will try to make wooden nails soked in black ink.
I like to know that everything is in place before I start, then there will not be as many choices as you regret that you did
Greeting-
It’s hard for us to help you, Knut, because we in the US Don,t really know what products are available to you. Look for poly labeled “satin” or “semi-gloss”to avoid the shininess.Thank you guys while still planning and trying out glue, bolts and poly
I make several materials that I will need later in the project.
I am not happy with the poly I have tried, it became very shiny.
Bolts in the frames I will try to make wooden nails soked in black ink.
I like to know that everything is in place before I start, then there will not be as many choices as you regret that you did
Greeting-
- Joined
- Dec 3, 2018
- Messages
- 2,451
- Points
- 538

Wooden nails of bamboo, first splitting and knife adjustment.
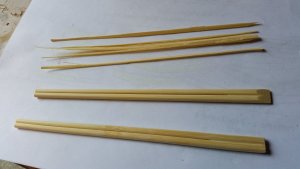
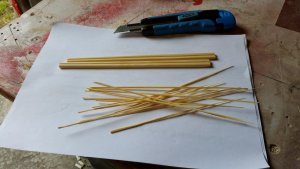
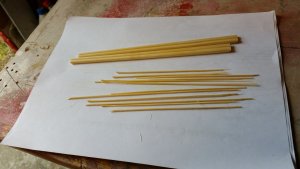
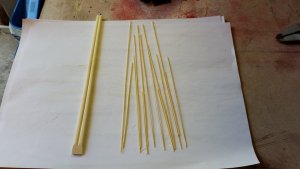
Slightly more adjustment with sandpaper and sanding block.
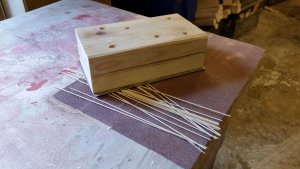
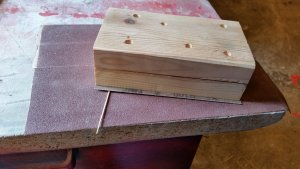
To draw plate, bamboo / birch.
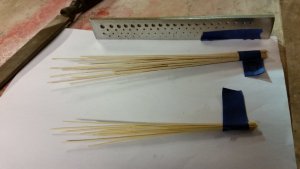
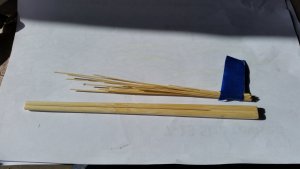
My draw plate disappointed me very much, oval holes, holes not in order
and when I get down to 0.9 / 0.8 mm, the holes in the plate are so uneven that it is difficult
to get a properly good result,
Everything under these dimensions is impossible bekase the wrong opening on the pull side.
Very annoying that I did not buy from BYRNES due to problems with payment.
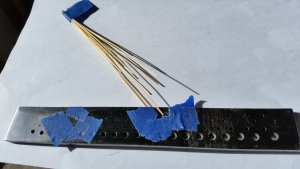
greeting-


Slightly more adjustment with sandpaper and sanding block.


To draw plate, bamboo / birch.


My draw plate disappointed me very much, oval holes, holes not in order
and when I get down to 0.9 / 0.8 mm, the holes in the plate are so uneven that it is difficult
to get a properly good result,
Everything under these dimensions is impossible bekase the wrong opening on the pull side.
Very annoying that I did not buy from BYRNES due to problems with payment.

greeting-
Sorry for trouble with you draw-plate, Knut. I am not sure what quality the metal is, but you can try to find a meta smith to grind on surface grinding machine, to make it sharper on one side. Generally, Byrnes drawplate would be you best choice, as you said.
Sorry to be contrary, guys, but I SWEAR by using common birch toothpicks as treenails. No drawplate work, they are cheap, you can dye them black and they show no tubular grain in cross section. They would be impossible to use at 1:96 and hard for 1/64 but so would be using a Byrnes drawplate.. If you nee a longer treenail, combine using toothpicks with the drawplate:
I've had problems using the Byrnes drawplate in the past, so I'm using a little different technique. I wanted the treenails to be in proper scale: about 1 scale inch in diameter or slightly larger. That translates to about .031" - a #68 drill hole would work. The problem is that if I use a toothpick as a treenail, very little of the tip will fit into that small a hole and I'd run the risk of the treenails not holding. My answer was to take a toothpick and using some pressure and twisting, force it into the 31 hole on the Byrnes draw plate, The result was a longer treenail that penetrates through the planking and false deck underneath it. Each birch toothpick gives 2 treenails. They're glued in by touching the tip in some CA and pushing firmly in the hole. The third picture shows the finished poop deck with some mineral spirits wiped on to show how it will look when poly is applied.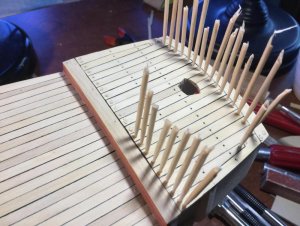
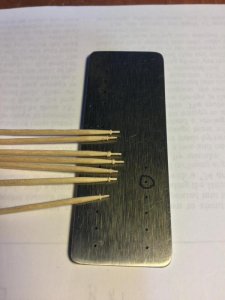
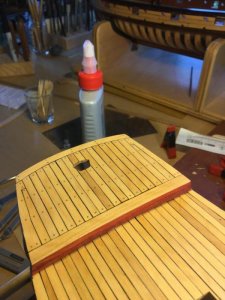
I've had problems using the Byrnes drawplate in the past, so I'm using a little different technique. I wanted the treenails to be in proper scale: about 1 scale inch in diameter or slightly larger. That translates to about .031" - a #68 drill hole would work. The problem is that if I use a toothpick as a treenail, very little of the tip will fit into that small a hole and I'd run the risk of the treenails not holding. My answer was to take a toothpick and using some pressure and twisting, force it into the 31 hole on the Byrnes draw plate, The result was a longer treenail that penetrates through the planking and false deck underneath it. Each birch toothpick gives 2 treenails. They're glued in by touching the tip in some CA and pushing firmly in the hole. The third picture shows the finished poop deck with some mineral spirits wiped on to show how it will look when poly is applied.


Looks good, Knut! Keep going.
Looks like you have a lot of wood prep done Knut, I'm looking forward to your build.


