-

Win a Free Custom Engraved Brass Coin!!!
As a way to introduce our brass coins to the community, we will raffle off a free coin during the month of August. Follow link ABOVE for instructions for entering.
-

PRE-ORDER SHIPS IN SCALE TODAY!
The beloved Ships in Scale Magazine is back and charting a new course for 2026!
Discover new skills, new techniques, and new inspirations in every issue.
NOTE THAT OUR FIRST ISSUE WILL BE JAN/FEB 2026
- Home
- Forums
- Ships of Scale Group Builds and Projects
- Group Build Archives
- Blandford Cross Section PoF Group Build
You are using an out of date browser. It may not display this or other websites correctly.
You should upgrade or use an alternative browser.
You should upgrade or use an alternative browser.
Moving along nicely, she is getting the shape, Knut!!
Great blog Knut, a very comprehensive review of a lot of techniques for the starting scratch builder.
Very clear.
Very clear.
Looking good buddy! Keep up the good work.
- Joined
- Dec 3, 2018
- Messages
- 2,451
- Points
- 538

Thanks friends, it is slow but safe going forward, I am glad I started this project as it is very good lesson
and a lot of good information about different techniques and methods in this way of building models.
Thanks to SOS, I have now started to build pof models and not just regular kits.
Finally, a big thank you for all the good help from all the good modelers here on the forum.
Greeting-
..
and a lot of good information about different techniques and methods in this way of building models.
Thanks to SOS, I have now started to build pof models and not just regular kits.
Finally, a big thank you for all the good help from all the good modelers here on the forum.
Greeting-
..
- Joined
- Dec 3, 2018
- Messages
- 2,451
- Points
- 538

Update.
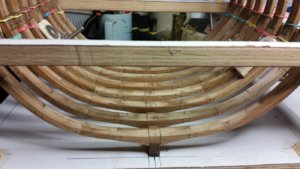
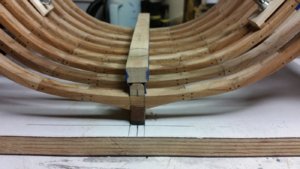
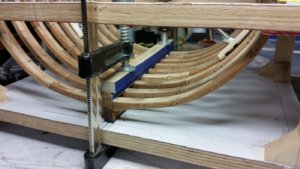
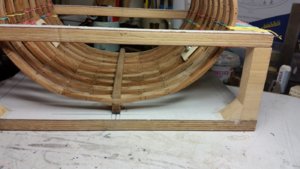
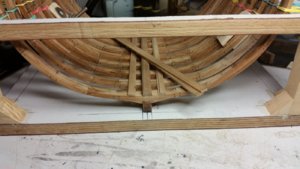
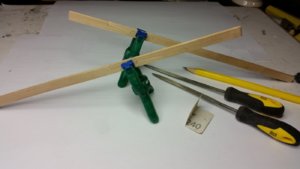
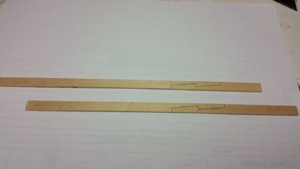
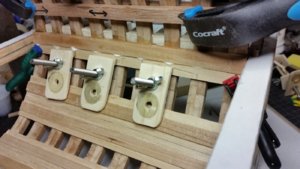
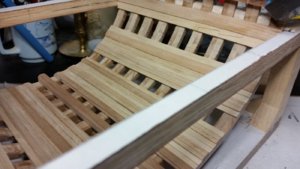
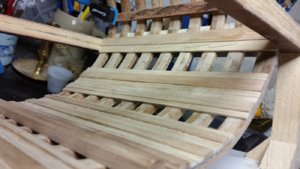
Planks made of teak to clamp all the frames so they stay aligned and keep the structure stiffened during construction.
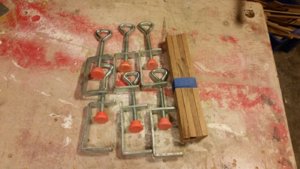
The pictures show the homemade clamps and stiffening boards in the work until now.
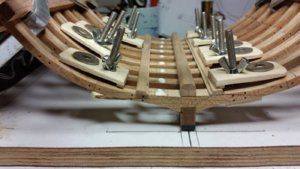
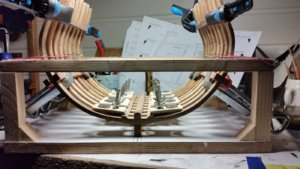
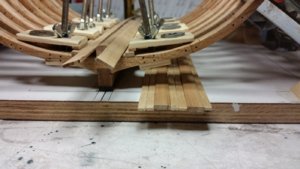
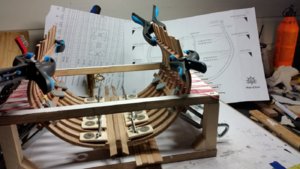
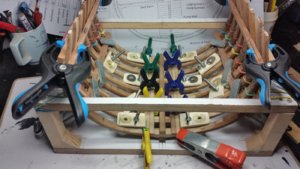
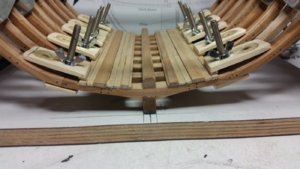
So, some pictures of some things I wonder.
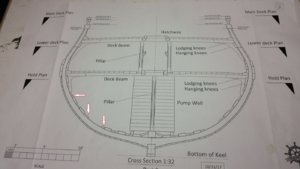
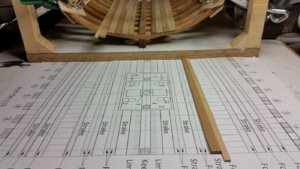
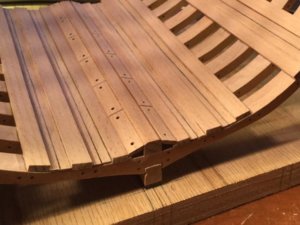
Dave, I've borrowed a picture of you to show what I'm wondering.
I made some arrows in the drawing and I wonder if I should not use these boards like you did?
Is there any particular reason why you don't have these boards?
Here are also some who wonder how things are progressing.
..
Planks made of teak to clamp all the frames so they stay aligned and keep the structure stiffened during construction.

The pictures show the homemade clamps and stiffening boards in the work until now.


So, some pictures of some things I wonder.


Dave, I've borrowed a picture of you to show what I'm wondering.
I made some arrows in the drawing and I wonder if I should not use these boards like you did?
Is there any particular reason why you don't have these boards?
Here are also some who wonder how things are progressing.

..
Knut: If I must be truthful, My handling of the planking in the hold was less than perfect. The basic principle is this: Where ever there is a futtock joint, there should be a strake of the “thick stuff”. Fill in between with planks as needed. Not according to plans, strictly, but it is what was done. Great job so far!
Very good work my friend - looking very good!
And I like your selfmade clamps very much
And I like your selfmade clamps very much
- Joined
- Dec 3, 2018
- Messages
- 2,451
- Points
- 538

The pictures show-
The end of all the boards should be evenly sanded with the frames at a later date.
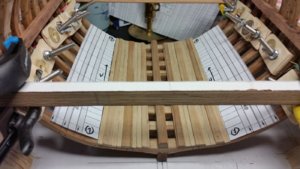
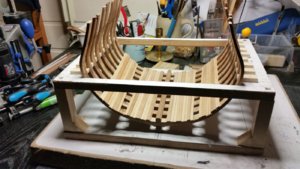
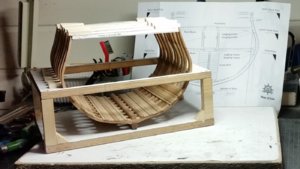
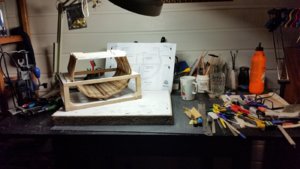
My indoor work table.
Create deck clamp using the new angle.
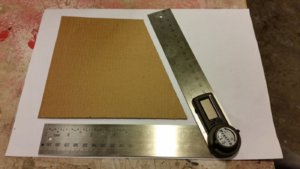
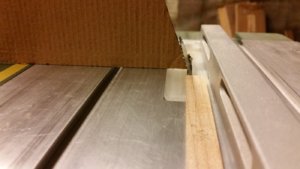
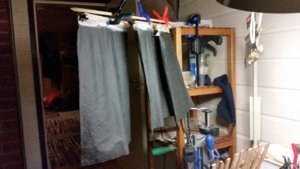
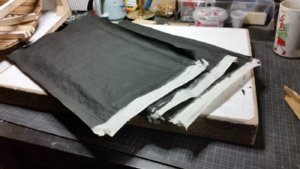
Try thin paper stained with black stain to create (caulking?) Between deck planks.
I will also try black silk paper, I think UWE uses this kind of paper.
Greeting-
The end of all the boards should be evenly sanded with the frames at a later date.


My indoor work table.

Create deck clamp using the new angle.


Try thin paper stained with black stain to create (caulking?) Between deck planks.
I will also try black silk paper, I think UWE uses this kind of paper.


Greeting-
Outstanding, Knut! Very nice work!
I use an acrylic flat black paint pen to simulate caulking. Just be careful on the end grain. Seal the end of planks with some thin CA before applying acrylic or you MAY get a little bleed through.
I use an acrylic flat black paint pen to simulate caulking. Just be careful on the end grain. Seal the end of planks with some thin CA before applying acrylic or you MAY get a little bleed through.
- Joined
- Dec 3, 2018
- Messages
- 2,451
- Points
- 538

Deck clamp.
Here, clamps and the entire construction are pressed into place.
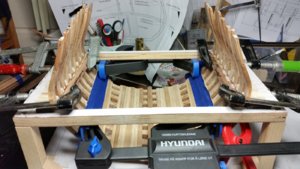
Here you see that I have used a plank of teak that is very hard as an intermediate to put great pressure on the clamps during gluing.
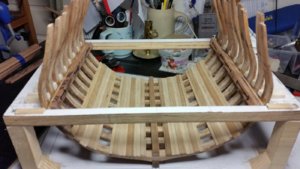
Finished glued in place.
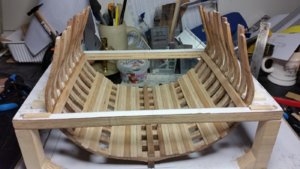
Here the next tasks, plank under deck clamp, deck beam, mast foot.
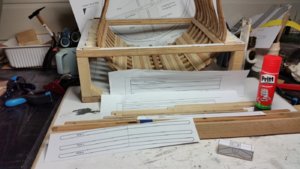
Greeting-
.
Here, clamps and the entire construction are pressed into place.

Here you see that I have used a plank of teak that is very hard as an intermediate to put great pressure on the clamps during gluing.

Finished glued in place.

Here the next tasks, plank under deck clamp, deck beam, mast foot.

Greeting-
.
- Joined
- Dec 3, 2018
- Messages
- 2,451
- Points
- 538

A little cleanup.
First I masked the frames so as not to damage them.
I use a thin iron saw blade and a mini drill to remove most of the excess material.
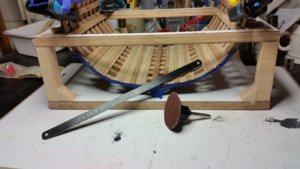
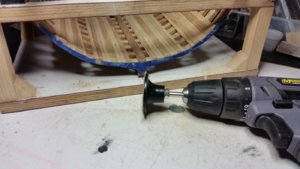
After that I sanded by hand, still with masking on.
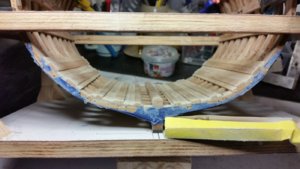
End result sanded without masking, I'll sand with fine paper towards the end of the build.
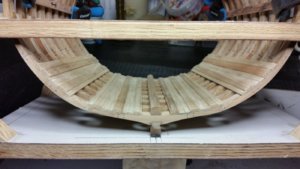
One plank left under the deck clamp before I start with bolts, trenails and poly before I start with the deck beams.
Greeting-
.
First I masked the frames so as not to damage them.
I use a thin iron saw blade and a mini drill to remove most of the excess material.


After that I sanded by hand, still with masking on.

End result sanded without masking, I'll sand with fine paper towards the end of the build.

One plank left under the deck clamp before I start with bolts, trenails and poly before I start with the deck beams.
Greeting-
.
Looking very good Knut.
IT IS COMING ALONG GREAT AND ALSO VERY QUICK, YOUR PREPARATION IS PAYING OFF. Don

