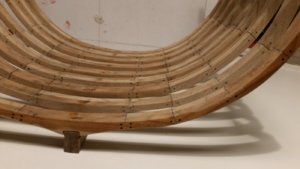
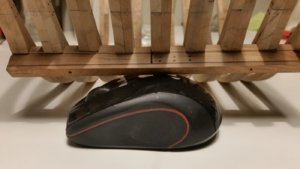
NORWAY`S HMS BLANDFORD CROSS SECTION BUILD 1-32

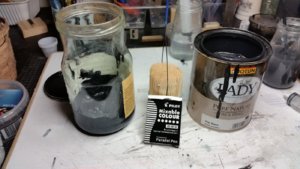
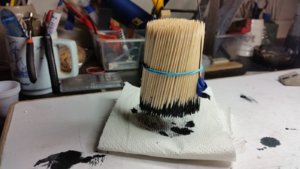
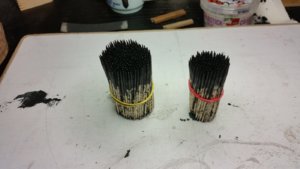
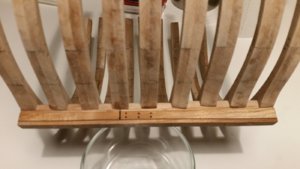
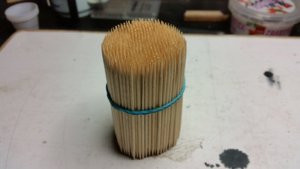
Imitation of bolts made of birch toothpicks. 500-
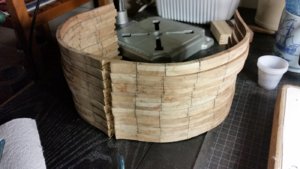
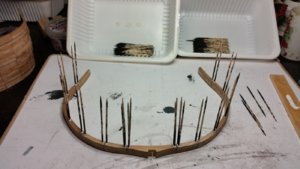
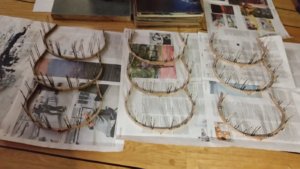
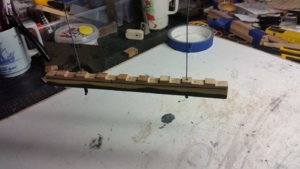
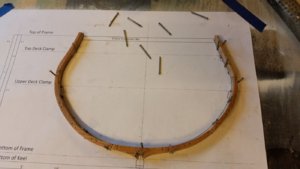
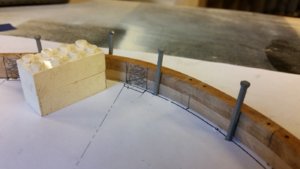
Here is the process from toothpicks to all the bolts on one side of the frames before being cut and sanded.
bolter (1).jpgbolter (2).jpgbolter (3).jpgbolter (4).jpgd (2).jpgd (4).jpgd (5).jpg
The last picture shows that two bolts are missing on the top of the frames but they are now mounted.
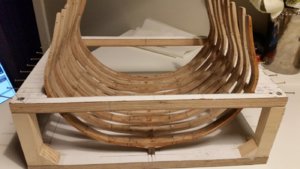
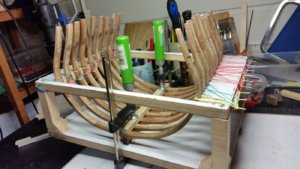
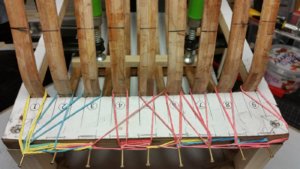
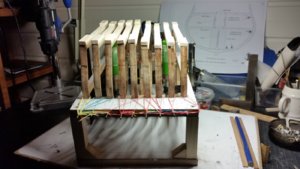
With this work done I can start to adjusting the frames in the construction jig.
Greeting-
 
Glued toothpicks on opposite side today but ran out of finished colored toothpicks when I had two frame left.
Now I am dying a few hundred more, I will probably need a few more later in the project.
Updates and close-ups are coming soon.
Thank you for your interest.
 
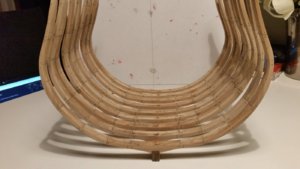
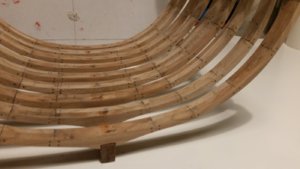
The way it looks today.
Everything has so far been sanded with 120 sandpaper, later 280/320 before poly.
I applied some water to some of the parts to give an impression of what the wood will look like after poly.
Frames-Bolt`s (1).jpgFrames-Bolt`s (2).jpgFrames-Bolt`s (3).jpgFrames-Bolt`s (4).jpgFrames-Bolt`s (5).jpgFrames-Bolt`s (6).jpgFrames-Bolt`s (7).jpg
Have made some mistakes that I'm not proud of but they may not show as well as the model starts to finish.
Over grinding parts, do not like the wood type as it varies in quality,patern and color in many of the parts.
But we learn something new every day, and we don't make the same mistake again.
Greeting-
..
 
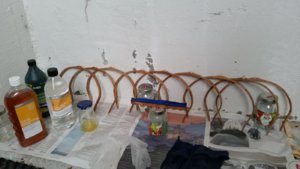
Thanks buddies, toothpick tips from Dave worked great, black water based stain for 24 hours,
furthermore, I will stain the fake keel black and sanding these parts with very fine sandpaper, 280 .
After this, mounting can begin.
.
 
I have to state, that it is a really good quality for your first try on scratch building.
I agree with your point related to the chosen timber and timber quality - it is a little bit missing the uniformity with the grain and color
 
The clamps are ingenious. The nails with the stained tooths are a good addition. I have to remember this. I have used toothpicks before, but I never stained them like this.
 
Stain
I chose to color the fake keel black.
b  poly stain(1).jpg
Poly
Applying poly on the sides of the keel, front and back of the frames, I made sure not to apply poly on the adhesive surfaces.
I would like to think that this will make working with poly a bit easier later in the project.
b  poly stain(2).jpg

Continued later.
.
 
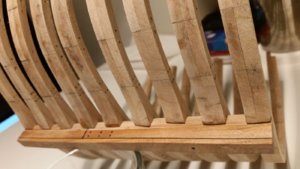
Bonding of frames to keel.
Glue the frames and adjust them on the side so that they are centered with the jig drawing.
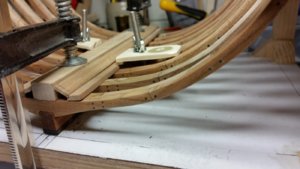
I use a temporary plank so as not to damage the frames.
d glue adjust (1).jpgd glue adjust (2).jpg
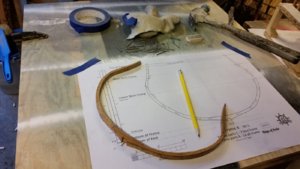
Tries some parts to use later.
d testing (1).jpgd testing (2).jpg
..
 
Back
Top