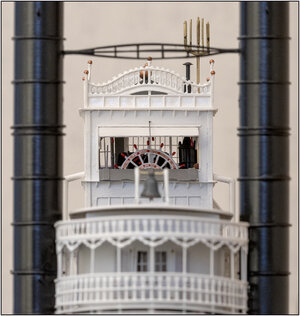
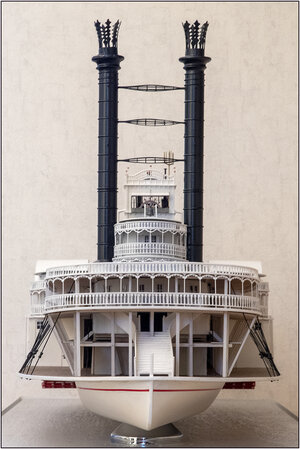
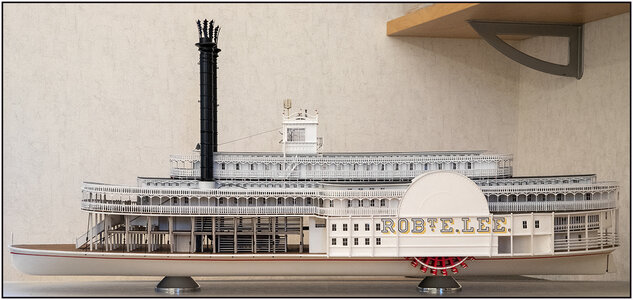
Pilot House:
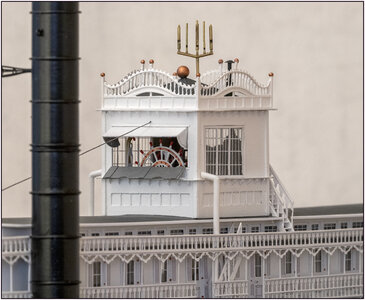
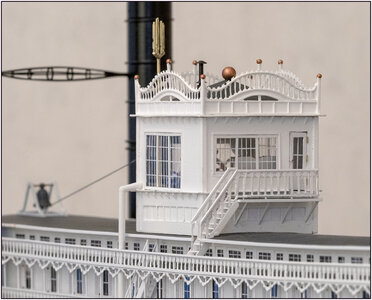
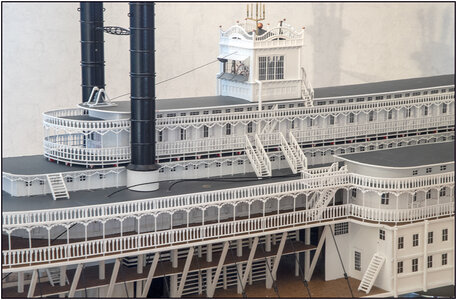
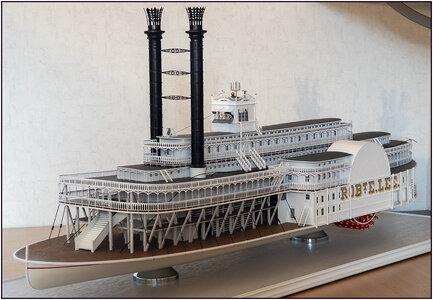
The last part in the height of the structure is the Pilot House.
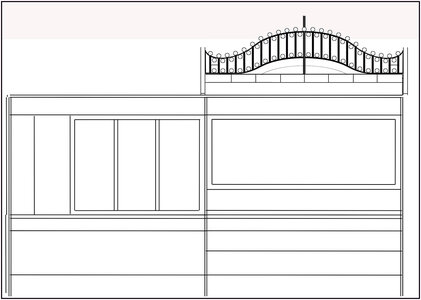
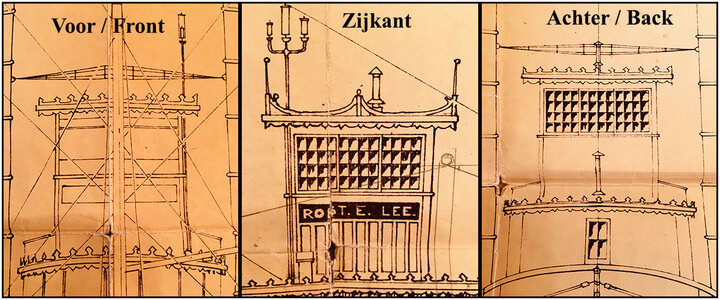
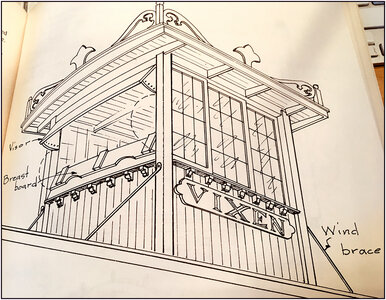
On the drawing of the (Robt. E. Lee I) it is shown in this way:
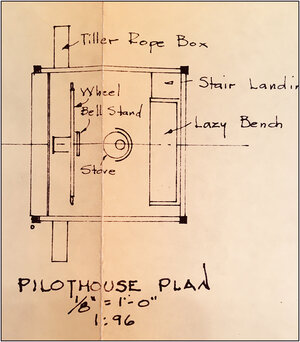
With this inside design:
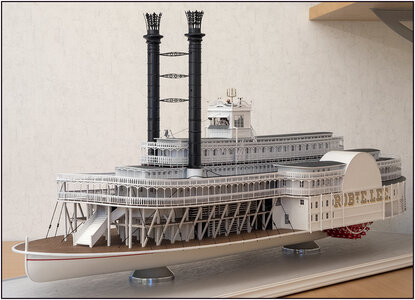
But in a previous post I had already shown this image of the "II":
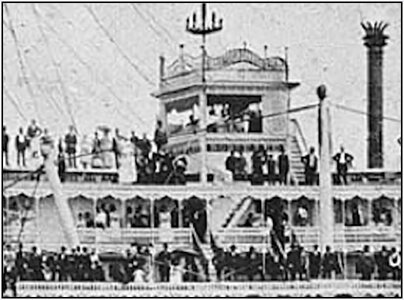
The stairs do not pass in from an angle, but goes outside and passes at the rear with a stair to the roof of the Texas.
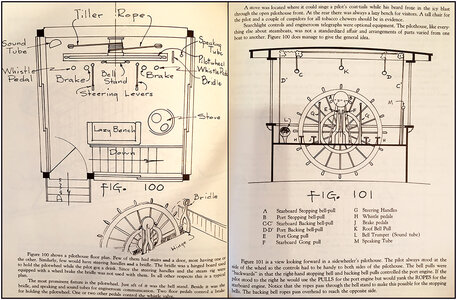
The web site www.Steamboats.com also has an archive with many photos, which also includes a series on Pilot Houses. There I found this beautiful image of a layout. And shows how big the steering wheels were.
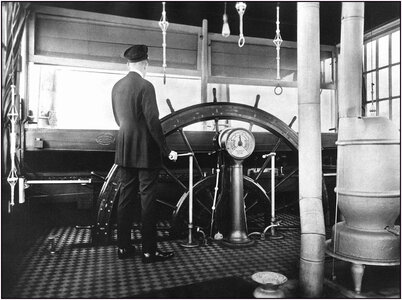
SOURCE: https://steamboats.com/museum/davet-pilothouses2.html
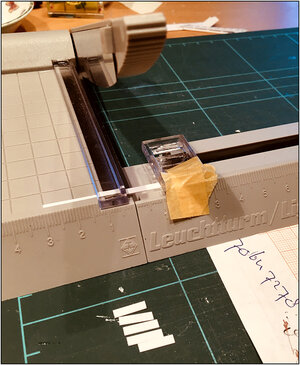
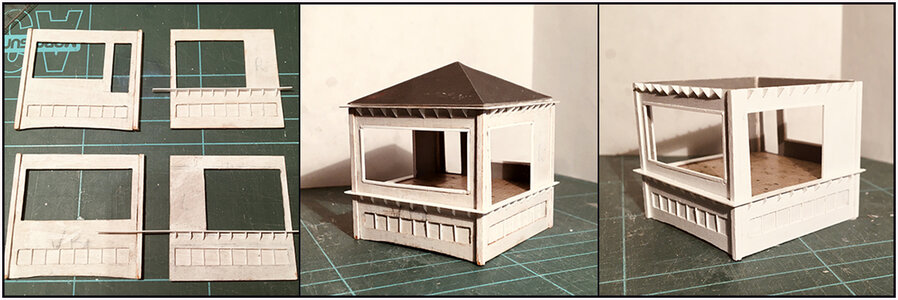
So I had to make a new design. Just started drawing, cutting again the old-fashioned way and in the ground paint:
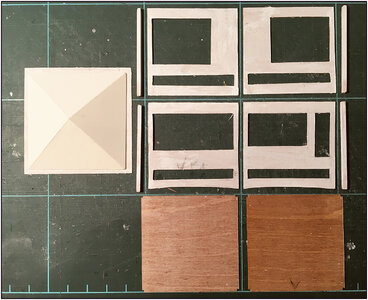
Roof, walls and floor.
Also for the roof immediately cut the roofing. Out of 1 piece, so only with 1 seam. Then the cut white ornaments will contrast nicely with that: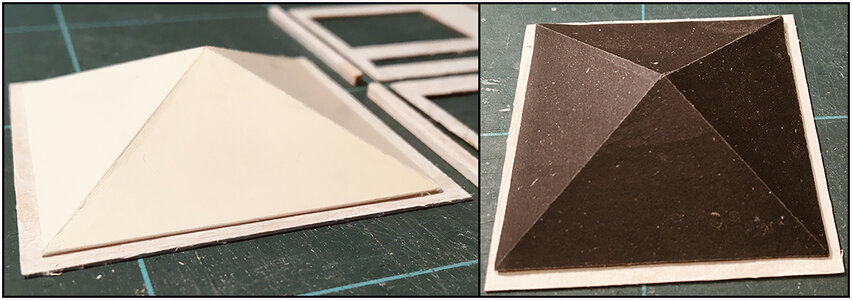
In order to continue with the design, I first had to have the most visible defining part, the steering wheel.
From left to right and from top to bottom:
-16 bars from Evergreen 0.75x0.75, 12mm long, with 16 fillings;
-glued together;
-painted;
-2 rings with the steel passer "cut" from copper foil;
-the 2 rings;
-merged and the handles given a red color.
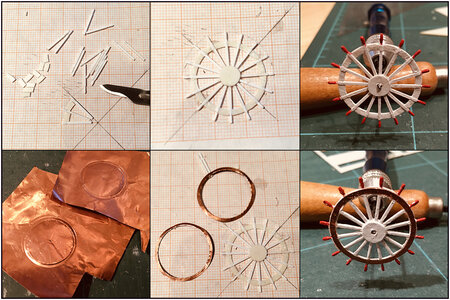
But I wasn't happy about this.
2nd attempt, using my experience with mini-cutting:
-with a needle and the passer point a design made at 0.6mm Evergreen. Pre-drilling makes cutting easy. But on the outside ring the 1st handle already broke off;
-cut and sprayed around, that's already tighter;
-2 large and small rings cut and 16 handles from 0,8mm Evergreen, 2.5 mm long;
-gluing the handles;
-all put together and with red nails;
-all handles also turn red.

Sometime in the 90's I had already bought a steering wheel at about the right size. However, I knew in the back of my mind that that wheel was not going to be it.
Here are the 3 versions in a row. I already know which one it's going to be.
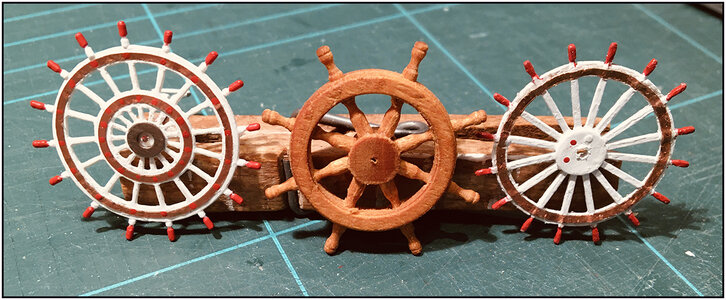
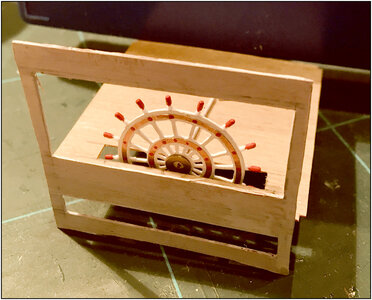
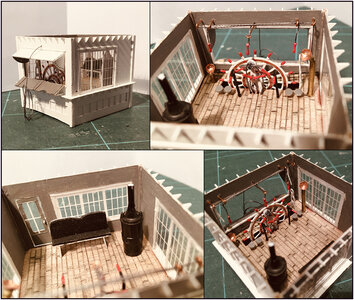
Now that I have the steering wheel, with how it gets into the wheelhouse, I can get on with the design.
Regards, Peter
The last part in the height of the structure is the Pilot House.
On the drawing of the (Robt. E. Lee I) it is shown in this way:

With this inside design:

But in a previous post I had already shown this image of the "II":

The stairs do not pass in from an angle, but goes outside and passes at the rear with a stair to the roof of the Texas.
The web site www.Steamboats.com also has an archive with many photos, which also includes a series on Pilot Houses. There I found this beautiful image of a layout. And shows how big the steering wheels were.

SOURCE: https://steamboats.com/museum/davet-pilothouses2.html
So I had to make a new design. Just started drawing, cutting again the old-fashioned way and in the ground paint:

Roof, walls and floor.
Also for the roof immediately cut the roofing. Out of 1 piece, so only with 1 seam. Then the cut white ornaments will contrast nicely with that:

In order to continue with the design, I first had to have the most visible defining part, the steering wheel.
From left to right and from top to bottom:
-16 bars from Evergreen 0.75x0.75, 12mm long, with 16 fillings;
-glued together;
-painted;
-2 rings with the steel passer "cut" from copper foil;
-the 2 rings;
-merged and the handles given a red color.

But I wasn't happy about this.
2nd attempt, using my experience with mini-cutting:
-with a needle and the passer point a design made at 0.6mm Evergreen. Pre-drilling makes cutting easy. But on the outside ring the 1st handle already broke off;
-cut and sprayed around, that's already tighter;
-2 large and small rings cut and 16 handles from 0,8mm Evergreen, 2.5 mm long;
-gluing the handles;
-all put together and with red nails;
-all handles also turn red.

Sometime in the 90's I had already bought a steering wheel at about the right size. However, I knew in the back of my mind that that wheel was not going to be it.
Here are the 3 versions in a row. I already know which one it's going to be.

Now that I have the steering wheel, with how it gets into the wheelhouse, I can get on with the design.

Regards, Peter
Last edited:




 )
)