-

Win a Free Custom Engraved Brass Coin!!!
As a way to introduce our brass coins to the community, we will raffle off a free coin during the month of August. Follow link ABOVE for instructions for entering.
-

PRE-ORDER SHIPS IN SCALE TODAY!
The beloved Ships in Scale Magazine is back and charting a new course for 2026!
Discover new skills, new techniques, and new inspirations in every issue.
NOTE THAT OUR FIRST ISSUE WILL BE JAN/FEB 2026
You are using an out of date browser. It may not display this or other websites correctly.
You should upgrade or use an alternative browser.
You should upgrade or use an alternative browser.
Panart: San Felipe 1:75 Scale Build Log [COMPLETED BUILD]
- Thread starter Donnie
- Start date
- Watchers 66
-
- Tags
- completed build
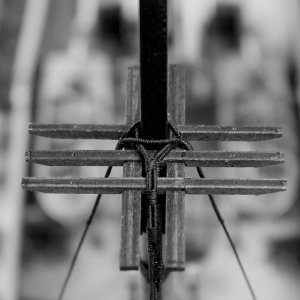
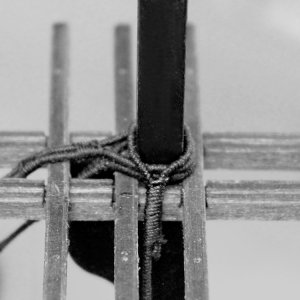
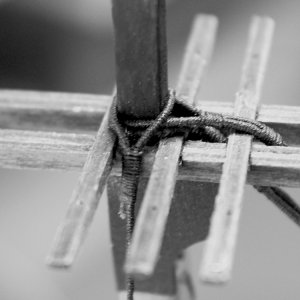
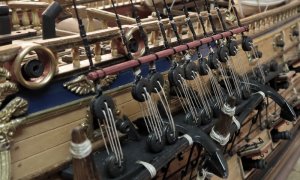
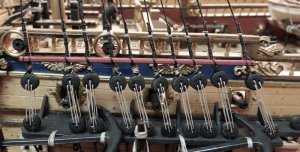
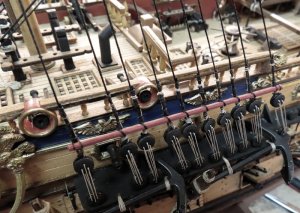
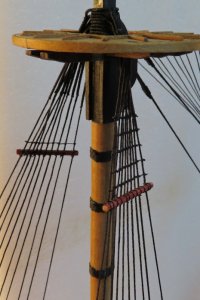
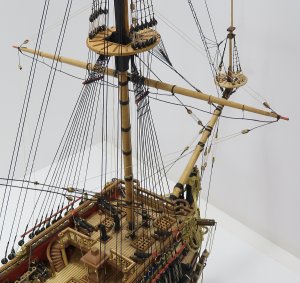
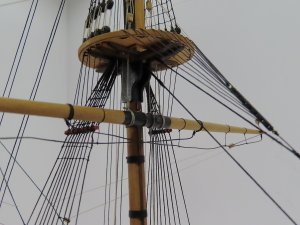
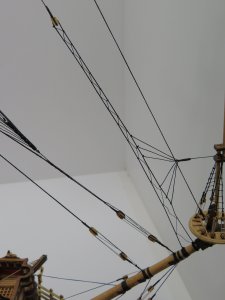
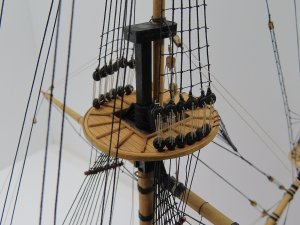
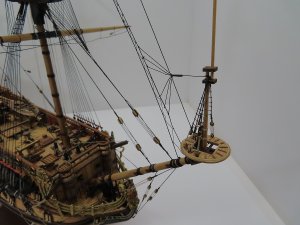
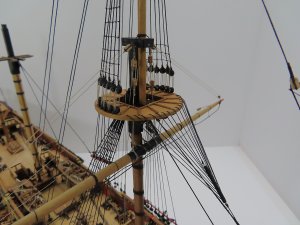
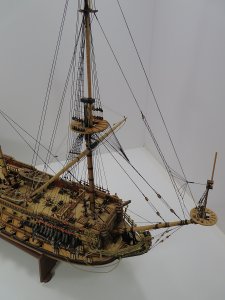
Thank you Pat and others. Here are some pics showing the Mast Tops and you will see the single Shroud feed through. The pictures are not that good as I am not using my shot box for these. Also, I will say that I am not 100% sure if this first forward shroud should be a single feed through or not, but that is what I chose. The circa year and country has some to do with this. So, it is what it is... Is it historical correct - HA - I don't think this whole model is historically accurately correct --- LOL
Last edited:
Awsome rope work Donnie. Well worth the effort.
Very impressive work. Beautifully done.
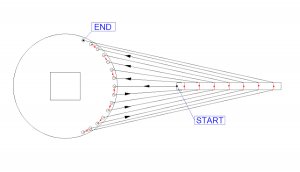
Thanks guys, I really appreciate it. Next, I have to work on what is called the Crows Feet. I have never done this before on any other build. So, I had to study the situation. Therefore according to the number of holes that are used on the fore-outer-perimeter of the TOP, this is the arrangement I came up with. I also included a pdf in case anyone wants to download it.
Attachments
Looks spectacular Donnie.
Looking back through your build log, I couldn't find whether you purchased the rope, or made it yourself.
Looking back through your build log, I couldn't find whether you purchased the rope, or made it yourself.
Brian,
its just the rope that came with it. A type of nylon I think. Its not the best in the world. The only advantage it has is that it does not have the fuzzy line.
its just the rope that came with it. A type of nylon I think. Its not the best in the world. The only advantage it has is that it does not have the fuzzy line.
Very nice work I do single shrouds the same way, Mostly because any other way just wouldn't look like the rest of the lines. When I first started I would serve them and just run them over the tops it just never looked good IMO. Did you use 2 lines served together or use a short filler line? I always use just 2 lines served together with the hoop in the middle.
Joe,
I will try to explain.
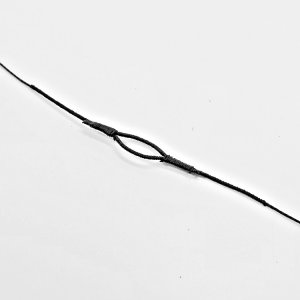
1) First I cut a length of .75mm line that will be for a double shroud ( the line starts at one deadeye, goes to the Top (squared mast top), then back down to the next eye. It is considered a "pair" and not a single run.
2) OK, next, I will take the line in my case it might be about 600 - 700 mm.
3) with the line still in place wrapped around the Top, I will measure how far DOWN I want to serve. In this case, I wanted to serve about 30mm on each side (pair).
4) with the line still in place, and measured, I will take two alligator clips and mark the ends of where the serving will end.
5) remove the entire line.
6) the serving in this case would be about 80 mm in length
7) I used a .25mm line to serve with
8) I have a jig that I can old the main line in and I serve "between" the alligator clips.
9) seal off the ends with a very thin CA. (one drop)
More....
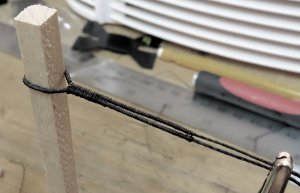
10) Now that the center of the main line is served, I have a square dowel that is same dimensions as the Top Squared Mast.
11) I wrap the line around the Square dowel as it would represent actually being on the model.
12) I used another piece of .25mm line to then serve the two (served) sections together---however, I only serve both of the (served) lines about 15mm as I want just enough to keep both together.
13) transfer the completed "pair" to the Mast Top and bring both ends (which both ends will be on the same side of the ship)
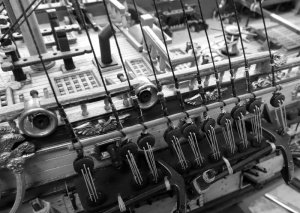
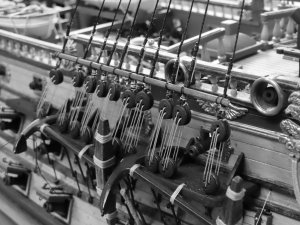
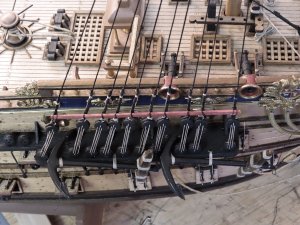
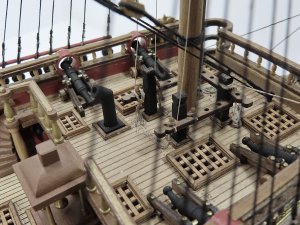
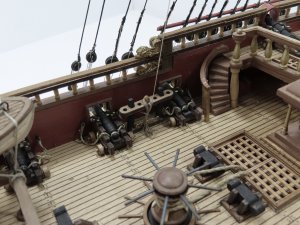
Now, here is where I am with the progress so far and I appreciate everyone following. I use a greyscale tone on some images as the colors can distract from details and it sort of gives a "magazine" look to it. Yes, it looks like the cannons will blow the lower stave off, but there is just enough clearance. Again, the design of kit puts very much limits on what you can do.
In the Panart Manual (pictures), I can't believe that they just show the shrouds as an UNSERVED line drapped across the tops with just one simple knot !!! Nothing in their kit manual even suggest or even show ANYTHING served. Pretty bad Panart !!!!
@Donnie @epicdoom Gentleman, you are the classic example of why SOS is attractive to modelers around the globe. No wonder, with another 4 people (as of this very moment) SOS will reach 2000 members!!! Your willingness to help others is indispensable, not to mention you're great modeling skills! Bravo and thank you from all of us. 
Hi Jim and Pat,
thank you.
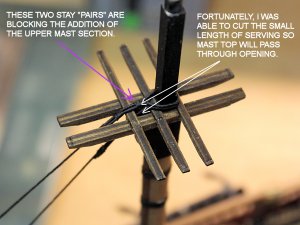
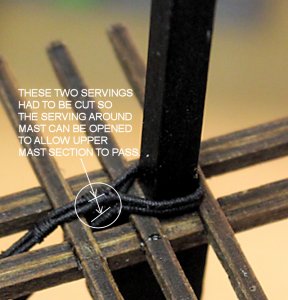
Jim, when I have time, I try to help, but to be honest, there are people here with skills and knowledge that go beyond me. I am just like everyone else here. See, I made a BIG mistake on my rigging too ! What happened ? well, I rigged up a "Stay" from the Foremast TOP to the fore deck. and the line covered up the Square opening of where the rest of the upper mast is supposed to go. Luckly I was able to fix it and move on. I have some pics I took to show everyone the mistake - as I do not want others to fall into this trap I did.
I left off the UPPER mast as I wanted "clearance" to be able to rig my shrouds without all the upper mast being in the way, however that approach backfired on me too.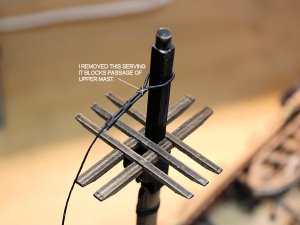


Last edited:
- Joined
- Dec 26, 2018
- Messages
- 1
- Points
- 3
Hey Donnie, I look forward to watching your build. About sails, a man named Radek in the Czech republic will make sails at a very reasonable price. He also has some great blocks and rigging. Good sailing and fair winds. Doc.
This is the official first entry to the Build Log of the Panart's San Felipe at 1:75 Scale. The model was ordered from Cornwall Model Boats early this morning (11/9/2016) and I must say that the person (lady) I spoke with over the phone was very nice, and pleasant to do business with. I just wanted to call to make sure all was well with my order. I was very impressed with CMB. By around noon, I was already getting shipping transactions notifications and tracking numbers ! I also ordered the Paint Set (Ref: APS9105W). It is made up of 11 jars. I thought about adding the sails, but I decided not to at this time. Since my sails will be furled, and doesn't require all the sail material (it would be too bulky), I might try my hand at making my own. Furling will not require the sails to be fully made anyway. The Log will most likely start about last week of December 2016. I look forward to everyone following along.
Enjoy !
Donnie
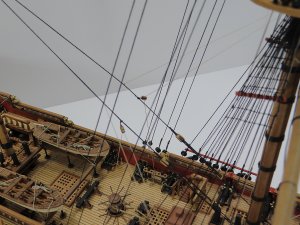
Thanks guys for all the compliments, ect. It is really appreciated. Well, it has been about 3 weeks since I posted anything. Several reasons for not doing so. I usually give a step by step of what I am doing. So, actually, I think is that I want to push myself to finish this thing. So, here are some pics. To be honest, I am not really putting my best into this ship - too much to modify and add things that are clearly left out of the instructions. No sails on this one. This will be shown as stowed. Yes, I know that many blocks are still left on the ship even with the sails stowed, but again, I just don' feel like fooling with it. On with the show as they say. I accidentally cut one of the Shrouds near the top and it looks horrible as I tried to correct it. The only way is to replace the one shroud affected and I might figure out something else later.
Looks fantastic


