That looks great. I like the idea of the filler blocks, that will provide a bit more surface to work with. Great idea.
Jan
Jan
 |
As a way to introduce our brass coins to the community, we will raffle off a free coin during the month of August. Follow link ABOVE for instructions for entering. |
 |
 |
The beloved Ships in Scale Magazine is back and charting a new course for 2026! Discover new skills, new techniques, and new inspirations in every issue. NOTE THAT OUR FIRST ISSUE WILL BE JAN/FEB 2026 |
 |
Thanks Jan… it definitely can’t hurt and it didn’t take much effort.That looks great. I like the idea of the filler blocks, that will provide a bit more surface to work with. Great idea.
Jan
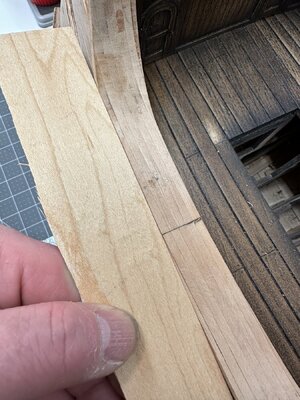
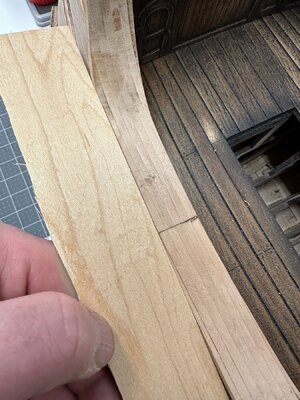
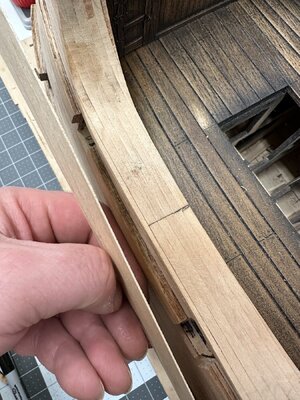
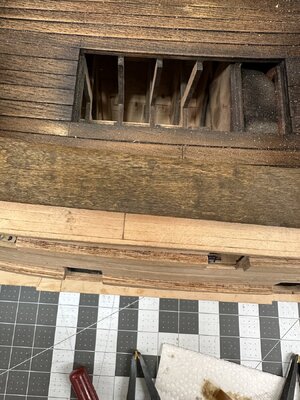
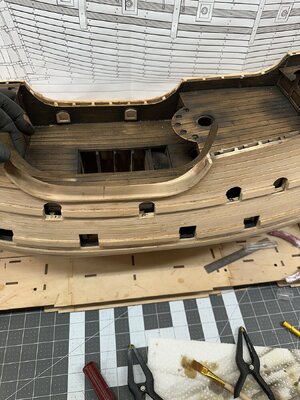
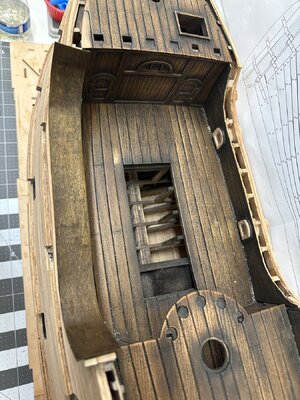
Super easy. Just wet it and clamped it to the top rail to use it as a former and used my plank bender. The trick will to glue it down uniformly since I glued the top rail down already. Still thinking about how to do it. On the starboard side, I will laminate it before gluing it to the ship.That is a neat substitution. Was it difficult to form?
Jan
Hmm, something to think about when I get to that stage. I’m waiting for warmer outdoor conditions so I can do some serious sanding outside. Currently it’s 22F and snowing. Forecast is 10 plus inches.Super easy. Just wet it and clamped it to the top rail to use it as a former and used my plank bender. The trick will to glue it down uniformly since I glued the top rail down already. Still thinking about how to do it. On the starboard side, I will laminate it before gluing it to the ship.
Good day to stay inside at the bench.Hmm, something to think about when I get to that stage. I’m waiting for warmer outdoor conditions so I can do some serious sanding outside. Currently it’s 22F and snowing. Forecast is 10 plus inches.
Jan
Yessir, I'm in my little boatyard trying to follow Pietsan's example for rigging the Foremast on my WB build. also trying not to glue my fingers together. I dislike using that "superglue stuff" and avoid it if all possible.Good day to stay inside at the bench.
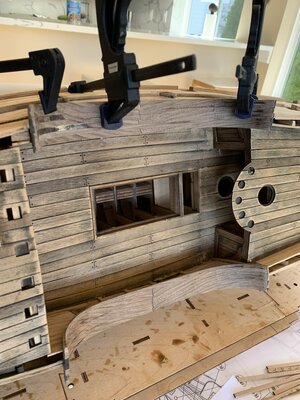
I have a little update to post. I have been working on the cap rails and some deck fittings on the port side. Everything thing is dry fitted and will be fine tuned after gluing in place. I also used filler blocks in the bulk heads to have more surface area to glue the cap rails. I also may laminate a piece of veneer on the main deck cap to eliminate the glued up layers. This depends on how well it looks after dying the wood. I can’t imagine they will disappear.
Hope everyone is well!!
View attachment 436393View attachment 436394View attachment 436395View attachment 436396View attachment 436397View attachment 436398View attachment 436399View attachment 436400View attachment 436402
Thank you!Very accurate execution - well done !!
Thank you!Wow, that looks great.
Jan
Good afternoon. Wow- some precision here- lovely. Cheers GrantDone with the cap rails. Pretty happy with how they came out.View attachment 444214View attachment 444213View attachment 444215View attachment 444216View attachment 444217View attachment 444218View attachment 444219View attachment 444220View attachment 444221View attachment 444223View attachment 444224View attachment 444225
View attachment 444222
Thank you!Good afternoon. Wow- some precision here- lovely. Cheers Grant
Thanks Jan!Wow, that looks great.
Jan
Hi Jan..Been slow progress with spring here. Lots to do outside. Today rained all day Got some work done on the open area were the ladder will be going below deck took some inspiration from Olegs video.View attachment 375429View attachment 375430View attachment 375431View attachment 375432View attachment 375433View attachment 375434View attachment 375435View attachment 375436
Hello Bill I believe the pictures you referenced are the ones I posted. If so I used Pavel Nikitin’s dye kit.Hi Jan..
What color stain did you use in this pic? I love it.
Bill
