I have similar chucks (and similarly priced) which I can use really small drills with, with no problem. Not precision, I'm sure, but good for occasional use.Another option (possibility), which I am not a big fan of, is to use a chuck adapter on a 2.35mm shaft. I have seen some in jewelry stores. Those adapters can accept drillbits from 0.2~ 0.5mm.
The 3-jaw adapter you mentioned in the above link is a waste of investment. It is of terrible quality. BTW, any adapter will add unnecessary deviation.
-

Win a Free Custom Engraved Brass Coin!!!
As a way to introduce our brass coins to the community, we will raffle off a free coin during the month of August. Follow link ABOVE for instructions for entering.
-

PRE-ORDER SHIPS IN SCALE TODAY!
The beloved Ships in Scale Magazine is back and charting a new course for 2026!
Discover new skills, new techniques, and new inspirations in every issue.
NOTE THAT OUR FIRST ISSUE WILL BE JAN/FEB 2026
You are using an out of date browser. It may not display this or other websites correctly.
You should upgrade or use an alternative browser.
You should upgrade or use an alternative browser.
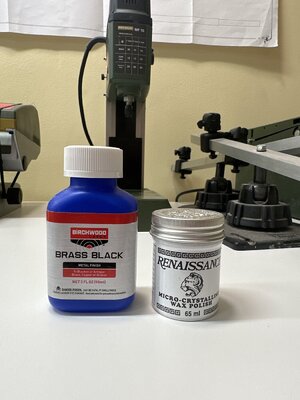
Thank you for the compliment. I polished the cannons to a high polish. No machine marks at all. Once that was done I used Birchwood Casey Brass Black in an eye drop for precise application to all the high turned points on the cannon. I let this sit to get a darker area the crevices. I cleaned with water. After I got those areas done I used a Q-tip/cotton bud with brass black and rubbed on the cannon till I achieved the the look. Constantly rinsing the cannon in water and changing the Q-tip. At no point did I ever soak the cannon in a bath of brass black. Doing it this way is very very time consuming but very controllable. Once that was done I waxed the cannons with Renaissance wax.Hi, can you please tell me what was the process of painting the cannons? I am mainly interested in metal parts, thanks a lot. yours look perfect
Thank you! You too!It’s looking really good!!! Nice clean work!! It’s a joy to watch . Have a great week!!
- Joined
- Oct 15, 2017
- Messages
- 1,190
- Points
- 443

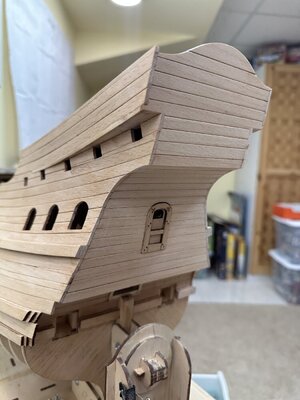
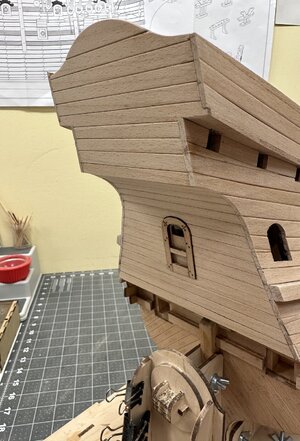
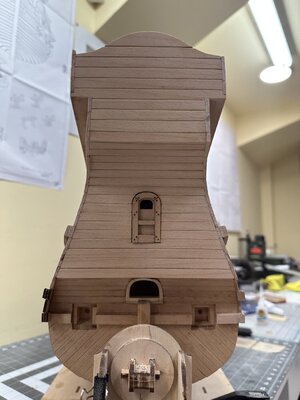
Great method, wonderful results. I'm just now finding your build log and just love it and your progress. I had to go back to the beginning and now reading through it with great pleasure.Got the stern planked today. A lot of lay out involved to get everything to line up correctly. I used double sided tape. This let me take on off the planks as many times as needed to adjust. Once I was happy with layout I struck a line for one plank glued and let dry. Easy sailing from there. I also thought it would be easier to use the door instead of the plug. Just snuck a piece of veneer to hold it in place. Now just need to trim the overhanging planks. A job for tomorrow.View attachment 390491View attachment 390490View attachment 390489View attachment 390488View attachment 390487View attachment 390486View attachment 390485View attachment 390484View attachment 390483
Apologies if it is explained in a post I've not yet read, but I really like the beveled results you've achieved on your external hull planks. How did you do this? I've seen the method you've used on your deck planking to bevel and burn on other builds, but the hull planks show no burning, just the bevel.
Thanks in advance and again, super work!
Yes I did.Wow, you are making great progress. It took a bit to catch up on your build. I noticed the "beams" on the upper deck. Did you use the ones that were supplied in the kit???
View attachment 399905
Jan
All I do is use some 220 sand paper. No jigs… just by eye. I beveled the edges a little more on the hull than the deck. The weather effect will be a little different on the hull than the deck.Great method, wonderful results. I'm just now finding your build log and just love it and your progress. I had to go back to the beginning and now reading through it with great pleasure.
Apologies if it is explained in a post I've not yet read, but I really like the beveled results you've achieved on your external hull planks. How did you do this? I've seen the method you've used on your deck planking to bevel and burn on other builds, but the hull planks show no burning, just the bevel.
Thanks in advance and again, super work!
We are crossing all fingers and toes for the surgery - get well soon
Hopefully you will not be out of commission to long. Your build is coming along nicely.I go in for hand surgery tomorrow.
Jan
Thank youWe are crossing all fingers and toes for the surgery - get well soon
thank youHopefully you will not be out of commission to long. Your build is coming along nicely.
Jan
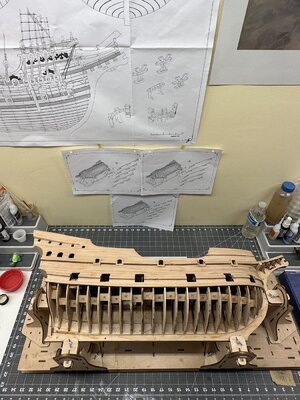
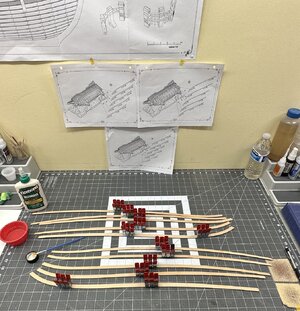
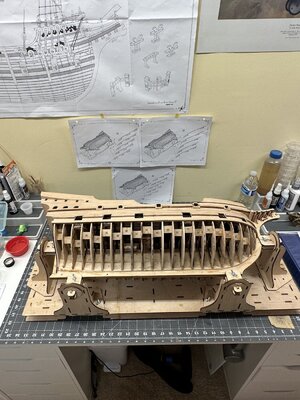
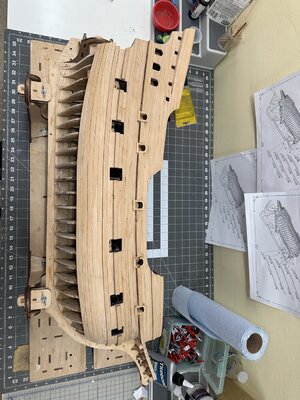
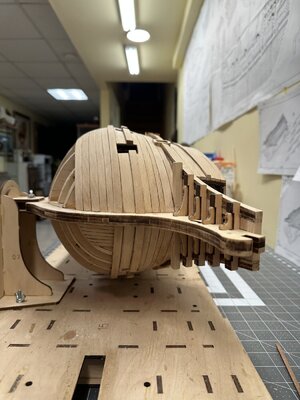
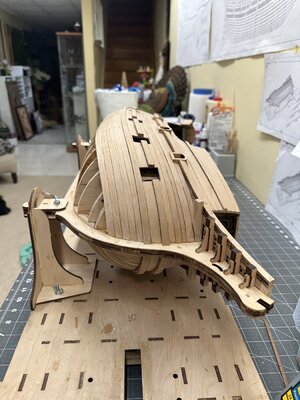
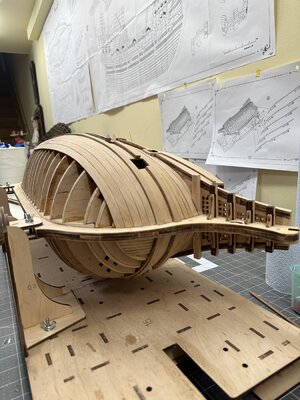
Got the starboard side fully planked. It was a challenge where the planks bend around the bulk heads. The wood kept wanting split along the grain. Wasn’t all of the planks. I guess the grain orientation on certain plates made it more conducive to the splitting. I used superglue to keep everything from splitting. Hopefully I can keep the dyeing stage even.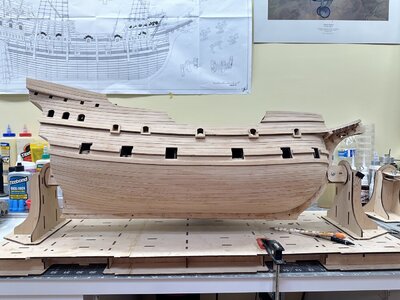

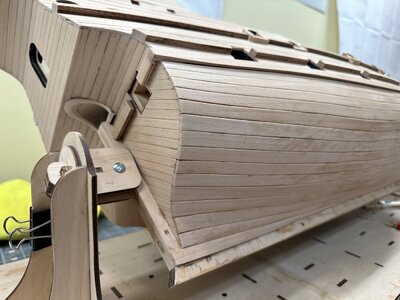
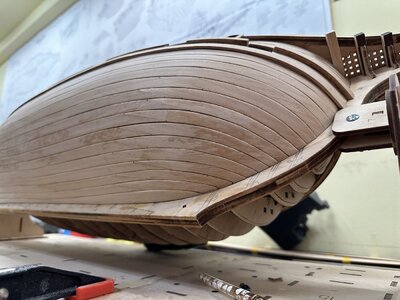


That is great work . I still need to place plank #1 on both sides. I'm working up the courage to trim them to get good fit.
Jan
Jan
Jan,That is great work . I still need to place plank #1 on both sides. I'm working up the courage to trim them to get good fit.
Jan
Thanks!
I made a template out of card stock so it was a perfect fit. I then transferred it to the number 1 plank so it was slightly larger. I then slowly sanded it to fit. Probably not the fastest or best way. That’s the way I felt most confident and it wound up fitting pretty well I think. I still have to final sand. But I will do that once I finish the port side.
Good luck with your #1 plank.
Chris
Good morning. That is really good planking. Good luck with your hand surgery and speedy recovery. Cheers GrantGot the starboard side fully planked. It was a challenge where the planks bend around the bulk heads. The wood kept wanting split along the grain. Wasn’t all of the planks. I guess the grain orientation on certain plates made it more conducive to the splitting. I used superglue to keep everything from splitting. Hopefully I can keep the dyeing stage even.View attachment 403841View attachment 403842View attachment 403843View attachment 403844
Thank you Grant!Good morning. That is really good planking. Good luck with your hand surgery and speedy recovery. Cheers Grant


