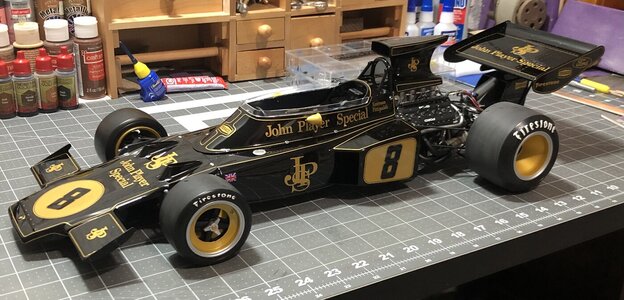
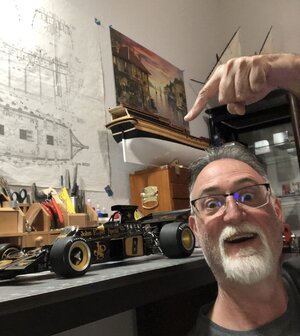
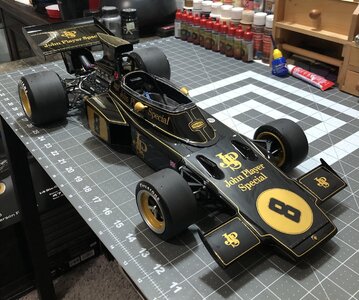
Time for the rear wing…
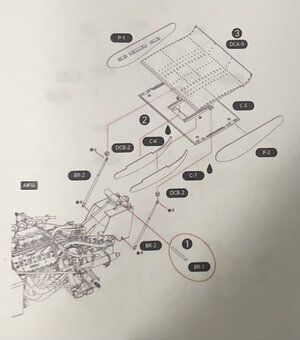
Somewhat of a puzzle, but essentially only one side of parts DC-6 and DC-7 can be installed prior to adding the rod BR-1. Once the rod is installed, the other side can be added. However the top piece DCA-9 can’t be in place so you can see. Then after that you can add the sides of the wing and then the top last. I installed the telescopic rods BR-2 last, but first tapped the screw holes in the parts they attach to, in order to make assembly easier. The wing is adjustable! Cool stuff!

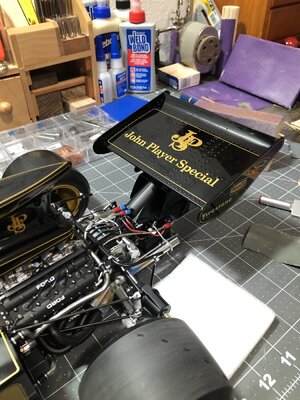
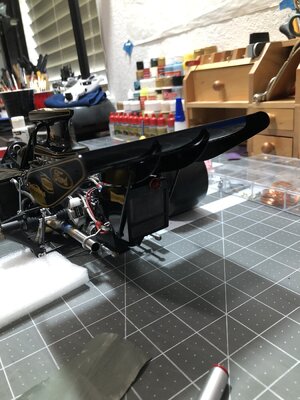
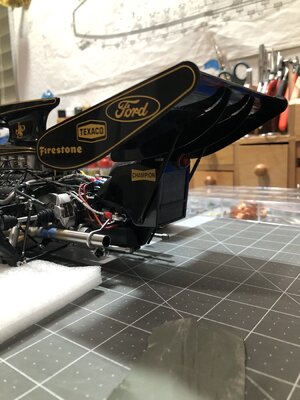
Now for the windscreen and mirrors…
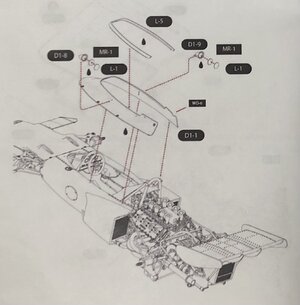
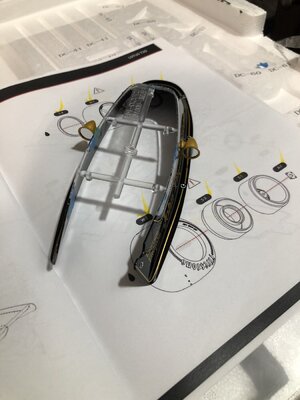
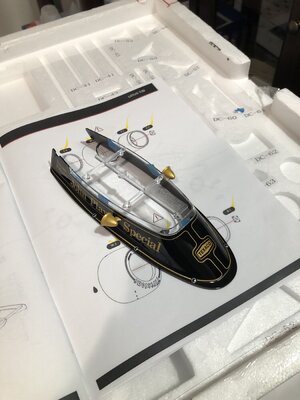
Only pain with this step is taking care not to get glue on the windscreen. So I added a little PVA glue to hold it along with tape. Then I added liquid model cement on the inside bottom edges.
Then after the glue dried, I cut it off the sprue. It was left on the sprue at glue up to keep it rigid while gluing. Otherwise it would have flopped all over the place and got glue on surfaces I don’t want it on!
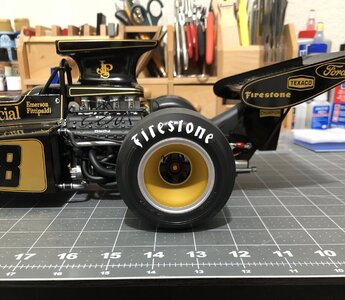
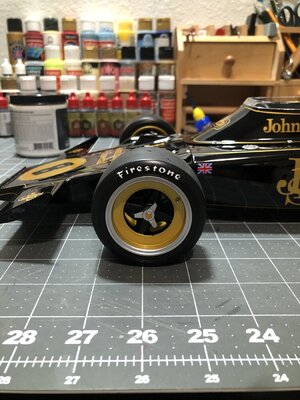
And finally I have the tires to finish. I took one rear tire off and sanded the road surface to simulate slight wear or break in. I sanded by hand. I have seen people put them in a drill to sand, but that seems too aggressive to me and creates a sharp edge.
Then I painted the letters in white with a brush, and then clear coated with a matte polyurethane. Tedious work!
So one tire done…three to go!

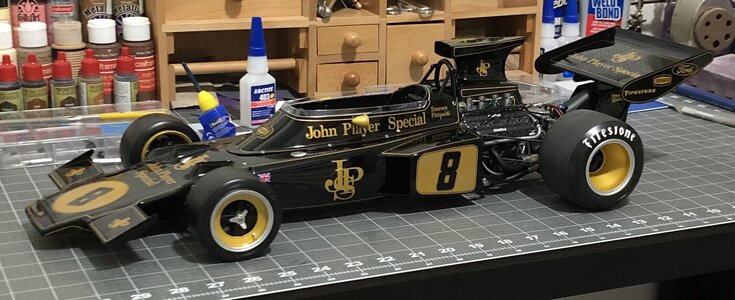
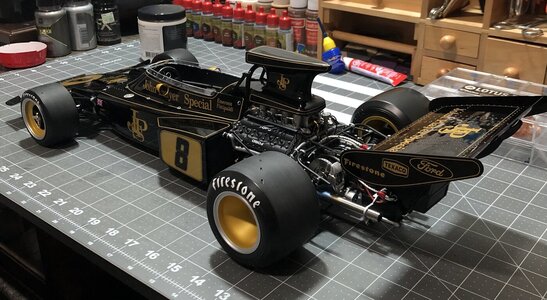
Well here she is currently, awaiting work on the last three tires!
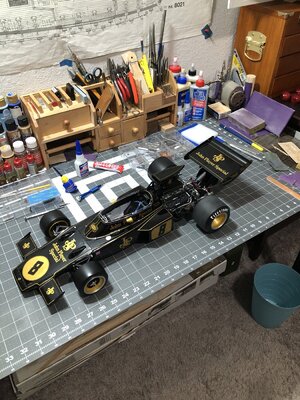
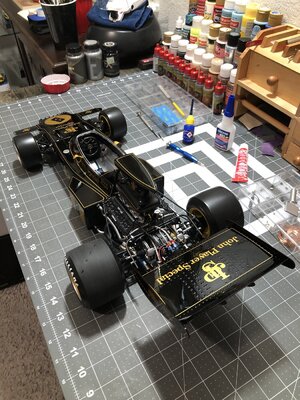
Once again I wanted to say thank you to everyone who made comments and to everyone who has followed. Your support and comments are motivational! See you soon for a wrap up and some final pictures!


 First initiated by a sale of the kit, and then by the arrival of it. But I knew it wouldn't take but about a month.