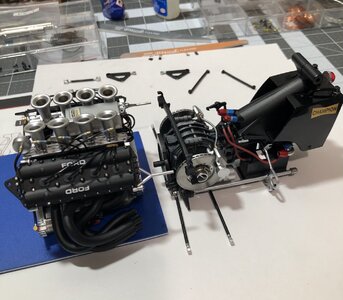
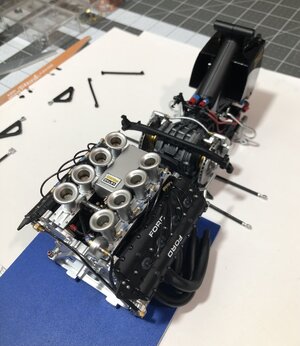
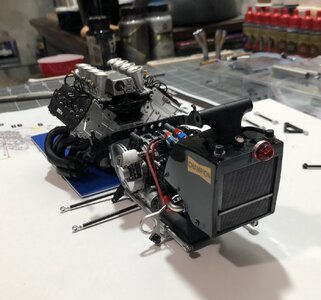
Pocher 1:8 scale Lotus 72 [COMPLETED BUILD]

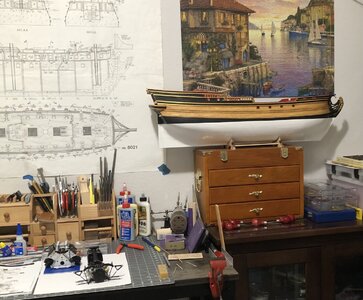
Interesting, the last photo looks like they are working on a million-dollar car in a junk yard somewhere.
True story- F1 has change some. Those where the days.
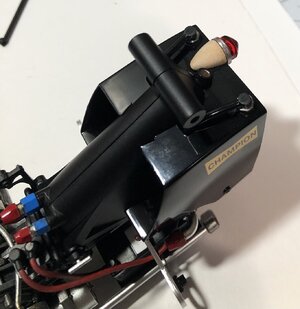
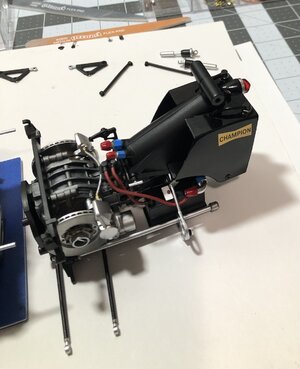
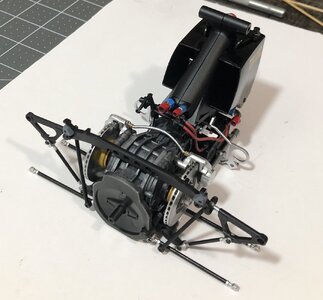
Here are more photos for reference…I have an entire folder of pics that I am using. ;)
View attachment 376511View attachment 376512View attachment 376513
There was definitely variance from car to car. And in the interest of improvement, they were always changing and testing things. But it’s good to know how the car could have looked throughout the race season. The kit was built to represent the car Emerson Fittipaldi raced at Brands Hatch and won. They even went through the mechanics notes on his car. The tires did not have the white lettering on that day, thus left off the kit tires. I may still paint the letters white because I think it looks better.
In conclusion, if you build the kit, you can build it to be an exact representation of that race day, or you can do as I have chosen and build it as it may have appeared during that racing season. Either way it will still be accurate and look very nice. ;)
Good morning Dean. Cool pics. Go carts on steroids ;) .I also prefer the white Good year for the tyres. Cheers Grant
 
Dean I live 30 mins from Lotus factory, they have showroom there if you need any pics of certain parts let me know and I will sort. Looking great.
Thank you! Welcome to pit row.
Wow! Lucky you! I would love to visit the Lotus factory, if it were practical! And thank you for the offer. Don’t make a road trip on my account, but if you have any pics on hand, you can PM me or share here. I just saved pics of anything I could find online, but you can never have too much reference material. ;)
 
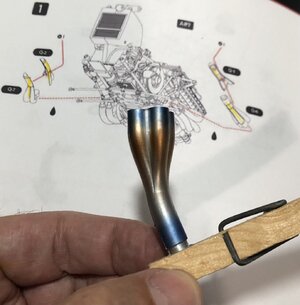
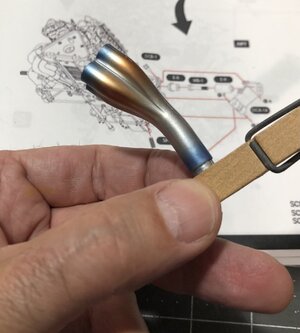
Today, looking ahead, I decided to do the header collectors. They are two halves and I added filler, sanded and then painted silver. Unfortunately the filler didn’t eliminate the gaps completely, but it doesn’t look bad either.
Then I weathered them to simulate heat cycling…I added burnt red and burnt blue. Happy with how they turned out.
IMG_1357.jpegIMG_1355.jpeg
Ps - I may have been a little overzealous with the weathering, but from the photos I have seen, they get pretty discolored! ;)
 
Last edited:
Amazing realism, did you airbrush that effect?
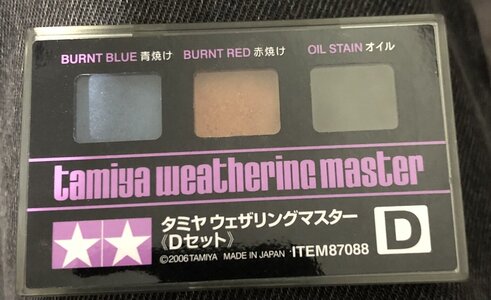
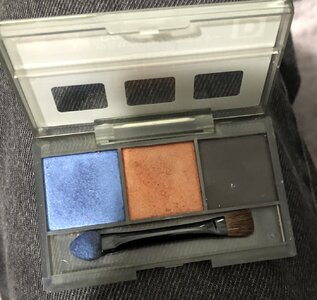
Thank you Daniel! No I used Tamiya weathering master paints for dry brushing. They have an applicator that you use that makes dry brushing and weathering very realistic. I love them! I still do a lot with a brush. But every chance I get, I use these. ;)
IMG_1361.jpegIMG_1362.jpeg

My granddaughter thinks it’s makeup! ROTF
I guess it is for models. ;)
 
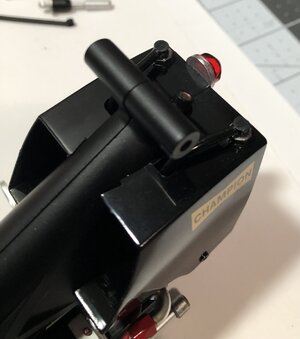
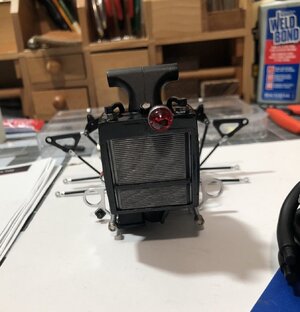
I noticed the tail light is sticking up above the oil cooler shroud and it’s flat. Then I noticed in one of my reference photos they had added an aerodynamic piece in front of it. So I scratch built one.
As built per the kit…
IMG_1363.jpeg
The piece I made…
IMG_1364.jpeg
After paint and clear coat…
IMG_1369.jpeg
Looks like I may have to wet sand the clear a little to smooth it out more. Will see once it fully dries.
 
Today, looking ahead, I decided to do the header collectors. They are two halves and I added filler, sanded and then painted silver. Unfortunately the filler didn’t eliminate the gaps completely, but it doesn’t look bad either.
Then I weathered them to simulate heat cycling…I added burnt red and burnt blue. Happy with how they turned out.
View attachment 376646View attachment 376647
Ps - I may have been a little overzealous with the weathering, but from the photos I have seen, they get pretty discolored! ;)
Good morning Dean. That is freaking good. I think the “weathering “ is brilliant. It like a new F1 car after engine tests. Just the heat change on the head collector. Need to see how it fits with the rest to see if you were a little over zealous. Cheers Grant
 
Good morning Dean. That is freaking good. I think the “weathering “ is brilliant. It like a new F1 car after engine tests. Just the heat change on the head collector. Need to see how it fits with the rest to see if you were a little over zealous. Cheers Grant
Thank you Grant! Looking at a reference photo, it is pretty much the same. When it all comes together I think it will look good. Looking forward to getting that far! ;)
 
Well…the missing part will arrive Monday next week…sigh! In anticipation I have completed a few steps and also prepared parts for the following steps.
I left off at page 13, due to the missing part. Once in hand I will complete page 13 (rear assembly) and page 14 (joining the motor and rear assembly, adding the motor components - already done). I already completed pages 15 and 16 (distributor and injector housing, injector hoses, spark plug hoses, etc.) That puts me on page 17 …
IMG_1390.jpeg
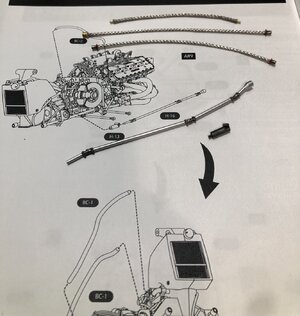
Parts are painted and hose assemblies are ready for installation. I added metal ferrules to the ends of the hoses to aid in assembly to the fittings.
Then I completed the header collector pipes on page 18. Next will be the rear axles and boots.

So essentially, when I get my missing part I will be going from page 13 to the end of page 18!
Things will start happening fast at that point, and I should be able to complete the engine and rear assembly by page 21 soon afterwards.

Then will be the start of building the body. ;)

Also I noticed the crossbar on the oil cooler was painted silver. I thought it was part of the cooler. After observation I realized it is a part of the shroud and should be black.
Corrected…
IMG_1389.jpeg

So for now I will continue to get parts ready for each step coming up. That way I can concentrate on assembly once the missing part arrives…
 
Well…the missing part will arrive Monday next week…sigh! In anticipation I have completed a few steps and also prepared parts for the following steps.
I left off at page 13, due to the missing part. Once in hand I will complete page 13 (rear assembly) and page 14 (joining the motor and rear assembly, adding the motor components - already done). I already completed pages 15 and 16 (distributor and injector housing, injector hoses, spark plug hoses, etc.) That puts me on page 17 …
View attachment 377197
Parts are painted and hose assemblies are ready for installation. I added metal ferrules to the ends of the hoses to aid in assembly to the fittings.
Then I completed the header collector pipes on page 18. Next will be the rear axles and boots.

So essentially, when I get my missing part I will be going from page 13 to the end of page 18!
Things will start happening fast at that point, and I should be able to complete the engine and rear assembly by page 21 soon afterwards.

Then will be the start of building the body. ;)

Also I noticed the crossbar on the oil cooler was painted silver. I thought it was part of the cooler. After observation I realized it is a part of the shroud and should be black.
Corrected…
View attachment 377198

So for now I will continue to get parts ready for each step coming up. That way I can concentrate on assembly once the missing part arrives…
Good morning Dean. Looks like fun. I think your Lion is getting a tad jealous of your Lotus…Cheers Grant
 
Good morning Dean. Looks like fun. I think your Lion is getting a tad jealous of your Lotus…Cheers Grant
Hey Grant, fun is about right. The Lion awaits on the NL, I finally got my ordered wood, but am trying to decide what I want to work on next. Unlike the F1 car, the ship has many different areas that can be worked on at any given time. ;)
IMG_1392.jpeg
 
I had to catchup several pages of your build, Dean. I don’t know what the reason is, but I get no notifications from a lot of build-log’s I am following .:mad: Hopefully it’s now ‘active’ again.
The enige is looking more impressive by every new step. Got a deja-vu to the Duc, growing in the same way.
Your detailed painting gives it a great extra.
I hope you wil get the missing part at the specified day. Luckily there a more components to pre-build.
Regards, Peter
Thank you Peter! Glad you are caught up now. ;)
It is going together well, despite the missing piece.
 
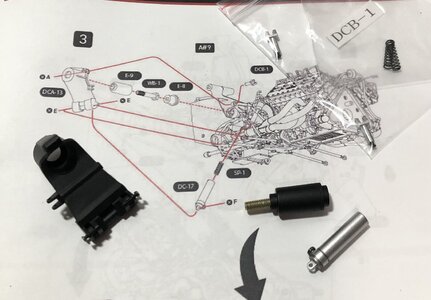
Getting the parts for the steps on page 19 ready for assembly.
IMG_1399.jpeg

First was locating parts, then tapping the screws in the parts to ensure at assembly there is no need for torquing of the screws. I use a small amount of bees wax on the threads. Then after fully threading in, the screw is backed out a little and left in place so it doesn’t get lost. Then I paint the screw head.
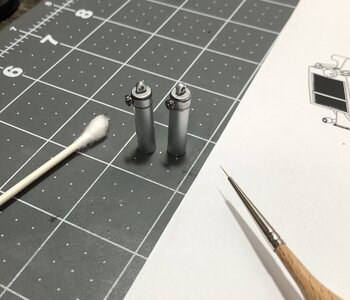
On the Koni shock body, I painted the adjustment knob, weathered and added some black lines around the knob to simulate grooves.
Used my fine brush…
IMG_1391.jpeg
Should look convincing once in place. ;)

IMG_1400.jpeg
 
Last edited:
Back
Top