-

Win a Free Custom Engraved Brass Coin!!!
As a way to introduce our brass coins to the community, we will raffle off a free coin during the month of August. Follow link ABOVE for instructions for entering.
-

PRE-ORDER SHIPS IN SCALE TODAY!
The beloved Ships in Scale Magazine is back and charting a new course for 2026!
Discover new skills, new techniques, and new inspirations in every issue.
NOTE THAT OUR FIRST ISSUE WILL BE JAN/FEB 2026
- Home
- Forums
- Ships of Scale Build Logs
- Super Detailing Static Models / Other Genres
- Historical Trailways, Guns, Aircraft, and Cars
You are using an out of date browser. It may not display this or other websites correctly.
You should upgrade or use an alternative browser.
You should upgrade or use an alternative browser.
Yes sir! Moving along now! More to come...Really starting to take shape now Dean
Last edited:
And… pages 19, 20 and 21
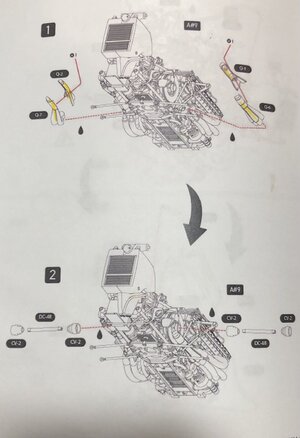
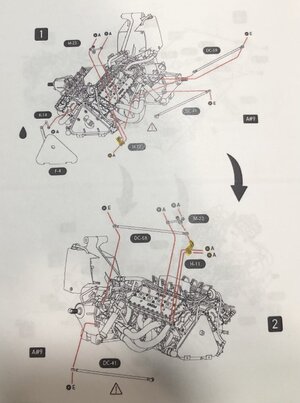
On page 19 the wheel hub assembly and shock is done on both sides, and I decided it was a good time to include the pieces from page 20, which are the struts DC-59 that attach to the front of the motor with H-12 and M-23
And then page 21…
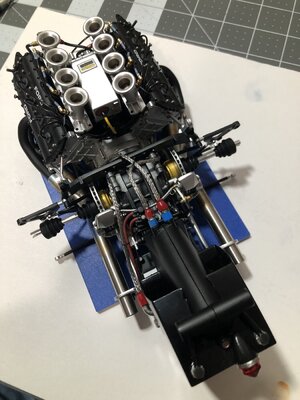
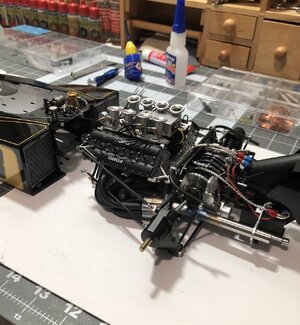
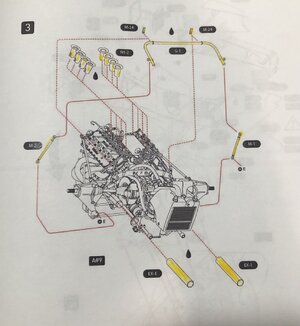
I had already added the injector stacks, and exhaust pipes, so all that was left was the sway bar G-1 and struts M-1 and M-2, and two pieces M-24 to hold the sway bar on.
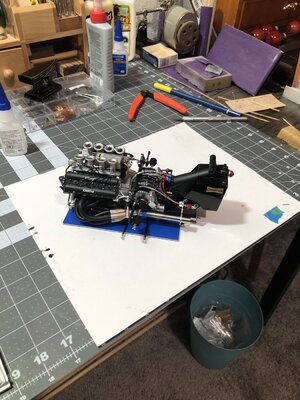
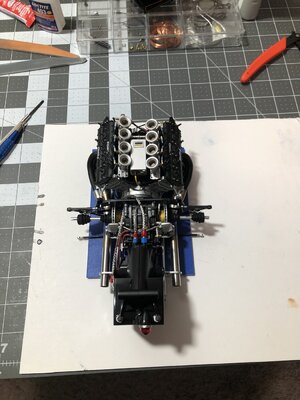
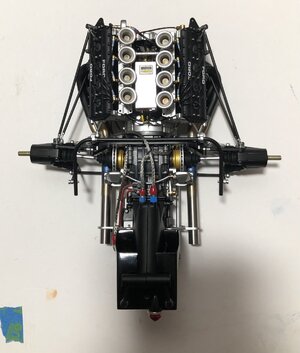
So after 21 pages…
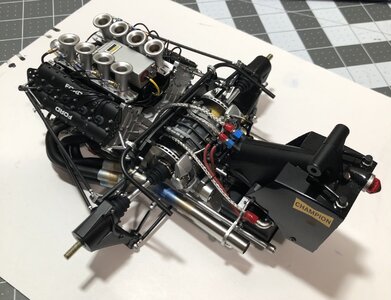
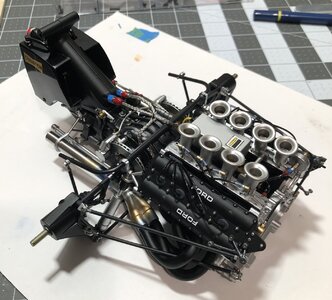
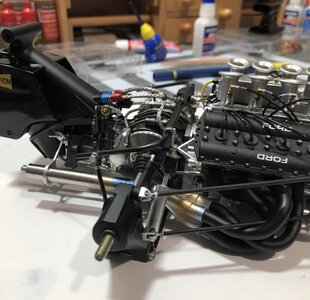
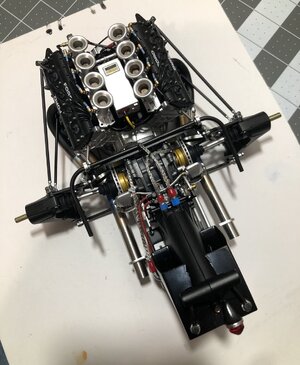
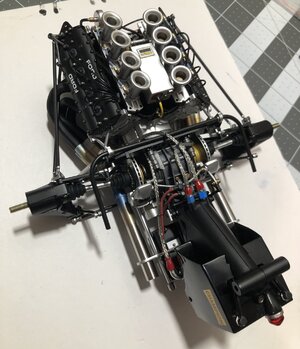
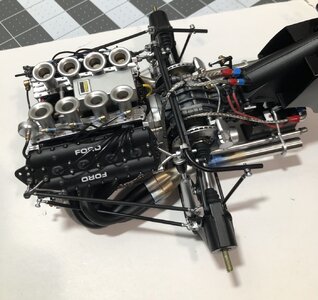
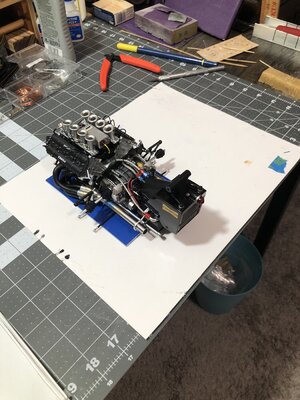
Add for good measure…with air box!
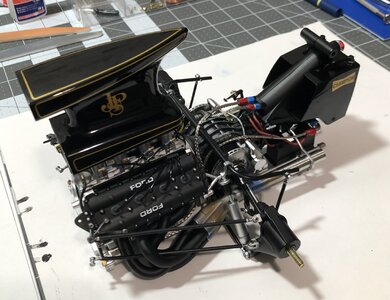
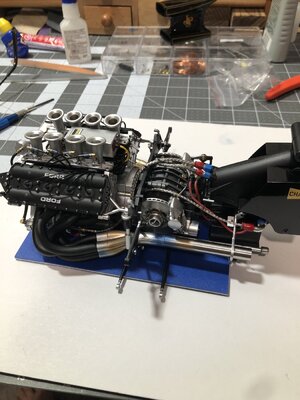
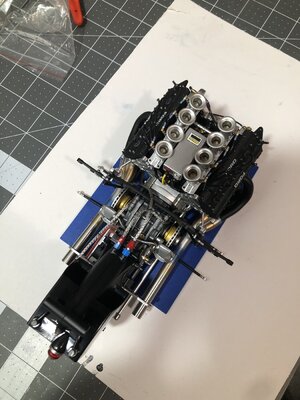
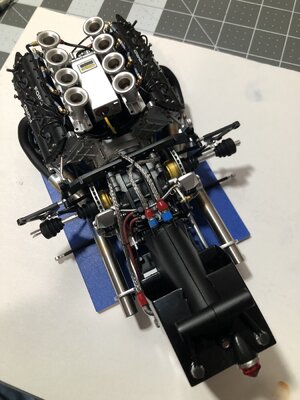
This is 21 pages into a 41 page build, basically the halfway way point. If you think this sub assembly is finished, it is not! There will be more added after it is joined to the body. There will be wiring harnesses added to the ignition box, the electrical box, and I will add wires not included in the kit (starter wire, oil cooler temp wire, kill switch cable, etc.)
And I will be adding the wires for the gauges, not included in the kit. These will run to the sub assembly above. So a lot more details in the future.
But for now...I will be starting the assembly of the body next. See you then, and thanks for looking in.

On page 19 the wheel hub assembly and shock is done on both sides, and I decided it was a good time to include the pieces from page 20, which are the struts DC-59 that attach to the front of the motor with H-12 and M-23

And then page 21…
I had already added the injector stacks, and exhaust pipes, so all that was left was the sway bar G-1 and struts M-1 and M-2, and two pieces M-24 to hold the sway bar on.

So after 21 pages…


Add for good measure…with air box!

This is 21 pages into a 41 page build, basically the halfway way point. If you think this sub assembly is finished, it is not! There will be more added after it is joined to the body. There will be wiring harnesses added to the ignition box, the electrical box, and I will add wires not included in the kit (starter wire, oil cooler temp wire, kill switch cable, etc.)
And I will be adding the wires for the gauges, not included in the kit. These will run to the sub assembly above. So a lot more details in the future.
But for now...I will be starting the assembly of the body next. See you then, and thanks for looking in.
Last edited:
Kurt Konrath
Kurt Konrath
Just think what that could do in a speed boat with 90 degree gear boxes and dual props.
It would look good in a black speed boat!Just think what that could do in a speed boat with 90 degree gear boxes and dual props.
Morning Dean, looking very good, I looked into visiting the lotus factory to take some pics, but unfortunately it was going to cost a quite a bit to obtain a pass, they won't let you do it for free. Sorry about that cheers Mark
Thanks Mark, no worries, I appreciate you looking into it.Morning Dean, looking very good, I looked into visiting the lotus factory to take some pics, but unfortunately it was going to cost a quite a bit to obtain a pass, they won't let you do it for free. Sorry about that cheers Mark
Thank you Peter, I appreciate the feedback!Looking very nice indeed.
Crisp and clean. Amazing detail.
The braided oil hoses are a nice touch.
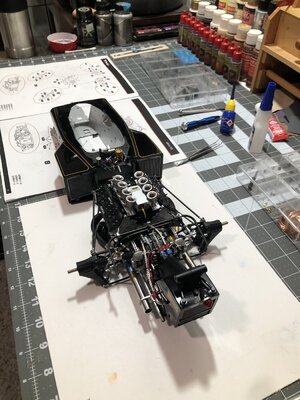
Next is the start of the chassis or body…
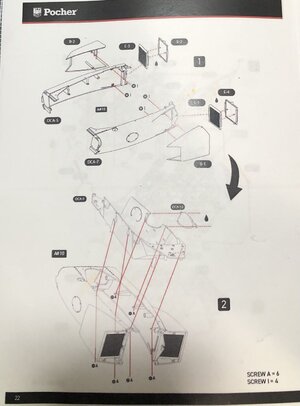
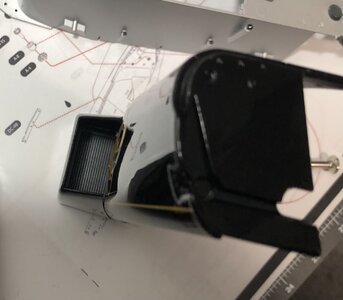
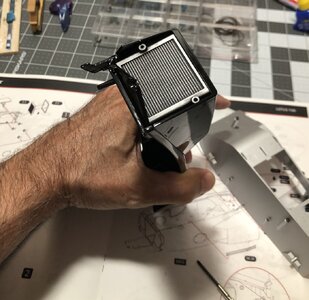
Parts ready, radiators dry brushed…
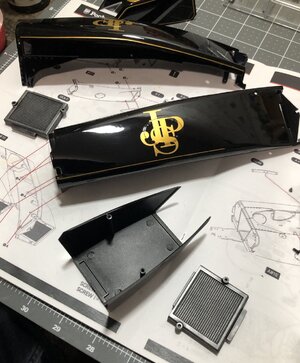
Assembly, can see radiators from the front and rear…
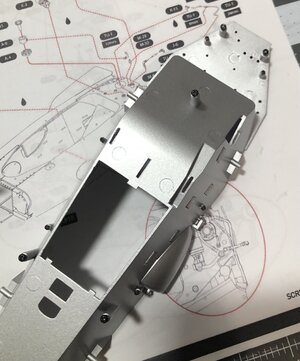
Then preparation of the chassis…bolts painted and weathered…
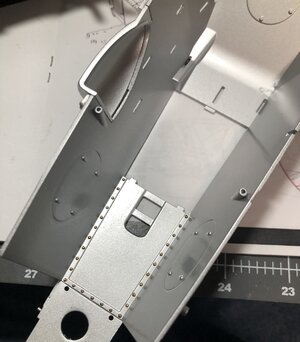
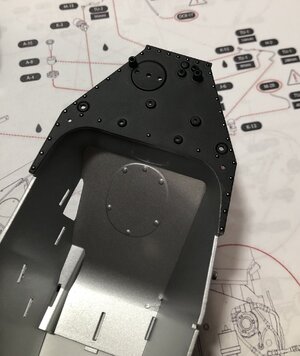
All threads pre tapped and bolts in place…read ahead in instructions, you don’t want to have to press hard on these with a bunch of delicate parts on later. Ask me how I know.
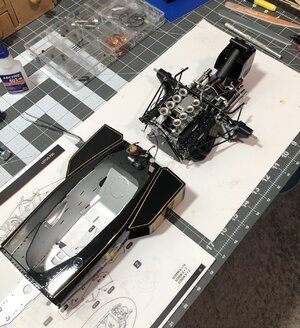
Joining the pieces…with screws…the marriage
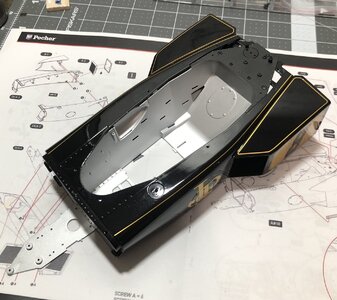
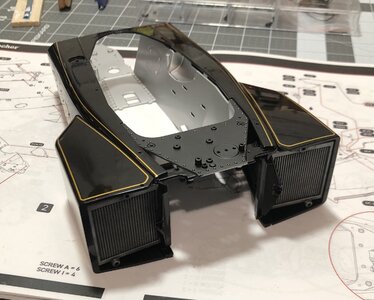
Got excited and wanted to see it next to engine sub assy to get an idea…she’s at 16” long already!
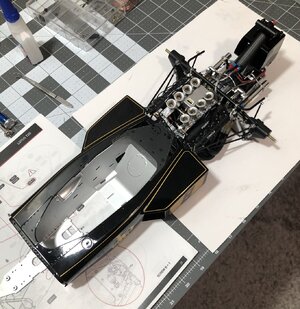
For reference, my 1/32 scale car next to the chassis or body…
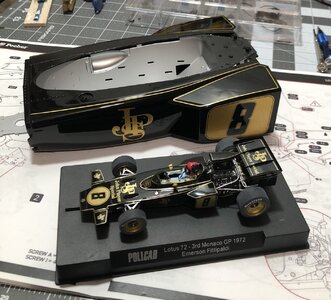
She will be 23” long at final assembly!
Thanks for checking in…

Parts ready, radiators dry brushed…

Assembly, can see radiators from the front and rear…


Then preparation of the chassis…bolts painted and weathered…


All threads pre tapped and bolts in place…read ahead in instructions, you don’t want to have to press hard on these with a bunch of delicate parts on later. Ask me how I know.

Joining the pieces…with screws…the marriage


Got excited and wanted to see it next to engine sub assy to get an idea…she’s at 16” long already!

For reference, my 1/32 scale car next to the chassis or body…

She will be 23” long at final assembly!
Thanks for checking in…
Thanks to the pre-assembling you could make great progress, Dean. Looking good to see it growing step by step.
Regards, Peter
Regards, Peter
Thank you Peter!
Agreed... moving ahead in the build on the motor, and just getting parts painted and ready with screws for other steps, kept the build moving and allowed me to go from page 13 to page 21 in a day! That way, the wait for the missing part didn't really slow me down. Thanks for looking in on me.
Agreed... moving ahead in the build on the motor, and just getting parts painted and ready with screws for other steps, kept the build moving and allowed me to go from page 13 to page 21 in a day!
Next step is kind of intense… a lot of tiny fittings, a lot to paint, and a lot of hoses!
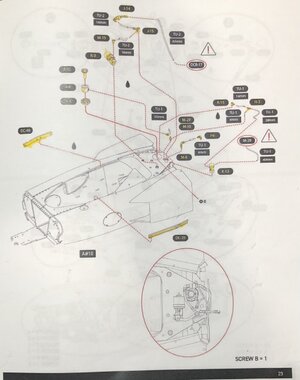
And after assembly…
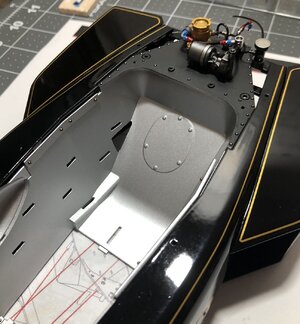
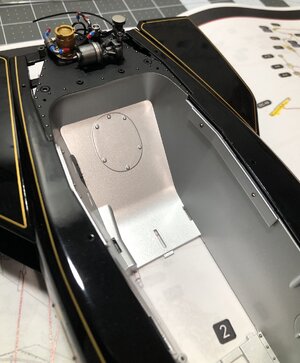
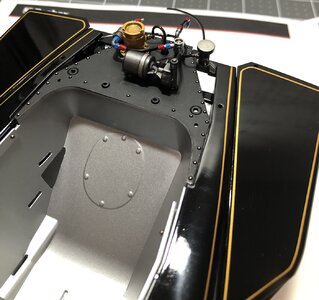
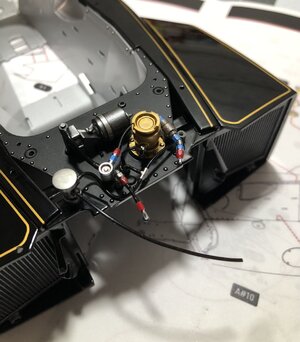
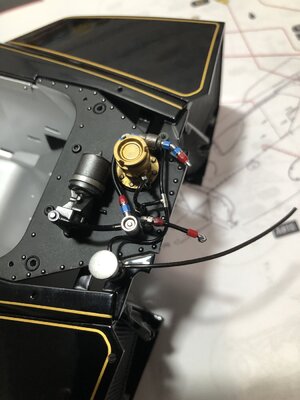
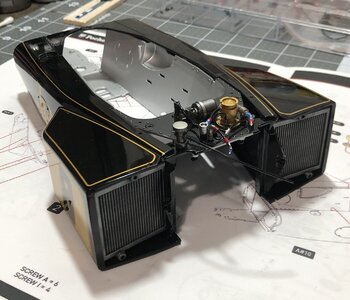
There are 4 different hoses that will be going to the motor from these components after the body is joined to the motor.
Next step is starting the front suspension and steering. Hope to see you then…

And after assembly…


There are 4 different hoses that will be going to the motor from these components after the body is joined to the motor.
Next step is starting the front suspension and steering. Hope to see you then…
Good morning Dean. This kit is so detailed and accurate. Really does look like you could add some oil and lubs and give it an engine test. Cheers GrantAnd… pages 19, 20 and 21
View attachment 378025
On page 19 the wheel hub assembly and shock is done on both sides, and I decided it was a good time to include the pieces from page 20, which are the struts DC-59 that attach to the front of the motor with H-12 and M-23
View attachment 378026
And then page 21…
I had already added the injector stacks, and exhaust pipes, so all that was left was the sway bar G-1 and struts M-1 and M-2, and two pieces M-24 to hold the sway bar on.
View attachment 378027
So after 21 pages…
View attachment 378028
View attachment 378029
View attachment 378030
View attachment 378031
View attachment 378032
View attachment 378033
View attachment 378034
Add for good measure…with air box!
View attachment 378035
This is 21 pages into a 41 page build, basically the halfway way point. If you think this sub assembly is finished, it is not! There will be more added after it is joined to the body. There will be wiring harnesses added to the ignition box, the electrical box, and I will add wires not included in the kit (starter wire, oil cooler temp wire, kill switch cable, etc.)
And I will be adding the wires for the gauges, not included in the kit. These will run to the sub assembly above. So a lot more details in the future.
But for now...I will be starting the assembly of the body next. See you then, and thanks for looking in.
Yes, it is very detailed and I am going to add some details that were left off. At this scale it only makes sense.Good morning Dean. This kit is so detailed and accurate. Really does look like you could add some oil and lubs and give it an engine test. Cheers Grant
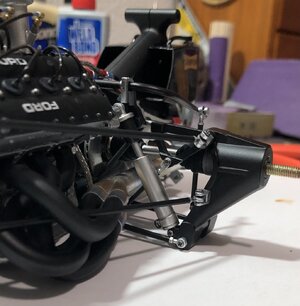
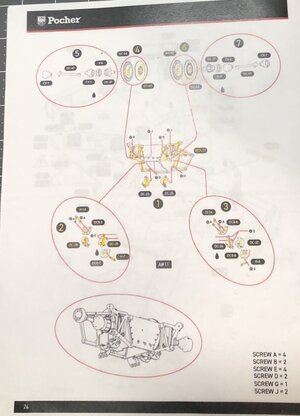
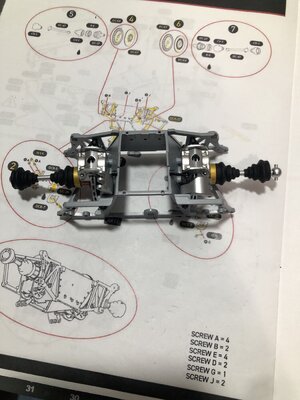
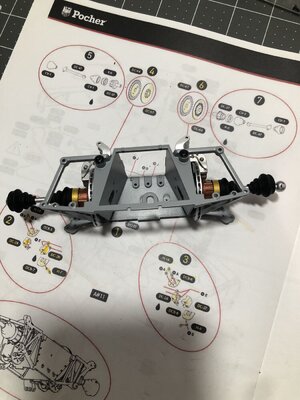
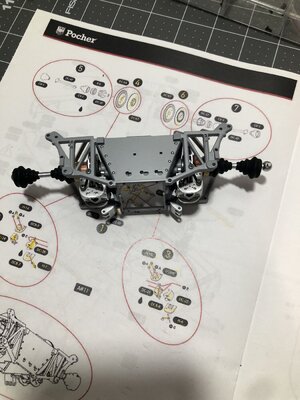
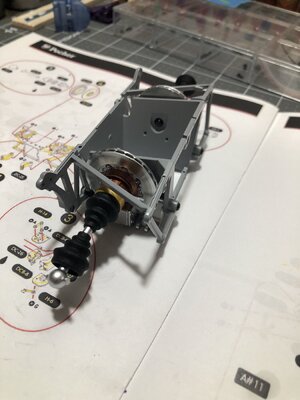
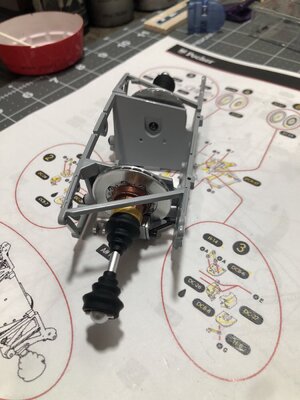
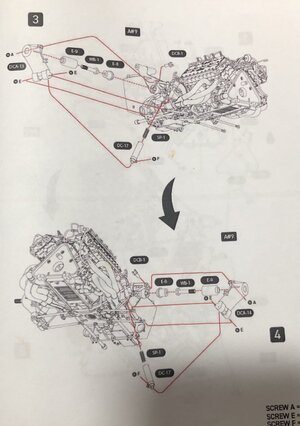
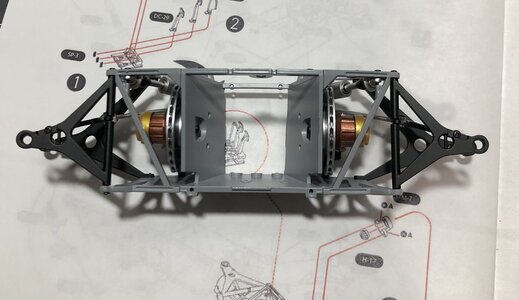
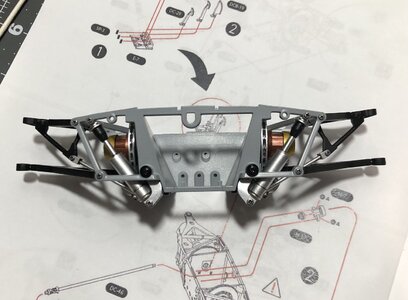
Page 25 continues the front suspension by adding the shocks and A-arms and linkage.
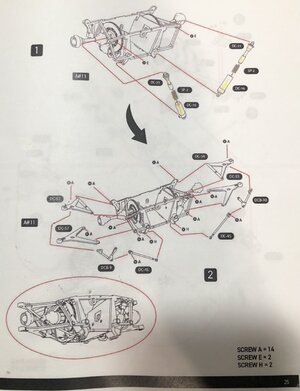
There was a lot of screws and tapping being done on fragile parts, not fun.
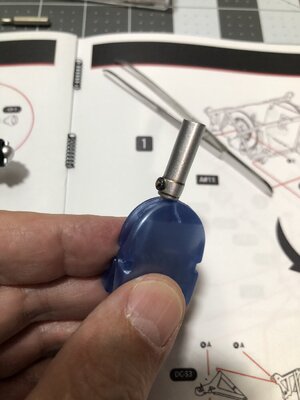
But the end result is satisfying! I removed the axle halves because they just get in the way until the wheel hubs go on.
Pics…
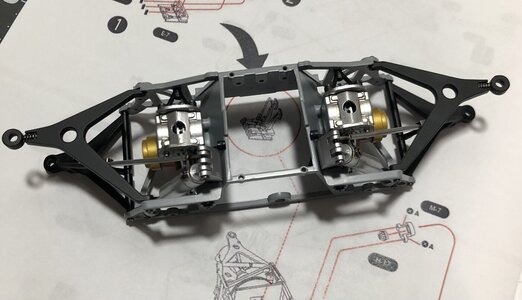
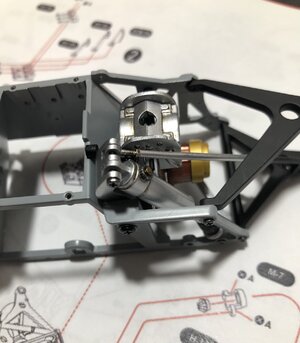
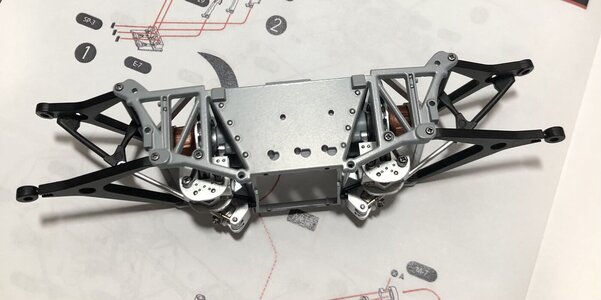
See you next page…

There was a lot of screws and tapping being done on fragile parts, not fun.
But the end result is satisfying! I removed the axle halves because they just get in the way until the wheel hubs go on.
Pics…


See you next page…


