Pocher 1:8 scale Lotus 72 [COMPLETED BUILD]

Intrigued by this wonderful (clearly high-end) kit I looked it up...you're north of $20 per page :D. But what a beauty!
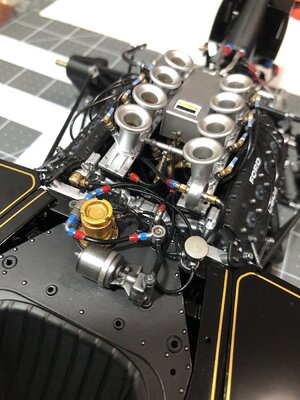
Thanks Paul! I actually got a great deal on it, $600 including shipping! So I could not pass it up! But even at full price it’s cheaper than some ship models. Given the size and detail, with all the precision die cast parts, it’s actually priced reasonably. ;)
I have seen build logs where people built it out of the box, and it looks great, but I am treating it like any other model and taking the time to detail each and every part. I am also going to add more detail than provided. Although there is not much missing, mainly some wiring for the instrument panel and some other wires, cable ties, etc. Mainly some of the more intricate stuff.
Thanks for checking in. ;)
 
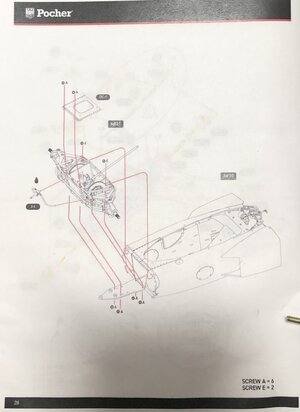
Page 28…looking forward to this one!
IMG_1534.jpeg
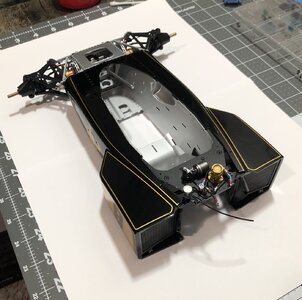
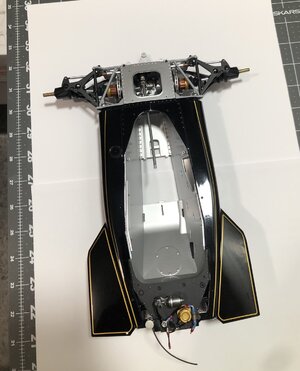
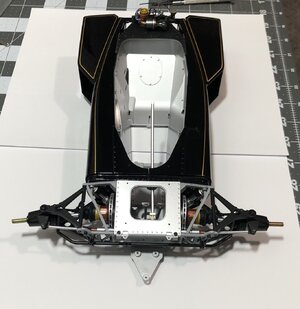
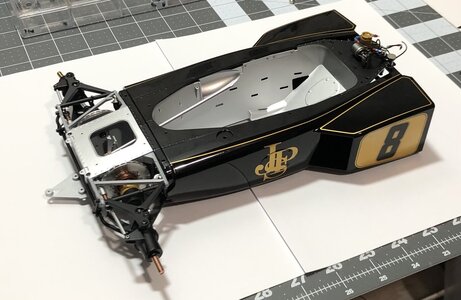
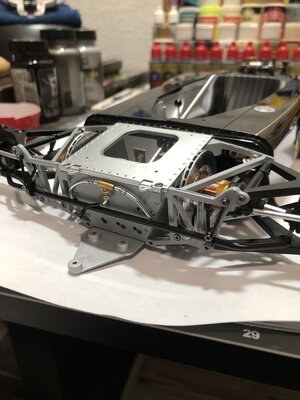
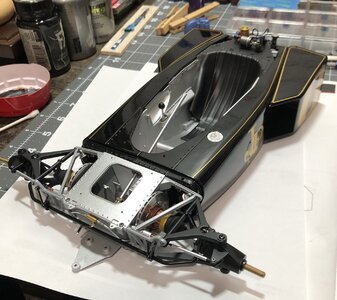
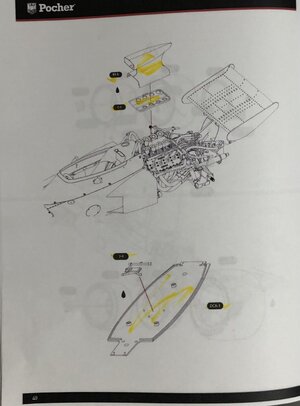
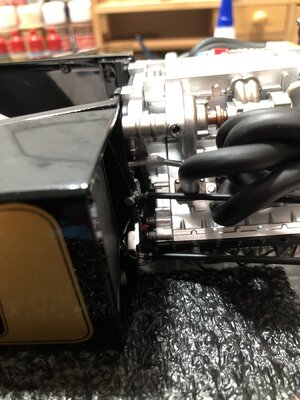
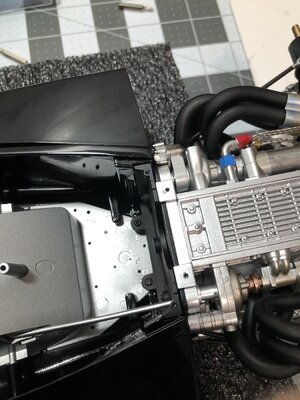
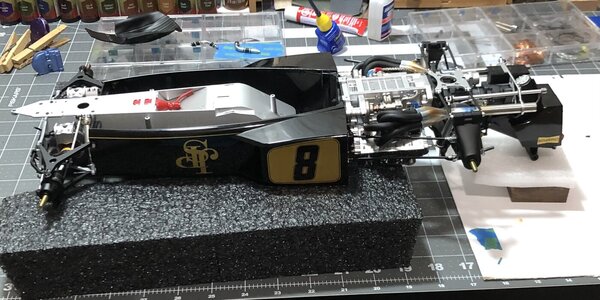
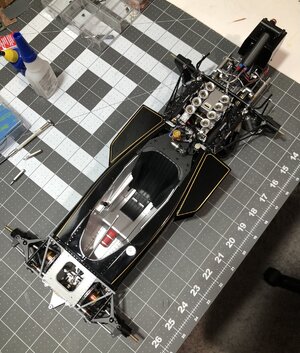
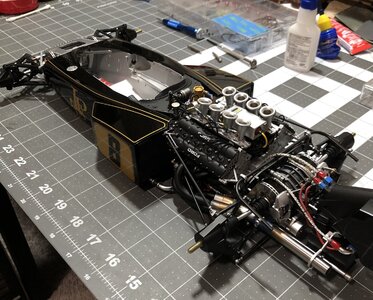
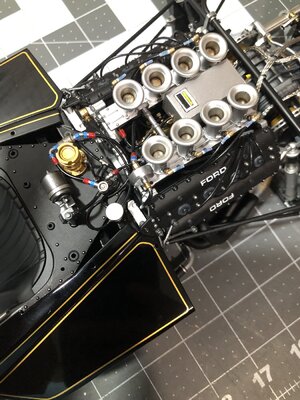
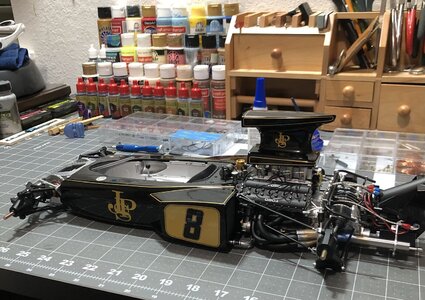
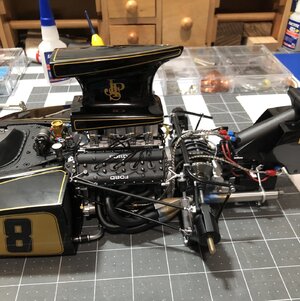
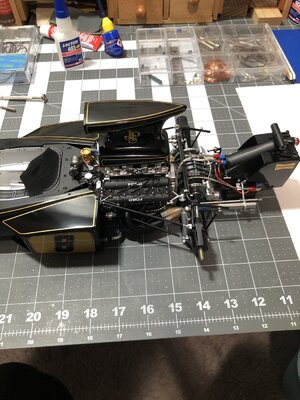
Front end assembly attaches to the body. And the brake lines going to the reservoirs are added.
I still have to add the brake line…but calling it a night.
Pics…
IMG_1535.jpegIMG_1536.jpegIMG_1537.jpegIMG_1538.jpeg

See you next time…we are getting close to joining this chassis assembly to the engine and rear end assembly!
 
Last edited:
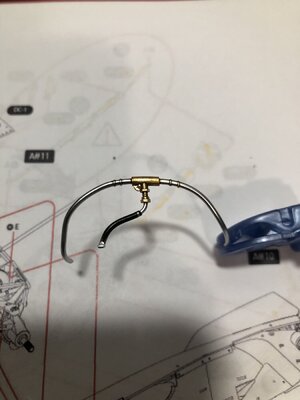
Finishing page 28, I painted the brake lines and assembled…
IMG_1541.jpeg
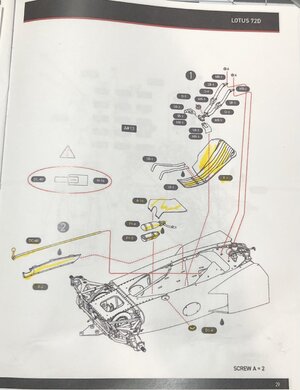
Then on to page 29…
IMG_1553.jpeg
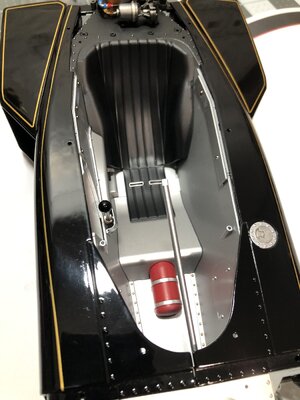
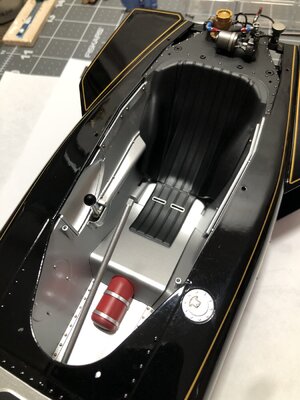
At this stage you add:

The fire extinguisher - I added a wash, dry brushed with a little grey to weather lightly
The shifter and linkage - added wash
The gas cap - painted, wash and dry brush in center
The shifter cover panel - weathered around bolts
Lower seat panel - as is
The seat - painted silver where the buckle reinforcements are (slots where belts come out)

The seat belts will wait until I join the body with motor assy. This is because you have to turn it upside down and I don’t want the belts flopping around. ;) So I will come back to those soon.

Pics…
IMG_1547.jpegIMG_1549.jpegIMG_1551.jpeg

Overall pic…
IMG_1552.jpeg

Thanks for visiting.
 
Last edited:
After skipping the seat belts, it was time to prepare the motor assy to join the body.
IMG_1568.jpeg
Then it was time to join the two…and I added another page since I had it upside down and added the lower body panel.
IMG_1569.jpeg

So it was time and the struts that connect to the body have to be lined up and at the same time the shifter linkage…
IMG_1556.jpeg
Then the attachment…
IMG_1555.jpeg

I had to be creative so I didn’t break anything, so I used packing foam…
IMG_1554.jpeg
Then I attached the bottom panel, but forgot to take a pic. Also attached the lower hoses for the radiators.
IMG_1561.jpegIMG_1560.jpeg

Then I attached the 4 hoses that go to the motor from the components at the back of the body…
IMG_1563.jpegIMG_1562.jpeg

It looks so realistic already! Getting excited, so put on air box for a few pics…
IMG_1565.jpegIMG_1567.jpegIMG_1566.jpeg

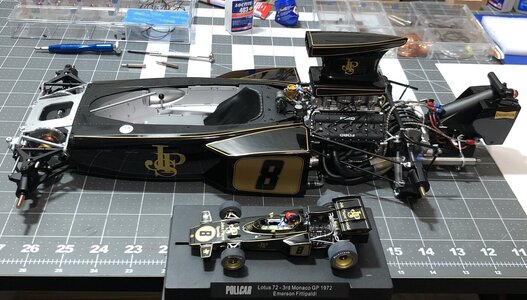
And another comparison with my 1/32 scale Lotus 72…
IMG_1570.jpeg

Next I will start on the seat belts, and I am skipping ahead to make the wheels so I can get it off the bench! ;)

At that point I will be 7 pages away from finishing! Then it’s back to the Norske Love!
 
After skipping the seat belts, it was time to prepare the motor assy to join the body.
View attachment 378710
Then it was time to join the two…and I added another page since I had it upside down and added the lower body panel.
View attachment 378711

So it was time and the struts that connect to the body have to be lined up and at the same time the shifter linkage…
View attachment 378712
Then the attachment…
View attachment 378713

I had to be creative so I didn’t break anything, so I used packing foam…
View attachment 378714
Then I attached the bottom panel, but forgot to take a pic. Also attached the lower hoses for the radiators.
View attachment 378715View attachment 378716

Then I attached the 4 hoses that go to the motor from the components at the back of the body…
View attachment 378717View attachment 378718

It looks so realistic already! Getting excited, so put on air box for a few pics…
View attachment 378719View attachment 378720View attachment 378721

And another comparison with my 1/32 scale Lotus 72…
View attachment 378722

Next I will start on the seat belts, and I am skipping ahead to make the wheels so I can get it off the bench! ;)

At that point I will be 7 pages away from finishing! Then it’s back to the Norske Love!
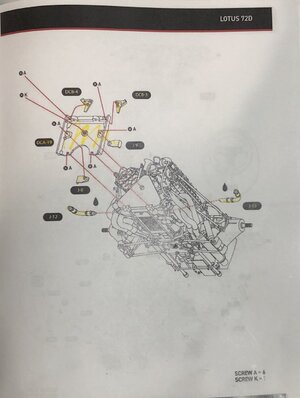
Showing all the steps, as with the Ducati, I am again impressed by Pocher's work. To develop all the parts with such a fit and then also a logical order of assembly with detailed drawings.
And it's nice to see you adding the necessary details yourself, hats off Dean.
Regards, Peter
 
Showing all the steps, as with the Ducati, I am again impressed by Pocher's work. To develop all the parts with such a fit and then also a logical order of assembly with detailed drawings.
And it's nice to see you adding the necessary details yourself, hats off Dean.
Regards, Peter
Thank you Peter!
This is such a nice kit, it would be a shame not to add the extra painting. The parts are already molded with great detail, they just need a little help. And I will add a few details not in the kit, for extra realism. ;)
If I had any complaints, it would be that the instructions aren’t always clear, but if you have any mechanical inclination and modeling experience, you can figure it out. Also the tapping of the threads in the die cast parts is not good. In fact I think most of them have a pilot hole, and you actually tap the threads with the screw. So obviously the screw material is harder than the die cast metal. But once I started adding a little bees wax on the threads of the screw, it made taping the threads easier. But I learned to tap the threads on all parts prior to assembly. ;)
In conclusion, I am very glad I got this kit! I am impressed with the precision of the parts and the fit.

Ps - watching you build the Ducati, I knew they made an excellent kit. ;)
 
Last edited:
Attending this log, I developed some yearning for Tamya 1:12's good old times. At 15 I completed the Ferrari T4, Renault Re20 and just failed to build the Lotus 78 (far too complicated to paint fairly for my skills). Nevertheless, I still remeber its iconic Ford Cosworth V8 even now.
 
Last edited:
Attending this log, I developed some yearning for Tamya 1:12's good old times. At 15 I completed the Ferrari T4, Renault Re20 and just failed to build the Lotus 78 (far too complicated to paint fairly for my skills). Nevertheless, I still remeber its iconic Ford Cosworth V8 even now.
I too built model cars as a teen, and now I have renewed my enthusiasm. I have a few more F1 kits in waiting. ;)
 
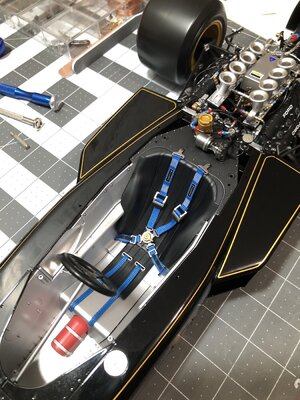
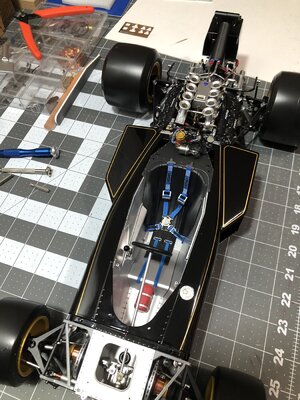
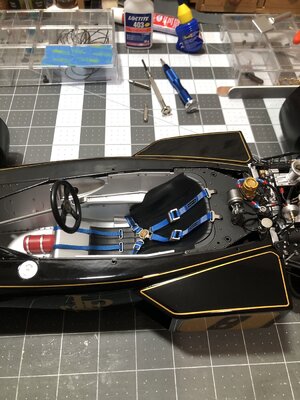
Now that the car will remain upright for the remainder of the build, it was time to add the seat belts!
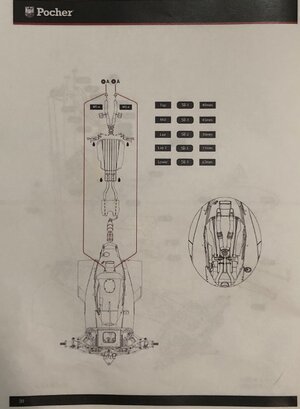
Page 30 is dedicated to the seat belts…
IMG_1585.jpeg
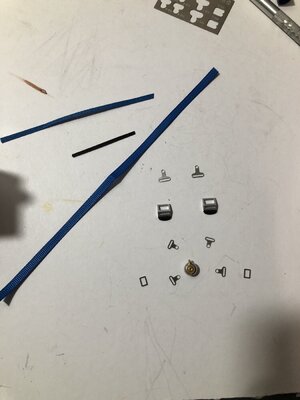
Page 29 had all the part numbers…so gathering the parts first…
IMG_1577.jpeg
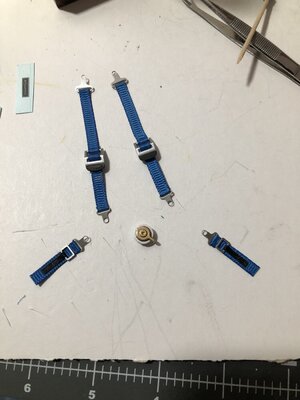
3 different belt sizes, 10 buckles, and 1 center latch. The instructions give the lengths for each belt, but I just made them to fit, not trusting anything! ;)

Next I made the individual belt assemblies, 2 for the waist, 2 for the shoulders, and 2 leg constraint belts (just straight belt). The leg belts wrapped around the drivers legs and were adjusted at the additional buckle on the waist belt (smaller black belt). An extra measure to keep the driver from being thrown from the car.
IMG_1578.jpeg

Next was adding the decals that simulate the extra stitching on the upper belts and the logo with scaled stitching on the edges.
Problem… decals don’t stick to ribbon, so I painted the top surface of the belt with matte polyurethane to create a surface the decals can adhere to. Next they were applied, much frustration as they are so thin it’s like picking up a wet noodle and they just fold on themselves…sigh! But I have applied tiny decals before and I persevered! Then I put a coat of polyurethane on top of them to seal them to the belts.
Then finally assembly began. I don’t like straight and perfect looking belts. The goal is to have them drape and not look stiff at scale. This required some clear PVA glue underneath to stick them down where necessary to look more natural.
I am very happy with the end result, as I think it looks very natural, not too perfect and not too stiff.

IMG_1586.jpegIMG_1587.jpegIMG_1588.jpeg

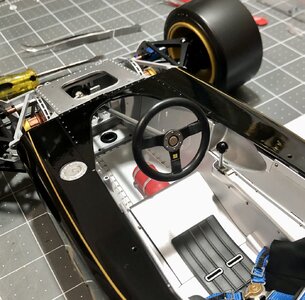
Oh and I decided to go ahead and detail the steering wheel and add it now, instead of 2 pages later. ;)
I painted the center ring and bolts, then dry brushed the wheel lightly with grey to look a little worn and separate it from the black on the spokes. Finally the tiny Momo logo decal was added.

IMG_1584.jpeg

Well that’s it for this update! Happy modeling! Happy life! ;)
 
Last edited:
Back
Top