- Joined
- Apr 20, 2020
- Messages
- 6,242
- Points
- 738

thanks my dear friend for your kind words, I'm happy that you liked itI'm catching up to Your build as well, just in time to congratulate You on this step!
I will try and keep up on future updates
 |
As a way to introduce our brass coins to the community, we will raffle off a free coin during the month of August. Follow link ABOVE for instructions for entering. |
 |
 |
The beloved Ships in Scale Magazine is back and charting a new course for 2026! Discover new skills, new techniques, and new inspirations in every issue. NOTE THAT OUR FIRST ISSUE WILL BE JAN/FEB 2026 |
 |

thanks my dear friend for your kind words, I'm happy that you liked itI'm catching up to Your build as well, just in time to congratulate You on this step!
I will try and keep up on future updates

my dear friend, Thank you very much for your kind words and encouragementanother milestone reached - well done my friend
Congratulations!

my dear friend Grant, thank you very much for your compliments, it's means to me a lotGood morning Shota. Wonderful. It looks so good before sanding. After some sanding hoursI foresee something special. Cheers Grant

Good looking, Shota, your hard labor is showing.good evening dear friends
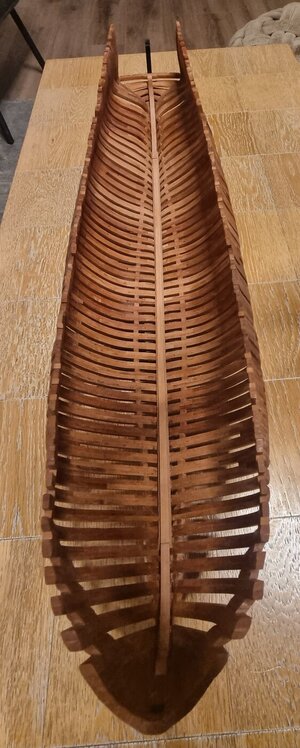
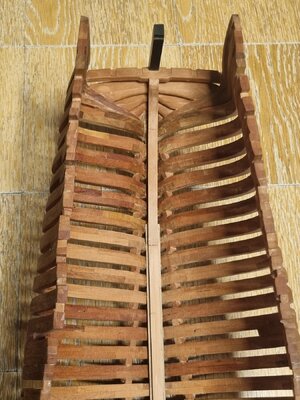
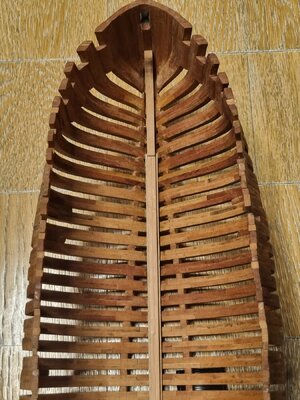
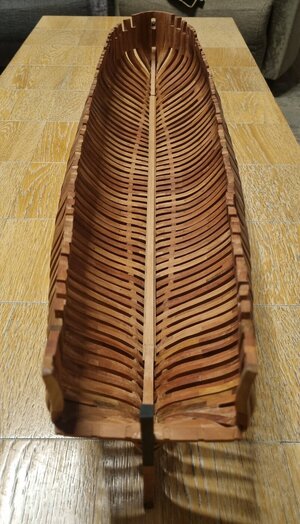
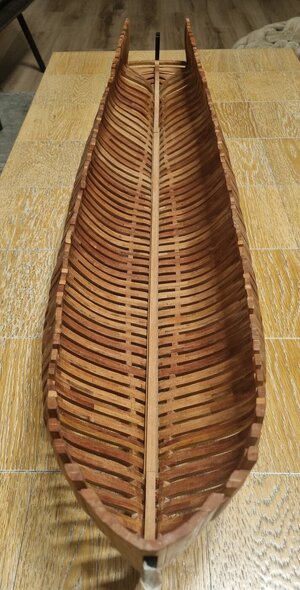
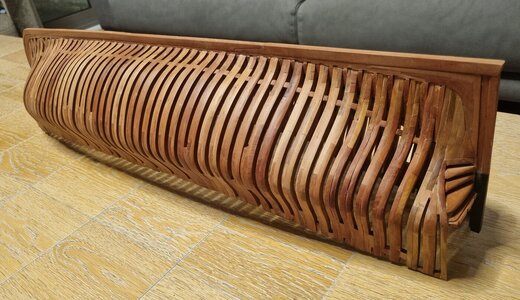
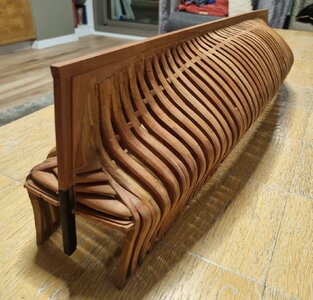
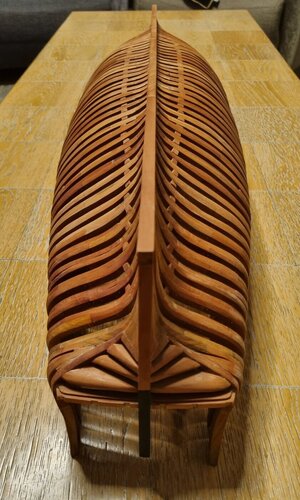
Today after 8 months I reached the first peak among many more.
All the frames of the ship were glued together and the structure of the ship stands on its own.
I admit that I am satisfied with the intermediate result.
In the coming days I will dedicate the time to sanding the inner and outer contours.
Wishing you all a fun and relaxing weekend
View attachment 456231View attachment 456232View attachment 456233View attachment 456234View attachment 456235View attachment 456236View attachment 456237View attachment 456238View attachment 456239View attachment 456240View attachment 456241View attachment 456242View attachment 456243View attachment 456244View attachment 456245





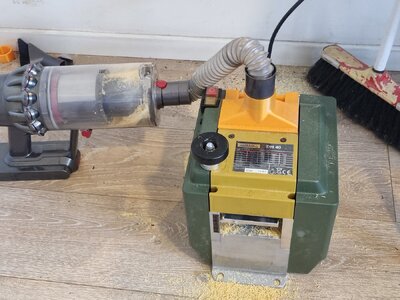
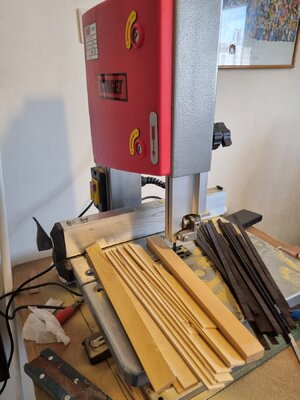

Thank you very much for your comments Daniel. Very much appreciatedWhat an interesting combination of treatments for your timbers Shota. I do like the warm tone the timbers have. I use "Butcher Block" mineral oil on my actual cutting boards, stuff works great.

my dear friend Jim, thank you very much for your kind words and complimentsYou keep me wondering about the quality of your and improving your overall skills, my friend! Keep up the excellent work, and BTW, I like the finish produced by this conditioner.

thank you very much my dear friend Stephan for your kind wordsNice work, and lovely tools you gor there.

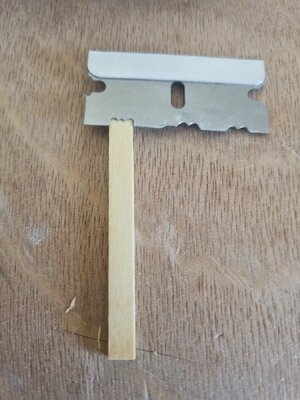
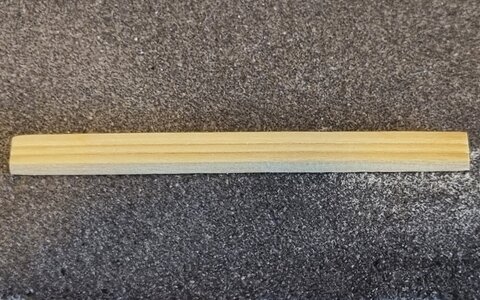
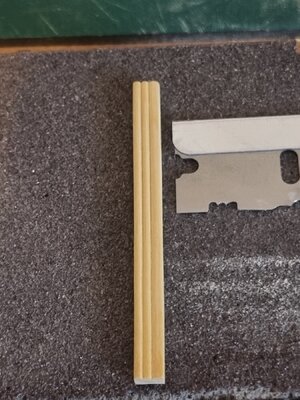
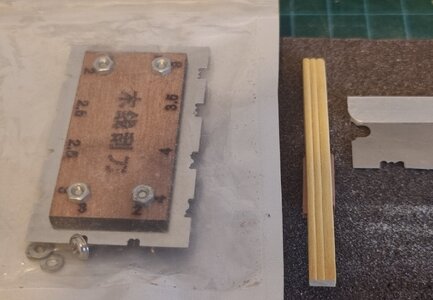


Mirke mój drogi przyjacieluWitaj
Drogi Shoto twój kadłub wygląda super ale po nałożeniu wosku i oleju nie będziesz miała problemu z klejeniem innych części. Pytam bo nie używałem nigdy wosku ani oleju.. Zrobiłeś świetną grubościówke na papier ścierny gdzie kupiłeś walek na papier scierny?.Pozdrawiam Mirek

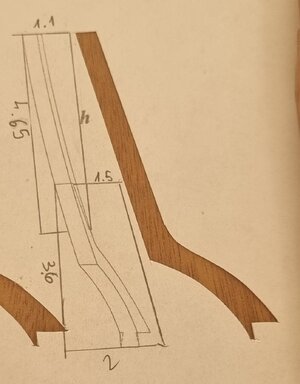
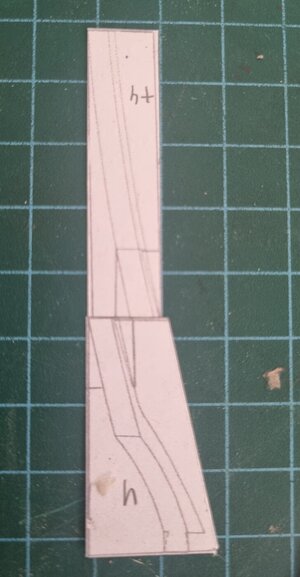
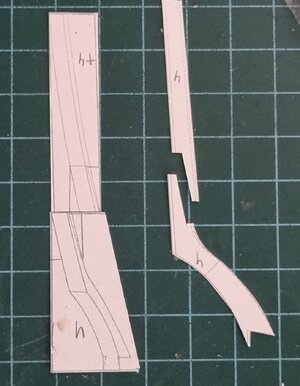
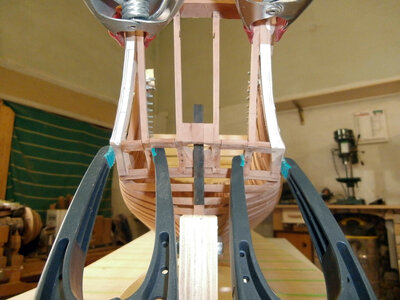
You made some very nice steps on the stern, Shota.good evening dear friends
The update this time is Mainly to get help and guidance when it comes to building the rear part of the stern.
I realized that before I put the decorative boards and the whale boards, I need to complete the rear hull of the stern.
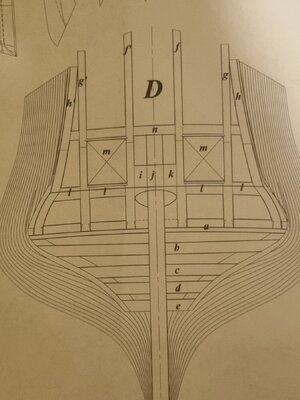
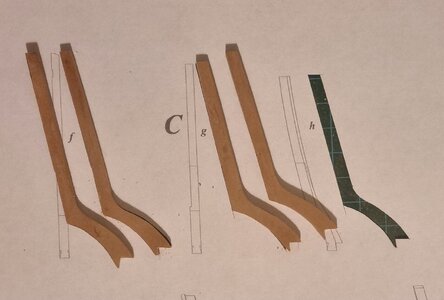
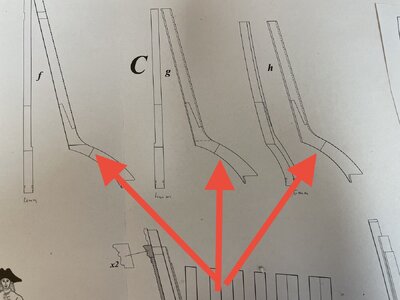
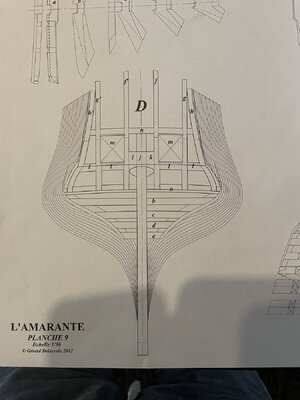
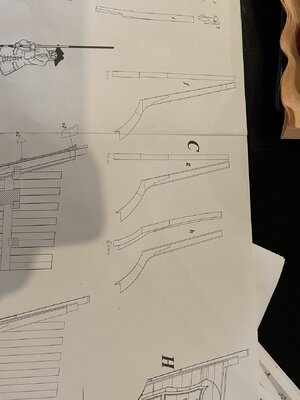
As you will see in the picture, it relies on three pairs of longitudinal beams g f and h. I made g and f relatively easily also because they stand at a 90 degree angle.View attachment 457637View attachment 457638
However, a pair of h-beams is inclined at an angle and after thinking I decided to start with the production/cutting of the angle/back profile from wide cubes and only then to cut the side profile from them. Do you know another good way? I am attaching pictures of my work and pictures of Tobias and Jumpy65's work as a reference.
View attachment 457639View attachment 457640View attachment 457641View attachment 457642View attachment 457643View attachment 457644View attachment 457645
The next issue I need help with is Regarding the three parts i j k that are between the beams f and actually through it in a channel/round tube the ship's rudder comes out.
I'm having trouble understanding the outlines of the three parts (i j k) and what the exact positions are in relation to all the structural components of the rear front of the stern.
Any detailed instruction accompanied by pictures will be welcomed (also this time I will attach pictures of the friends' work - finished result without documentation of the steps)
View attachment 457648View attachment 457649View attachment 457650View attachment 457651
Many thanks in advance
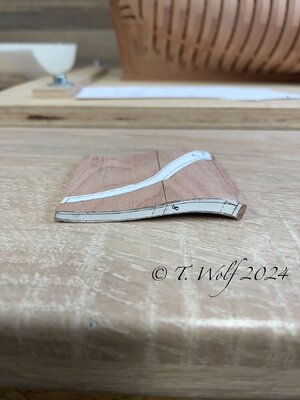
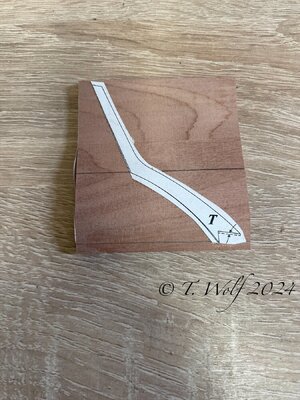
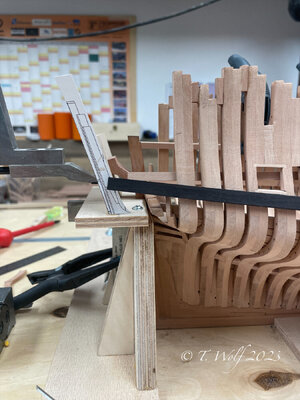
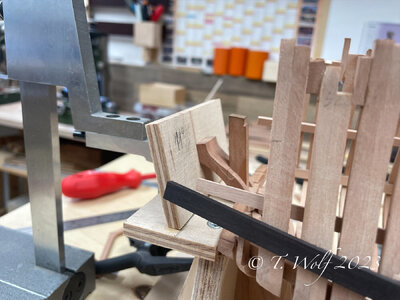
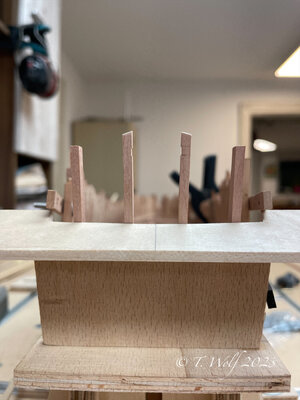
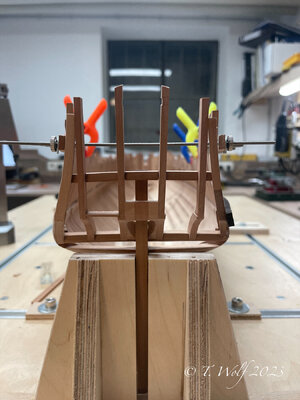
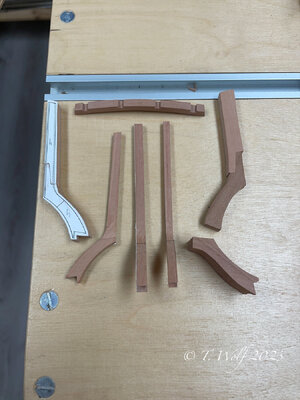
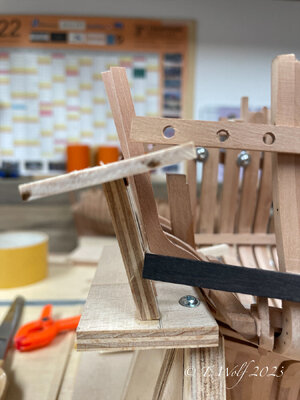

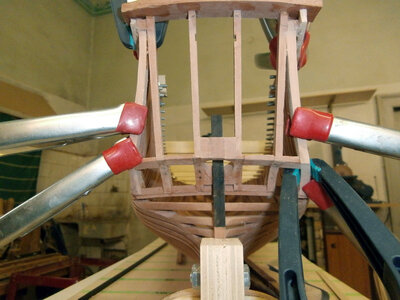
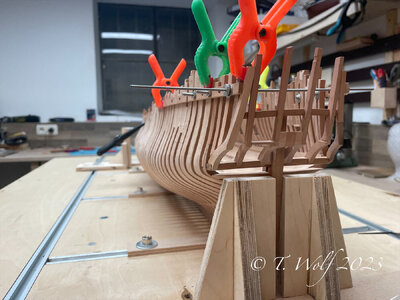
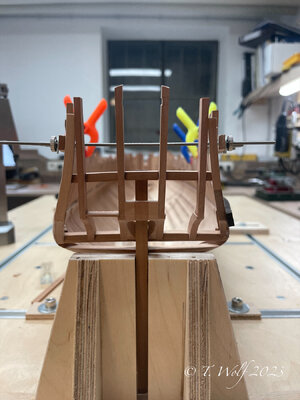
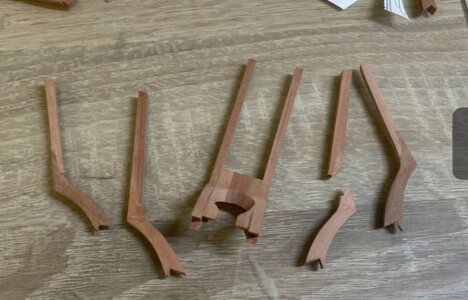
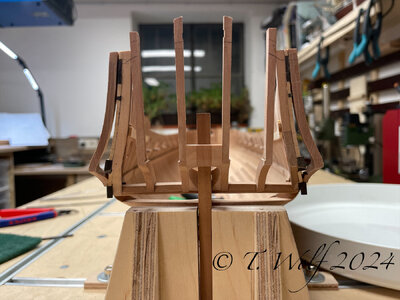
thank you very much my dear friend Tobias for your help and guidance!!!Hello Shota, to make the side stern wood. Here I took the following approach at Le Rochefort. Since I didn't have wood that wide, I glued two boards together. Then I took the view from the back and glued it to the wood and cut it out, then I glued the side view and cut it out, so you get an absolutely precise side part. Sand a bit and adjust the slight bevels.
View attachment 457844
View attachment 457846
View attachment 457845
View attachment 457850
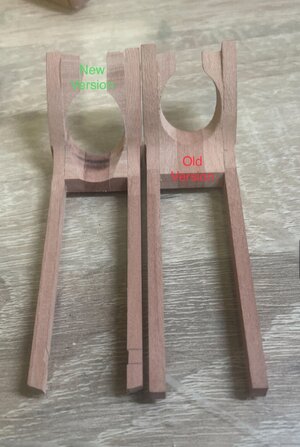
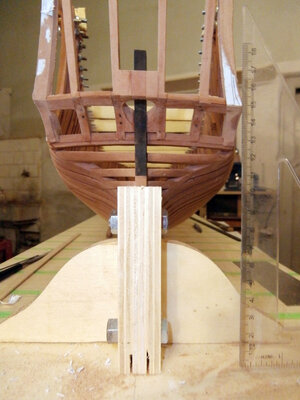
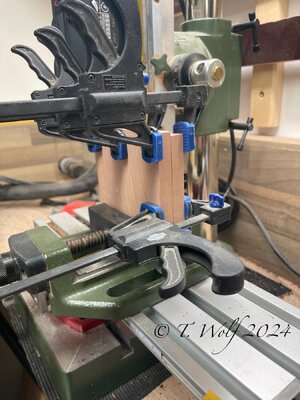
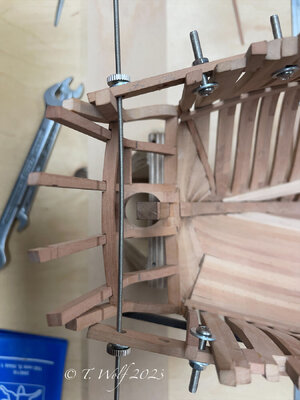
As for the middle part, it's not too complicated. The important thing is that you make a copy of the plan and build a device to keep the exact angle. In the plan you can see the angle at which the rudder is installed. I glued an oversized cube out of the three inner pieces of wood and then clamped it in the vice and used the router to mill a hole (I think 16mm), then made and adjusted the middle stern pieces (with the help of another copy) and glued everything together.
View attachment 457851
View attachment 457852
In order to get an exact position of the side pieces of wood, I also attached small strips with holes at the upper edge and adjusted the distance with a small threaded rod.
View attachment 457849
View attachment 457856
View attachment 457855
View attachment 457854
I hope I was able to shed some light on the matter. Best regards, my friend.
View attachment 457843
View attachment 457847
View attachment 457848
View attachment 457853

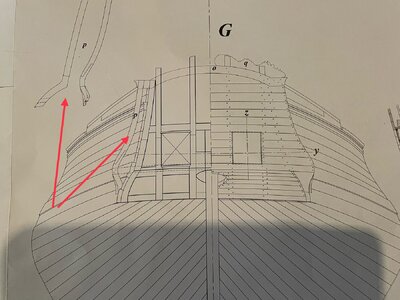
hello my friendDear Shota, I probably missed it somewhere, but are those parts I indicated with a red arrow temporary or permanent spacers?
View attachment 457555
