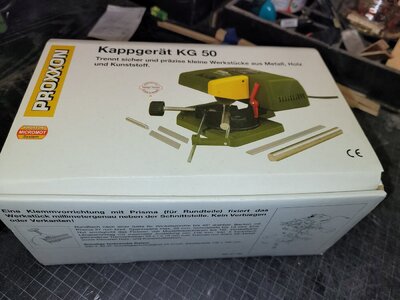
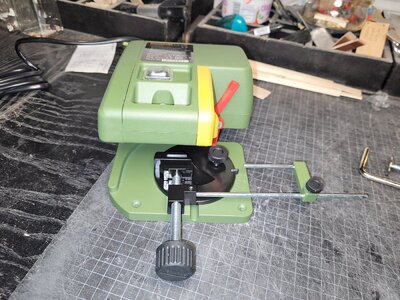
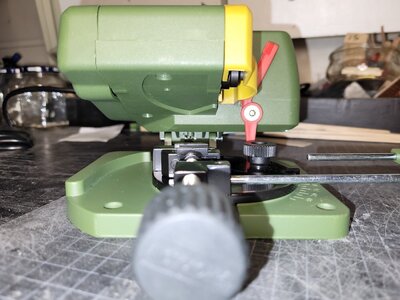
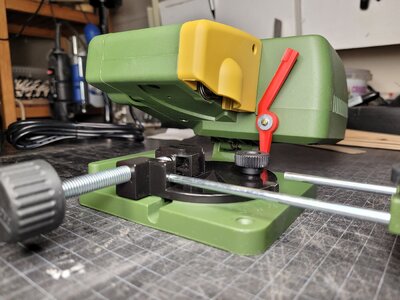
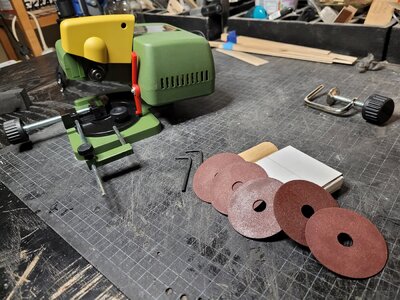
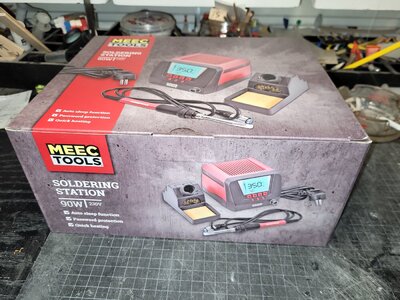
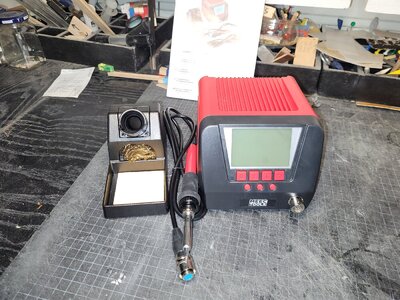
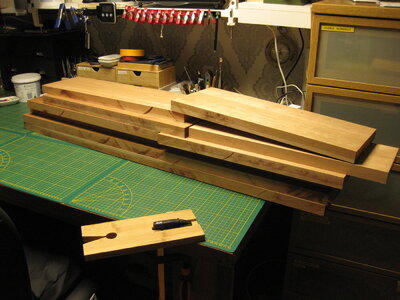
I also have that Proxxon machine. Its great for hobby stuff.
-

Win a Free Custom Engraved Brass Coin!!!
As a way to introduce our brass coins to the community, we will raffle off a free coin during the month of August. Follow link ABOVE for instructions for entering.
-

PRE-ORDER SHIPS IN SCALE TODAY!
The beloved Ships in Scale Magazine is back and charting a new course for 2026!
Discover new skills, new techniques, and new inspirations in every issue.
NOTE THAT OUR FIRST ISSUE WILL BE JAN/FEB 2026
You are using an out of date browser. It may not display this or other websites correctly.
You should upgrade or use an alternative browser.
You should upgrade or use an alternative browser.
Purchased shortly ago / sthg new in your workshop -> present it here
- Thread starter Uwek
- Start date
- Watchers 191
-
- Tags
- just purchased
For years I've used metal coatings from Sculptnouveau.com for their metallic colors and patinas on my woodworking projects.
(Yes, their metallic colors work on wood even though they are listed as metal coatings)
I know most use the more common Brass Black for blackening brass however, I seem to struggle with obtaining a finish which does not rub off easily. I recently ordered their Slate Black patina for a current project. I also ordered their metal cleaner & degreaser.
Attached is a picture of two brass tubes blacked with their product. I couldn't be happier with the results. Handling of the parts post treatment I don't find any of the black rubbing off.
They may be a little pricey However, well worth it in my book.

The two brass tubes
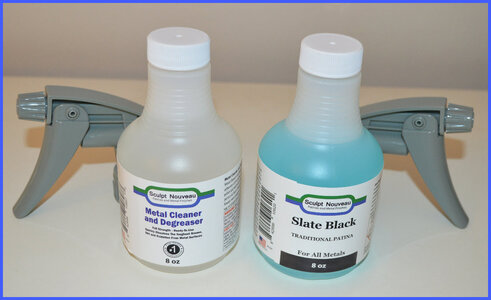
They do come with sprayers although for these small parts I brushed both the cleaner & patina.
The directions are in very small print and if using the sprayer, I would follow their warnings and use a respirator, latex gloves and eye protection for safety.
(Yes, their metallic colors work on wood even though they are listed as metal coatings)
I know most use the more common Brass Black for blackening brass however, I seem to struggle with obtaining a finish which does not rub off easily. I recently ordered their Slate Black patina for a current project. I also ordered their metal cleaner & degreaser.
Attached is a picture of two brass tubes blacked with their product. I couldn't be happier with the results. Handling of the parts post treatment I don't find any of the black rubbing off.
They may be a little pricey However, well worth it in my book.

The two brass tubes

They do come with sprayers although for these small parts I brushed both the cleaner & patina.
The directions are in very small print and if using the sprayer, I would follow their warnings and use a respirator, latex gloves and eye protection for safety.
Did you use a sealer after the blackening?For years I've used metal coatings from Sculptnouveau.com for their metallic colors and patinas on my woodworking projects.
(Yes, their metallic colors work on wood even though they are listed as metal coatings)
I know most use the more common Brass Black for blackening brass however, I seem to struggle with obtaining a finish which does not rub off easily. I recently ordered their Slate Black patina for a current project. I also ordered their metal cleaner & degreaser.
Attached is a picture of two brass tubes blacked with their product. I couldn't be happier with the results. Handling of the parts post treatment I don't find any of the black rubbing off.
They may be a little pricey However, well worth it in my book.
View attachment 352138
The two brass tubes
View attachment 352139
They do come with sprayers although for these small parts I brushed both the cleaner & patina.
The directions are in very small print and if using the sprayer, I would follow their warnings and use a respirator, latex gloves and eye protection for safety.
Not yet. If I do it will be an Acrylic Matte finish.Did you use a sealer after the blackening?
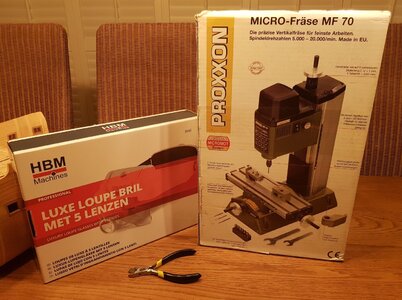
The top of my wish list was honored.. I received the Proxxon Milling Machine MF70 from my admiral and pair of magnifying glasses and cutters for the workshop from my son.Hi Tony, congratulations. I understand this is quite a useful milling machine.
I don't own one yet, but my birthday is close and this will be on top of my wish list.
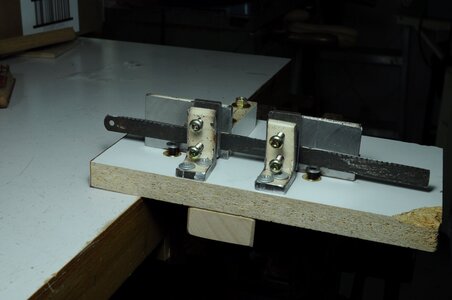
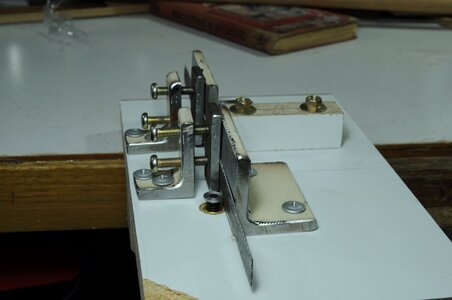
You draw the wood strip under the hacksaw blade, which has a molding shape cut into its back edge. The strip is trapped between the blade and the table underneath. The blade acts like a shaping scraper. You set the height of the blade tightly against the wood strip, then draw it several times, shaving off wood and making the strip conform to whatever shape was cut into the blade. Lowering the blade in small increments keeps it tight against the strip. Having the blade held firmly in the mount makes drawing the strip much easier and prevents breakage.Dear Steven
Thanks for sharing, but I'm having trouble understanding how the jig works and how to create it making wooden mouldings. I would appreciate it if you could elaborate a bit and attach more pictures
Great appreciation Shota
- Joined
- Aug 8, 2019
- Messages
- 5,573
- Points
- 738

Thanks, I even more like this tool now. Shouts to duplicateYou draw the wood strip under the hacksaw blade, which has a molding shape cut into its back edge. The strip is trapped between the blade and the table underneath. The blade acts like a shaping scraper. You set the height of the blade tightly against the wood strip, then draw it several times, shaving off wood and making the strip conform to whatever shape was cut into the blade. Lowering the blade in small increments keeps it tight against the strip. Having the blade held firmly in the mount makes drawing the strip much easier and prevents breakage.
Thank you for the explanation Kurt, you are spot on.You draw the wood strip under the hacksaw blade, which has a molding shape cut into its back edge. The strip is trapped between the blade and the table underneath. The blade acts like a shaping scraper. You set the height of the blade tightly against the wood strip, then draw it several times, shaving off wood and making the strip conform to whatever shape was cut into the blade. Lowering the blade in small increments keeps it tight against the strip. Having the blade held firmly in the mount makes drawing the strip much easier and prevents breakage.
The main difference on my jig is the height adjusting screws to give me more height control.
Cheers,
Stephen.
- Joined
- Jan 9, 2020
- Messages
- 10,566
- Points
- 938

Thank you for the tip, Ron. Now the challenge is getting them to China.For years I've used metal coatings from Sculptnouveau.com for their metallic colors and patinas on my woodworking projects.
(Yes, their metallic colors work on wood even though they are listed as metal coatings)
I know most use the more common Brass Black for blackening brass however, I seem to struggle with obtaining a finish which does not rub off easily. I recently ordered their Slate Black patina for a current project. I also ordered their metal cleaner & degreaser.
Attached is a picture of two brass tubes blacked with their product. I couldn't be happier with the results. Handling of the parts post treatment I don't find any of the black rubbing off.
They may be a little pricey However, well worth it in my book.
View attachment 352138
The two brass tubes
View attachment 352139
They do come with sprayers although for these small parts I brushed both the cleaner & patina.
The directions are in very small print and if using the sprayer, I would follow their warnings and use a respirator, latex gloves and eye protection for safety.
I would also do an adjustable sliding guide. It should hold the wood stock against the base (a white wooden block behind the scraper holders), or you can modify the base on the right side by adding grooves so it can slide toward the base. Hope you got an idea... and I do like your adjustable height it adds precision.Thank you for the explanation Kurt, you are spot on.
The main difference on my jig is the height adjusting screws to give me more height control.
Cheers,
Stephen.
Thanks Jim,I would also do an adjustable sliding guide. It should hold the wood stock against the base (a white wooden block behind the scraper holders), or you can modify the base on the right side by adding grooves so it can slide toward the base. Hope you got an idea... and I do like your adjustable height it adds precision.
That's a good idea, I will have a look at modifying it later.
Cheers,
Stephen.
Just received my new sander from Byrnes Model machines. I currently have his 5" sander as well as his table saw & thickness sander. All of which are superb tools. What enticed me to buy another sander was Jim's new design being variable speed as well as CW or CCW rotation.
The sanding disk is 4" diameter as opposed to his original 5". The new sanding disk is a two-piece unit which makes for more rapid changes of the sanding disk. It comes with a second disk on which you can have a different grit available for a quicker change. Additional disks are available for purchase.
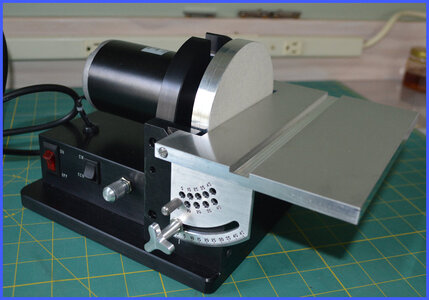
The sander showing the controls conveniently located on the side of the unit. Basically, the same robust construction as the 5" unit and all of his tools. You can see the split line on the sanding disk which is easily changed by three screws accessible from the back through the slot at the top of the motor mounting plate. Very quiet and smooth-running unit.
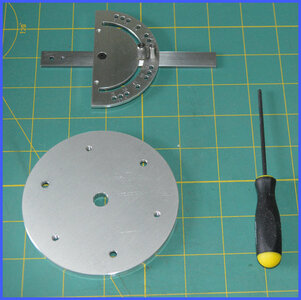
Also included is a second sanding disk, miter gage and Bondhus ball driver for the disk attachment screws.
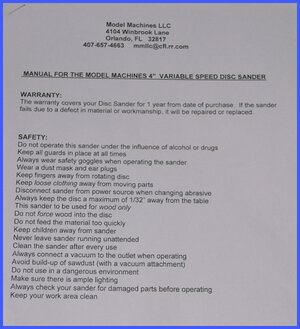
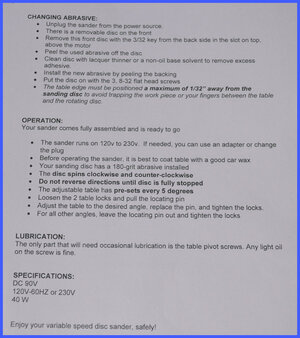
Two pages of safety and operating instructions.
The sanding disk is 4" diameter as opposed to his original 5". The new sanding disk is a two-piece unit which makes for more rapid changes of the sanding disk. It comes with a second disk on which you can have a different grit available for a quicker change. Additional disks are available for purchase.

The sander showing the controls conveniently located on the side of the unit. Basically, the same robust construction as the 5" unit and all of his tools. You can see the split line on the sanding disk which is easily changed by three screws accessible from the back through the slot at the top of the motor mounting plate. Very quiet and smooth-running unit.

Also included is a second sanding disk, miter gage and Bondhus ball driver for the disk attachment screws.


Two pages of safety and operating instructions.


