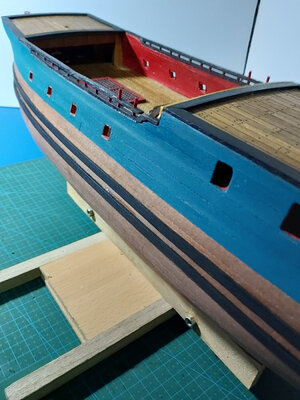
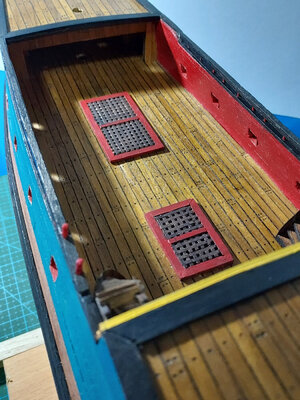
Royal Caroline 1:50 YuanQing/ZHL [COMPLETED BUILD]

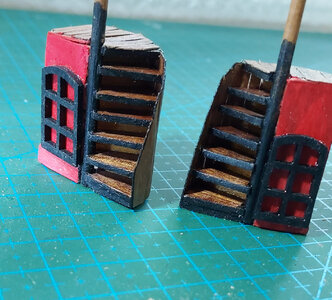
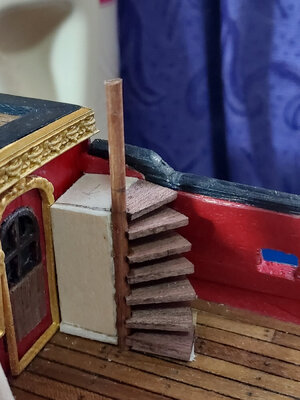
Next on my plate were the spiral staircases. The instructions made it seem like it should be a simple task, but, the novice that I am, I had to think through how to approach it.

First I had to calculate how many steps to put in. In our country, we have a superstition about the number of steps on the stairs. You have to count from the first step and do oro(gold), plata(silver), mata(death), oro, plata mata and so on. The last step cannot coincide with mata since it's bad luck. I put in 7 steps, so it ends in oro.

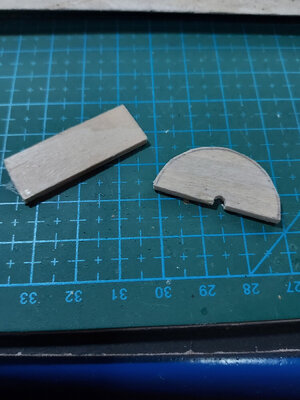
I had to DIY some pieces because I couldn't find them in the kit. The half moon piece serves as a base and the rectangular shape is the wall for the door.
PSX_20210407_111648.jpg

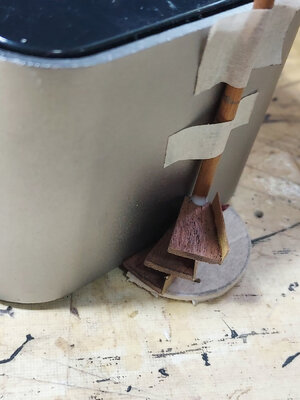
The staircase requires a dowel to anchor the steps. I temporarily taped it against a flat vertical surface to keep it steady.
PSX_20210407_111657.jpg

I took a couple of deck planking strips and glued it against the steps to serve as risers. This also served to help me with the vertical spacing of the steps.
PSX_20210407_111707.jpg

I guesstimated how much rotation angle I needed so that when I reached the top, the final step is facing at the proper angle to the landing. I used white glue to give me a bit of leeway to adjust the steps. Once I established the proper angles, I dabbed some CA gel glue on the inside in order to strengthen them.
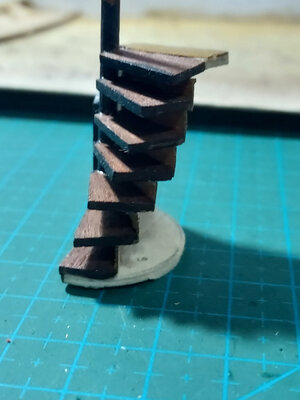
PSX_20210407_111839.jpg

PSX_20210407_111731.jpg

Put in the rectangular pieces and applied paint and poly.

PSX_20210407_111857.jpgPSX_20210407_112055.jpg

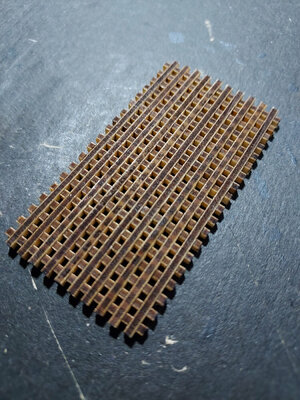
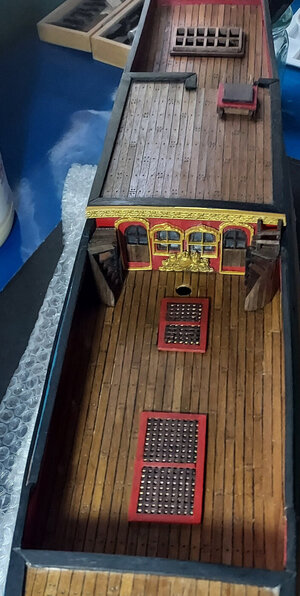
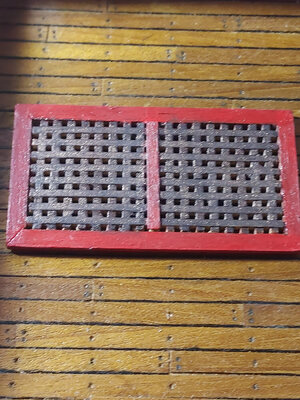
Next, I worked on the gratings. These are very delicate pieces that need to be handled carefully. I was very impressed at the precision of the cutting at the factory. They were clean and fit together perfectly. Nice job YuanQing.
PSX_20210407_112203.jpgPSX_20210407_112216.jpg

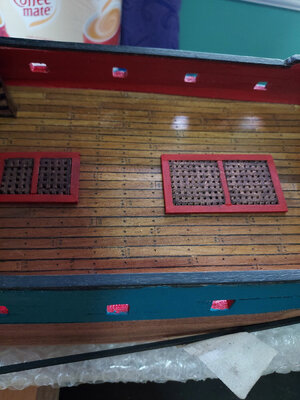
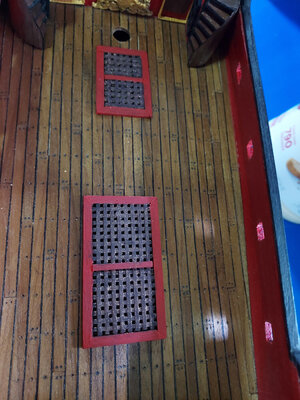
Put a border around the grates and painted them red. The grates themselves were painted black and then overlaid with my favorite burnished bronze powder.
PSX_20210417_181514.jpgPSX_20210407_112411.jpgPSX_20210407_112422.jpgPSX_20210417_181541.jpg

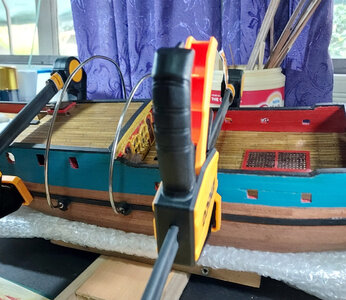
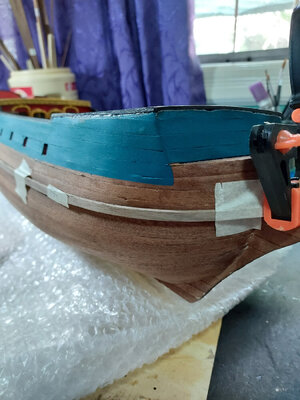
Then it was on to attaching the wales. After soaking the wood for a half hour, I dry fitted the wales and clamped and taped them in place. I then hit them with a hair dryer until they were dry and kept their shape.

I used CA gel glue towards the bow where the stress points are and white Elmer's glue for the remainder of the length.
PSX_20210407_112149.jpgPSX_20210417_181559.jpg
 

Attachments

  • PSX_20210407_111807.jpg
    PSX_20210407_111807.jpg
    236.4 KB · Views: 8
Next on my plate were the spiral staircases. The instructions made it seem like it should be a simple task, but, the novice that I am, I had to think through how to approach it.

First I had to calculate how many steps to put in. In our country, we have a superstition about the number of steps on the stairs. You have to count from the first step and do oro(gold), plata(silver), mata(death), oro, plata mata and so on. The last step cannot coincide with mata since it's bad luck. I put in 7 steps, so it ends in oro.

I had to DIY some pieces because I couldn't find them in the kit. The half moon piece serves as a base and the rectangular shape is the wall for the door.
View attachment 228298

The staircase requires a dowel to anchor the steps. I temporarily taped it against a flat vertical surface to keep it steady.
View attachment 228299

I took a couple of deck planking strips and glued it against the steps to serve as risers. This also served to help me with the vertical spacing of the steps.
View attachment 228300

I guesstimated how much rotation angle I needed so that when I reached the top, the final step is facing at the proper angle to the landing. I used white glue to give me a bit of leeway to adjust the steps. Once I established the proper angles, I dabbed some CA gel glue on the inside in order to strengthen them.
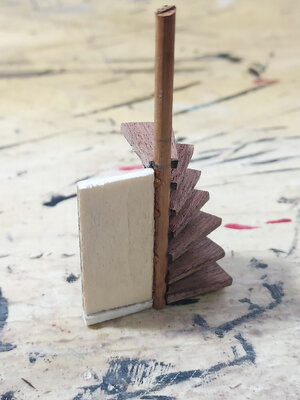
View attachment 228303

View attachment 228301

Put in the rectangular pieces and applied paint and poly.
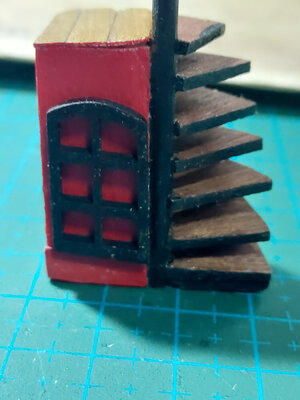
View attachment 228304View attachment 228305

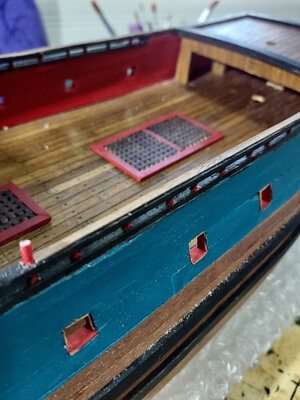
Next, I worked on the gratings. These are very delicate pieces that need to be handled carefully. I was very impressed at the precision of the cutting at the factory. They were clean and fit together perfectly. Nice job YuanQing.
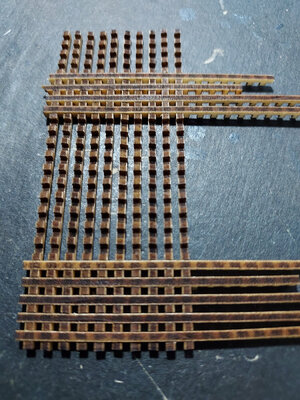
View attachment 228327View attachment 228328

Put a border around the grates and painted them red. The grates themselves were painted black and then overlaid with my favorite burnished bronze powder.
View attachment 228331View attachment 228329View attachment 228330View attachment 228332

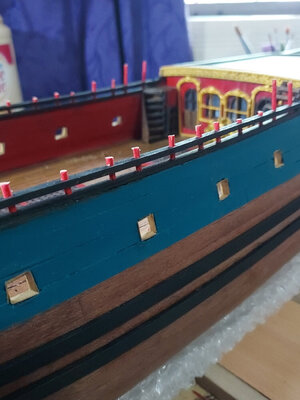
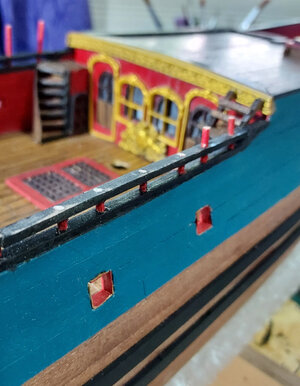
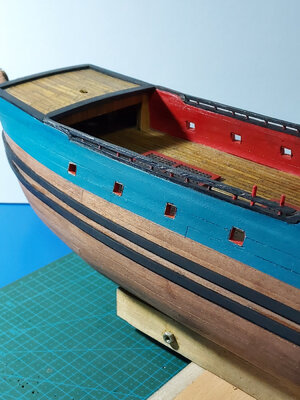
Then it was on to attaching the wales. After soaking the wood for a half hour, I dry fitted the wales and clamped and taped them in place. I then hit them with a hair dryer until they were dry and kept their shape.

I used CA gel glue towards the bow where the stress points are and white Elmer's glue for the remainder of the length.
View attachment 228368View attachment 228369
The gold really pops, Reggie!
 
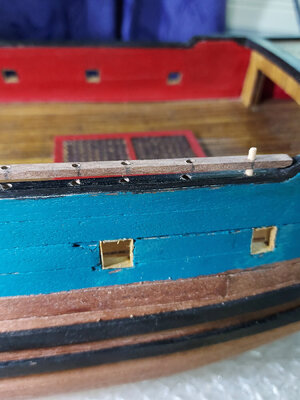
The midship railings were next. To determine the spacing, I followed the design of the resin castings to coincide with the rail posts. The posts themselves were 2mm round dowels cut to size. In order to assemble them, I had to drill holes on the base and upper rails.

PSX_20210417_182023.jpg
PSX_20210417_182054.jpg

Trimmed the excess dowels and glued a strip of planking strip to cover the top part.
PSX_20210417_182109.jpg


PSX_20210417_182127.jpg

Here's what they look like.

PSX_20210417_182238.jpgPSX_20210417_182145.jpgPSX_20210417_182201.jpg
 
Hello. very beautiful construction. congratulations. demonstration I make the same but with improvised ice cream sticks. is it easy to send me the cd to email? thanks
 
Hello. very beautiful construction. congratulations. demonstration I make the same but with improvised ice cream sticks. is it easy to send me the cd to email? thanks
Hello @lentas ...sorry for the late reply. I will be happy to send you what I have. Just a word of caution, the instructions for this kit leave a lot to be desired so you will have to be patient and resourceful as you navigate through the build. Kindly send me a private message and include your email address so I can forward the files.
 
Hello @lentas ...sorry for the late reply. I will be happy to send you what I have. Just a word of caution, the instructions for this kit leave a lot to be desired so you will have to be patient and resourceful as you navigate through the build. Kindly send me a private message and include your email address so I can forward the files.

Hi Warrlight.... any new detail on your construction. I am following it with interest. I have the same kit and I will start building it in a few months.

You mentioned that the circular staircases where missing. Is that correct ?

Best !!
Daniel
 
Hi Warrlight.... any new detail on your construction. I am following it with interest. I have the same kit and I will start building it in a few months.

You mentioned that the circular staircases where missing. Is that correct ?

Best !!
Daniel
Hi Daniel...it's been slow for the past few weeks. I recently finished work on the capstan and ladders and just started rigging the gun carriages. Will post pictures once I finish. Regarding the spiral staircases, the only things missing and I had to diy were the semi-circular base and the rectangular pieces for the upper landing and the wall piece. Not too much of a problem to do. Looking forward to your build.
 
Hello friends. This will be my second build. My first project was the Black Pearl Golden Edition. For those who may want to visit my previous build, here is the link:


I learned a lot from my initial foray into wood modeling. I was very happy with my experience with the ZHL kit, so I chose to buy my 2nd model again from Max at ZHL.

As I was looking at various models, I was tempted to shoot for the moon and dive into one of the more advanced kits like the Royal Caroline 1:30 by ZHL, the San Felipe or the Le Soleil Royale. But, recognizing my limitations, I decided to be patient and hone my skills a bit longer and take on something that I thought I can handle.

So, finally I chose the Royal Caroline scale 1:50 made by YuanQing and sold by ZHL. Not to be confused for the exquisite Royal Caroline 1:30 scale which is bigger and has a lot more bells and whistles. I will have to defer building the RC 1:30 for a later time once I get more proficient.

As I did for my Black Pearl, which I gave to my son as a legacy gift, this next ship will be for my daughter. Hopefully, many many years from now, when I am gone, they will look at these ships and fondly remember me.

I will not show the contents of the kit in this thread because I already did a box opening thread earlier. If you wish to see what's in the box, I invite you to check out my thread at this link:


I hope you enjoy reading my thread and thanks to all our friends in this forum for their support and encouragement.

Reggie

View attachment 201734
View attachment 201738
Hallo Reggie alias @WarrLight
we wish you all the BEST and a HAPPY BIRTHDAY
Birthday-Cake
 
Hey Reggie, I had a great time when I was in the P.I. in ‘67. Your ship reminds me of a sea going Jeepney. I love it.
 
Hey Reggie, I had a great time when I was in the P.I. in ‘67. Your ship reminds me of a sea going Jeepney. I love it.
Ha ha ha....not quite as colorful as some of those jeepneys @Jay. We still have a lot of them on the road here, maybe with a bit updated music players than the old 8 track cassette tapes.
 
Back
Top