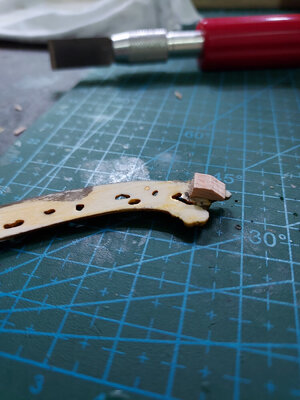
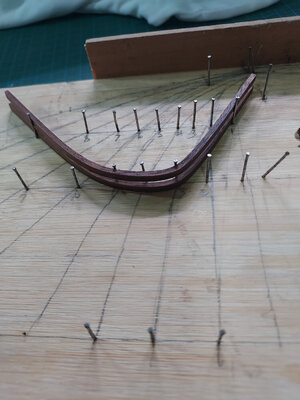
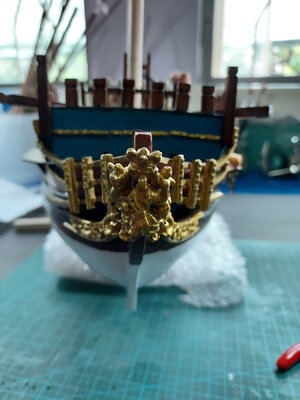
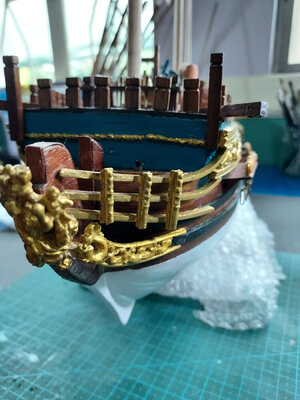
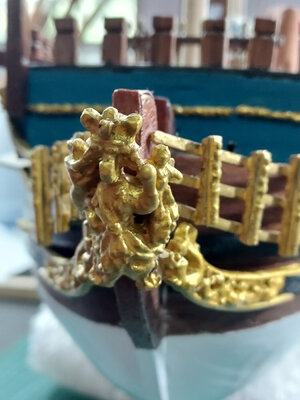
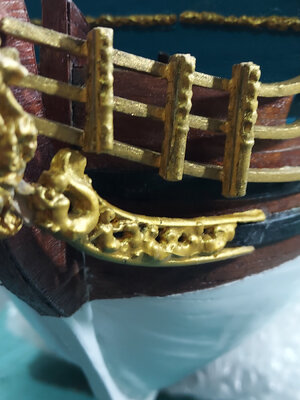
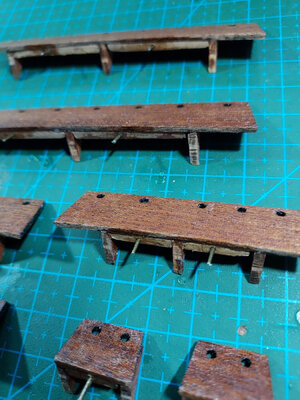
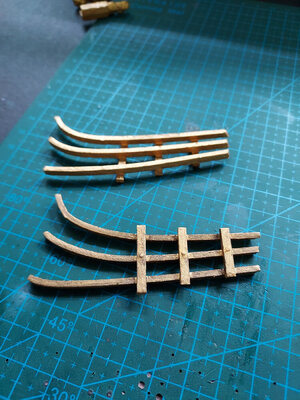
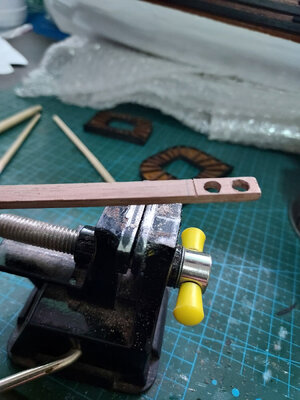
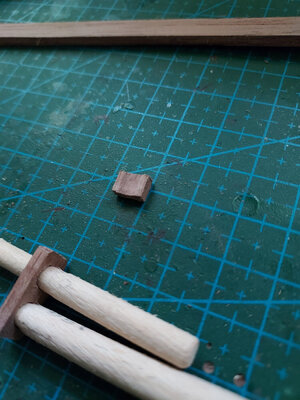
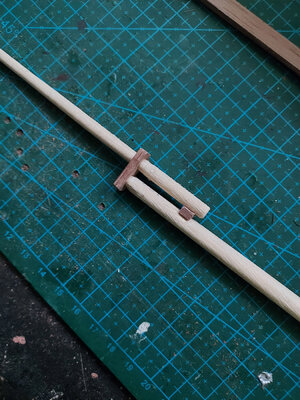
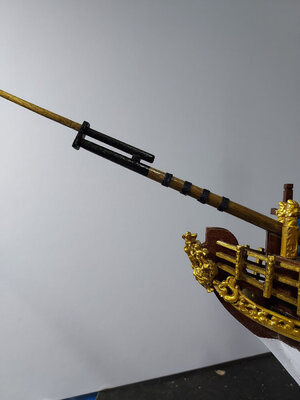
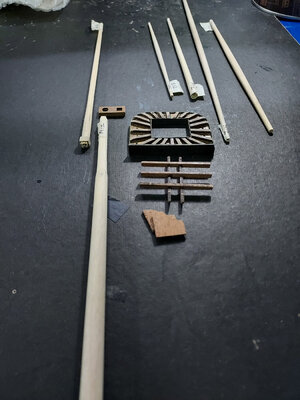
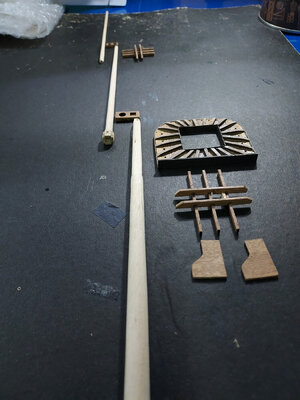
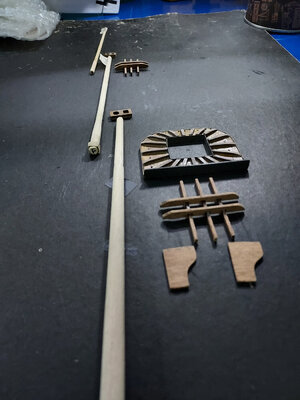
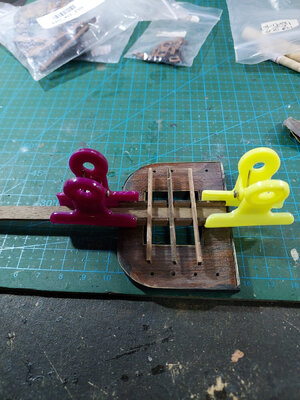
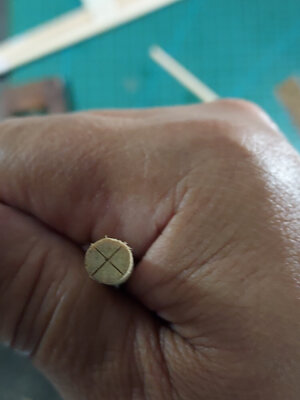
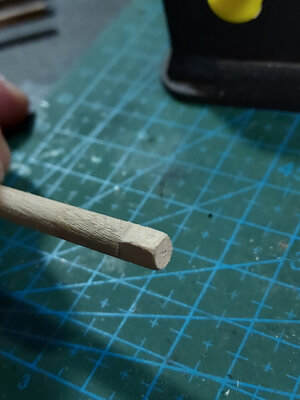
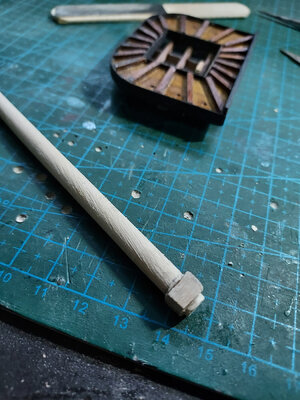
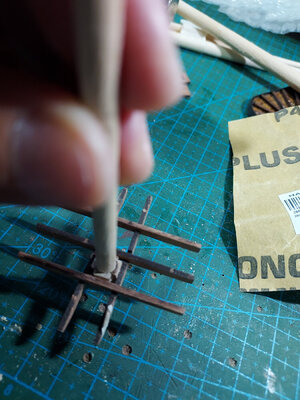
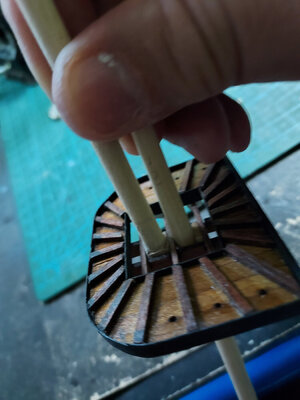
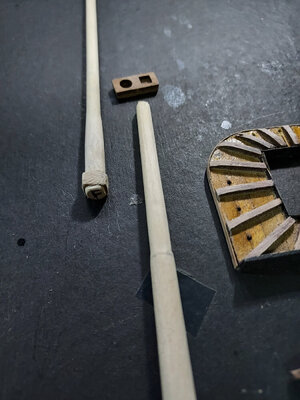
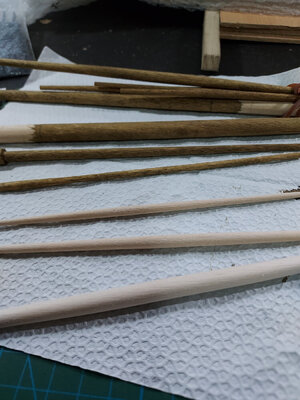
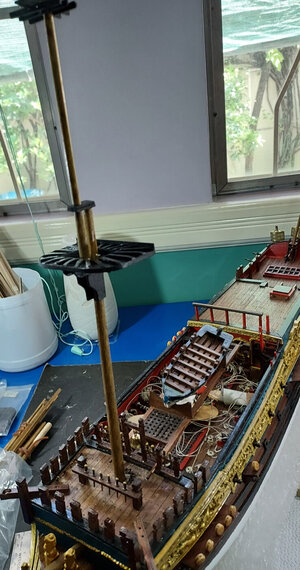
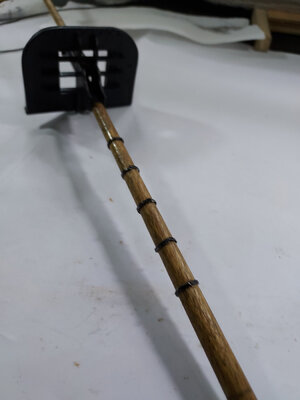
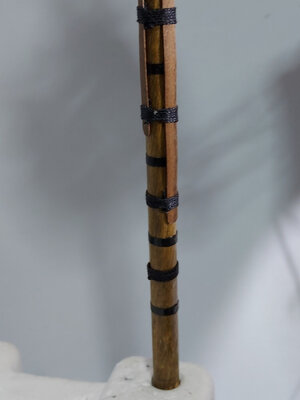
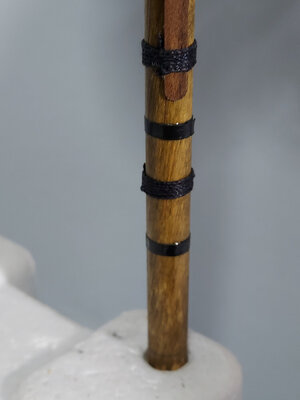
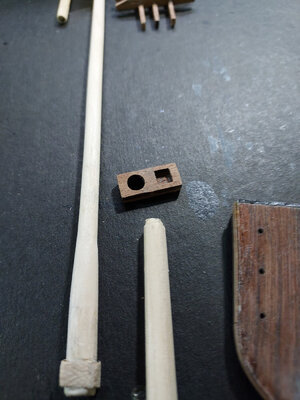
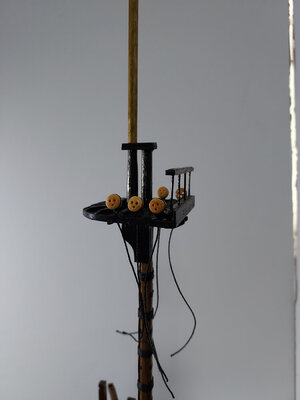
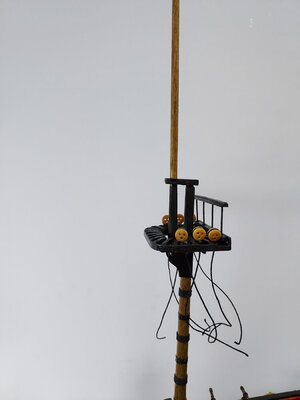
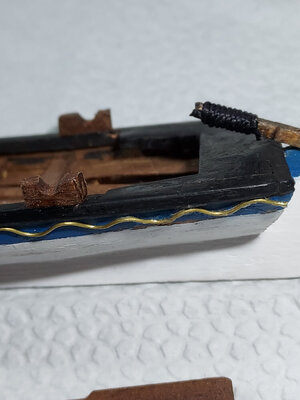
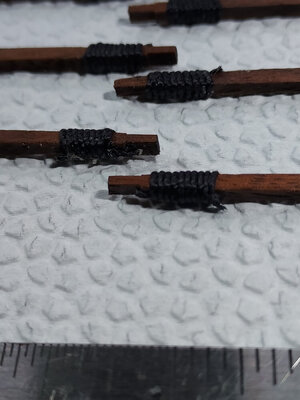
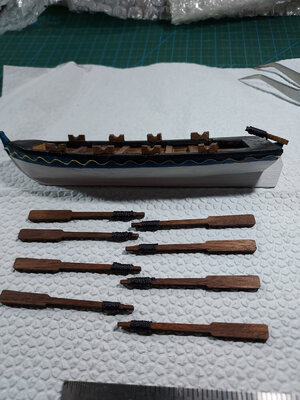
I thought I'd tackle something easy for a change and work on some finishing touches for the little boat. Installed the wood placeholders for the oars and the steering stick. Then did the oars.
Next up was the lanterns. I have been working on these on and off, for the last few months. It was taking me a while, because to be frank, I wasn't sure how best to approach the task.
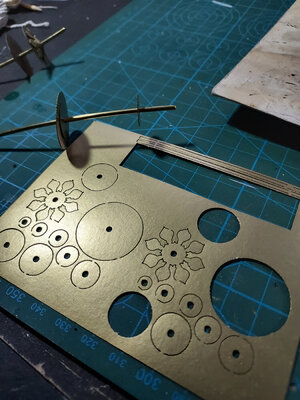
The kit provides somewhat disappointing pieces for the lanterns. To start with, the main piece is a shiny, gold, cardboard/paper. Yes, that's right....cardboard paper.
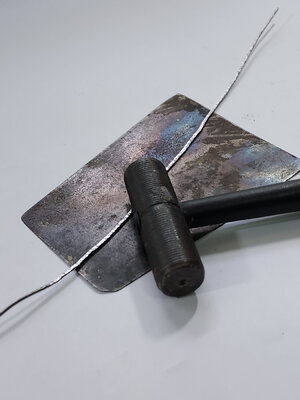
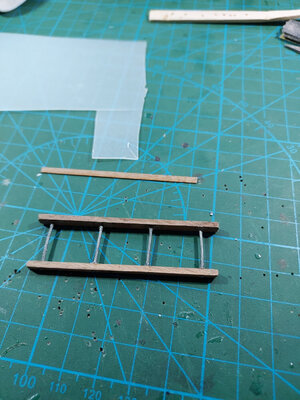
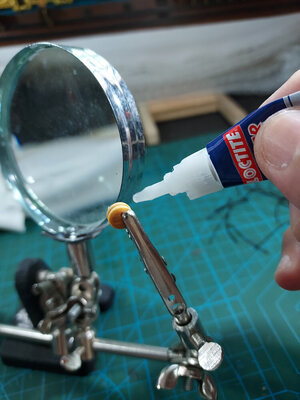
There was no way that the flimsy main piece for the body was going to work. It would have disintegrated at the slightest bump. So, in addition to gluing a piece of translucent plastic to simulate glass, I also glued a piece of stiff wire on the edges of the piece. This added quite a bit of strength to the piece. By the way, I always had trouble with glue smears on my translucent plastic in the past, because I used CA glue, which clouded the plastic. This time, I tried contact cement, and it worked quite a bit better.
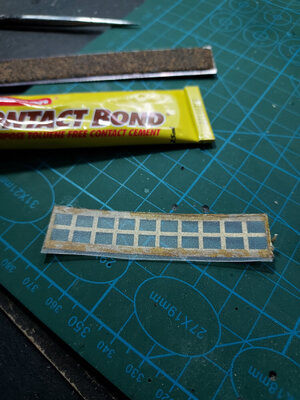
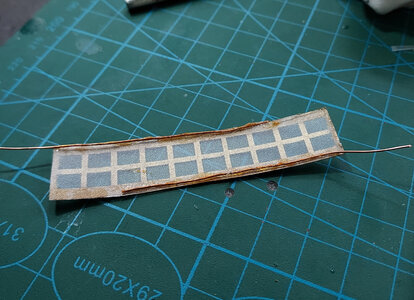
Notice how the wire extends beyond the edge..this is to help lock the piece in place once it is shaped into a cylindrical form.
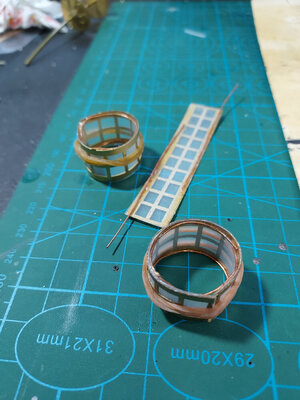
I think, without the added reinforcements, this piece would have been impossible to assemble. I look at the finished lantern with a gratified smile on my face.
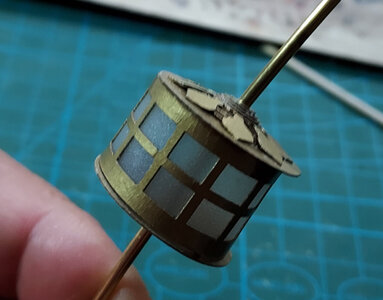
Now, it's time to mount the lanterns. Remember that I mentioned in a prior post that I made things a bit more complicated for myself by deciding to add LED lights to the lanterns?
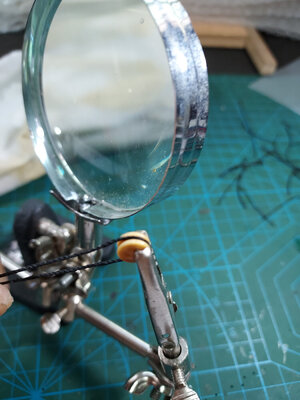
So far, I have the LED wiring just hanging down through the stern.
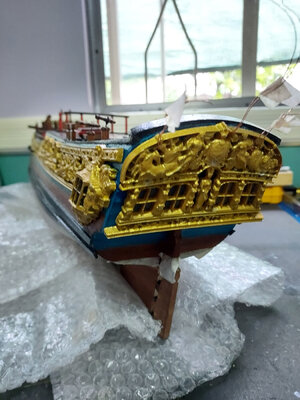
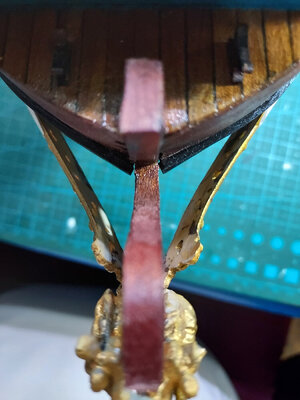
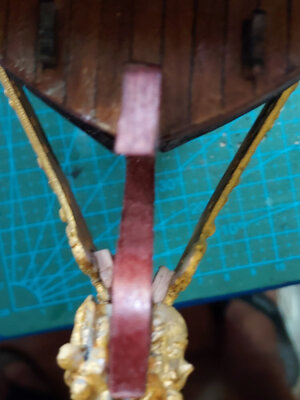
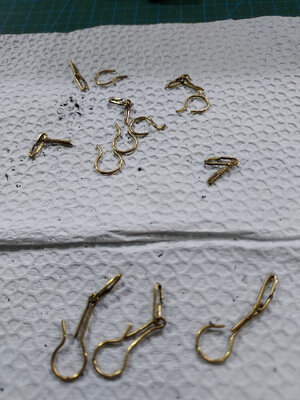
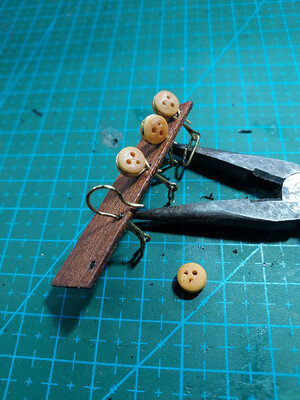
I drilled small holes for the brass wire bracing to be glued to. Test fitted the lanterns. Had a bit if trouble here, because the brass wires were manually shaped and it was difficult to get a perfect uniform angle to them.
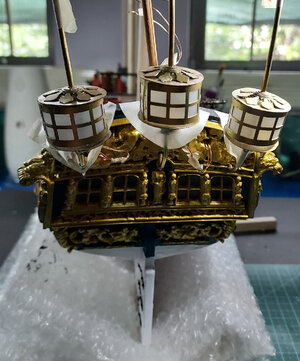
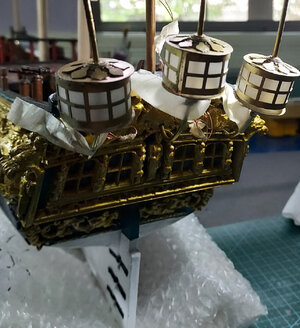
The additional bracing was soldered on to the main support (I still haven't quite learned how to solder cleanly). By the way, it's worth mentioning, none of this was included in the instructions...had to wing myself through the whole process.
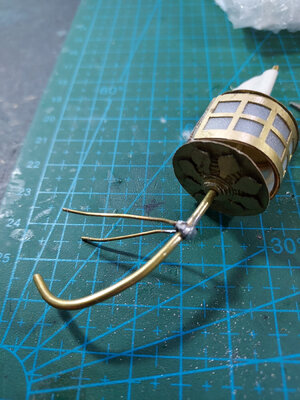
Stuck the lanterns using my old reliable CA glue gel. I noticed the lanterns weren't quite perfectly aligned. But I was afraid to mess with them for fear I will do more damage than good.
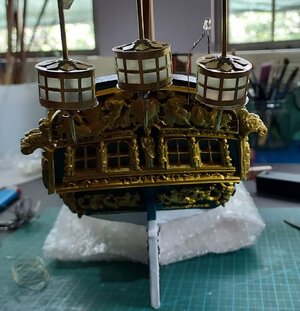
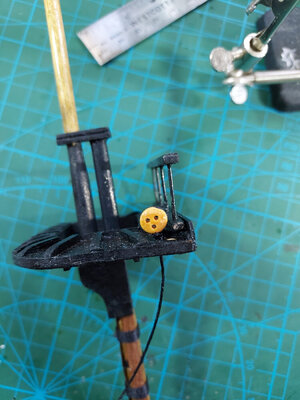
The LEDs were snuck through the bottom part of the assembly. This was a bit of a crude solution, as I couldn't quite figure out how to neatly hide the wiring. Need some help here, friends. So far I have the wiring just annoyingly hanging out there. How can I fix it so they more or less appear neat? Thanks for any suggestions.
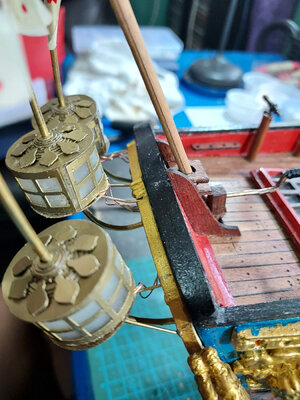
Now it’s time for reckoning. Light them up.
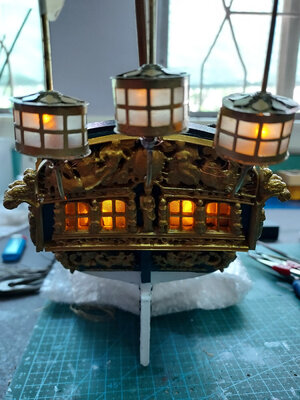
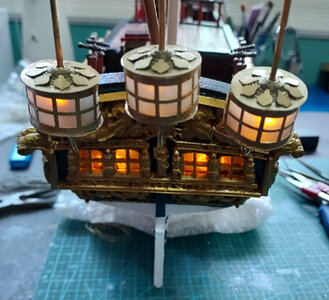
One last thing to do. Need to trim the brass wire.
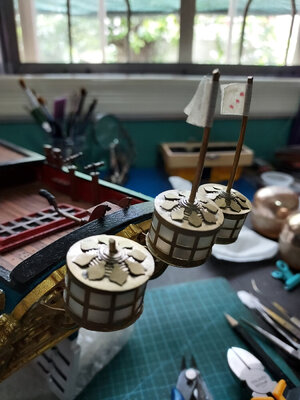
Didnt like the way that looked so I made a small plug using a dowel and drilled through the middle.
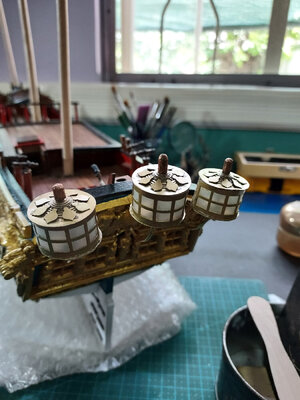
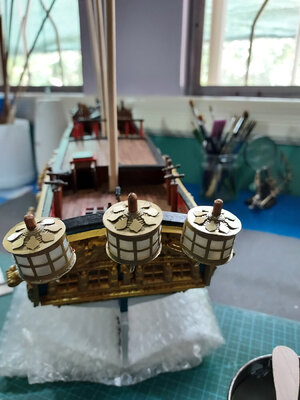
That was quite a good exercise in improvising. I was glad to see that the cardboard-based lanterns turned out quite sturdy in the end.
That's it for now. Thanks for your support.


