The next part of my build involved rigging the various shrouds to the mast -- a set for the lower mast, a set for the top mast, and then the topgallant mast.
But before that, I just want to mention that I have not yet stepped my masts, so all this work will be done "off ship". In my case, I am using a piece of Styrofoam, with holes to hold the masts. This worked great for me as it gives me a lot of flexibility in moving the pieces around.
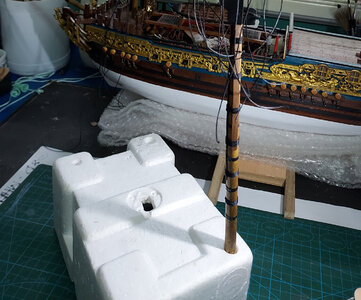
I wanted to mention also that I decided to use my own rope purchased from John at Davaoshipmodeller. I am using black rope for the shrouds, the seizings and serving lines.
I experimented by trial and error on how to best serve the shrouds manually, as I don't have access to a serving tool. In the end, the following is what worked best for me, though it may not be the 100% correct way. There was a lot of serving work to do, as I also decided that the first shrouds are served the full length, as suggested by most references.
I ran the rope 2 to 3 times through the beeswax (I tried to do it more times, but too much wax will give ugly wax residues, especially on black rope). After running the rope a few times between my fingers to penetrate the threads, I run it another few times through a rag between my fingers. This, I discovered, wiped off the excess and avoided the wax gunk as I wind the rope.
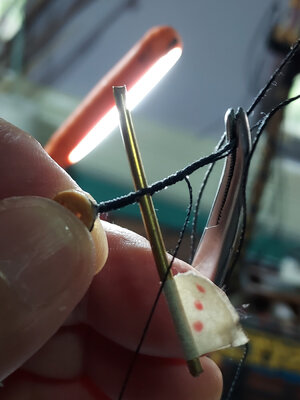
After measuring the desired length of the serving, I marked off the end points with a piece of masking tape. Then I mounted the rope on my third-hand tool, making sure that it is firm and taut.
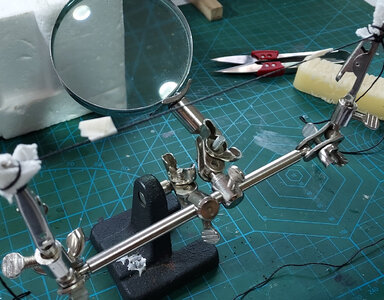
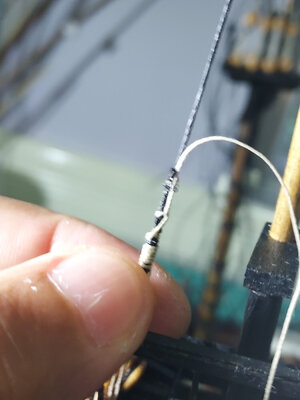
To start off the serving, I apply a small amount of CA glue gel to hold the rope in place. This worked really well for me, and luckily held up very well. At first, I was tying a knot to secure the start of the winding, but it resulted in an ugly bulge, so I tried it without the knot.
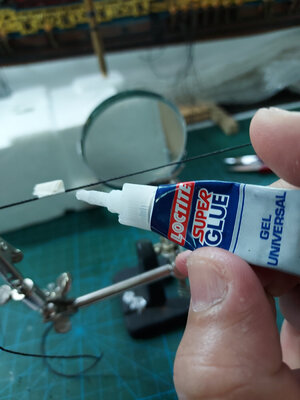
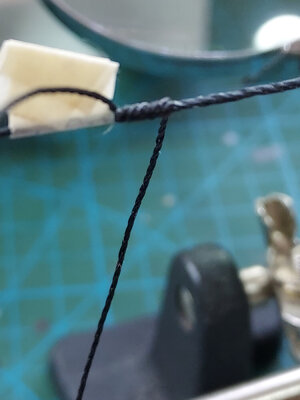
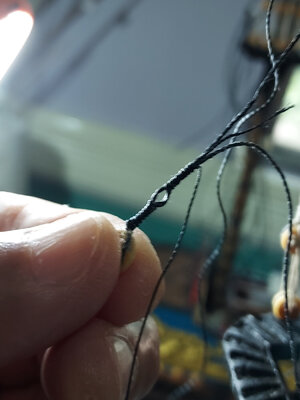
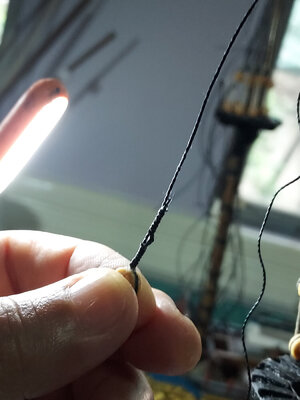
Then I just start winding the rope, making sure to stop every 5th or 6th winding to squeeze the rope tight and position it so the winding is uniform. I secure the last couple of windings with a dab of glue.

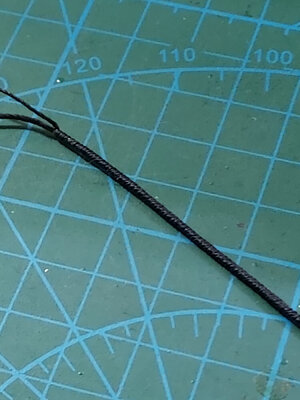
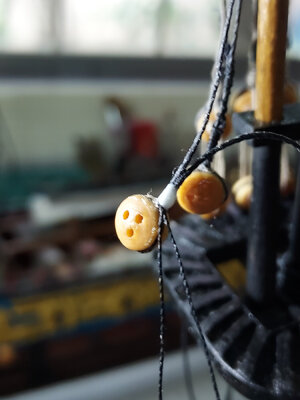
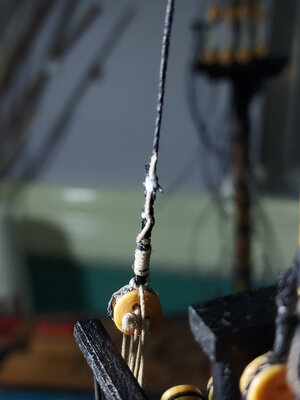
Here are a few finished servings.
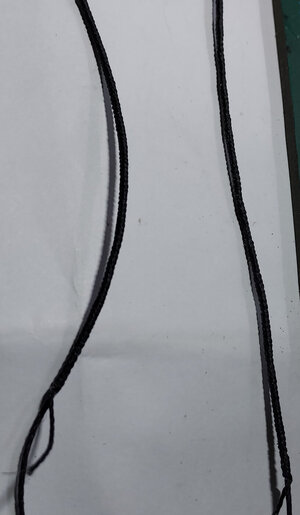
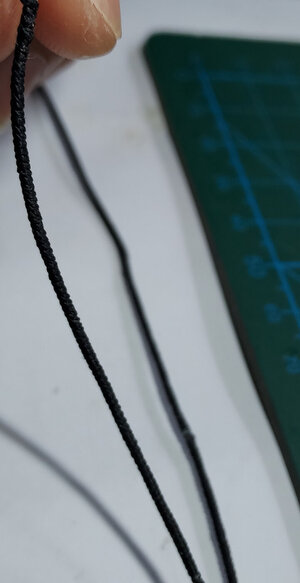
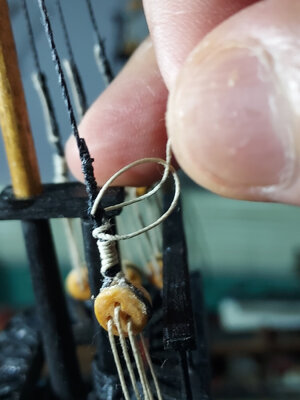
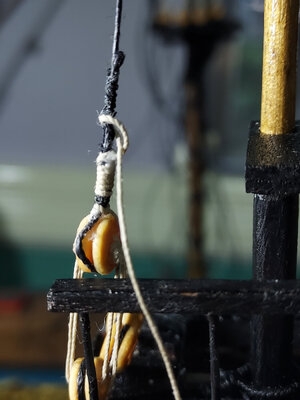
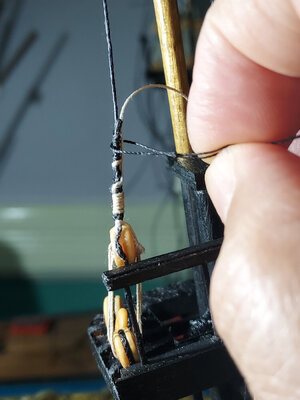
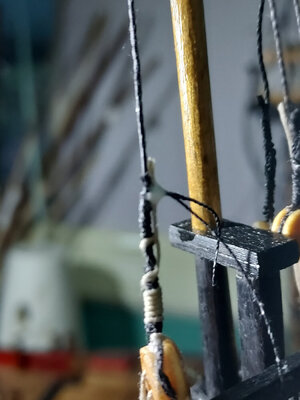
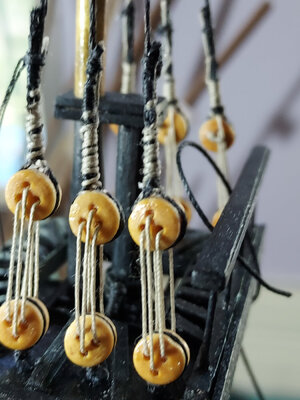
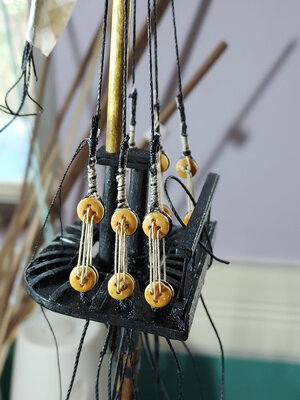
The topgallant shrouds are attached to the mast using the loop technique. I used Donnie's very helpful youtube tutorial on this. This technique allowed me to tie the rope tight against the mast. I also applied a little white glue as added support.
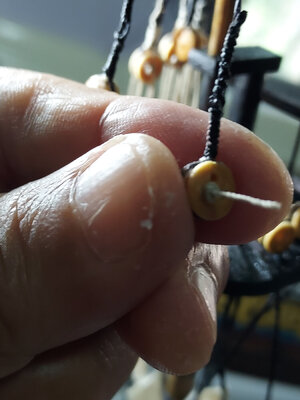
A "cheat" that I employed on odd numbered shrouds. In this case shroud #3. Theoretically, there is a proper way to rig odd numbered shrouds. I tried, but failed to have a good result by applying these techniques. I discovered that by applying the loop seizing technique, and if I kept the seizing rope long enough, and if I made the seizing rope the same size as the shroud...the long end of the seizing rope can serve as my third shroud leg. Wrong way, I know, but I thought it looked so much neater.
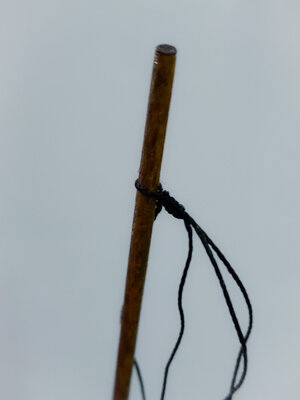
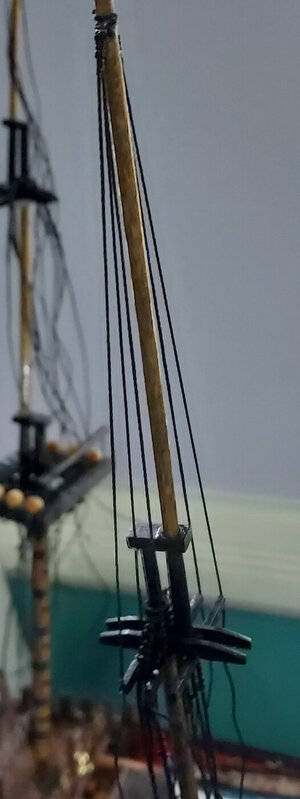
The top mast shrouds were served where they wrapped around the mast. I measured about 30mm below the crosstrees for the served length. For these shrouds, I used 1mm black rope. Again, I used the loop technique to seize the shrouds tight against the mast head.
One quick note...regarding the topgallant shrouds...these shrouds were supposed to be run through holes in the cross trees. However, the trees are so small that there's not enough width to drill a hole..lest I risk damaging the trees. So I opted to just glue the topgallant shrouds against the edge of the trees. Not quite technically correct, but will have to do for now
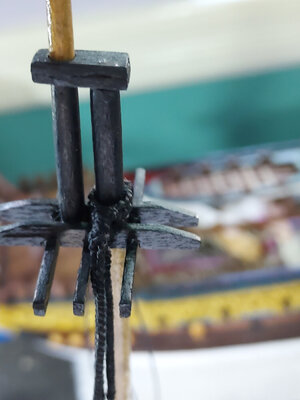
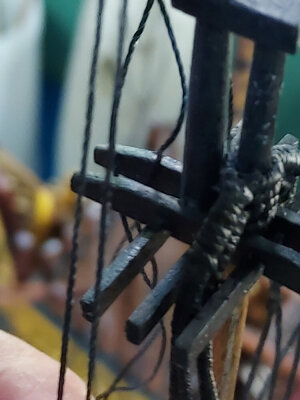
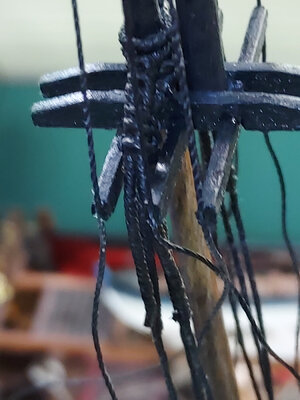
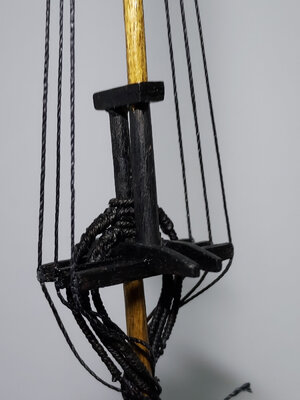
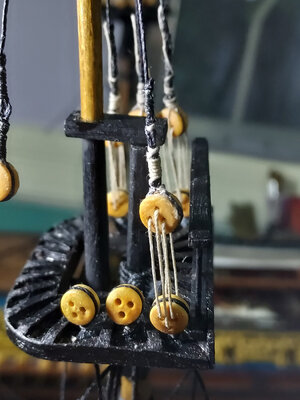
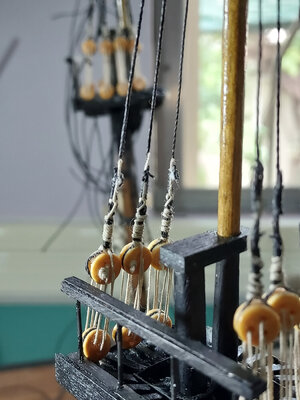
The lower mast shrouds were attached using the same techniques described above. The first shrouds are served the full length of the shroud. They are seized using the loop technique.
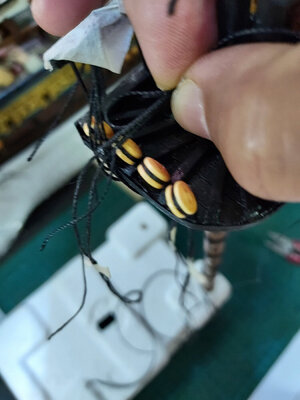
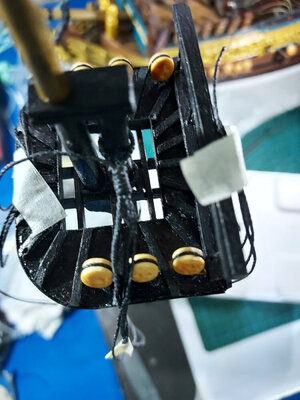
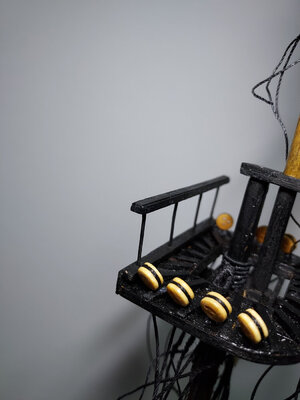
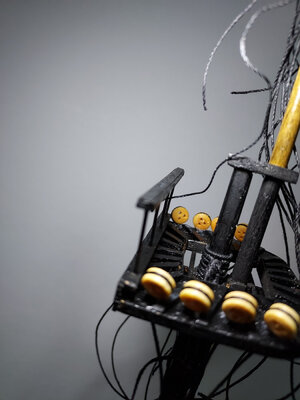
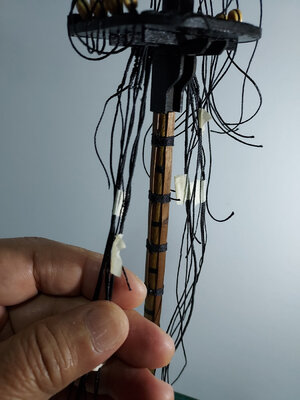
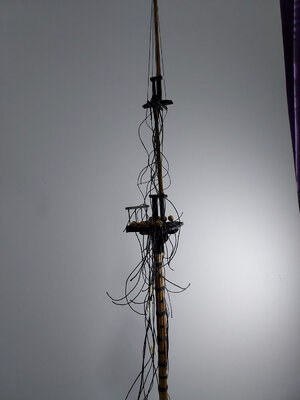
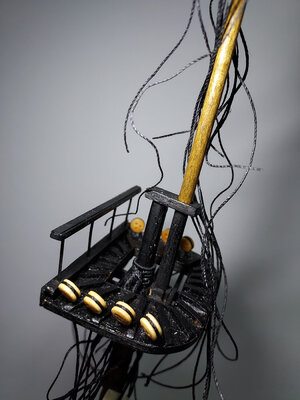
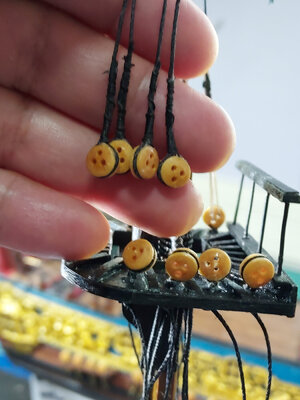
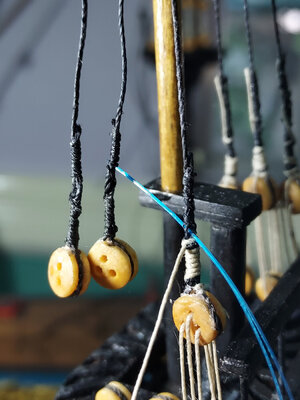
That's a lot of rope hanging down from the masts...from the top...the topgallant shrouds, the topmast shrouds, the lower mast futtock shrouds, the lower mast shrouds. I promise there's a method to this madness.
Thanks and happy modeling.




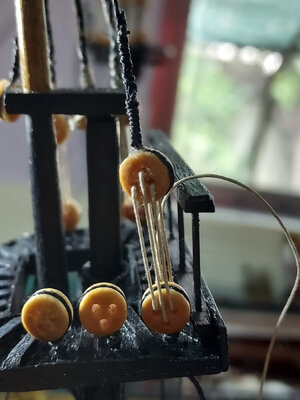
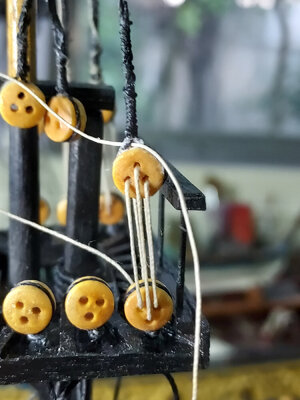
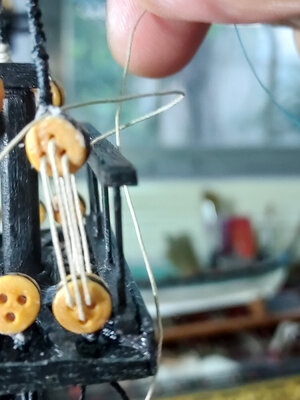
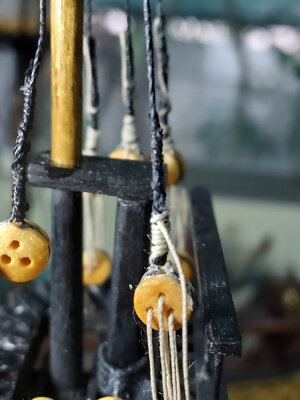


 for a while, but getting better.