Saint-Philippe 1693-POF to the Monograph by Jean-Claude Lemineur by NMBrook-1/36

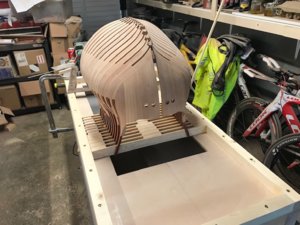
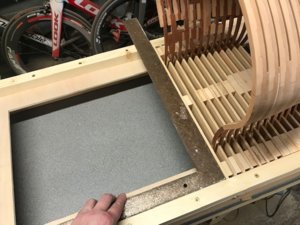
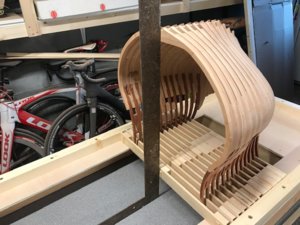
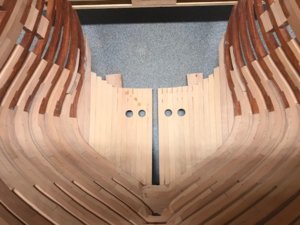
Finally after a Years work(minus a couple of breaks)I have something resembling part of a ship's hull.This equates to about one fifth of the full hull:rolleyes:
All the frames I have made so far are now assembled together.I have not done any further work on gunports as these are angled to follow the hull shape.These will be cut wider and have Padauk inserts fitted to enable notching on the mill.Next up will be to fit the remaining hawse timbers.

Kind Regards

Nigel

View attachment 139047View attachment 139048View attachment 139049View attachment 139050View attachment 139051
Amazing work. It's a pleasure to watch your progress. Thanks.
 
Thankyou Brian
The delineation is solely down to using Epoxy instead of woodglue.It happened purely by accident and has resulted in something I like.I used Epoxy because any excess glue marks that cannot be removed(given thee complexity)will be invisible when the finish is applied.

Kind Regards

Nigel
 
Thankyou Maarten
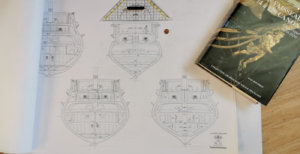
I am having some issues but I am working through them.Biggest issue was the Hawse timbers that are dubious.I have also had a floor timber whose top was drawn the wrong height.Because I am double checking between the frame sections and the reference line I have drawn on the main framing plan(which is the top of my temporary crossmembers),this was spotted before it is too late.
I am not obsessing over things being perfect dimensionally to the plans,but rather taken the information and making all the parts fit and work in harmony.There are discrepancies between views dimensionally and differences in details between views.I am taking a pragmatic view and producing MY representation of the vessel.For me,it is always about creating the "spirit" of the original vessel,

Kind Regards

Nigel
 
Thankyou Oliver
The theory is Epoxy on wood looks identical to the wood with finish applied.It blends seamlessly into the finish.I have tried it before and it works.With POB builds everything gets sanded(deck,hull planking etc) so the glue marks are easily erased.With POF it is unfeasable to sand the residue around some of the joints due to access.For example,the little filler blocks at the base of my frames.To get in there and sand is impossible.If have managed to get in with builders wipes that contain Isopropyl alcohol to clean most of the Epoxy off.The remaining residue will be invisible when the finish goes on.I might revert back to Aliphatic PVA when planking the hull,as that is easy to sand.
I exclusively use the ZAP 30minute product.The shorter curing time ones are not as strong and also are very thick in consistency.

Kind Regards

Nigel
 
Thankyou Maarten
I am having some issues but I am working through them.Biggest issue was the Hawse timbers that are dubious.I have also had a floor timber whose top was drawn the wrong height.Because I am double checking between the frame sections and the reference line I have drawn on the main framing plan(which is the top of my temporary crossmembers),this was spotted before it is too late.
I am not obsessing over things being perfect dimensionally to the plans,but rather taken the information and making all the parts fit and work in harmony.There are discrepancies between views dimensionally and differences in details between views.I am taking a pragmatic view and producing MY representation of the vessel.For me,it is always about creating the "spirit" of the original vessel,

Kind Regards

Nigel
I think thats the correct approach, who says that the plans are correct, these are also an interpretation of historic data. Most important is to get a very nice model as close as possible to the look and feel of the original vessel of that era. And to me it looks you are nailing that.
 
Thankyou Janos

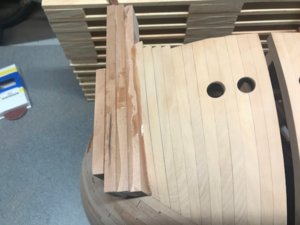
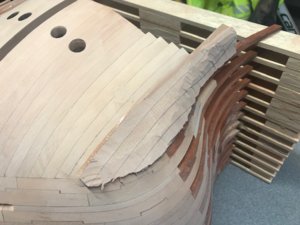
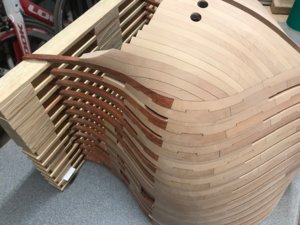
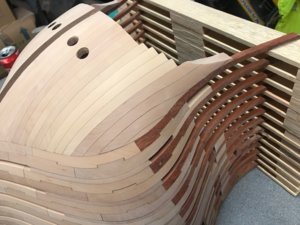
Moving on,I have bonded the rest of the hawse timbers in place.These were just cut as plain rectangles rather than following the plans.As I said earlier the drawings are questionable in this area.
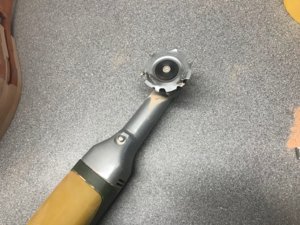
They were then shaped.Because I had a lot of stock to remove,I used a woodcarving blade before going to sanding pads.This blade is brutal and best used with light dabs.
I then turned the section over and removed all the temporary supports.Lots more sanding required in here but I need to order some more sanding pads.
Next job will be to cut the Hawse timbers to the correct profile on their top.

Kind Regards

Nigel

sp246.jpgsp247.jpgsp248.jpgsp249.jpgsp250.jpgsp251.jpg
 
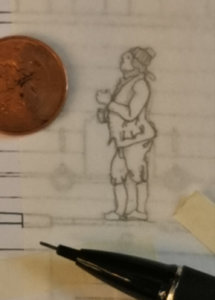
Okay lets work on the Comte de Échelle I figured him out
Polish_20200322_170344617.jpg
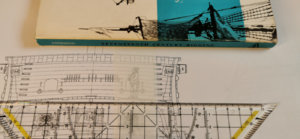
in Plate 22 on the coss section of VI Av.

Polish_20200322_170407172.jpg
Than I put fine frostpaper over him and
Polish_20200322_170432677.jpg
redraw him with a pencil.

Now it is time to copy him on some card board to get a permament scale relevant figure to check the hights of the decks &c.

With him you can test the plan and the dimensions in your own scale.

If I am able to get one out of plan N°22 you can easily make one in 1/36

Have a nice sunday afternoon!
 
Last edited:
Thankyou Heinrich
I did not redraw the hawse timbers,I used the sections provided and merely altered the reference points to suit the front frame face rather than some line that represents nothing.
I may carve the little figure from Pear when I fancy something different.Remember though,it is normal to have to "duck" to avoid the beams on the deck above.These ships did not have headroom as we know it.I would also check the height of the figure,people were smaller in the 17th Century than they are now.

Moving on,I decided to crack on with building the first part of the jig.This is for a chunk of the hull just aft of deadflat forward.To reduce the height of the frame extensions.the jig will have two levels due to the sheer at the stern.This section of the jig will have the aft cross member sawn of and be affixed into a full length jig running at the lower level once this section of frames is assembled.This is just to make life easier,this is going to be heavy,why manhandle a long jig until it is absolutely necessary.Incidentally,the jig will be far heavier than the fully framed hull.
The pictures are of work so far.The sections of frames are merely placed in the jig to show how it works.I will fit plywood squares to each end to enable the assembly to be turned on to four "sides".The crosspieces will be cut out flush with the frame extensions,once frames are glued into the jig,to allow me to get to the interior but at the same time keeping the hull true.
Not also,as the jig is built around my reference line,the frames are plumb,the keel will slope upwards towards the stern

Kind Regards

Nigel
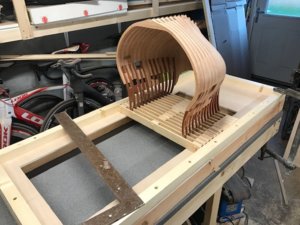
sp252.jpgsp253.jpgsp254.jpgsp255.jpg
 
Thankyou Jim and Knut.
The full hull will be nearly as long as the build table.I will make a point of putting the bow assembly on the scales before it gets glued in the jig Knut.I am curious myself now.It is fairly light and about half the weight is in the temporary stuff.I could multiply the weight of it by 5,I reckon that won't be far off the weight of the full hull in bare frames and keel.Like I say,the jig is the heavy bit.It needs to be to be rigid enough as I plan on being able the rotate it to work in four different positions.

Kind Regards

Nigel
 
Back
Top