Saint-Philippe 1693-POF to the Monograph by Jean-Claude Lemineur by NMBrook-1/36

Thankyou Martin

Yes Martin and Dave,this scale is a revelation for myself in that there is less agonising of how much detail that is feasible to replicate.I can include almost everything.I can see 1/32 being even better Dave however in this build the hull would be yet another 8 inches longer,I have to draw a line in the sand somewhere ROTF
I currently feel that in the future I may be tempted to model a smaller vessel in an even bigger scale when this build is eventually complete.

Kind Regards

Nigel
 
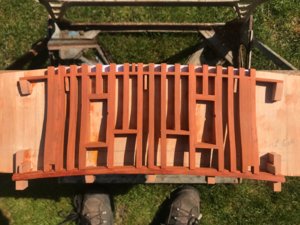
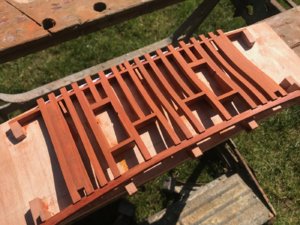
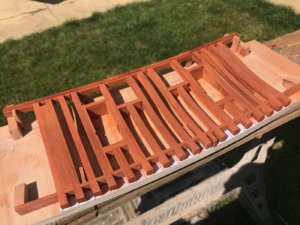
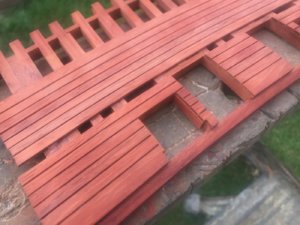
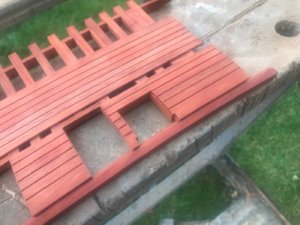
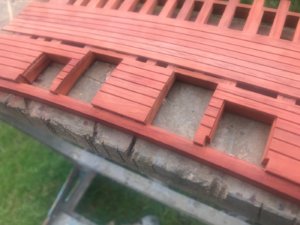
I have completed the framework.The only thing left off is the lower cills of the upper gunports.These pierce the planking on the outside and the spirketing inside and will be fitted later.I then faired the front face.Note I have filled one section at each end,measuring the bow these outside timbers will be scalloped out when the assembly is scribed to the inside of the hull.I wanted to maintain structural integrity when these areas are removed.

The top of the jig was cut off with the bandsaw and the profile sanded to the base of the top rail shaping the uprights in the process.The rail that fits on the top will be Ebony.By rights the uprights should have tiny tenons that fit into blind mortices in the top rail.These will not be seen and whilst some choose to model this detail,personally I see little value in what would be a weeks work for a detail that will be completely hidden.The top rail will be bonded on with Epoxy and will go nowhere once fitted.I am not advocating that is an Arsenal model in any shape or form,this is my rendition of a Dockyard model.I am very much following the ethos of the Russian modellers,go to town on what you can see,not so much on what you cannot.

The next step will be to install the planking to provide some strength before I remove the item from the jig,sanding the protruding frame pieces flush and fairing the reverse side.

Kind Regards

Nigel

sp294.jpgsp295.jpgsp296.jpg
 
I cleaned up my "caulking" trial.I feel it is just wrong for the hull planking but I may use it on the decks.I thought I would try something different to delineate the planking joins and decided to go with Chamfering.This tecknigue is used by Andrey Kudin and Dimitry Shevelev amongst others.It offers flexibility,if I so desire the model could be finally finished with a bitumous wax.This settles in the grouves and Dimitry used this to great effect to create the ageing on his model of a French 74.

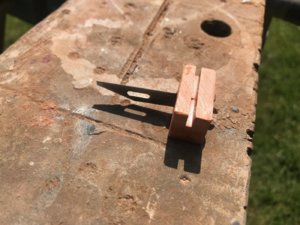
I made a simple tool to the design of our member Bibigon.This is a Pear offcut with a slot milled to suit the plank thickness and a narrow slot cut perpendicular with a blade epoxied in.The blade is set so the chamfer doesn't quite go the full width.This means that the base of the slot acts as a stop so you can only ever go so far giving consistent results.

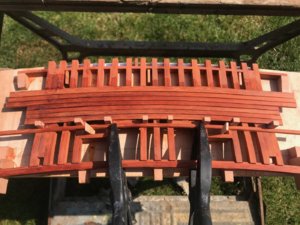
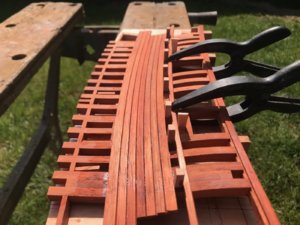
I have commenced planking working between where the Pear mouldings will sit.The little spacers tack glued in are to provide the correct gap for a moulding.All gluing has been done in Epoxy using a brush with Acetone to remove any excess.I have yet to do any sanding to the planks.

Kind Regards

Nigel

sp297.jpgsp298.jpgsp299.jpgsp300.jpg
 
Last edited:
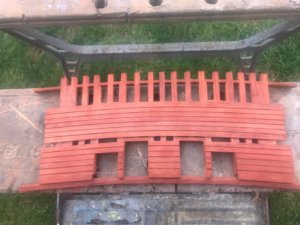
The front planking is done as far as possible.The Catheads pierce the upper section and if I plank this bit then the Catheads won't slot through as they are "cranked".
The two doors and the lower gunports are cut out(gunport bottom cills still to fit).It is slow work as the Paduak is as hard as Boxwood.I am trying to keep the mindset that I am working in 1/100 scale and not let the big scale make my standards slip.

A plus is that my COVID 19 symptoms are gone,but that means back to work tomorrow so this build will slow down again

Kind Regards

Nigel

sp301.jpgsp302.jpgsp303.jpgsp304.jpg
 
Next step was to cut 17 uprights.I photocopied a tracing taken from the plans 17 times and pasted onto some 6mm Paduak sheet.These were cut out on the bandsaw close to the line.The only area I dressed up with sanding was the flat area that sits in the caprail notch.These will be faired once assembled just like you would with the main hull framing.
I have milled the notches in the uprights for the other timbers before assembly.The cills and heads of the doors were left oversize to give me a larger area to square up.What you can now see is two doorways either side of centreline and two lower gunports.
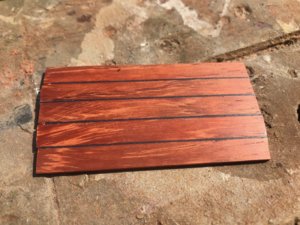
The last picture is a trail piece of planking to see how my proposed plan for Caulking looks.Caulking in 1/36 is SO much more than a simple pencil line and in my opinion I would have to use very thick black paper to achieve something close to the width in reality.The caulking on Victory's deck is something between 15mm to 20mm wide from memory so I am experimenting using 0.5mm thick black Marquetry veneer to see what it looks like.If it doesn't look too much then I can buy this in various widths e.g. 2.4mm,just slightly wider than my planking thickness in this case.This will give me a better structural joint rather than introducing very thick paper/card.

Kind Regards

Nigel


View attachment 145803View attachment 145804View attachment 145805
I love the color,very nice!
 
Whilst I haven't progressed much on the building front in the last few days due to being back at work,I have had yet another timber delivery,I have lost count how many now:rolleyes:

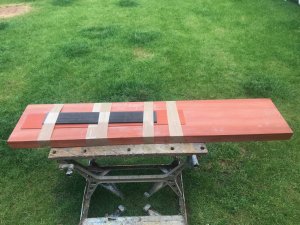
Many components that will be required in African Red Padauk are thicker than the maximum sheet thickness of 13mm from my supplier.The thicknesses vary so it is not cost effective to have sheets cut in so many different sizes.What you see here is the next size up and this is one heavy chunk of timber.Hopefully this will cover all the oddball sized parts on the whole build as it was not cheap.

This will give me the material to manufacture the Catheads amongst other things.It is my intention to fully manufacture the Beakhead Bulkhead and Catheads as a removable sub assembly(for now) so that it can be held in place by brass dowels preventing the bow area from distorting whilst the frame construction continues aft.

Kind Regards

Nigel

sp306.jpg
 
Thanks mate.
The thing is that you need to have different setups for different plank thicknesses,I will make a separate jig for each thickness and retain for the whole model.The adjustable one you have to keep altering and you run the risk of inconsistency.Only a fraction of a millimetre makes a big difference to the appearance with two planks side by side.In addition,the jig you show only has support on one side of the blade making the cutting face hard to keep square.The bonus is my version only costs a blade,I have a massive box full of Pear offcuts.

Kind Regards

Nigel
 
Back
Top