School for model ship building

As a restorer (way over on the side of conservation, while not being a " conservator" per se) I had to get inside the head of the original maker from 150-300 years before. All the information was there, built, carved and polished into the piece itself, like a craftsman's fingerprints if you will. It was a bit like getting kits with no written instructions. Practices, techniques, hand tools marks finishing and philosophy were all in evidence inherent in the piece.

That and the study and practice of archaic finishes, tools and woodworking, plus the history were all requirements.
I have found that a kit, while supplying materials as well as some (not always useful) instructions, might give you a leg up and a place to start, yet requires no less art, craftsmanship, and diligence as scratch building. I have scratch built my way around the dilemmas inherent in kits in the same way I had to tease out the solutions required to faithfully restore an antique. There were a number of volunteer model shipwrights at the USNA Museum model shop who built magnificent museum models from kits, plastic and otherwise, all of which required the same level of expertise, practice and experience as any scratch builders with whom they worked side by side. We all were instructed by and learned from each other.

Fabulous and instructive dioramas, by the way! Okay ThumbsupThumbsupFirst Place Metal

Pete
 
At the end of the day, it is solely about what brings most pleasure to YOU, and whatever you feel is the right way to get there.

that is indeed the bottom line you can totally ignore this entire topic because you feel it does not apply to you or what you want to get out of the hobby. In this school it is about the basic principles of the art and how "some" builders accomplished what they did.
if you find yourself wanting to try a semi-scratch build then follow along. There will be a limited edition of a semi-kit of the Sir Edward Hawke available for anyone wanting to give it a go. Every detail needed to accomplish the build will be right here. It is not a glue part A to part B type of build it will require a little more than that.
Should you take on the challenge of the build and actually build the Sir Edward Hawke you will not get a diploma claiming you a master model shipwright i do not even consider myself a master model shipwright. But now you are on your way to bigger and better builds. Plus you have a model of the Sir Edawrd Hawke
which was a real ship
close to historically built ( i say close because we do not have the bones to examine) but methods used are true to the time and place the original was built
and the satisfaction of saying "i built that"
based on the work of a master shipwright Harold Hahn who built the original model.
 
Last edited:
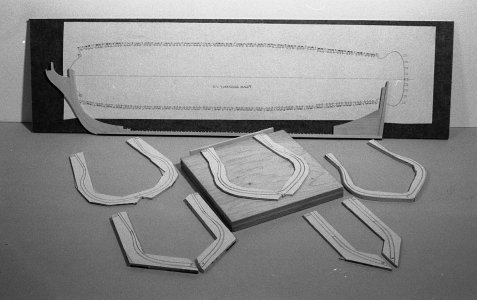
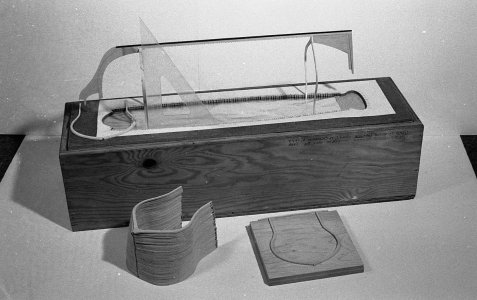
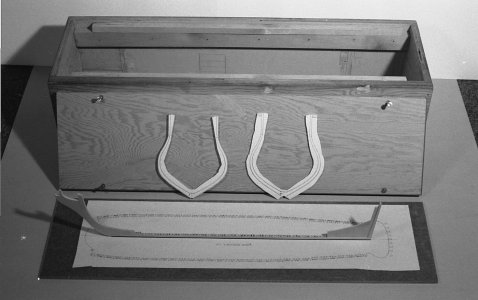
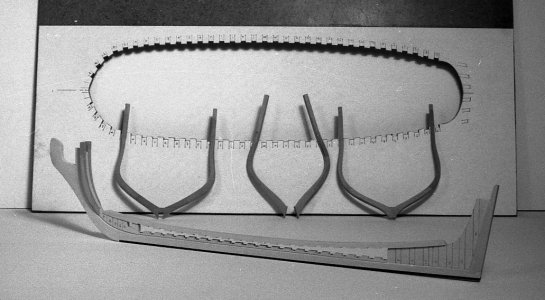
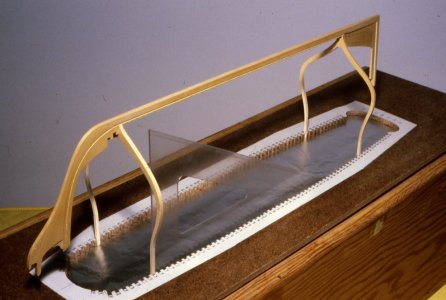
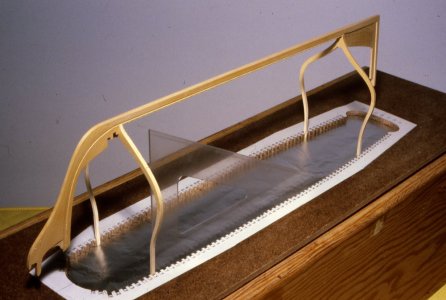
Harold took the jig idea from Bob reinvented it to be used to aid a hobby builder to accomplish a plank on frame model. Then i took Harolds idea and redesigned it, in my head improve the idea but hey that is in my head, oh my! is that showing a little arrogance? Two master model shipwrights and now bob 1.0 Harold 2.0 now me 3.0 on the jig idea.

coming up next
let's take an analytical dive into the jig


alfred1.jpgalfred2.jpgalfred3.jpghalifax62.jpghalifax63.jpghalifax67.jpghalifax68.jpghalifax69.jpg
 
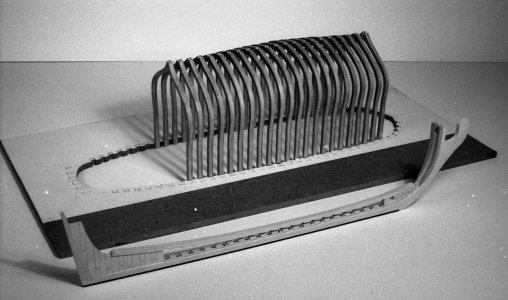
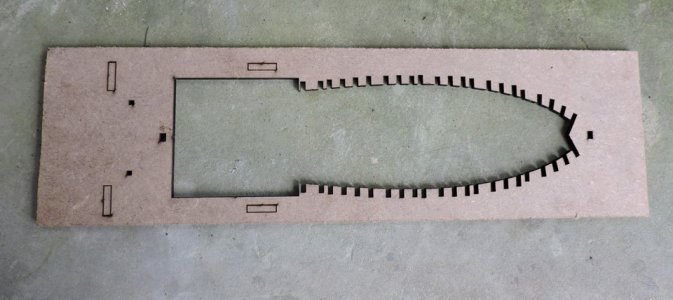
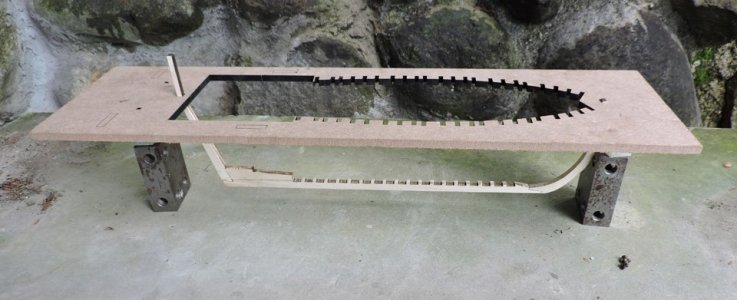
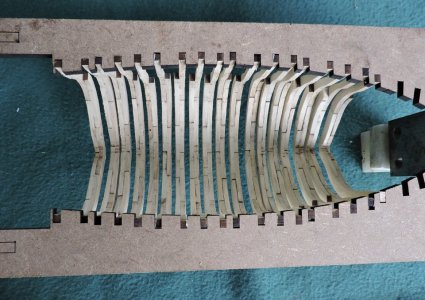
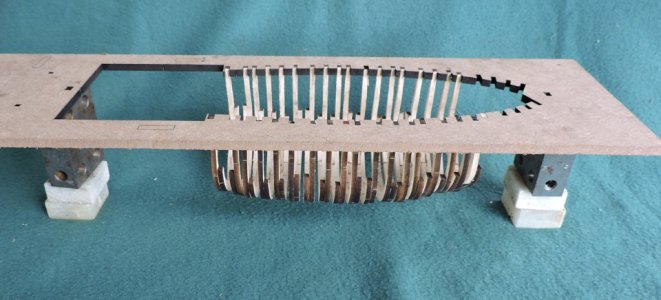
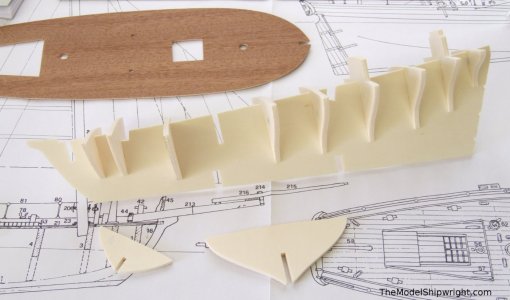
the jig is laser cut for precision purposes; you can cut one out by hand if your careful. I will get to the square hole at the stern when it is time to place the remaining 1/2 frames. for now it is just about frames 1 to 18.

jig10.jpg

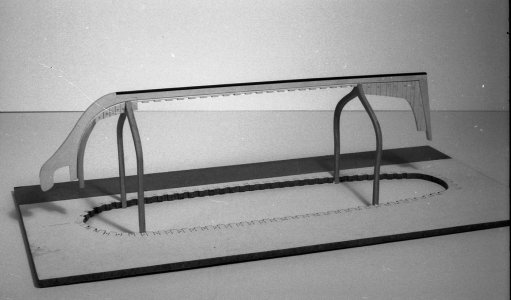
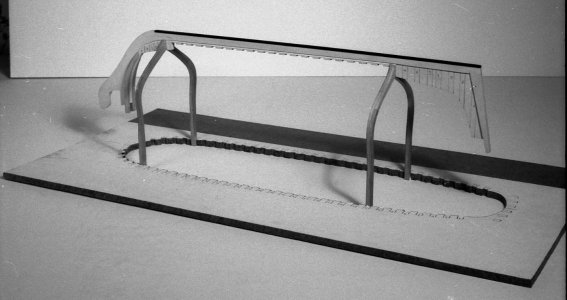
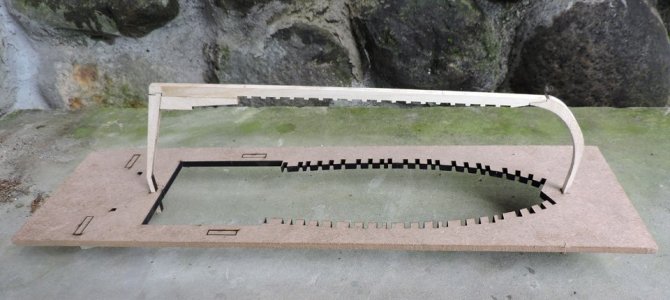
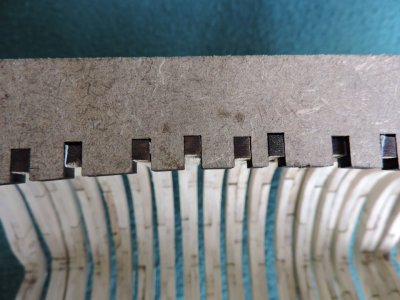
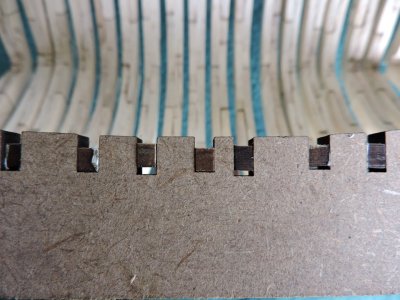
there are square holes in the jig to locate the stem and sternpost


jig11.jpg

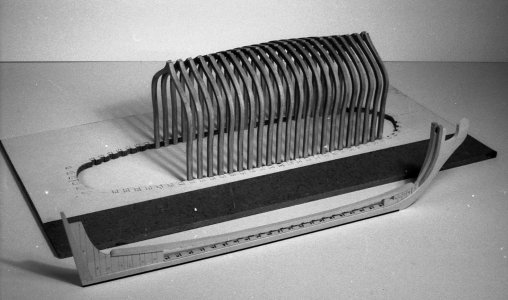
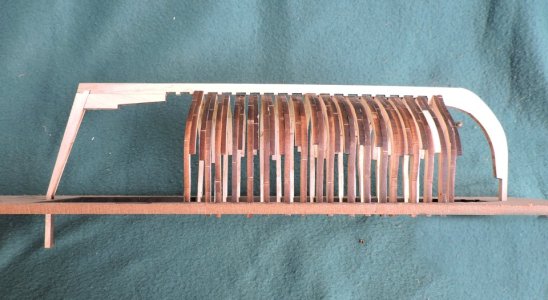
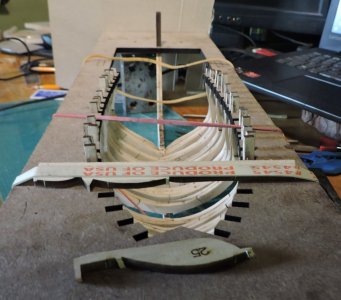
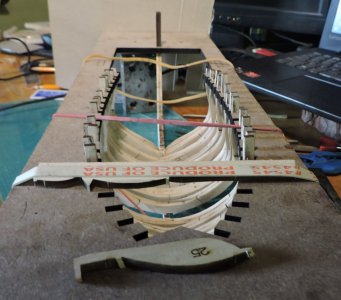
In this picture Harold is squaring up the first and last frame and locating the keel to the jig.. By adding the square holes for the stem and sternpost in the Hawke jig the keel will fall into place. it is critical the keel notches line up perfectly with the notches in the jig. If they don't line up there will be a slant forward or back to all the frames.

k04c.jpg
You can not glue the keel assembly to the jig because if you do that there is no way to drop the frames through the jig. and on to the keel. The frames are wider than the jig.

jig13.jpg

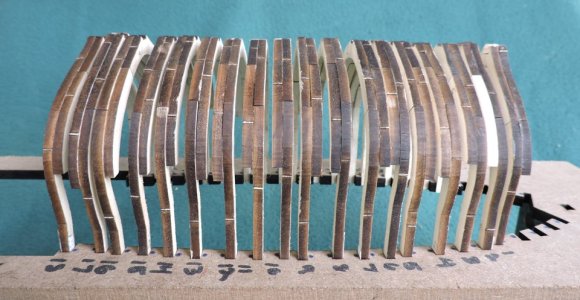
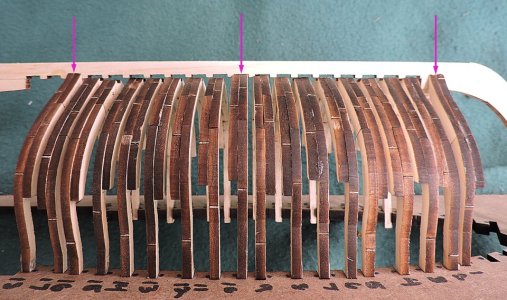
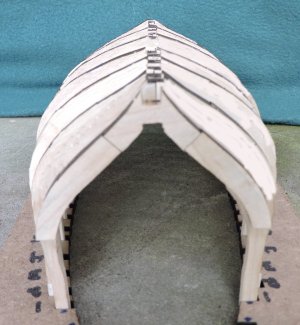
What Harold did was to line up all the frame

halifax62.jpg

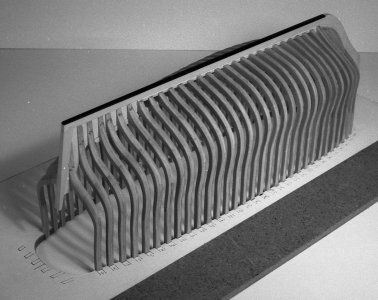
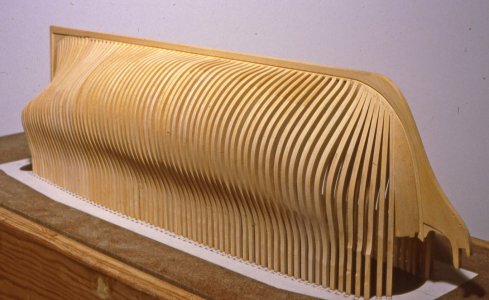
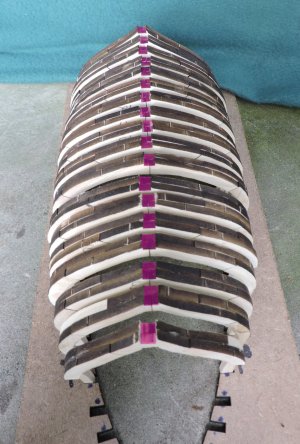
With all the frame standing in place he glued the keel, stem and sternpost to the top of the frames, or actually to the bottom of the frames because the hull is upside down

k06c.jpg
roebuck07c.jpg
 
Last edited:
A big problem with this method is you have to be exact when building each frame as well as standing them up in the jig.

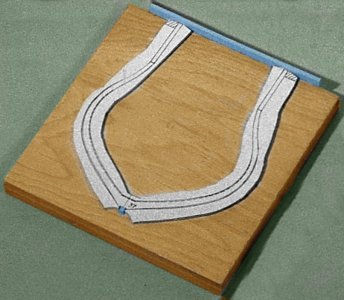
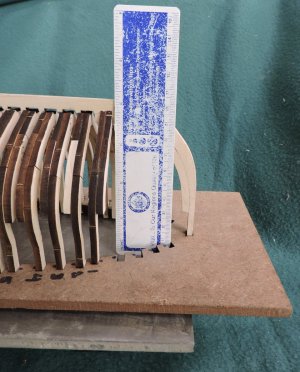
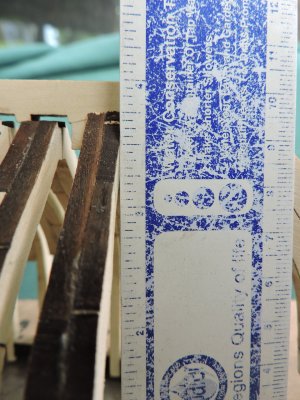
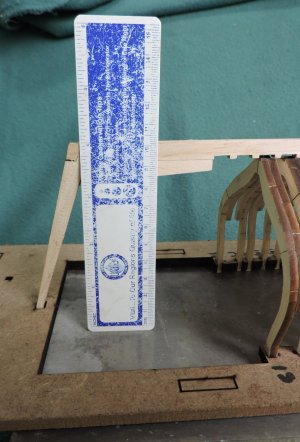
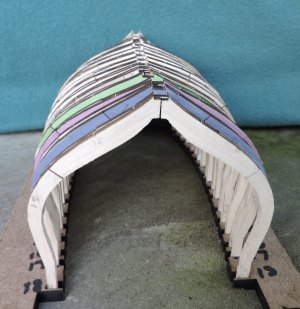
This is the frame jig used to make sure each and every frame is the exact distance from the keel notch to the base of the jig, at the top tinted blue is the jig base the blue tinted block is the keel notch.

method7.jpg

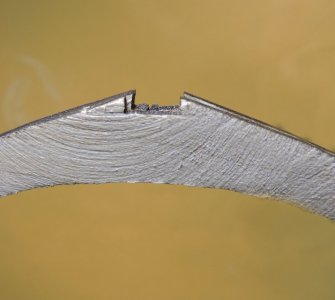
if you are ever so slightly sloppy with your frame building you end up with this problem the frames are high and low and will not sit proper in the keel notches. You are looking very close and the distance the frames are off is small when looked at with a naked eye. So you really can not see an error you have to check and recheck every frame.
This need a better idea to insure all your frames will sit on the keel.


jig18.jpg
 
Last edited:
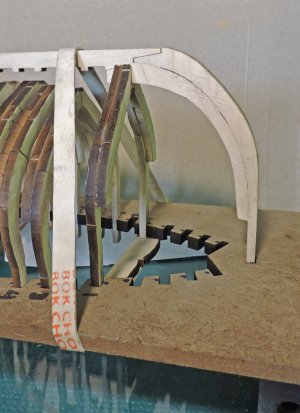
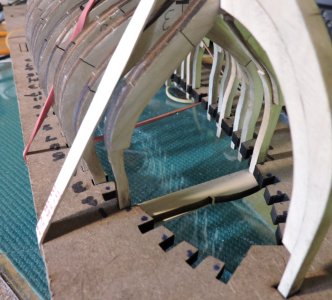
there is another way to build the hull in a jig and that is to flip the hull upside down from Harold's method and rather than having the jig above the hull you can lower it down. This way the jig is used as a cradle where the hull sits down into the jig.
see example here in post #191

the cradle jig system is perfectly fine but the frames need to be finished or very close to their finished shape in order to drop into the jig. In the case of the Hawke build the frames are more like a blank and will have to be given a final shaping. The frames will be sanded once the hull is built and a cradle jig gets in the way. you have to complete the hull and remove it from the jig, then sand it to the final shape.
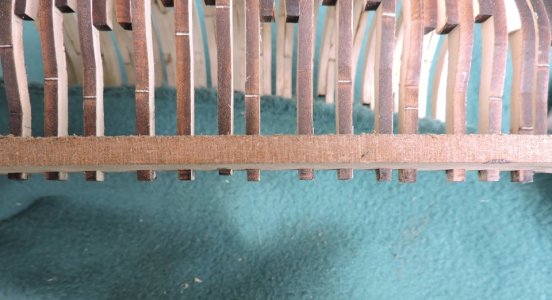
You can build a framed hull with no jig at all but i would use the analogy that is like walking the high wire without a safety net. A lot can go wrong besides a jig will tie the structure together so the hull can be sanded.
 
It is best to use a jig system i highly recommend it. Now to tackle the lining up all the frame perfectly and then add the keel assembly. Harold did it over and over around 20 times so ya! he was good at it. He also worked to extreme tolerance which i do not expect a first-time builder to do. Here is what i am trying and i will give you results next Saturday class.

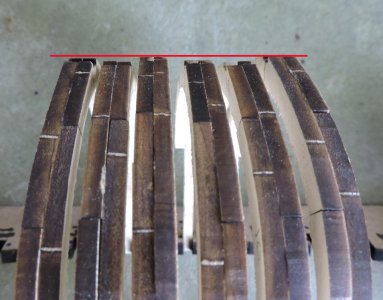
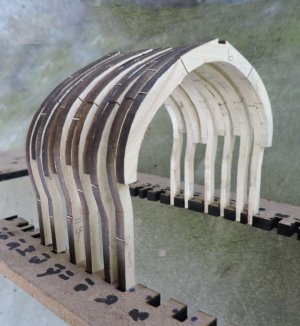
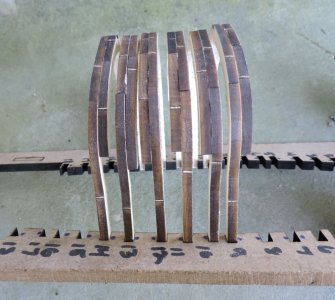
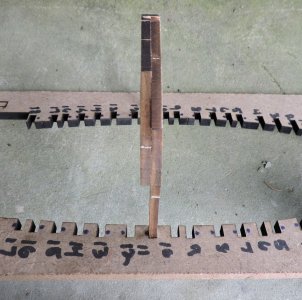
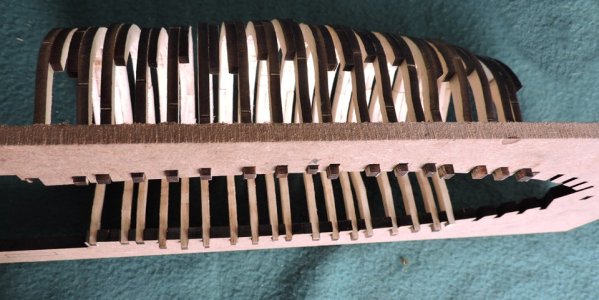
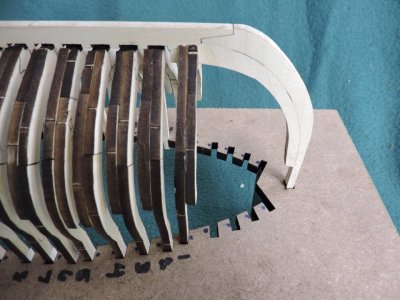
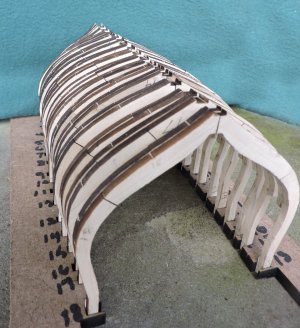
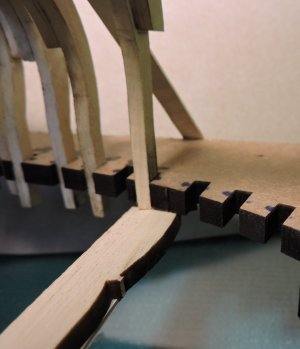
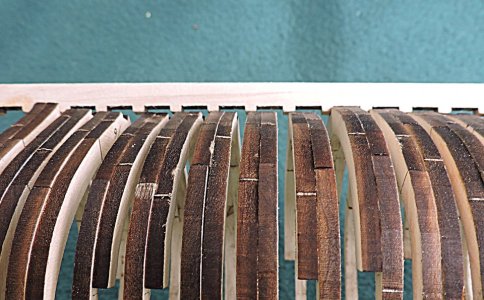
first i cleaned the char off the inside of the frames and standing them up just like Harold did. The difference here is the frame thickness does not fit into the jig notch and i did that on purpose. Just a light sanding of the top part of the frames to get a tight fit into the notches. I do not want to glue the frame to the jig.

jig17.jpg


You can see all the frames are NOT in line at the top but at this point in the build i don't care. That will be fixed later.

jig16.jpg

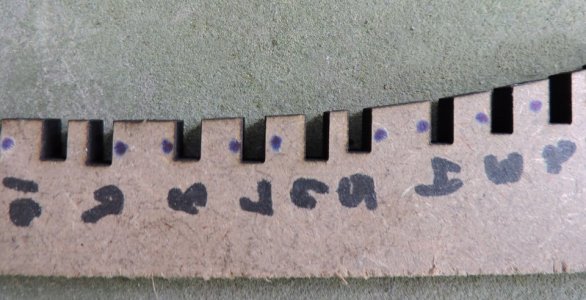
Notice i numbered all the notches and there is a little dot on one edge of the notches

jig14.jpg

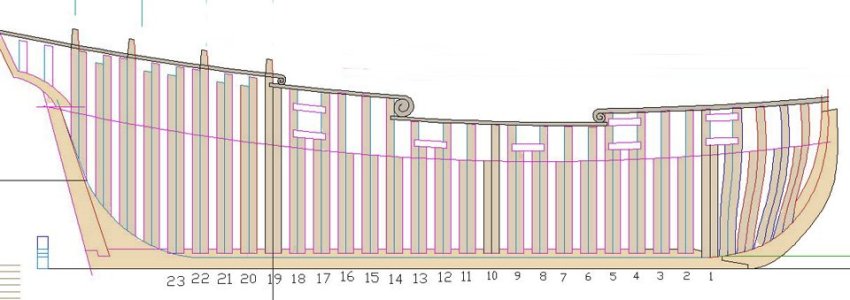
that dot is important it lines up the frame timber at the deck level, if you turn the frame around the gun posts will be off as well as the top timbers

jig15.jpg

you can see on the drawing where the lower timber stops at the deck level and the top timbers extend to the cap rail and form the sides of the gun ports

ftames.JPG

 
ok model shipwrights class is over this Saturday. For me it is back to work and seeing how and hopefully the framing in the jig works out like i planned. But hey maybe i might of missed something. But that is part of the joy solving problems as you go along.

see you in class next Saturday

but if you have comments or questions for sure post them i log in everyday.

by the way don't take my word for anything there are so many styles of building and so, so many methods to achieve the same results.
 
Back
Top