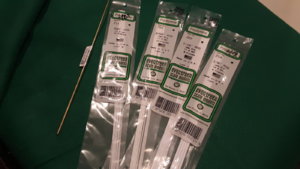
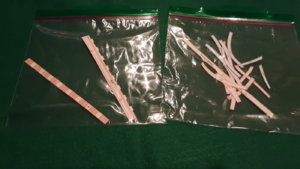
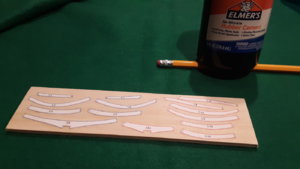
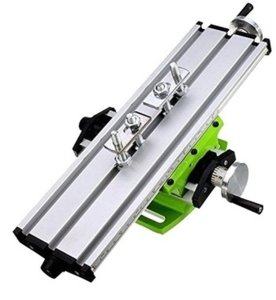
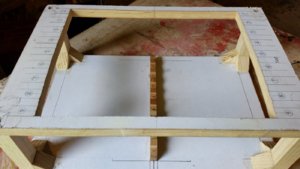
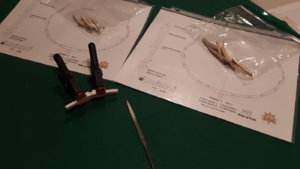
Hi Jim, if mymemory is still there the brasstube was drilled on the underside of the keel for 2 purposes one to hold it on the jig and to use as par of the display base. Don
-

Win a Free Custom Engraved Brass Coin!!!
As a way to introduce our brass coins to the community, we will raffle off a free coin during the month of August. Follow link ABOVE for instructions for entering.
-

PRE-ORDER SHIPS IN SCALE TODAY!
The beloved Ships in Scale Magazine is back and charting a new course for 2026!
Discover new skills, new techniques, and new inspirations in every issue.
NOTE THAT OUR FIRST ISSUE WILL BE JAN/FEB 2026
- Home
- Forums
- Ships of Scale Group Builds and Projects
- Group Build Archives
- Blandford Cross Section PoF Group Build
You are using an out of date browser. It may not display this or other websites correctly.
You should upgrade or use an alternative browser.
You should upgrade or use an alternative browser.
SigEp Ziggy - HMS Blandford Cross Section - 1/48 Group Build
- Thread starter SigEp Ziggy
- Start date
- Watchers 8
Thanks Don, now I understand why the brass tube is in need.Hi Jim, if mymemory is still there the brasstube was drilled on the underside of the keel for 2 purposes one to hold it on the jig and to use as par of the display base. Don
Doesn’t matter, Shane. Choose whatever size tubing works for you. I used tubing that fit inside of the tubing I inserted in the base. As long as the fit is right, it doesn’t matter the tube diameter.
Hey guys! I just noticed that the French Tricolor is the flag showing on my avatar! While I am certainly a Francophile (we are vacationing in the French West Indies), I remain an American! How do I change my flag?
It must be determined by the location of my internet connection.
Your current Ip lolIt must be determined by the location of my internet connection.
Je vous remercie Doc,
My keel is only a 1/4" wide, so I will go with the plans and find the right size.
Passez de bonnes vacances.
Viva la USA!
<------
My keel is only a 1/4" wide, so I will go with the plans and find the right size.
Passez de bonnes vacances.
Viva la USA!
<------
Last edited:
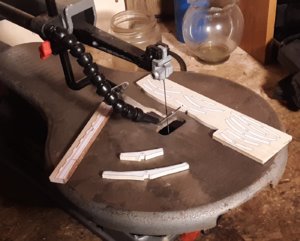
Looking very good - so the first saw-dust will come soon.
One small hint, which is usually working better, or it is working for me better
Leave a little bit meat next to the lines on your paper, so I do not cut the paper with the scissor along the line, I left some millimeters outside also.
When you cut later the frame with your scroll saw, the saw blade is going through the paper and timber.
With the paper prepared exactly at the lines (like you did now also) , the saw blade lifted sometimes the paper, so I had some problems to follow exactly the line...
Maybe you can try it with your next frame - maybe you get the same experience like myself
Thanks Uwe, I did it that way because I didn't want the saw blade to catch the paper, also, I planned to leave extra wood to sand off the blade marks. We will see how it turns out, one frame at a time,
- Joined
- Dec 3, 2018
- Messages
- 2,451
- Points
- 538

I'm not sure if I've done it right but I've done the opposite of what you've done.
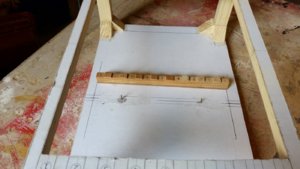
In the picture of your jig you have mounted the brass tube to the base of your jig.
I used a drill that fit into the tube because it is much stiffer a brass.
I mounted the brass tube to the bottom of the keel.
Surely there are some other Blandford builders who can answer what is right / practical.
Regards-
Nice start, Shane!
It doesn’t really matter where you place the tubing in the build jig setup. I used brass rod set in the keel, mounted into holes in the build jig base. In the final mount on the display stand, my plan was for the keel to sit flush on the base. So I drilled holes to accept some brass tubing with the same inside diameter of the brass rods in the keel. I cut the brass tubing just long enough to be a millimeter ir so below the surface of the mounting base and glued in place. The brass rods in the keel just slipped right in place Inside the tubing and the model was mounted. None of the brass shows!
It doesn’t really matter where you place the tubing in the build jig setup. I used brass rod set in the keel, mounted into holes in the build jig base. In the final mount on the display stand, my plan was for the keel to sit flush on the base. So I drilled holes to accept some brass tubing with the same inside diameter of the brass rods in the keel. I cut the brass tubing just long enough to be a millimeter ir so below the surface of the mounting base and glued in place. The brass rods in the keel just slipped right in place Inside the tubing and the model was mounted. None of the brass shows!
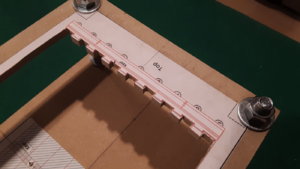
Actually, what happen was, I drilled the holes in the jig and then in the keel using the two different drawings (mistake). When I test fit the brass tube, nothing lined up! So, I glued toothpicks (which you can see in the photo) in the holes in the keel and re-drilled them. Now, after gluing the tubes in the new holes, everything lines up.
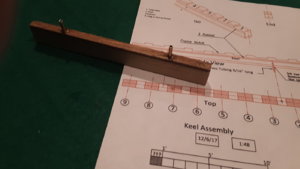

Thanks Knut, I need all the help I can get.
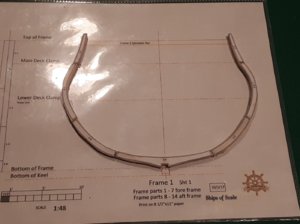
Getting closer to gluing the first frame together!
We cross all the fingers, but you are well prepared, so it will run smoothly

Looking forward to see the result - and have in mind, after three or four it will go much easier.....


