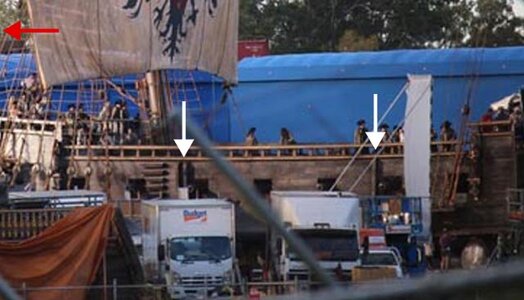
◆ port and starboard step craft ◆
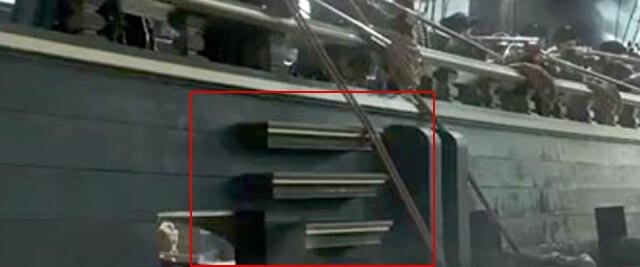
Look out for the red frame!
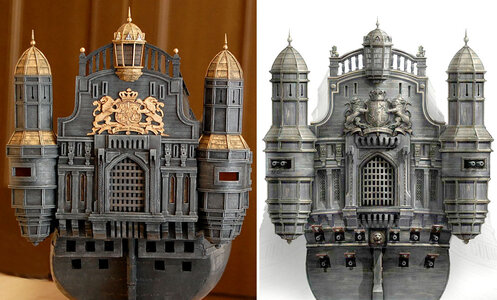
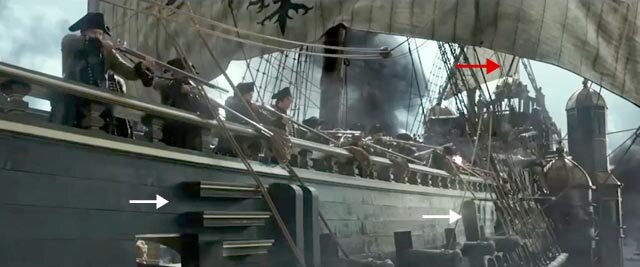
Make the port and starboard steps. First or look closely at the shape of the steps. It's a stepped plank.
The top thin plank protrudes a little more than the bottom thicker plank.
I'll reproduce this.
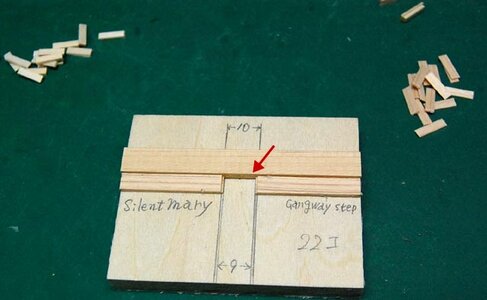
There are two different widths of steps.
Look closely at the top picture.
They are 10 mm and 13 mm wide when sized for the model.
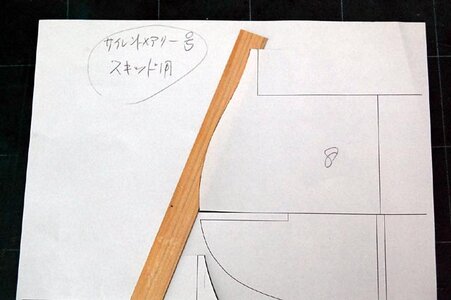
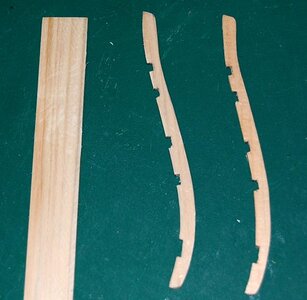
They are made by gluing thin and thick boards together, so you have to make two types of jigs before you can work on them.
The second photo shows the 10 mm wide jig.
The red arrow part is where the stepped steps are made.
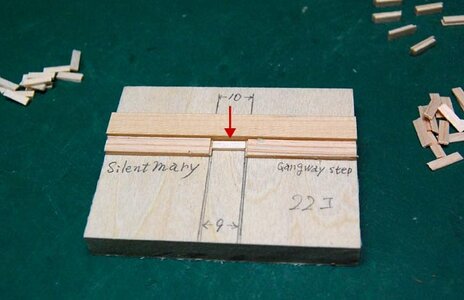
Look out for the red arrows!
Place a board 1 mm thick, 2.5 mm long and 9 mm wide and apply adhesive.
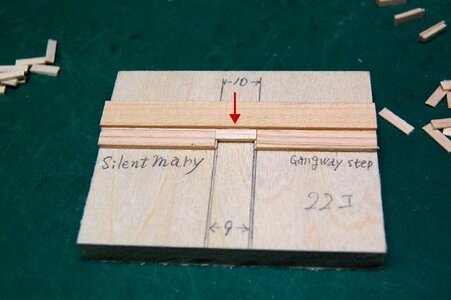
Note the red arrow!
Glue a 0.5 mm thick, 3 mm and 10 mm wide board to the glued area.
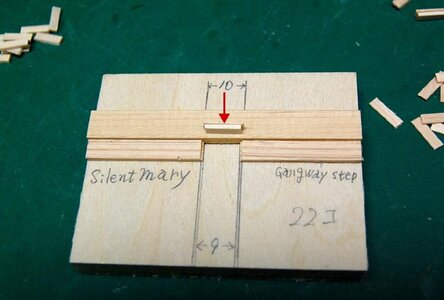
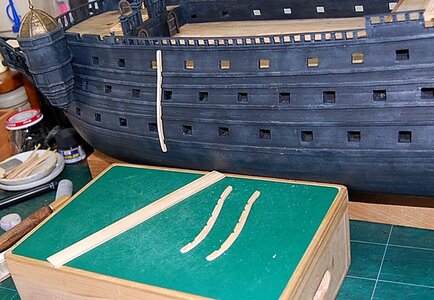
Completion of steps.
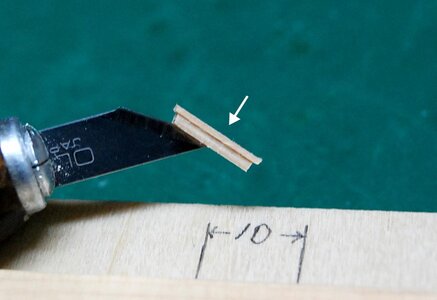
Enlarge image.
What do you think!!!
It's similar with steps, isn't it?

Twenty-two were made for both ports.
Next, 24 were made using a jig to make steps 13 mm wide.
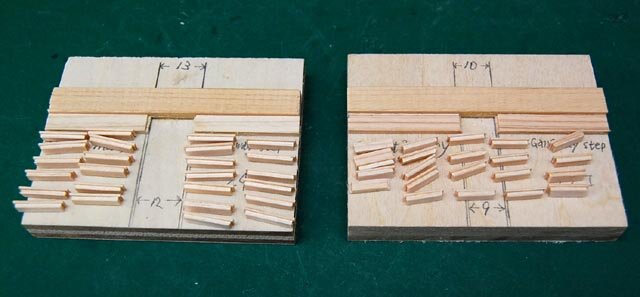
This is a commemorative photograph of the 10 mm and 13 mm wide steps and their jigs together.
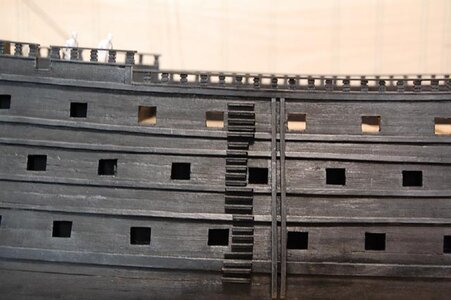
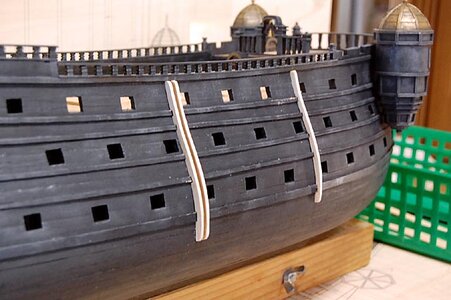
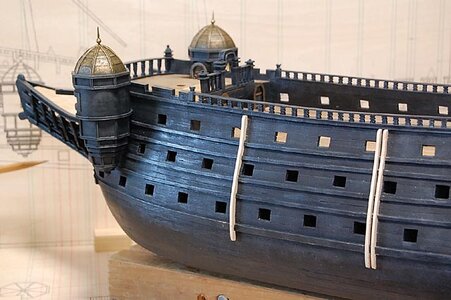
It was glued to the hull using 0.5mm brass wire and painted.
This is the starboard side.
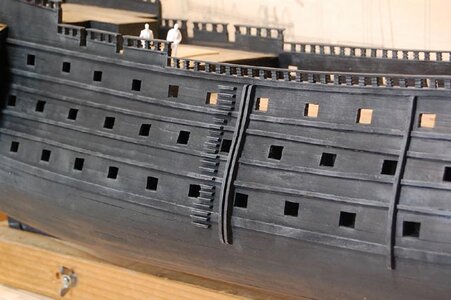
On the starboard side, with a different angle.
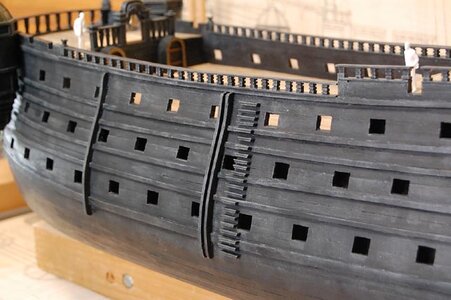
This is the port side, from a diagonal aft angle.
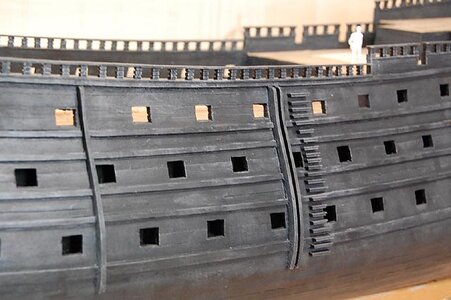
On the port side, this is an angle from the bow side at an angle.
The spacing between the steps on both sides is a bit disorganized, but it doesn't bother me too much, so I'll leave it as is.
--------------------------------------------------------------------------------------------------------------------------------------
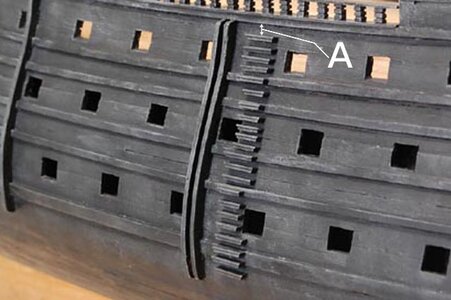
I looked closely at both port and starboard sides and noticed.
The 'A' section on the port side is 4mm. The starboard side is 3mm.
Fix the 4mm gap on the port side to 3mm.
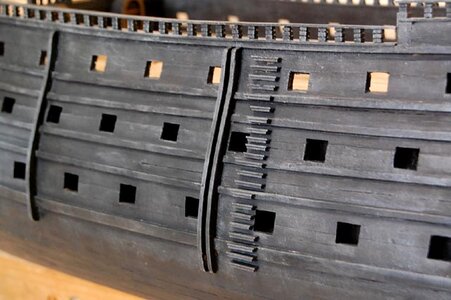
I fixed it.
You can tell even if it's 1mm different.
What? Not much difference?
Well...it's fine as long as I feel comfortable with it.

