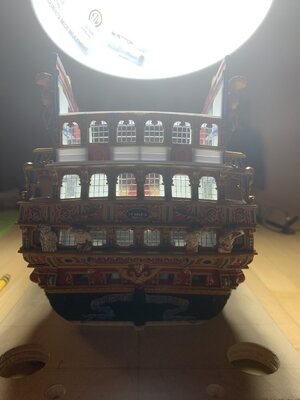
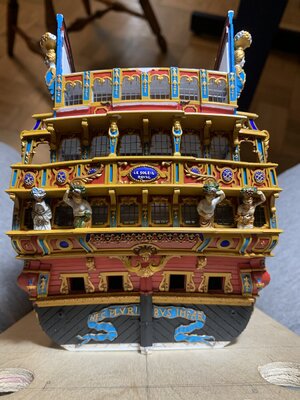
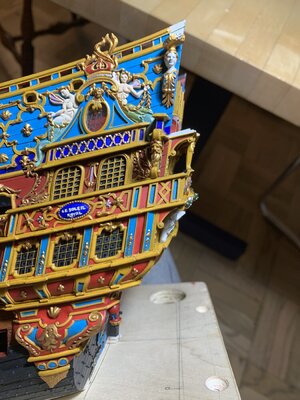
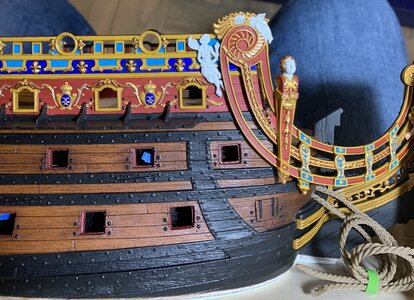
Marc, spectacular! No other word for how the stern is shaping up.
Kind Regards
Nigel
Kind Regards
Nigel
 |
As a way to introduce our brass coins to the community, we will raffle off a free coin during the month of August. Follow link ABOVE for instructions for entering. |
 |
 |
The beloved Ships in Scale Magazine is back and charting a new course for 2026! Discover new skills, new techniques, and new inspirations in every issue. NOTE THAT OUR FIRST ISSUE WILL BE JAN/FEB 2026 |
 |
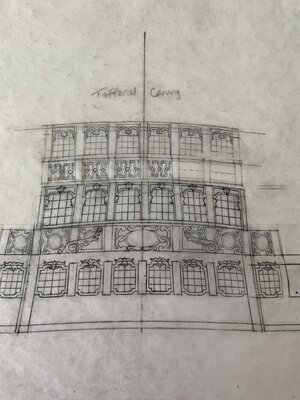

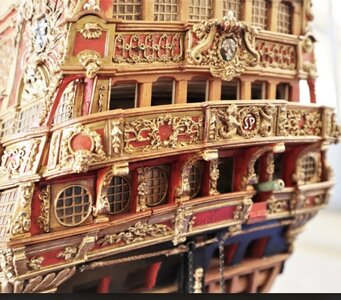
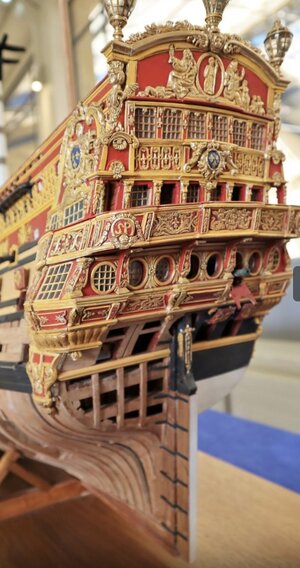





Dear MarcIt’s been a pretty active modeling week. I’ve been alternating between the bow and stern. Now that the Bitumen of Judea had arrived, I could finally stain my new cables. It was a test of patience to feed these through one hawse hole and fish it through the next with an improvised hook. Eventually, I got them:
View attachment 361704
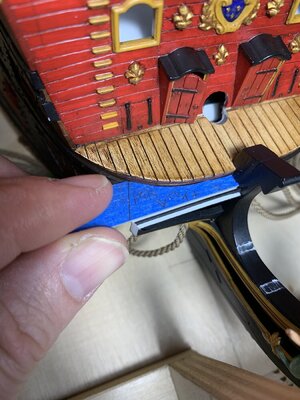
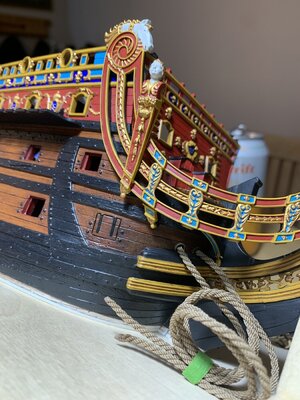
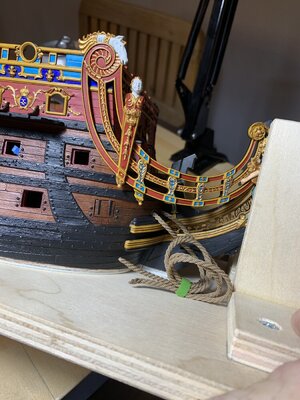
Many thanks to Paul for making these beautiful cables! The bow assembly has to happen in a very specific sequence. Above, you can see that I installed the aft, starboard headrail support timber. Before moving on, it’s essential to scrape away any glue squeeze out and re-touch the black paint, because you won’t have access to that area later.
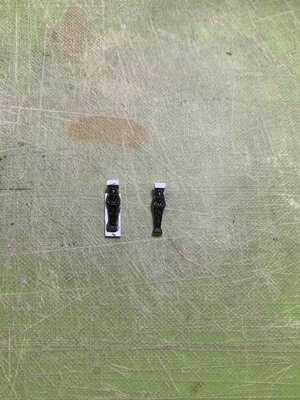
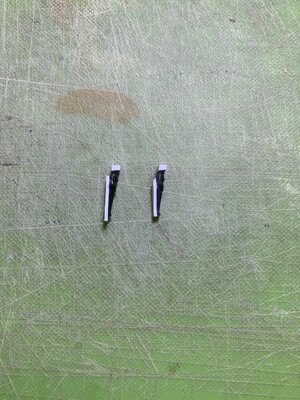
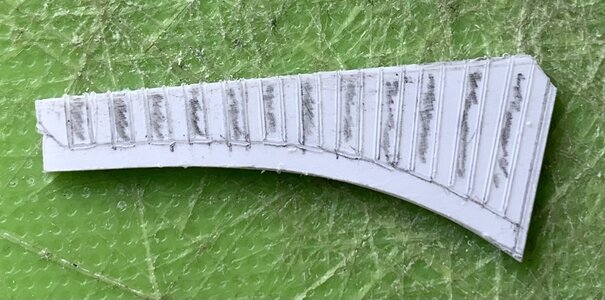
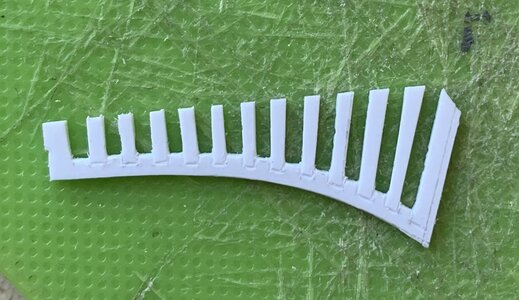
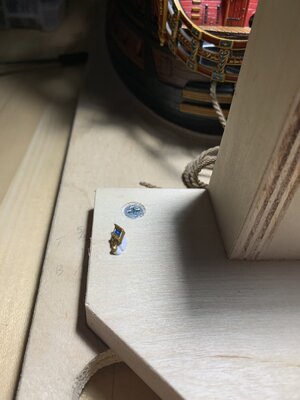
Also above, I am making a card template for the first section of grating slats that lead out onto the head. I just thought it would be much easier to make this piece as a unit, rather than as individual slats:
View attachment 361699
View attachment 361698
The outboard end (above right) of this is the mount for the new seats of ease that I will make a little later in the process.
I spent a lot of extra time fine-tuning the fit of the starboard headrail so that the glue blocks make good contact with the hull. Before I can glue that part on, though, I have to paint and glue-in the starboard grating piece. Once the headrail is in, I can glue in the middle and forward headrail supports.
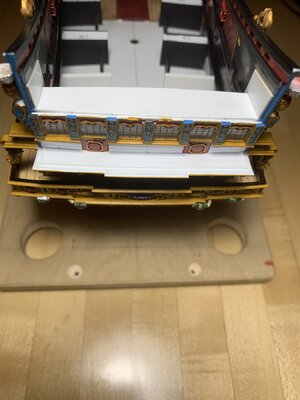
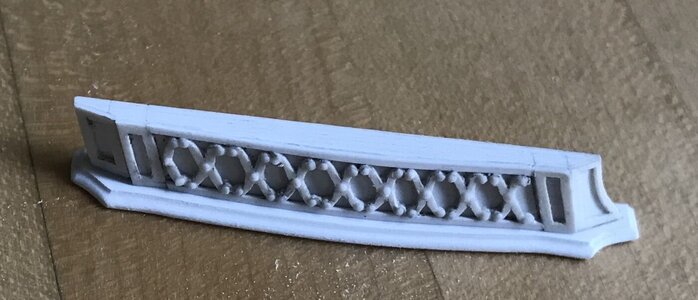
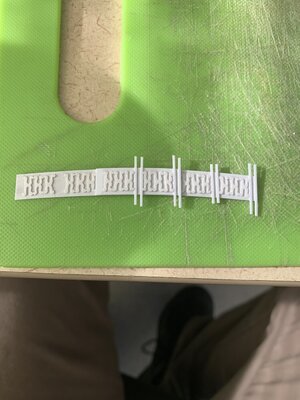
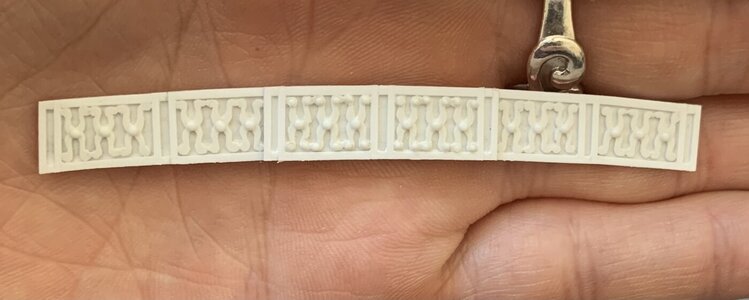
Simultaneously, I’ve been making the upper balcony bulwark. A montage:
View attachment 361708
View attachment 361707
View attachment 361706
View attachment 361705
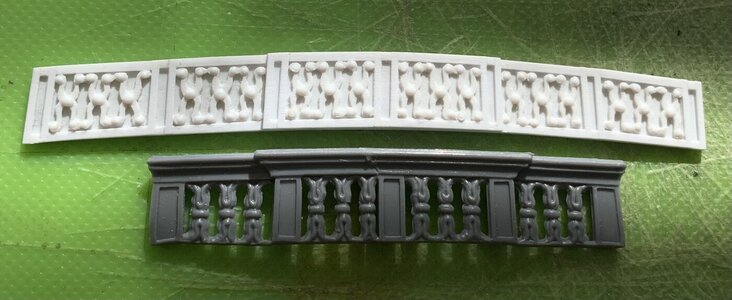
The two panels on the right haven’t been sanded down yet, but you can see what a difference it makes to clean up the face of these balusters. Having learned from prior experience, I find it much easier to frame in all of the borders and pilasters with styrene strip:
View attachment 361702
Up to this point, the balusters look pretty good. Not perfect, but decent. However, once I start adding the accent bits, the whole thing homogenizes and begins to look a little more uniform:
View attachment 361701
View attachment 361700
I still have to make the side panels and the railing, but I am satisfied that I have made a part that is at least as good as the kit version.
Thank you all for your interest and support. More to follow.


 .
.Me too. I need to buy some more on eBay.Honestly I’ve run out of superlatives.

Thank you, Aurelien. Do you have pics of that Royal Louis?Coming back to this thread after a while, still enjoy seeing how you reused the heller part. I went at a model exhibition at ingersheim last week end and could see a finnished wooden soleil royal royal (not scratched tho) and another modellist was scratchbuilding a royal louis and did 2 figurehead, one in gold and theother polychrome. (I got a out of the exhibition with a T90MS 1/35 scale model from zvezda, no missing sprue this time)
