Soleil Royal- Re-engineering Artesania Latina's New Kit by NMBROOK

fabulous. I like your idea about the circular hole inserts.
I also have a question? What is the purpose of the little square openings? Are these skuppers?


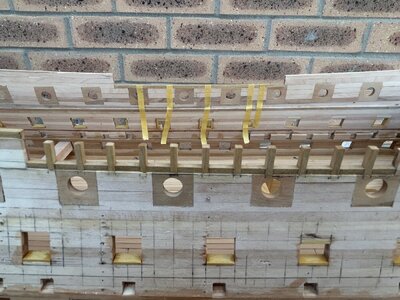
These take the deck beams, they pass through the sides of the model and finish inside the outer planking. It does result in an extremely strong hull but I feel it may be overkill for the decks on the higher levels, so may resort to traditional means
It is not my design, but one "borrowed" from Dimitry Shevelev
 
Spectacular progress, Nigel!

Yeah, I was "on one" todayROTF Hopefully complete lining at the weekend then it is on to shaping the top edge of the hull:) Then it will be more 17th Century French than a concrete carpark from the 1970'sROTF
Looking forward to that bit as there is a load of "spare" material at the top of the hull at the moment.I ran out of height when I did SOTS hull and had to add material on the top edge, so I put plenty of extra on this hull to avoid a repeat;) Somewhere in there is a sleek curvy "Beast " wanting to escapeROTFROTFROTF
 
When you do get to the point of defining the sheer, that is when the stark departure from AL’s design efforts will be most evident. I sincerely wonder whether anyone watching at AL - and they must be o_O watching this build - is taking notes and giving any serious thought to a re-design.
 
When you do get to the point of defining the sheer, that is when the stark departure from AL’s design efforts will be most evident. I sincerely wonder whether anyone watching at AL - and they must be o_O watching this build - is taking notes and giving any serious thought to a re-design.

From Clog to Swan I hope MarcROTF I had wondered if Artesania have got a Facebook Group, I am toying with posting some pictures on there when the hull is doneROTF Too early now, nobody will believe it is their kit, well sort of their kit.....
 
How’d first day on the job go?

Good, thanks mate. No Corporate BS like the previous role. I will get to focus on running the workshop efficiently and not completing meaningless spreadsheets nobody really looks at.
Some improvements I can make and I will phase those in over the coming months.

Feels good to be working normal working hours and not being a Vampire like I have been for the last 8 yearsROTF Once my body gets used to normal hours I may even get to spend an hour or two in the evening on my modelling:D
 
Can't open the link Marc but can take an educated guess on the contentROTF

Don't get me wrong, Excel is a good tool, especially if the spreadsheet is updated by multiple users in a shared folder. Just got sick of pointless ones in the name of "Visual Management" :rolleyes:
 
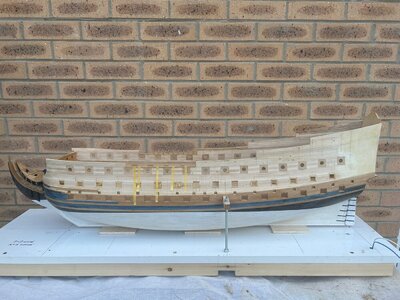
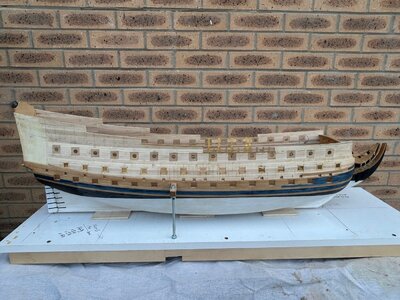
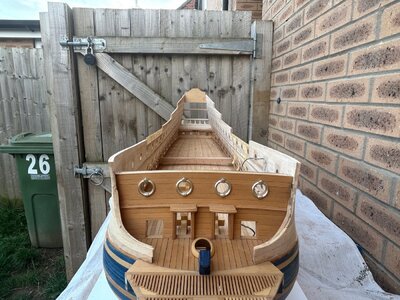
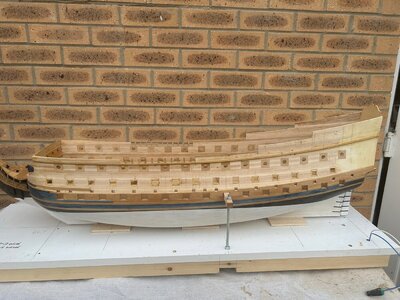
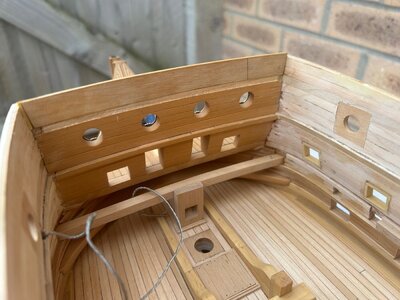
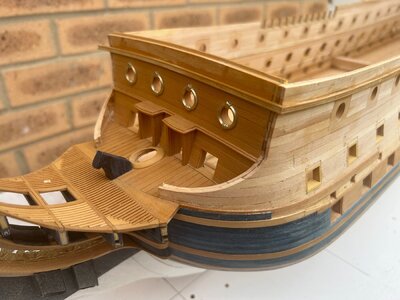
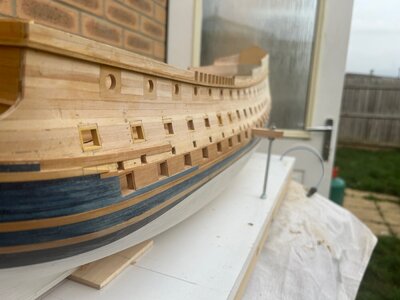
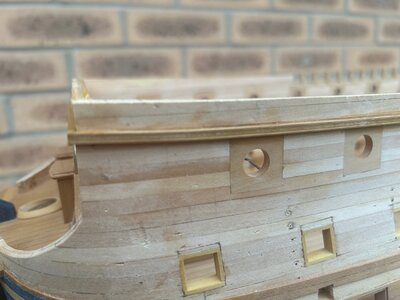
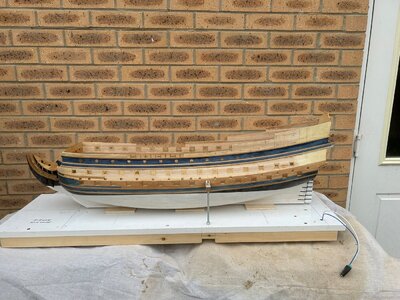
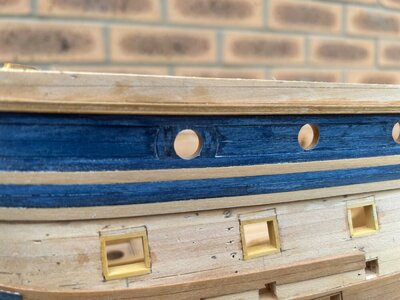
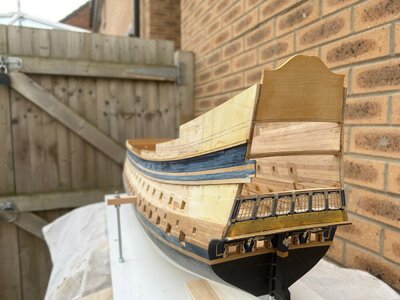
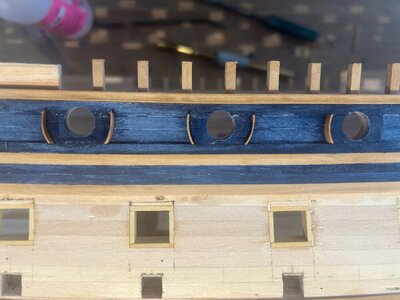
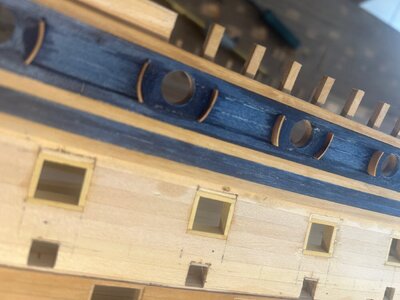
I decided to go ahead and trim the top of the hull, my reasoning I can finish off lining the ports will waiting for glue to dry on the work now ongoing.

The top edge of the hull will receive a boxwood strip which will be the finish of the top edge. Once glued, housing joints are cut to take the boxwood uprights of the railings. These are left over long and will be sanded to the correct height a little later.
There are several stages to the process and I will try to document it in pictures. The uprights will be covered in veneer on all four sides incorporating both blue veneer and boxwood.

IMG_0922.JPGIMG_0923.JPGIMG_0924.JPGIMG_0925.JPG
 
Thanks Marc, I am quite pleased with how it worked out.

Regarding our discussion about the Cathead timbers, I mocked it my headrails again and the supports on top of the figures will work exactly level with the Forecastle deck so no plan b needed:cool:

It is all a bit bizarre how lengthening the hull and a few tweaks makes the kit parts fit better than the instructionsSpeechless
 
To enable me to continue I have had a redo, revision extension or whatever you want to call it to the Beakhead bulkhead. My initial design was incorrect and also left me with a far to small headroom under the foredeck. I had dropped a booboo somewhere in my calculations many moons ago. The good news is that it was quite a simple job to extend the bulkhead upwards. The fore and aft faces are yet to be planked and the forward face will be blue which sits between two mouldings.

In order to continue with my railing "posts" I first need to fit the moulding that runs along the hull. I have cut down 6 metres of boxwood on my saw and then milled a trough using a ball end cutter in my MF70 with a rudimentary fence set up. This gives a moulding style different to typical French design but one that does reflect that of the artwork. The moulding appears chunky but the hull still has two layers of Veneer to add. There also appears to be a "wobble" in the line of the moulding where the railing posts are, this must be a trick of the camera and isn't there in real life, I spent a considerable amount of time achieving a perfect curveo_O

Photos show one side done, other to follow next week.

IMG_0926.JPGIMG_0927.JPGIMG_0928.JPGIMG_0929.JPGIMG_0930.JPG
 
I wasn't initially going to update this week as there is a lot involved in the area I am working on. However a few want to know the steps involved in how I achieve the results so here goes...

The uppermost Wales have been installed and I have started infilling the area above with blue veneer. The first layer is straight forward planking, the next two layers form a boundary for recessed panels as in the Vary artwork. Two layers are required to get the required thickness.I have started on the first layer and you get the idea of how this will work from the most forward Port. The edges of the recesses will eventually be framed with what will be after sanding down, 0.9mm by 0.6mm boxwood. The colour variation is due to the area being cleaned with white spirit and it has not fully evaporated.

IMG_0934.JPGIMG_0935.JPGIMG_0936.JPG
 
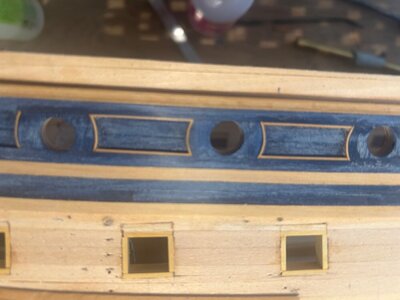
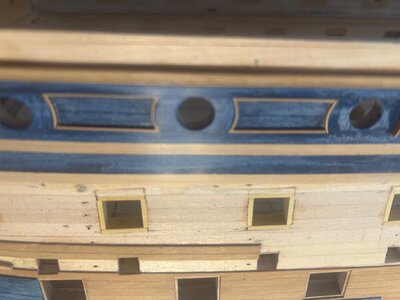
A small update mainly to illustrate how I am framing the panelling.Overwide boxwood veneer strips are soaked in water and then bent around the shaft of a soldering iron. These are first fitted to the model followed by the straight sections.Once all the glue is dry, these strips are sanded flush with the panel surrounds'

As they say, a picture says a thousand words, well apart from the fact this is a loooooonnngggg job:rolleyes:

IMG_0939.jpgIMG_0940.jpgIMG_0941.jpgIMG_0942.jpg
 
Thanks and yeah it all adds up to the big picture. Should tie in nicely with the blue panelling I will be adding to the vertical posts of the railings. With all the added detail, I reckon on 6 months of work to do both sides of the hull for this upper band including the rails.

I have an idea as to what I am going to add aft above this level but I am keeping quiet about that for now. Suffice to say, probably another six months there as wellROTF:rolleyes::rolleyes:

I am not going to follow Vary with his Seahorses bisecting the top rails.Structurally this makes no sense so will be adjusting his design.
 
A small update mainly to illustrate how I am framing the panelling.Overwide boxwood veneer strips are soaked in water and then bent around the shaft of a soldering iron. These are first fitted to the model followed by the straight sections.Once all the glue is dry, these strips are sanded flush with the panel surrounds'

As they say, a picture says a thousand words, well apart from the fact this is a loooooonnngggg job:rolleyes:

View attachment 396086View attachment 396087View attachment 396088View attachment 396089
Wow! Building those in situ is a bold move Nigel!
 
Adding the paneling to the timberheads is just such a nice detail, and something I always love on the Arsenal style models, but yeah - it’s a boatload of extra work!

I hear you on the Seahorse hancing pieces. My solution to their problematic presentation in Berain/Vary portraits was to turn the tails down, so that they wouldn’t be so improbably fragile. In any case, there are numerous directions you can go here, so it will be exciting to see what you come up with.
 
Back
Top