SPEEL-JACHT 1640 - Kolderstok 1:50 Scale

Hans internals.jpg

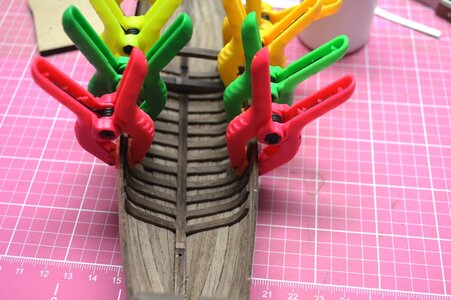
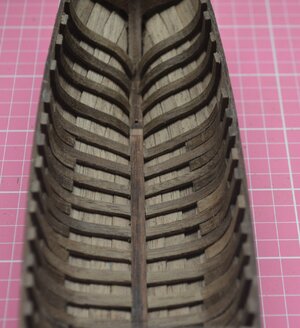
The next step for me is to form and glue in the numerous internal trusses to stiffen the hull. The above image is taken from Hans Groenberg excellent build log of the Speeljackt from which, I'm gleaning information for my build. Thank you, Hans Gold Star


Hans forming.jpg

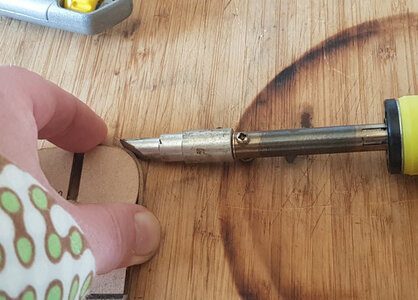
Here you can see Hans using the bender I referred to in my previous post #34.
That is one of the three tips and is very useful in forming the trusses around one of the removed formers.
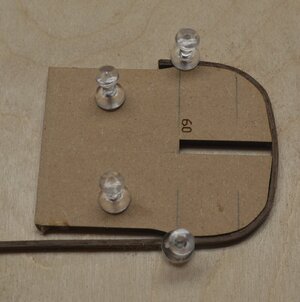
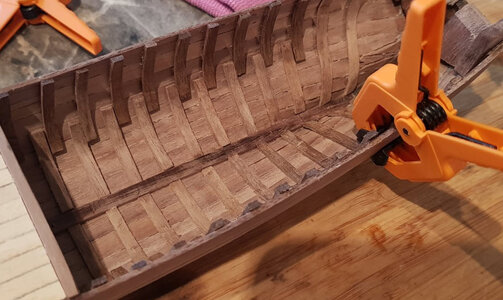
truss forming.jpg

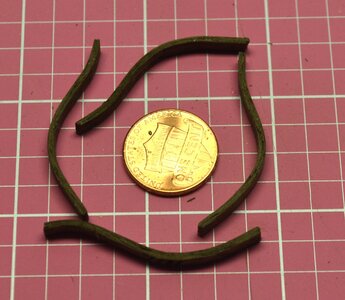
Here I used one of the formers to bend around. I soaked the wood then used the bender to form the wood around. I will cut it in two when dry and that will give me both side of the truss. Only XXXXX trusses to go. :(
 
Ron you are doing a superb and very clean job of installing those interior frames. With a first Kolderstok build like that, you are ready for the Fluit!

Thank you Heinrich. I’m enjoying the build and I know it’s the journey not the destination however, I’m hoping the new year will
Allow me more time in the shipyard.

Ron
 
You have done an excellent job on those ribs Ron - very neatly executed! The fact that there are no glue remnants on the inside of the hull, says it all to me. Happy New Year !!! Thumbsup
 
You have done an excellent job on those ribs Ron - very neatly executed! The fact that there are no glue remnants on the inside of the hull, says it all to me. Happy New Year !!! Thumbsup

Thanks Heinrich. Tried not to have any squeeze out although it probably wouldn’t show after everything gets assembled.
 
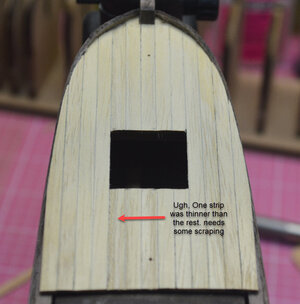
Deck planking.jpg

Got the deck planked and didn't notice the difference in strip thickness beforehand Redface
Hole cut in deck for grating. Saw another build log where he painted black on the deck under the grate. That way he didn't have to cut the hole. I cut mine slightly undersize so I can fit the grate snugly. I will say the Wonder Cutter is fantastic! However, it does require a steady hand. I used a metal strip as a guide for these old shaky hands.
Now moving on to adding the lower decking, benches etc.

Ron

Ron
 
That deck is looking very good Ron. Yes, you will find that there is sometimes some variation on the thickness of the Abachi deck planks. sometimes it is a good thing when it comes to having to show "schaarstokken" (long, thicker planks that run on either side of the gratings), but those are not incorporated on the Speeljacht.

Take your time with the assembly of the gratings and follow the instructions carefully.
And use my calipers :(
 
Ron if you dont feel like scraping the deck, you can just remove that plank and replace it with one of the same thickness as the others.
 
Ron if you dont feel like scraping the deck, you can just remove that plank and replace it with one of the same thickness as the others.

Already scraped. Can’t beat single edge razor blades for a small job as this. :) Figured it was easier to scrape than cut a new curve….

Should still be thick enough for the average seamen to walk on. Ahab with his peg leg might have a problem
 
Last edited:
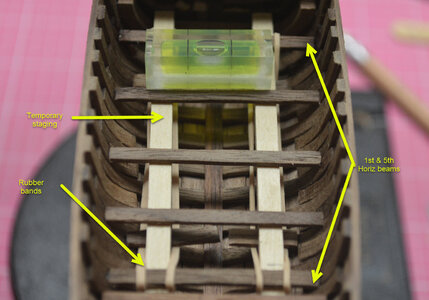
Beam staging.jpg

With the ribs installed it was time to install (5) horizontal beams to support the Abachi planks for the cockpit area deck. The beams were to be ~1 cm above the keel. Setting these parallel to each other and at the same height gave me pause as how to accomplish this.
First, I leveled the hull, cut fit and leveled the 1st & 5th beams and glued them in place. As this was rather tedious to get them exactly the same, I opted not to try and do the remainder one at a time this way.
Next, I rubber banded two temporary staging planks under the previously installed 1st & 5th beams.
I could then cut, fit and glue the remainder of the beams while they rested on the temporary staging planks assuring all were installed on the same plane. (I hope)

Yes, I will be able to remove the temporary staging when the glue has set. (It says here in fine print) Cautious

Ron
 
I know the feeling - the instructions make it look so simple, but trying to execute is, takes some pondering time. Your solution seems to be a good one and I am sure the staging planks will come out without a hitch!
 
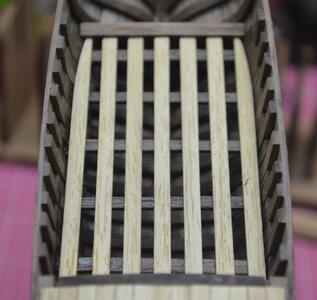
Absolutely perfect Ron! What a nice contrast between the Abachi deck planking and the walnut of the hull!

My boo-boo is I wanted to give the inside a coat or two of Danish before glueing down the Abachi. :( As I have additional pieces to glue in I didn’t think the glue would adhere as well to the oil. I will coat it when everything is installed inside as best I can
 
Back
Top