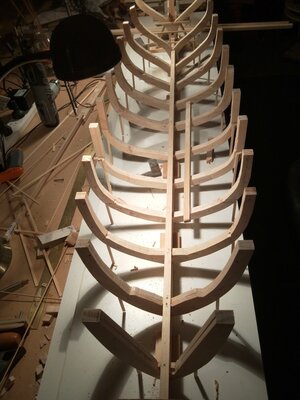
Steam powered wooden Drifter trawler, Formidable LT100, 1/20 scale by neptune

139.jpg
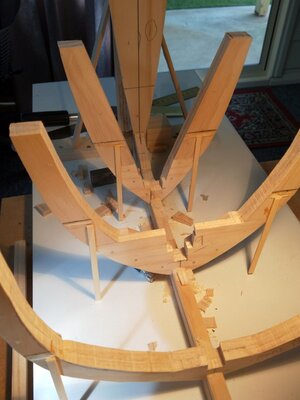
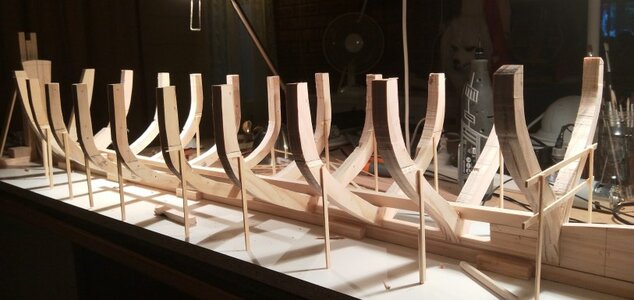
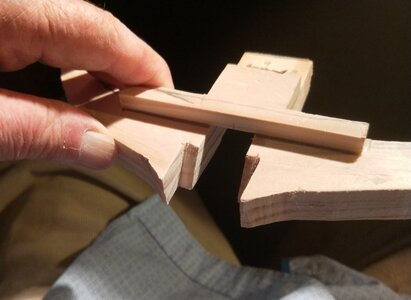
cutting through the frames to install the Keelson, while doing this I also trimmed some
of the wood back on the frames as well,

140.jpg
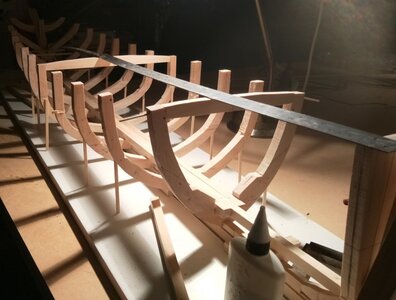
Fore part of the keelson in place,

141.jpg
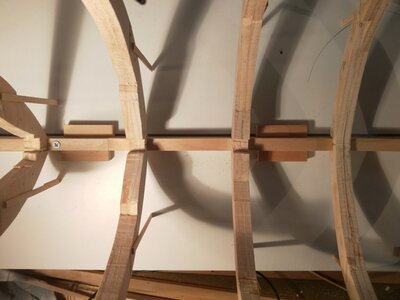
I meant to say just now, that before I could install the keelson i had to remove the screws holding the keel to the
building board, so to make sure the keel stayed staight i glued small blocks along the each side of the keel before
removing the screws, that is I glued the blocks to the building board along each side of the keel,

142.jpg
Keelson glued and dowelled in place,

143.jpg
Side view,

144.jpg
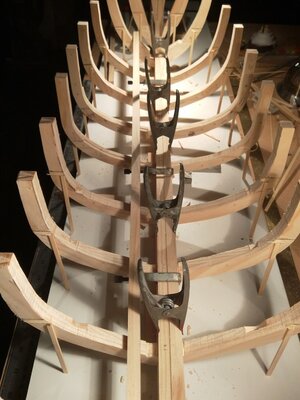
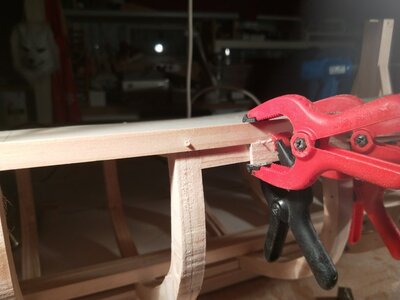
the book shows that she also had two side keelsons, this is the starboard one glued
and clamped in place, with the port side one waiting its turn tomorow, these will also
be dowelled through,

145.jpg
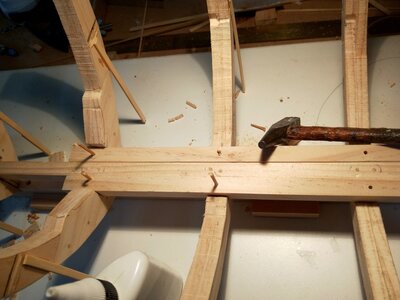
dowelling the side keelsons,


once again thanks for watching,

best regards John,


.
 
Last edited:
153.jpg
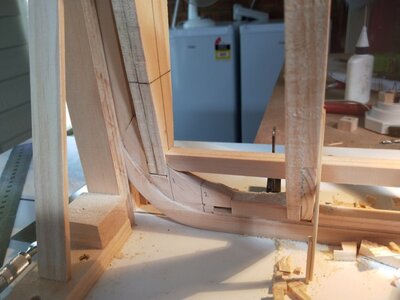
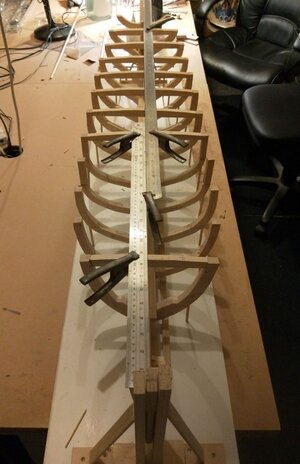
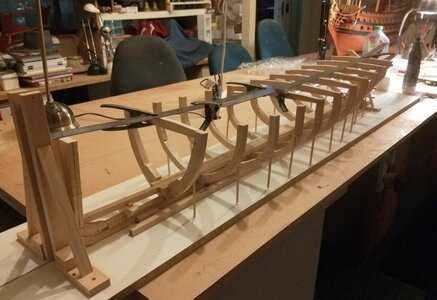
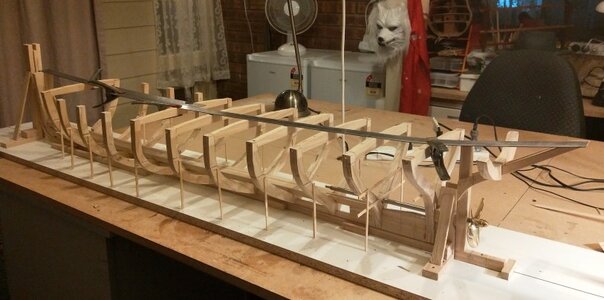
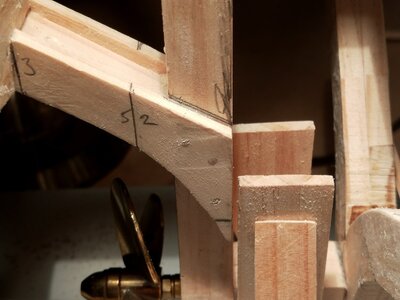
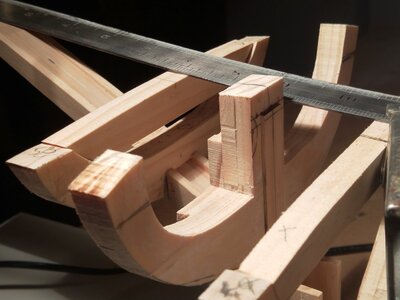
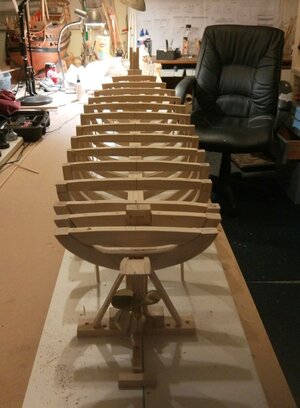
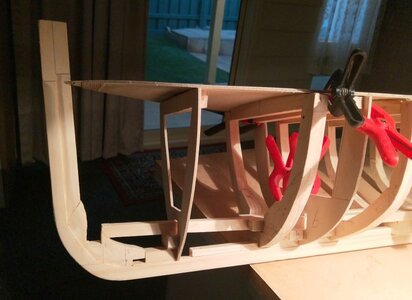
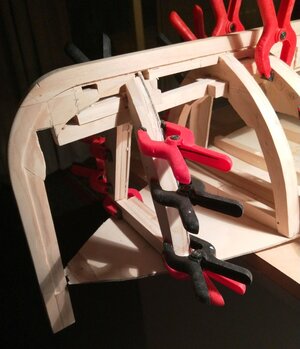
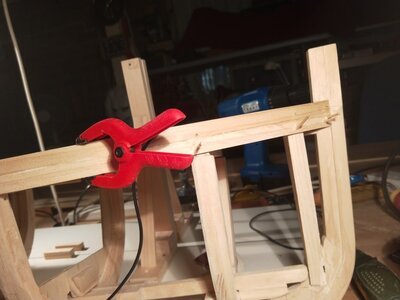
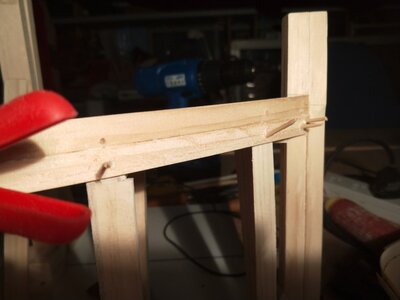
I have started to install the deck beams, I was going to bevel the insides of the frames but decided not to,
once I have all the beams in place I will run some support timbers under them and also at the turn of the
bilge to give some extra strength for when I bevel the out side of the frames, several pics below show the
beams being attached.

154.jpg


156.jpg


157.jpg


.
 
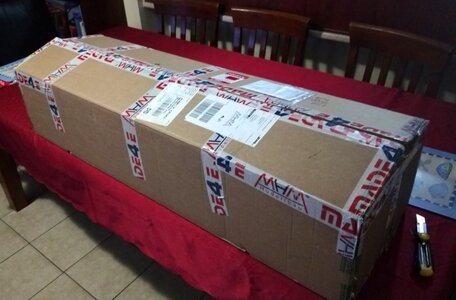
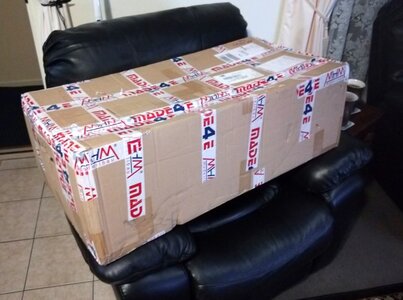
I had a couple of packages arrive during the last week from Germany,

1.jpg
???????????????????

2.jpg
??????????????????????

3.jpg
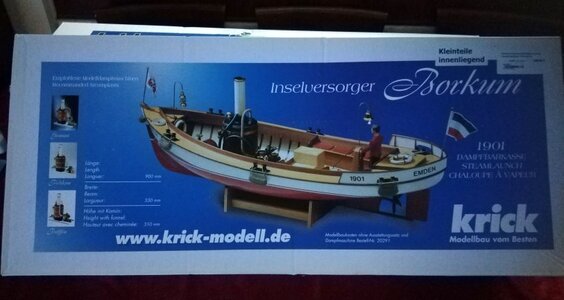
This first one is another Borkum, the last one I built I sold to a friend just after Christmas, and I had so much fun
building her that I decided to build another one,

4.jpg
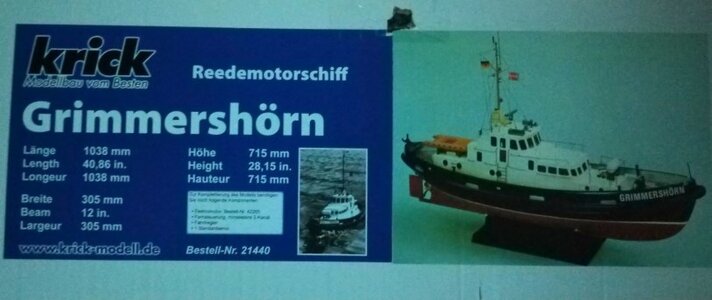
and this one is the Grimmershorn, this looks like its going to be another fantastic to build from the Krick company,
but I will not start them for awhile yet,

thanks for looking,
best regards John.


.
 
I had a couple of packages arrive during the last week from Germany,

View attachment 227040
???????????????????

View attachment 227041
??????????????????????

View attachment 227042
This first one is another Borkum, the last one I built I sold to a friend just after Christmas, and I had so much fun
building her that I decided to build another one,

View attachment 227043
and this one is the Grimmershorn, this looks like its going to be another fantastic to build from the Krick company,
but I will not start them for awhile yet,

thanks for looking,
best regards John.


.
Having fun and enjoying the builds is what the voyage is about. Rich
 
I like your new toys, John! You got many hours of fun in those boxes. At some point, if this will goes with your plan OK, we would love to see an open box review of those kits. What do you think, is feasible?
 
I like your new toys, John! You got many hours of fun in those boxes. At some point, if this will goes with your plan OK, we would love to see an open box review of those kits. What do you think, is feasible?
No worries Jim, but probably not for a couple of weeks,

best regards John.
 
The ship looks sooooo large, how long is it from bow to stern? also in metric system if you are so kind.
G'day and thank you for viewing my build log, are you asking about the Steam Drifter if so she is 1.440 mm long and 300mm wide she is being built at 1/20 scale, hope this helps,

best regards John,
 
158.jpg
The last six beams have been cut, and installed,


159.jpg
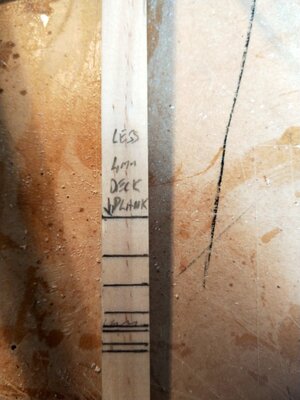
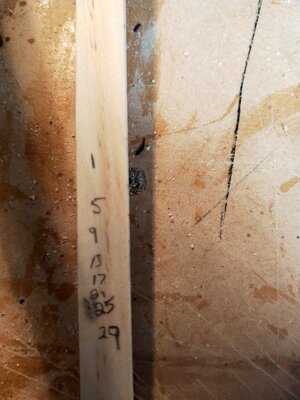
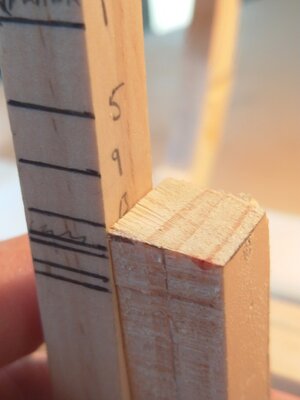
I made some of what i call tick strips, I mark them with the deck height minus 4mm so
that I can double check the height of the frames,

160.jpg
and on the side I mark the frame numbers,

161.jpg
Checking the height of frame 13,

162.jpg
I also made a template of the deck sheer just to make sure all was lining up,

.
 
163.jpg
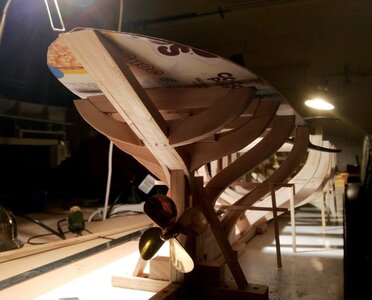
I left this frame till last because it had a few different angle joints, and it had to fit either side of the stern post,


164.jpg
it had to have this angled joint as it had to sit down over the stern post on the timbers that support the stern,


165.jpg
a close up of the parts it has to sit on,

166.jpg
once the glue has dried I will cut off the top section flush with the other beams,


167.jpg
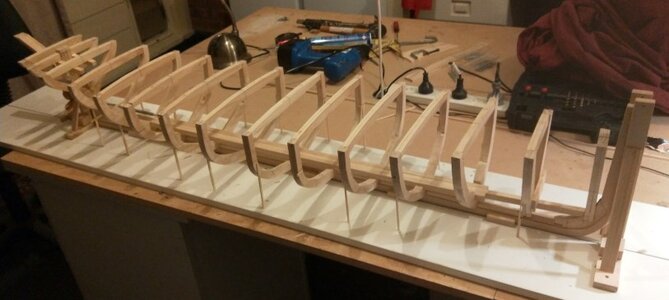
and a couple of pics with all the beams in place,

168.jpg


thank you for all the nice comments and likes,

best regards john,
.
 
169.jpg
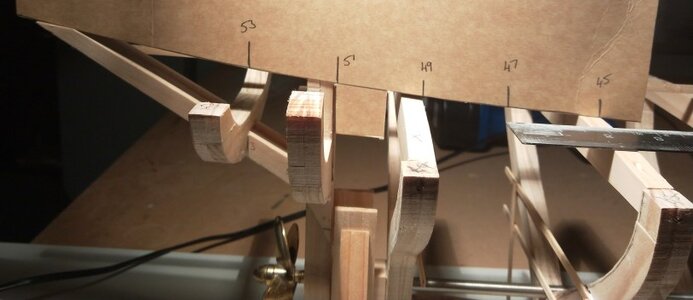
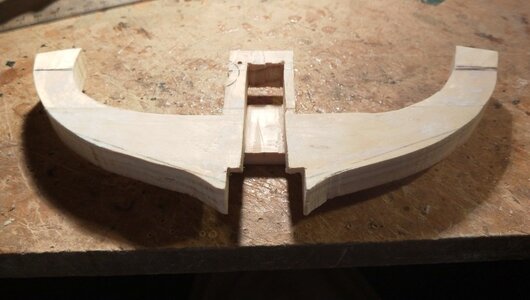
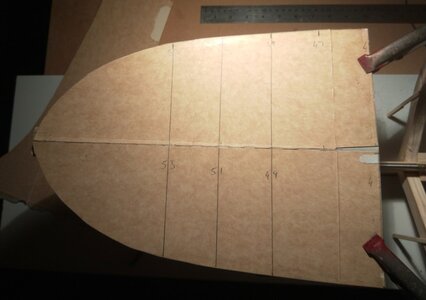
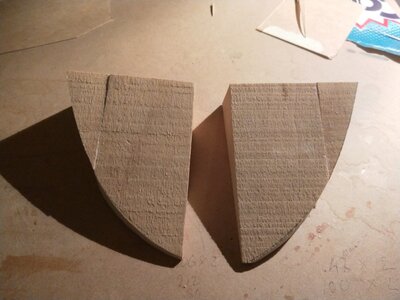
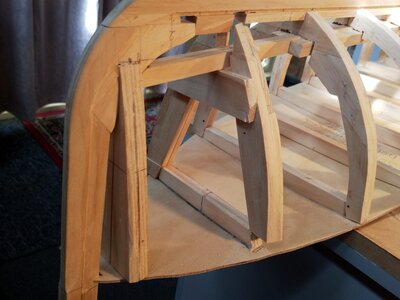
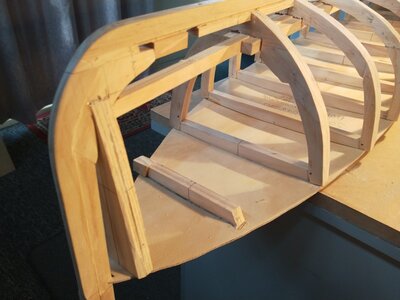
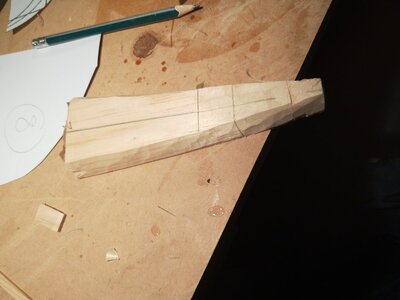
I made a template of the transom area, on the real boat for the last frames at the transom they put in five cant
frames each side and then filled in between the cant frames with more timber, I had some nice pieces of Jelutong,
so I decided to make two blocks, one for each side, and carve them to shape,

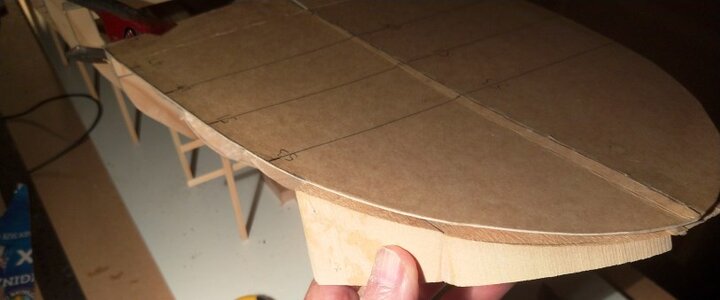
170.jpg
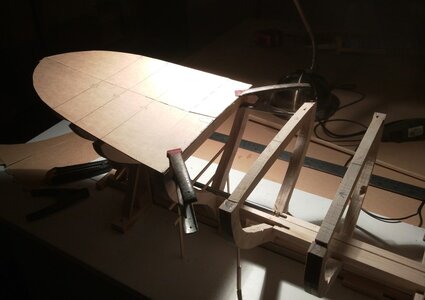
I clamped the template in position,

171.jpg
a view looking up underneath, showing the area's that the blocks will fill.

172.jpg
the jelutong cut roughly to shape and glued together,

173.jpg

and just holding it up to show where it will go after being carved to shape,

.
 
View attachment 228140
I made a template of the transom area, on the real boat for the last frames at the transom they put in five cant
frames each side and then filled in between the cant frames with more timber, I had some nice pieces of Jelutong,
so I decided to make two blocks, one for each side, and carve them to shape,

View attachment 228141
I clamped the template in position,

View attachment 228144
a view looking up underneath, showing the area's that the blocks will fill.

View attachment 228145
the jelutong cut roughly to shape and glued together,

View attachment 228146

and just holding it up to show where it will go after being carved to shape,

.
The massive size of your model just about places it in the realm of a real shipyard craft. At least you are not fighting the miniscule size of what many of the rest of us are dealing with . . . just larger opportunities for challenges which you seem to be solving very well. This would barely fit into a bath tub. Thanks for the log photos. Rich (PT-2)
 
The massive size of your model just about places it in the realm of a real shipyard craft. At least you are not fighting the miniscule size of what many of the rest of us are dealing with . . . just larger opportunities for challenges which you seem to be solving very well. This would barely fit into a bath tub. Thanks for the log photos. Rich (PT-2)
Thank you Rich for the encouragement, I'm lucky our bath is nearly 6 foot long, just enough for a test float,

Best regards John.
 
174.jpg
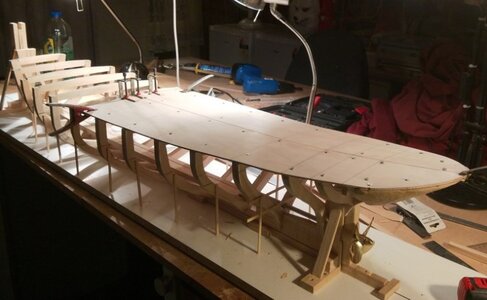
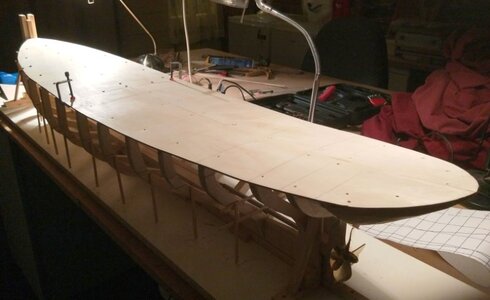
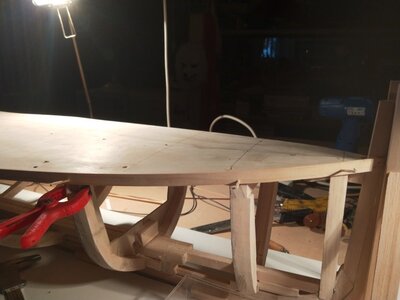
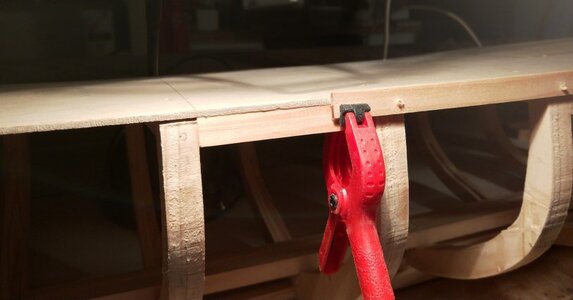
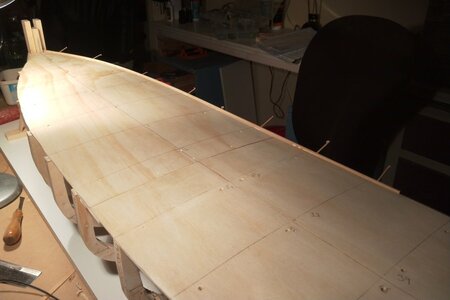
I have started adding the sub deck, I installed it in two parts, I temporary screwed it in place while the glue dried,


175.jpg
and with both parts in place,


176.jpg
I've had a little bit of a problem with some of the frames, and I decided to replace a couple of them,


177.jpg
I removed the second frame,


178.jpg
I made a new 3mm ply frame to obtain the correct size,


179.jpg
and then built the new frame over the 3mm ply frame,


180.jpg
I also removed the first frame to sand it back to the proper size, this Pine wood that I am using is great but it is
very hard to sand back, my left shoulder and arm are giving me problems again and also three of the fingers on
my left hand are curling under and locking up which makes it hard to hold the frame work whilst sanding it, at
one stage I was ready to scrap the boat and start on one of the new kits with an ABS moulded hull, but I'm a
Stubborn Git and dont like to give in so I have persevered with it and hopefully got on top of it,

.
 
181.jpg
So after the corrections I have started the planking, this is the first plank in place, the top of the plank is 4mm
above the top of the sub deck to allow for the deck planking and some trimming,


182.jpg
When I do my planking I dont worry about the plank finishing in the middle of the frame, I glue a backing support
plank in place as above and glue the new plank onto this which I think makes it stronger,


183.jpg
second plank in place,


184.jpg
close up,


185.jpg
and again where I can I use a backing plank,


186.jpg
Deck view,

thank you for looking,

best regards john,

.
 
Back
Top