The Anatomy of the Bounty - AL-

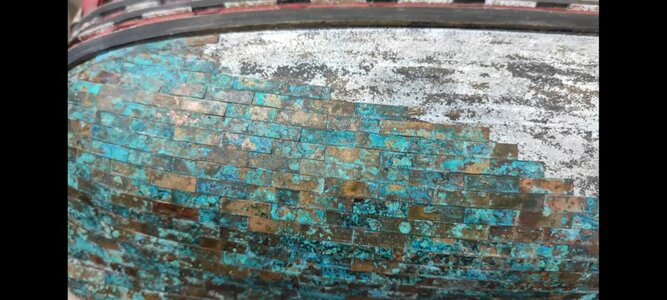
Hi Daniel. I would have assumed that aging of copper should produce a "green effect". See what I mean here.


It is most interesting that your aging fluid produced a brown effect on the copper plating which goes great with the color of the wood! I am glad to see that you have returned to the Bounty!

Heinrich, weathered copper has a brownish and green color. To get the green color is a complicated method that I was not willing to pursue.

On the other side I didn't like at all the brand new copper color.

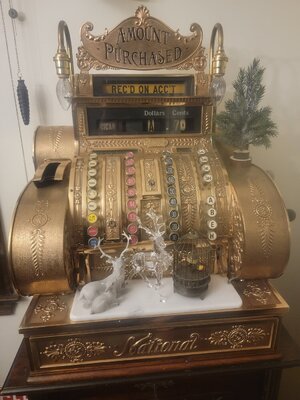
I could have washed the copper with Cetone and wait 10 years to start to get it brown and a few more to get the green with the house humidity. Or splash it with salt water to accelerate the process a little bit. (See my cash register examples)

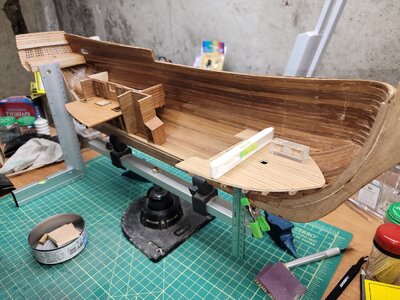
Instead I decide to weather it with a patina , as you can see, and then I lacquered the copper. It will stay as it is for MANY decades.

Let me provide examples, showing that you are correct and showing what I wrote.

First: The Constitution at Boston Harbour. See new plate added with tourist signatures beside the old ones. There you have the real aging, as you wrote.
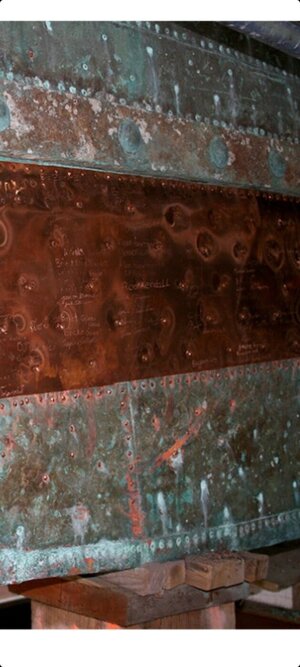
Screenshot_20211125-162015_Gallery.jpg

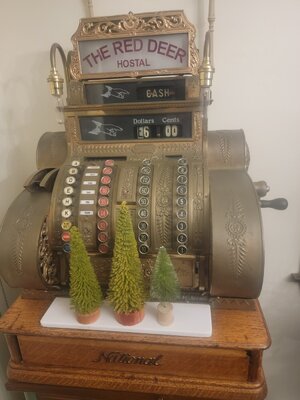
Second: One of my NCR Cash Registers I cleaned the brass 15 years ago, but never lacquered. I was lazy that week :) . VS another one of my collection, that was cleaned and lacquered more than 30 years ago (not by myself).

See the difference in color. The brownish one was very bright .... 15 years ago. :)
20211125_162753.jpg20211125_162816.jpg

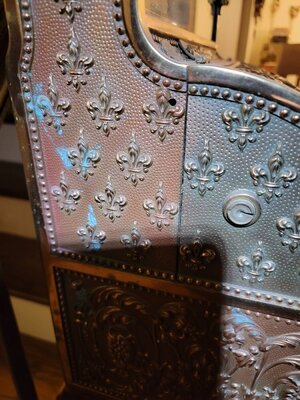
Now watch this other one.

Not lacquered, BUT it was nearby one of my Salt Water (marine) fish tank and it got a few salt water drops by accident. I knew aboutvthe water drops when brass started to be green . Will be restore when I retired.
20211125_163204.jpg

Bottom line, you are correct !! Greenish spots would be more real.

Cheers
Daniel
 
Last edited:
Hi Daniel. I would have assumed that aging of copper should produce a "green effect". See what I mean here.


It is most interesting that your aging fluid produced a brown effect on the copper plating which goes great with the color of the wood! I am glad to see that you have returned to the Bounty!

Heinrich. Here it is well explained the method I was not willing to do. But, the results are expectacular !!!


Posting a picture because you can't watch YouTube.... sorry. But will help others modelers too.

Screenshot_20211125-165409_YouTube.jpg
 
Hi Daniel. I would have assumed that aging of copper should produce a "green effect". See what I mean here.


It is most interesting that your aging fluid produced a brown effect on the copper plating which goes great with the color of the wood! I am glad to see that you have returned to the Bounty!

Hi Heinrich.

Sorry I pasted the HULL COPPER PLATING video on my previous posting.

Here is the technique to get the greenish weathered color on the copper plates. Amazing and Expectacular results.


You know the modeler very well (Shelk) and he posted on his built all these videos at SOS.

This video is very helpful for any modeler that want to pursue that level of detail and finishing.

Cheers
Daniel
 
Wow Daniel - what a great and informative response. I have, of course, forgotten about the wonderful weathering that @shelk has done on his ST. Do not get me wrong - I really like the brown effect - to me it is not so harsh as the "green-colored" weathering. I just did not know that there was also a brown hue of weathering available.
 
Hello Daniel

Thanks for link to the other builds
They all look excellent. With what you are doing on the bounty it will look like a great build.
Rigging is difficult but a well rigged ship gives it that final appearance for me.
Have a look at my last build the Endeavour. It was a AL kit but well bashed and the rigging and sails added

Cheers
Robert

Thank you Robert. Really a pretty ship and we'll done. I will follow the rigging of your Bounty.

Cheers
Daniel
 
Hey Daniel

It will be fully rigged including all sails (Except the studding sails as had the cabinet built to the measurement of the studding yards in) so welcome to follow
Just check on the book for the Bounty you may have to get the Admiral to sew a couple of more sails as I had to make 3 extra for the Endeavour.
Also check the blocks as had to buy a lot more blocks of various sizes and belaying pins.
Are you going to rig the Cannons as well?

Cheers
Robert
 
Hi Daniel. Awesome log and informative. I enjoy the constructive debates on your log(as with many on Sos). They teach us rookies loads. Fantastic job on the coppering- something I don’t think I ever want to do. As Heinrich would encourage- go Dutch
 
Hi Daniel. Awesome log and informative. I enjoy the constructive debates on your log(as with many on Sos). They teach us rookies loads. Fantastic job on the coppering- something I don’t think I ever want to do. As Heinrich would encourage- go Dutch

Thank you Grant !!!

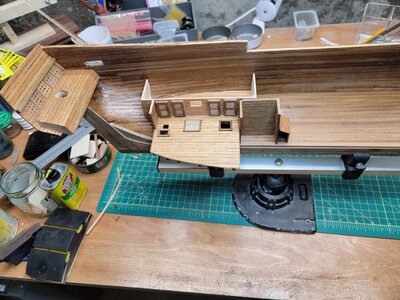
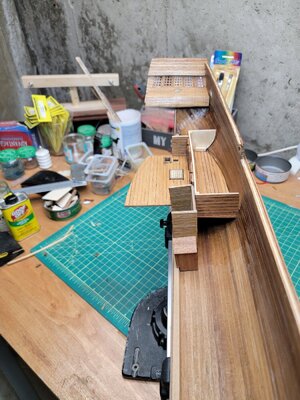
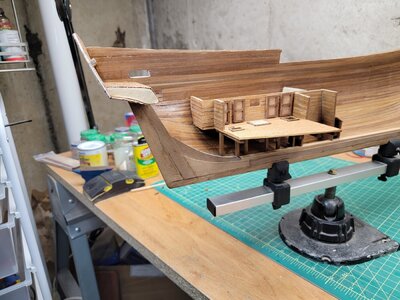
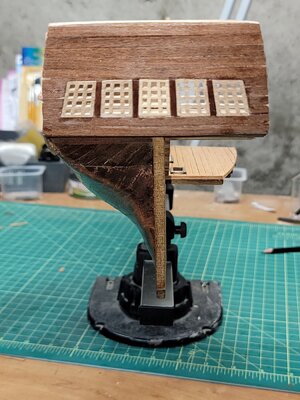
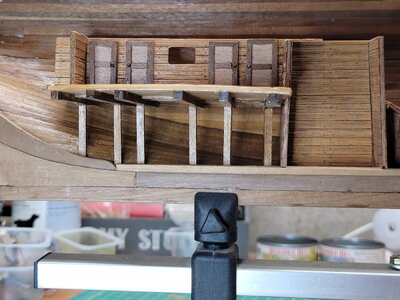
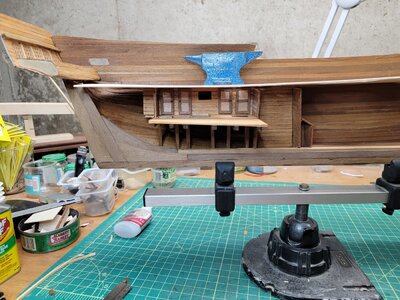
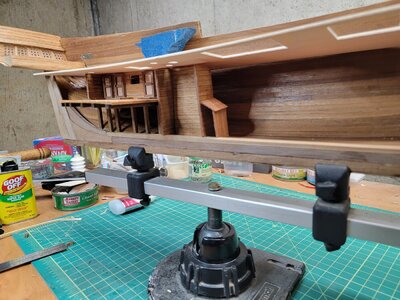
I would like to finish today a small wall of the first lower deck on this ship and will post pictures.

Stay tuned!!

Cheers
Daniel
 
I have used a solution of vinegar, ammonia and table salt to produce a green patina on larger copper projects, but i have not tried it for hull cladding yet
 
I have used a solution of vinegar, ammonia and table salt to produce a green patina on larger copper projects, but i have not tried it for hull cladding yet

You can see the process on the video posted above (posting #43) using the same products.
 
I have used a solution of vinegar, ammonia and table salt to produce a green patina on larger copper projects, but i have not tried it for hull cladding yet
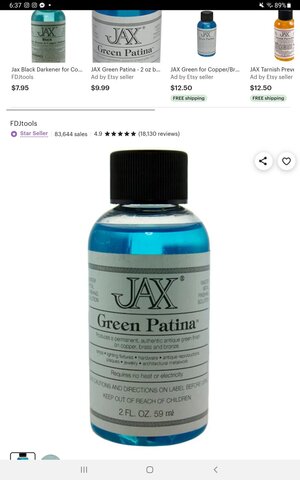
Some stained glass works use copper foil tape. Then are soldered. Different patinas are achievable with chemicals they sell.
 

Attachments

  • Screenshot_20211126-063701_Chrome.jpg
    Screenshot_20211126-063701_Chrome.jpg
    106.6 KB · Views: 3
You can see the process on the video posted above (posting #43) using the same products.
Yes, but I do it with all ingredients mixed in solution and sprayed on with a spray bottle. I’m not sure of the the advantage to doing it in so many steps.
 
Yes, but I do it with all ingredients mixed in solution and sprayed on with a spray bottle. I’m not sure of the the advantage to doing it in so many steps.

Interesting. It would be nice if you can do a posting on General Topics, showing us how you do it. I am sure many will appreciate it.

Daniel
 

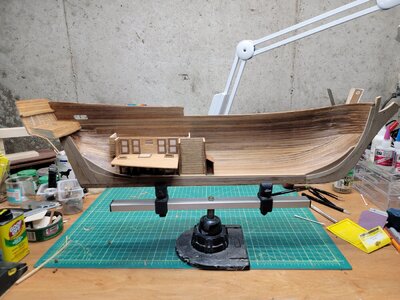
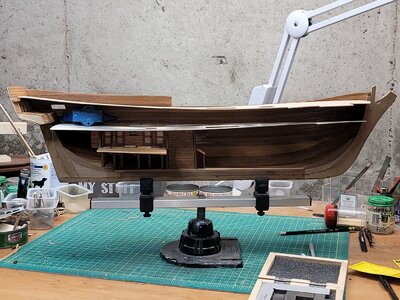
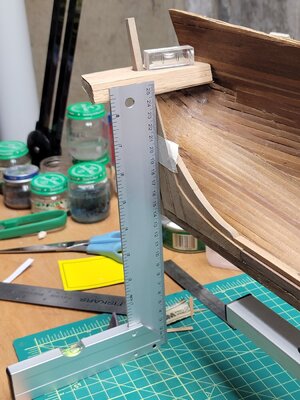
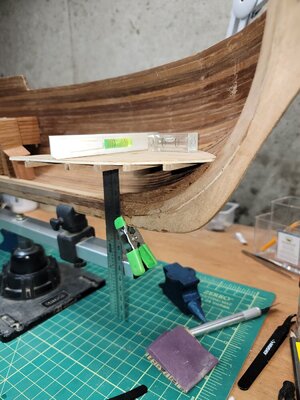
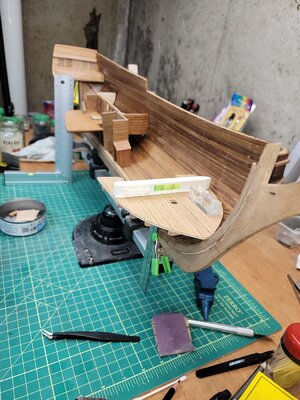
Not having the other half of the hull, makes the building a pain in the neck. You can't believe how many times I glued and unglued the sections because they weren't squared or leveled.

20211022_174536.jpg

Now I understand why this design was discontinued and replaced by an open hull version but built using a full hull.

She waited too many years to be built and I spent too many years looking the box picture and thinking how it will look at home.

It will be done !!!!

From Robert B on his Bounty build log: ........I do what I like for the build and am happy with what I have achieved at the end of the day. If someone else likes it then that is a bonus for me....

So Thank you Paul !!!!

Daniel
 
Back
Top