The "Chinese" Harvey

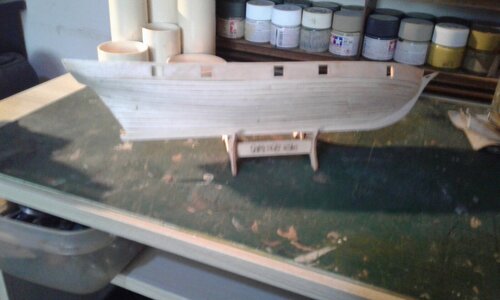
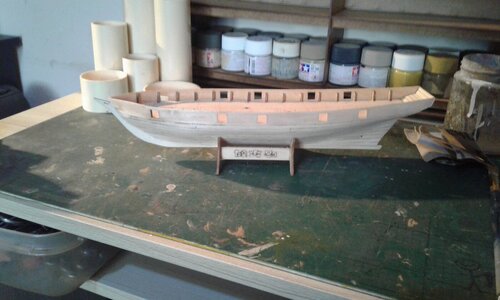
I think the shaping of the hull is about complete and I was AICHING to start finishing something... And so I did. I oiled the inside of the gunwales. And then I oiled the stern of the hull and a bit of the bow. Not too much since I still want to glue up the channels before oiling. But she is looking good to me.

I also had to file the stern keel groove in that stand QUITE A BIT to allow the model to fit now that it is planked. I also do not like the simple laser etched name plate on that stand and will likely do something different eventually.

M.
IMG_0222.jpeg
 
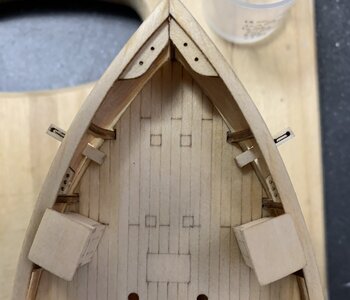
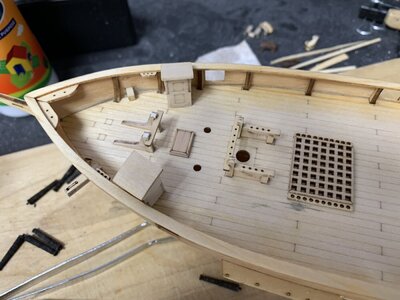
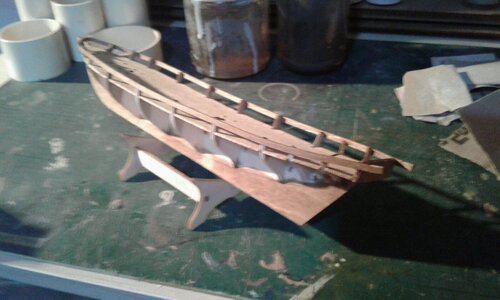
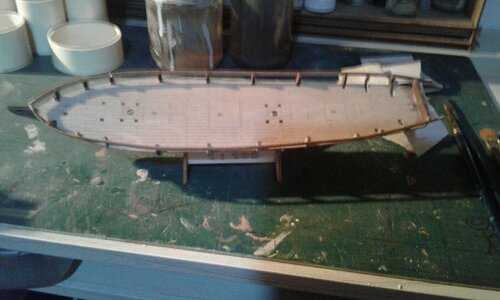
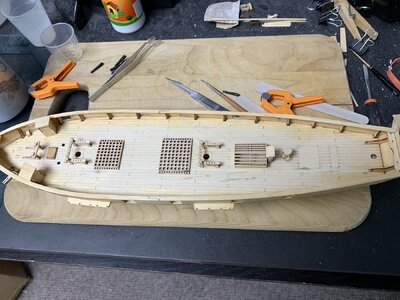
Deck greebling (is that a word?) continues. I think the bowsprit will need to be tapered and fitted before I can place the final front piece and oil it all. I'm kinda torn about the bowsprit though... Since it is a multi-piece assembly, would it be best to glue in the piece that only attaches to the hull now, or build up the full assembly and then attach? My concerns are with the difficulty of each method as well as how "true" (square?) I can keep the pieces if the one that is glued into the hull is placed first.IMG_0238.jpeg
 
Deck greebling (is that a word?) continues. I think the bowsprit will need to be tapered and fitted before I can place the final front piece and oil it all. I'm kinda torn about the bowsprit though... Since it is a multi-piece assembly, would it be best to glue in the piece that only attaches to the hull now, or build up the full assembly and then attach? My concerns are with the difficulty of each method as well as how "true" (square?) I can keep the pieces if the one that is glued into the hull is placed first.View attachment 412855
I would say prepare the hull for the installation now but don't totally afix it yet and that way the hull is ready for it, but you can still build the bowsprit while it is not attached to the ship. I think you will find that much easier.
 
Okay, but that is different than the instructions. Oh wait... There were no INSTRUCTIONS! Just diagrams (lacking a LOT of info). And then I leaned on everyone in this forum to help me out. And I greatly appreciate the response!
Cheers,

M.
 
Aw crap! Re-wetting the base of the capstan assy also re-wets the details on top of the base (duh). And all of the other capstan pieces become loose WAY sooner than the base that is glued to the deck. Rookie mistake, I guess!
 
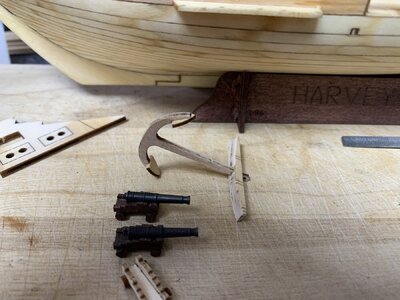
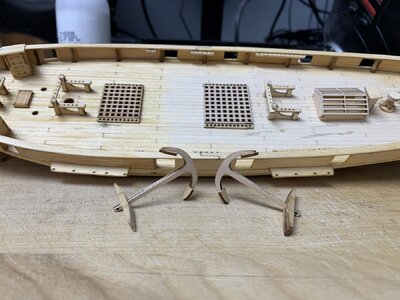
While finishing up some deck details I assembled the anchors. They are HUGE. And I'm not sure where they would be place on this model (if at all). They almost look like they are out of scale. But, if not, can anyone tell me what would be the appropriate coloration and location? I can only assume that the lower part with the hooks would have been black iron. But the top cross-spars have bands so I assume they would have been wood laminated? I'm just wanting to know how to finish and place then correctly for the period.

M.

Anchors.jpeg
 
Well, not the finest example of the art of planking! Managed to bodge my way through and this hull was always intended for experimentation. Have another on the way so was a steep learning curve!
Hmm, having problems uploading pics, went through attach files but no result. Help SOS!
 
Well, not the finest example of the art of planking! Managed to bodge my way through and this hull was always intended for experimentation. Have another on the way so was a steep learning curve!
Hmm, having problems uploading pics, went through attach files but no result. Help SOS!
one way to add pictures is while you are posting there is an icon at the top of the window that shows a single picture of a mountain in the icon and when you mouse over it, it reads "Insert Image (Ctrl+P)". Click on that icon. That opens up a small window with a dashed rectangle that says "Drop Image (Or click here)". I just click there and it opens up "File Explorer" if you are using Windows. You can just search in the File Explorer window and select the file of the image you wish to insert and then click on the "Open" button at the bottom of the File Explorer window. As an additional note, if you wish to modify the size shown in your note on the forums, before you click on "Post reply", you can select the picture which will give you little orange squares on your picture and you can move your mouse pointer onto one of the squares and click and drag the small square to resize the image. If you use the corner squares, it will maintain you height to width ratio of the picture so it looks normal. If you resize using the edges, it does not retain that ratio.

I hope that helps !

Jeff
 
Man, Zoopher, I hope you get the pic posting issue worked out soon. I'd try to help but I've never experienced the same problem.

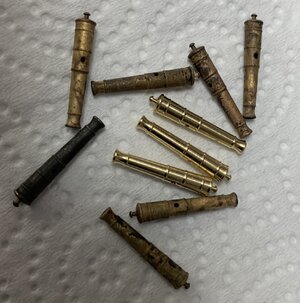
Meanwhile, I appear to be out of options for more deck details other than the cannon that I have been avoiding... And so, here we go!

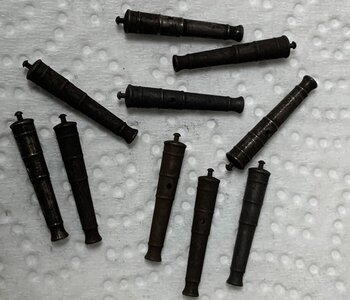
All ten washed in dish soap while being scrubbed with a toothbrush. You can see the ones that were incorrectly treated with the oxidant quite readily. Three were obviously not experimented upon. And one kinda took on the black fairly well! And since all of the other "experiments" were done in pairs I believe the blackest one is the one I tried to do by just wiping on the oxide with a swab (as per the instructions on the bottle). Sadly, I did not label them after each attempt so I am not 100% sure, but the blackish one could be the only single sample, eh?

Cannon.jpeg
 
planned 1.jpgplanked 2.jpgHooray! Thanks Jeff, the thing is I'm using a tablet but with perseverance this caveman has prevailed! Have been experimenting with this hull and have now started cheapo 1/70 Newport schooner. Pics to follow....
 
2023-12-25 10.59.11.jpg2023-12-25 10.56.47.jpgSo, this is as far as I got with the Newport. Stained the woody bits first with dark oak, light oak and antique pine. C hamphered the ribs and applied first planks. Am busy making my Xmas dinner so will probably fall asleep after so merry Chistmas shipmates and a peaceful new year to you and your kin.⚓
 
Congrats, Zoopher! And nice looking ships. I'm jealous of the 1/70 scale. The 1/96 of the Harvey is just a wee bit too small for my old eyes and hands. Even with the highest diopter reading glasses I can use I cannot bring the smaller objects close enough to my eyes to see clearly without them starting to blur again. I am doing some glue ups by "feel" up close and then pull away to look, and then try to adjust by "feel" again. Rinse and repeat!

A first pass with the improved cleaning and oxide techniques (per SOS advisers). Much improved! I'll repeat the entire process one more time at least to see if they darken up just a tad more...IMG_0253.jpeg
 
Congrats, Zoopher! And nice looking ships. I'm jealous of the 1/70 scale. The 1/96 of the Harvey is just a wee bit too small for my old eyes and hands. Even with the highest diopter reading glasses I can use I cannot bring the smaller objects close enough to my eyes to see clearly without them starting to blur again. I am doing some glue ups by "feel" up close and then pull away to look, and then try to adjust by "feel" again. Rinse and repeat!

A first pass with the improved cleaning and oxide techniques (per SOS advisers). Much improved! I'll repeat the entire process one more time at least to see if they darken up just a tad more...View attachment 416360
Thank you sir, very kind. I am very short sighted but can see wee things just by pulling my specs down, silver lining? Have all sorts of magnifyers including watch makers ones but usually do the specs manoeuvre. Trouble is can't keep it up for a long time as it is a strain. Hey ho...
 
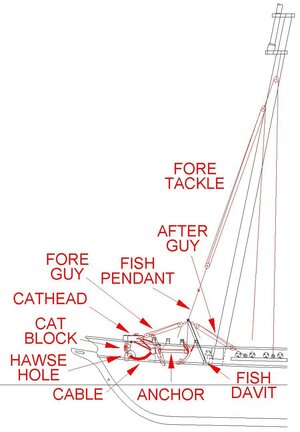
I still have issues with the anchors. They are HUGE compared to the cannon and the rest of the boat. Are they correct to scale? And, if so, how would they be lifted and lashed to the gunwales? Ropes and pulleys? Those anchors must have weighed several tonnes.
IMG_0256.jpeg

M.
 
They are indeed far too large, another one of the problems with this cheap kit. Locate some pictures of a Baltimore Schooner and examine the proper size of the anchors and replace them with scratch built ones of that size.

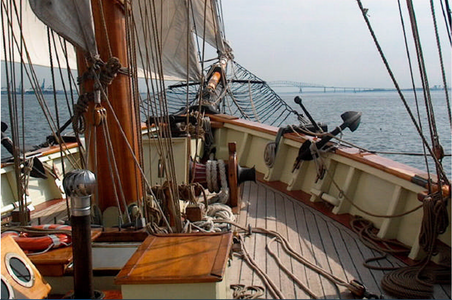
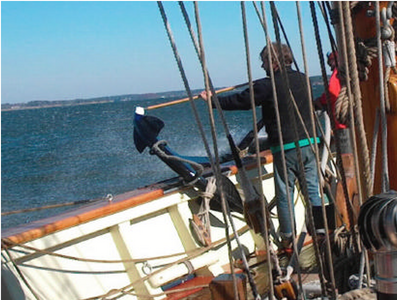
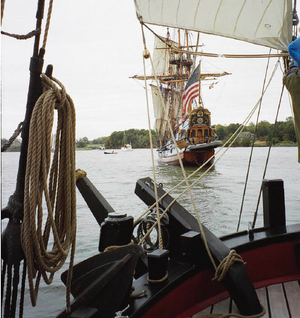
Here are the anchors on the Pride of Baltimore II for comparison.
1703643977448.png

1703644039232.png

1703644195481.png

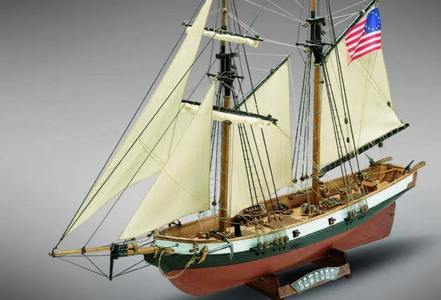
The Mamoli model of the Baltimore clipper Newport has what appears to be pretty large anchors compared to the guns, but still seems smaller than the Chinese model anchors. You be the judge.
1703644498110.png
 
Last edited:
Back
Top